When I first posted this blog entry I wrote: One of these days I have to look in my files for paper negatives I made on Kodak Ad Type paper back in the 1980s on Sherman Way near my old studio: Fiat Lux. As I’ll probably be adding to this post, the old negatives might appear some time.
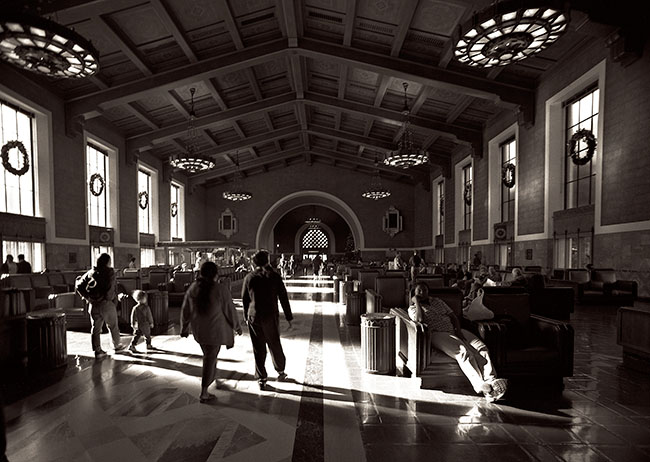
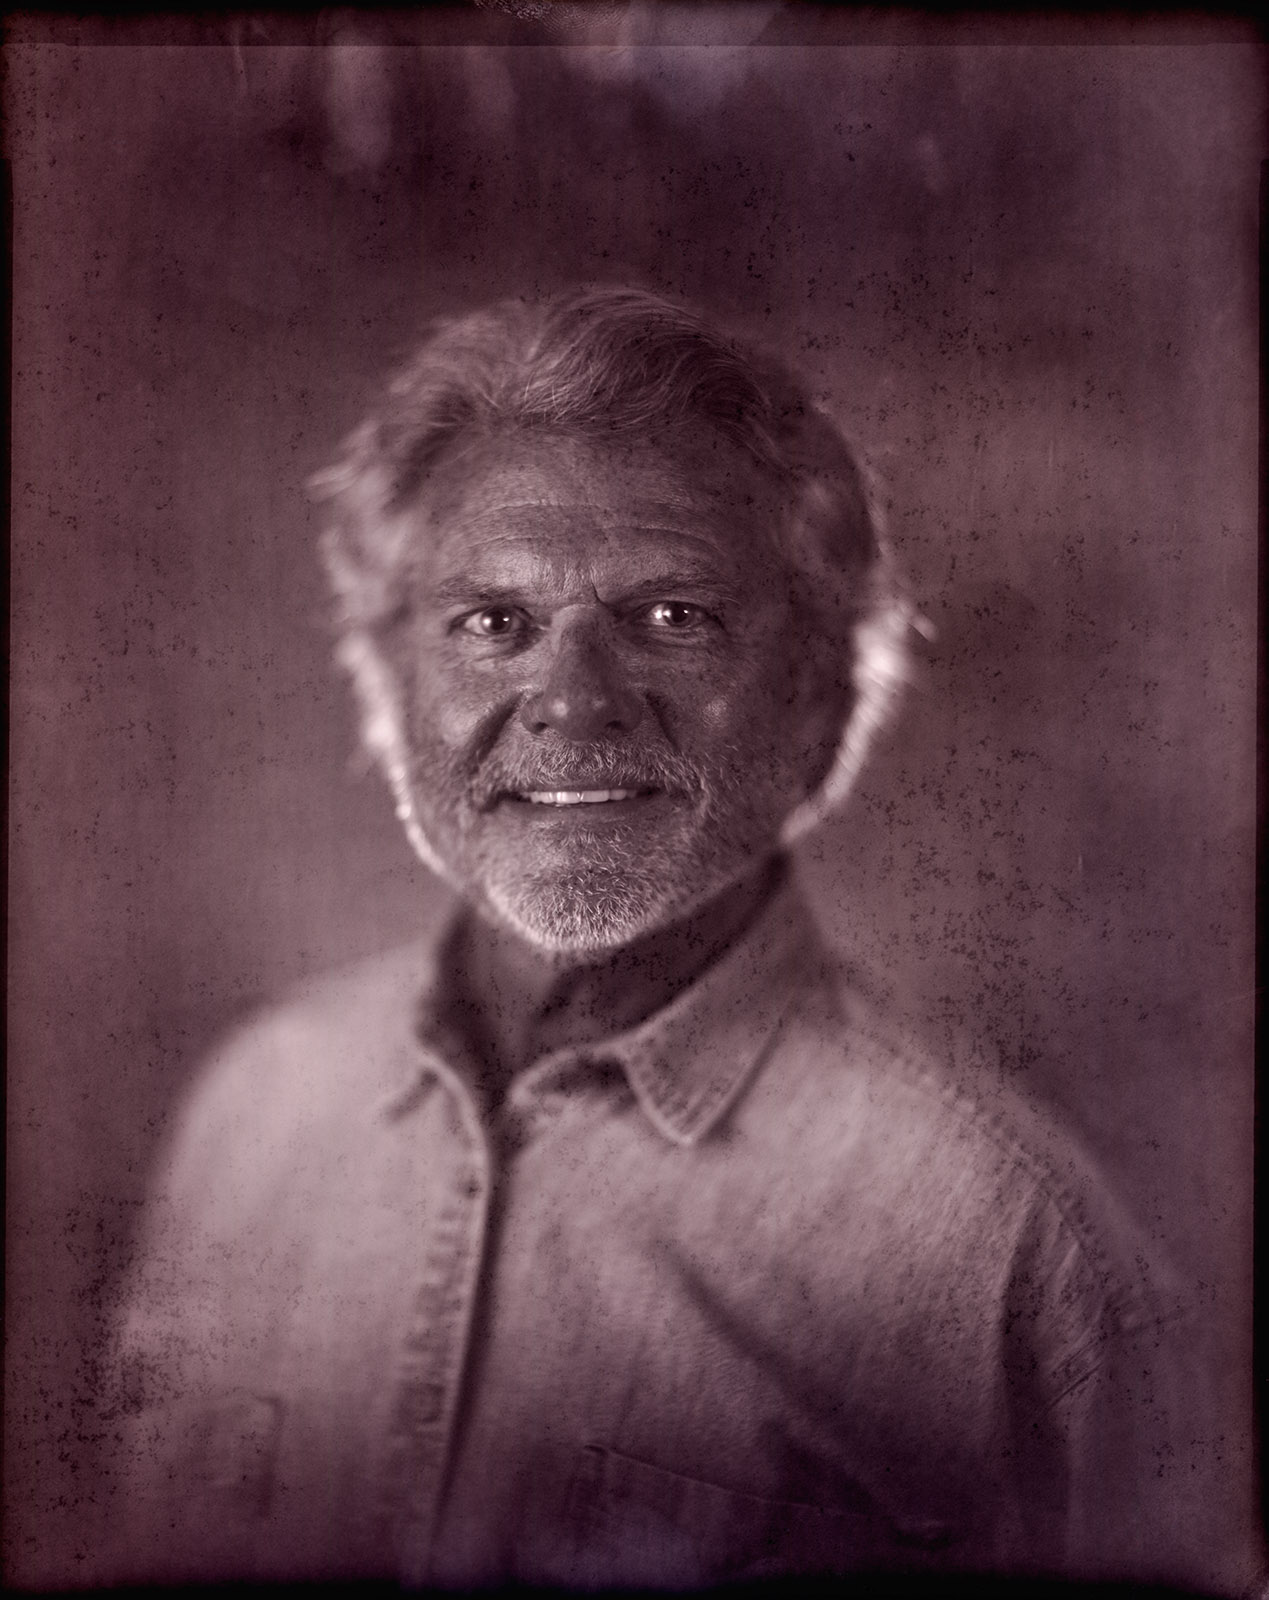
Well this is that day. I found a couple of the paper negatives I made back in the early 1980s, so this is from a 40 year old negative. I made this on Kodak Ad Type paper. This was such thin paper that you coule actually put it into an enlarger and make a regular print on silver bromide paper. Of course the exposures required very long exposures, generally a couple of minutes. As I remember the print, the enlarged paper texture was pretty interesting. Anyway this from a scan of the paper negative. The negative is much darker than I would make today, so it prints pretty flat. it does have that old time feel? Well I hope so.

I made this image with Kodak Ad Type Paper back in the 1980s. The first time I worked with paper negatives.
The first stable negatives were made by William Henry Fox Talbot in the late 1830s. There had been people who noticed and tried to use the fact that Silver Nitrate turns black to make images before this, but the effect would disappear in white light. Fox Talbot figured out a way to stabilize the reaction with salt. This method of making images was released to the public about the same time the Daguerreotype process was introduced. Daguerreotypes are direct positives, but because of this you can’t make a bunch of them from a single negative and Daguerreotypes made from other daguerreotypes degrade quickly. So, paper negatives have a long and storied history in photography.
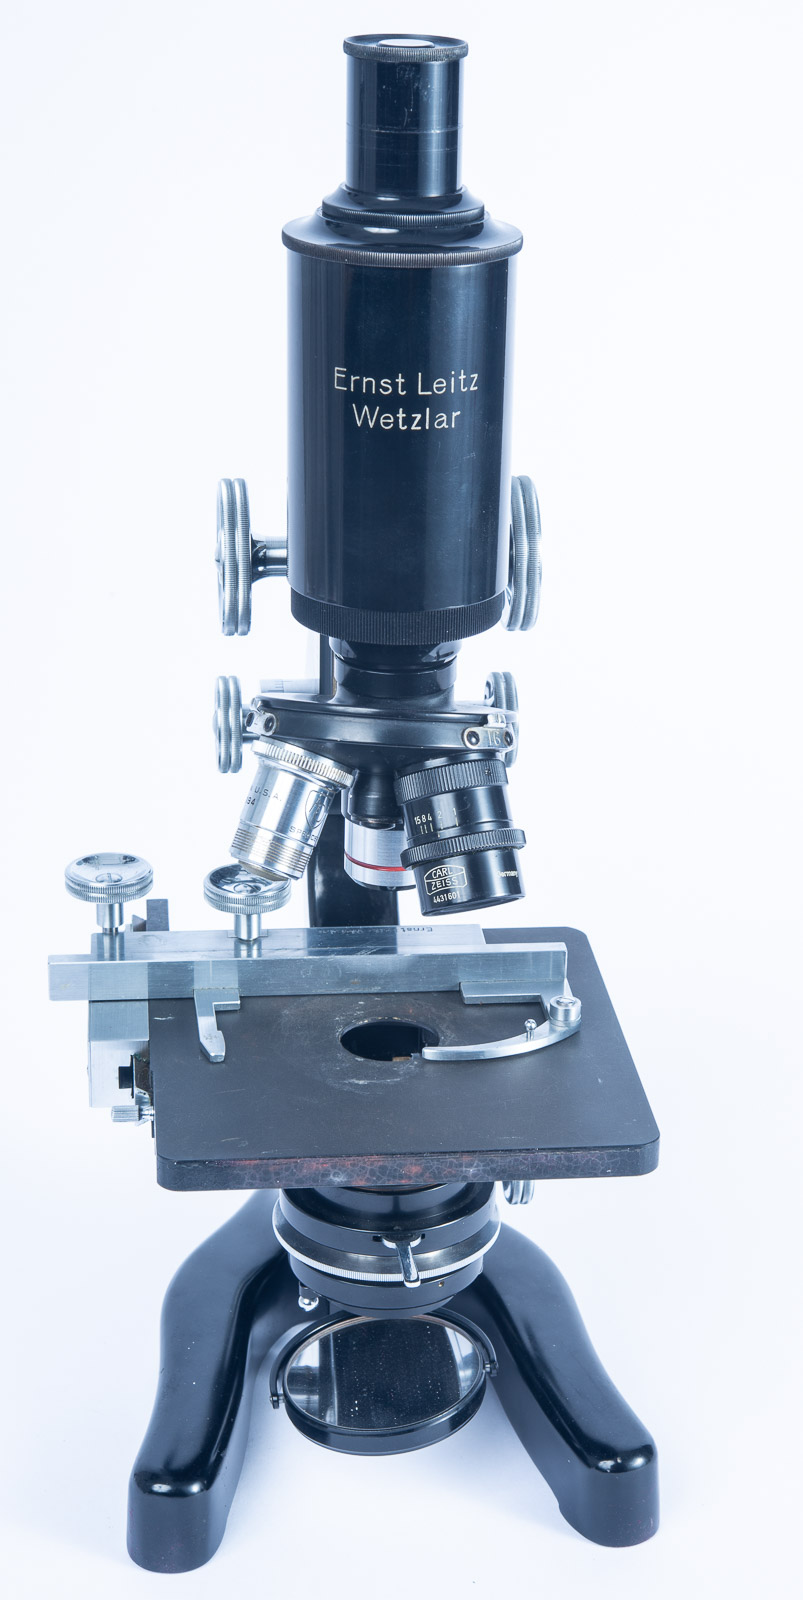
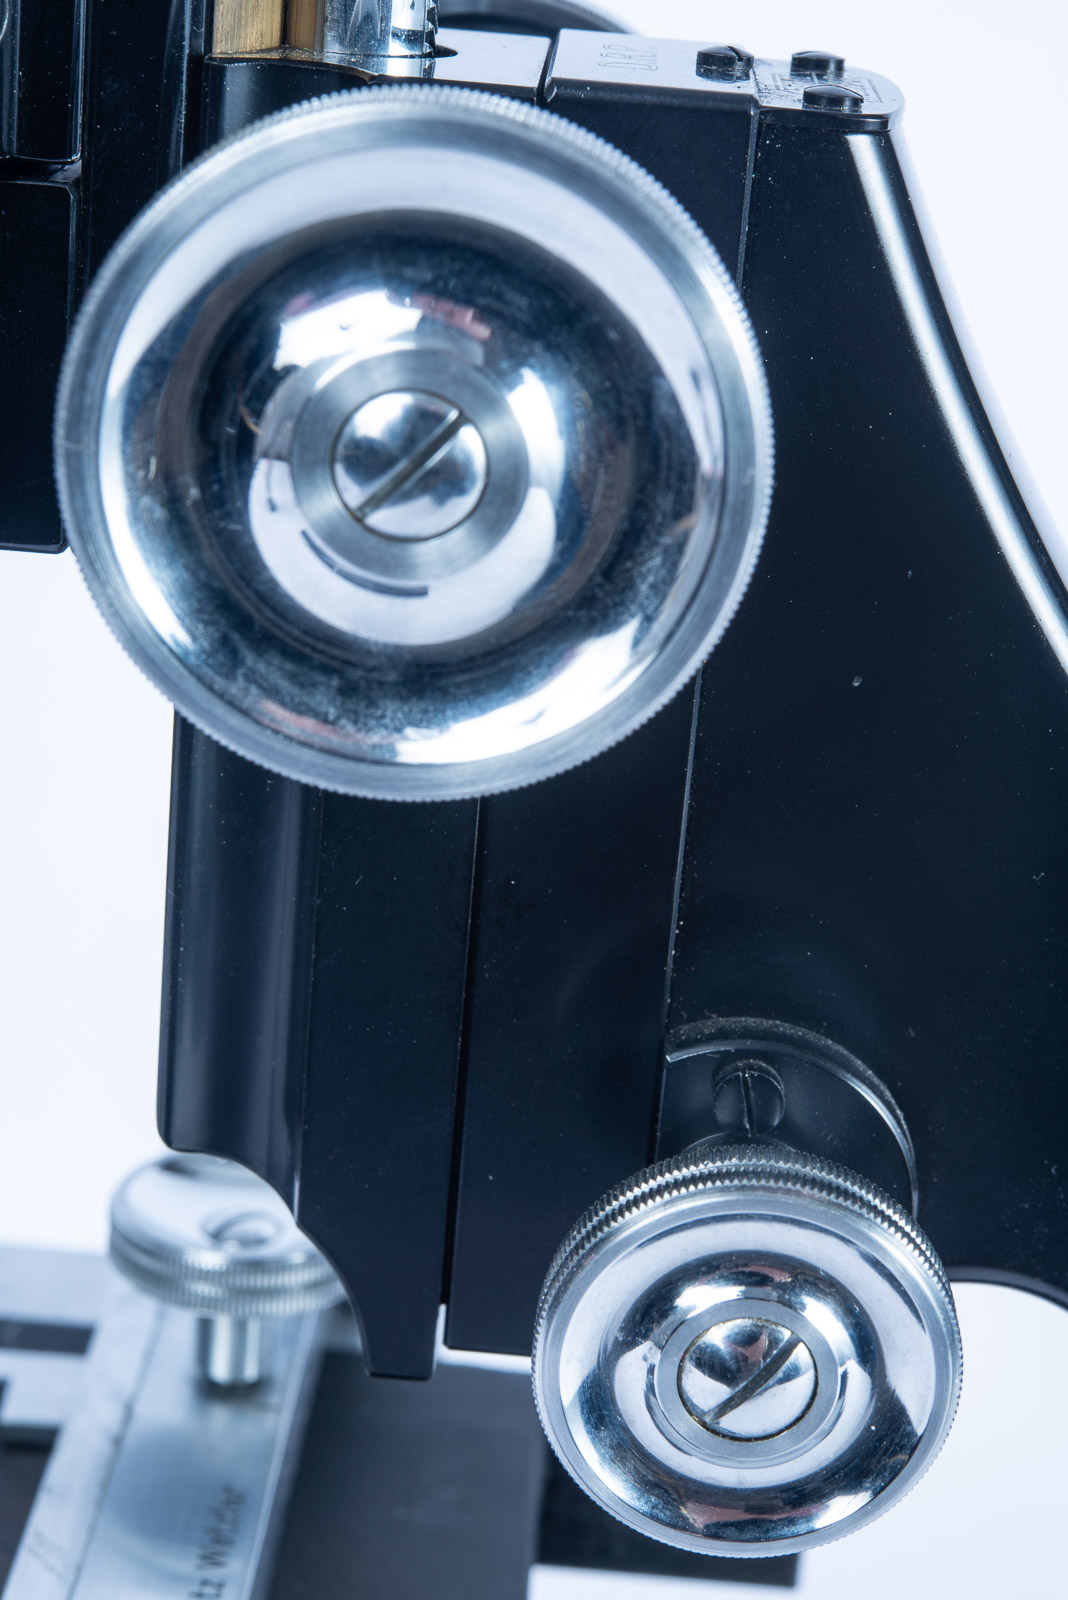
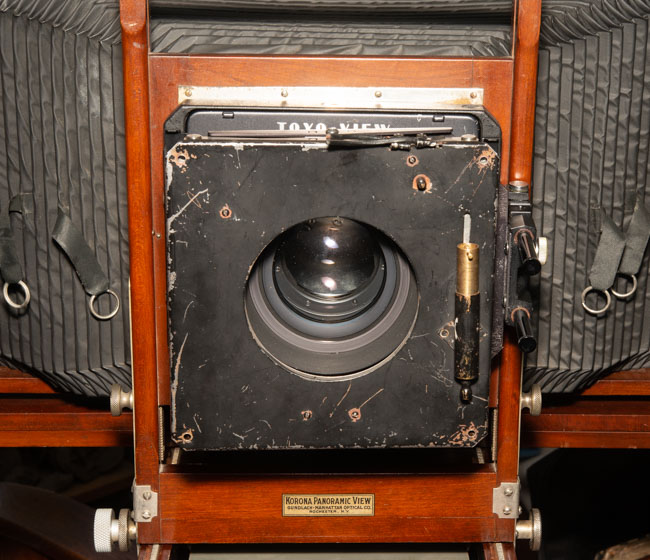
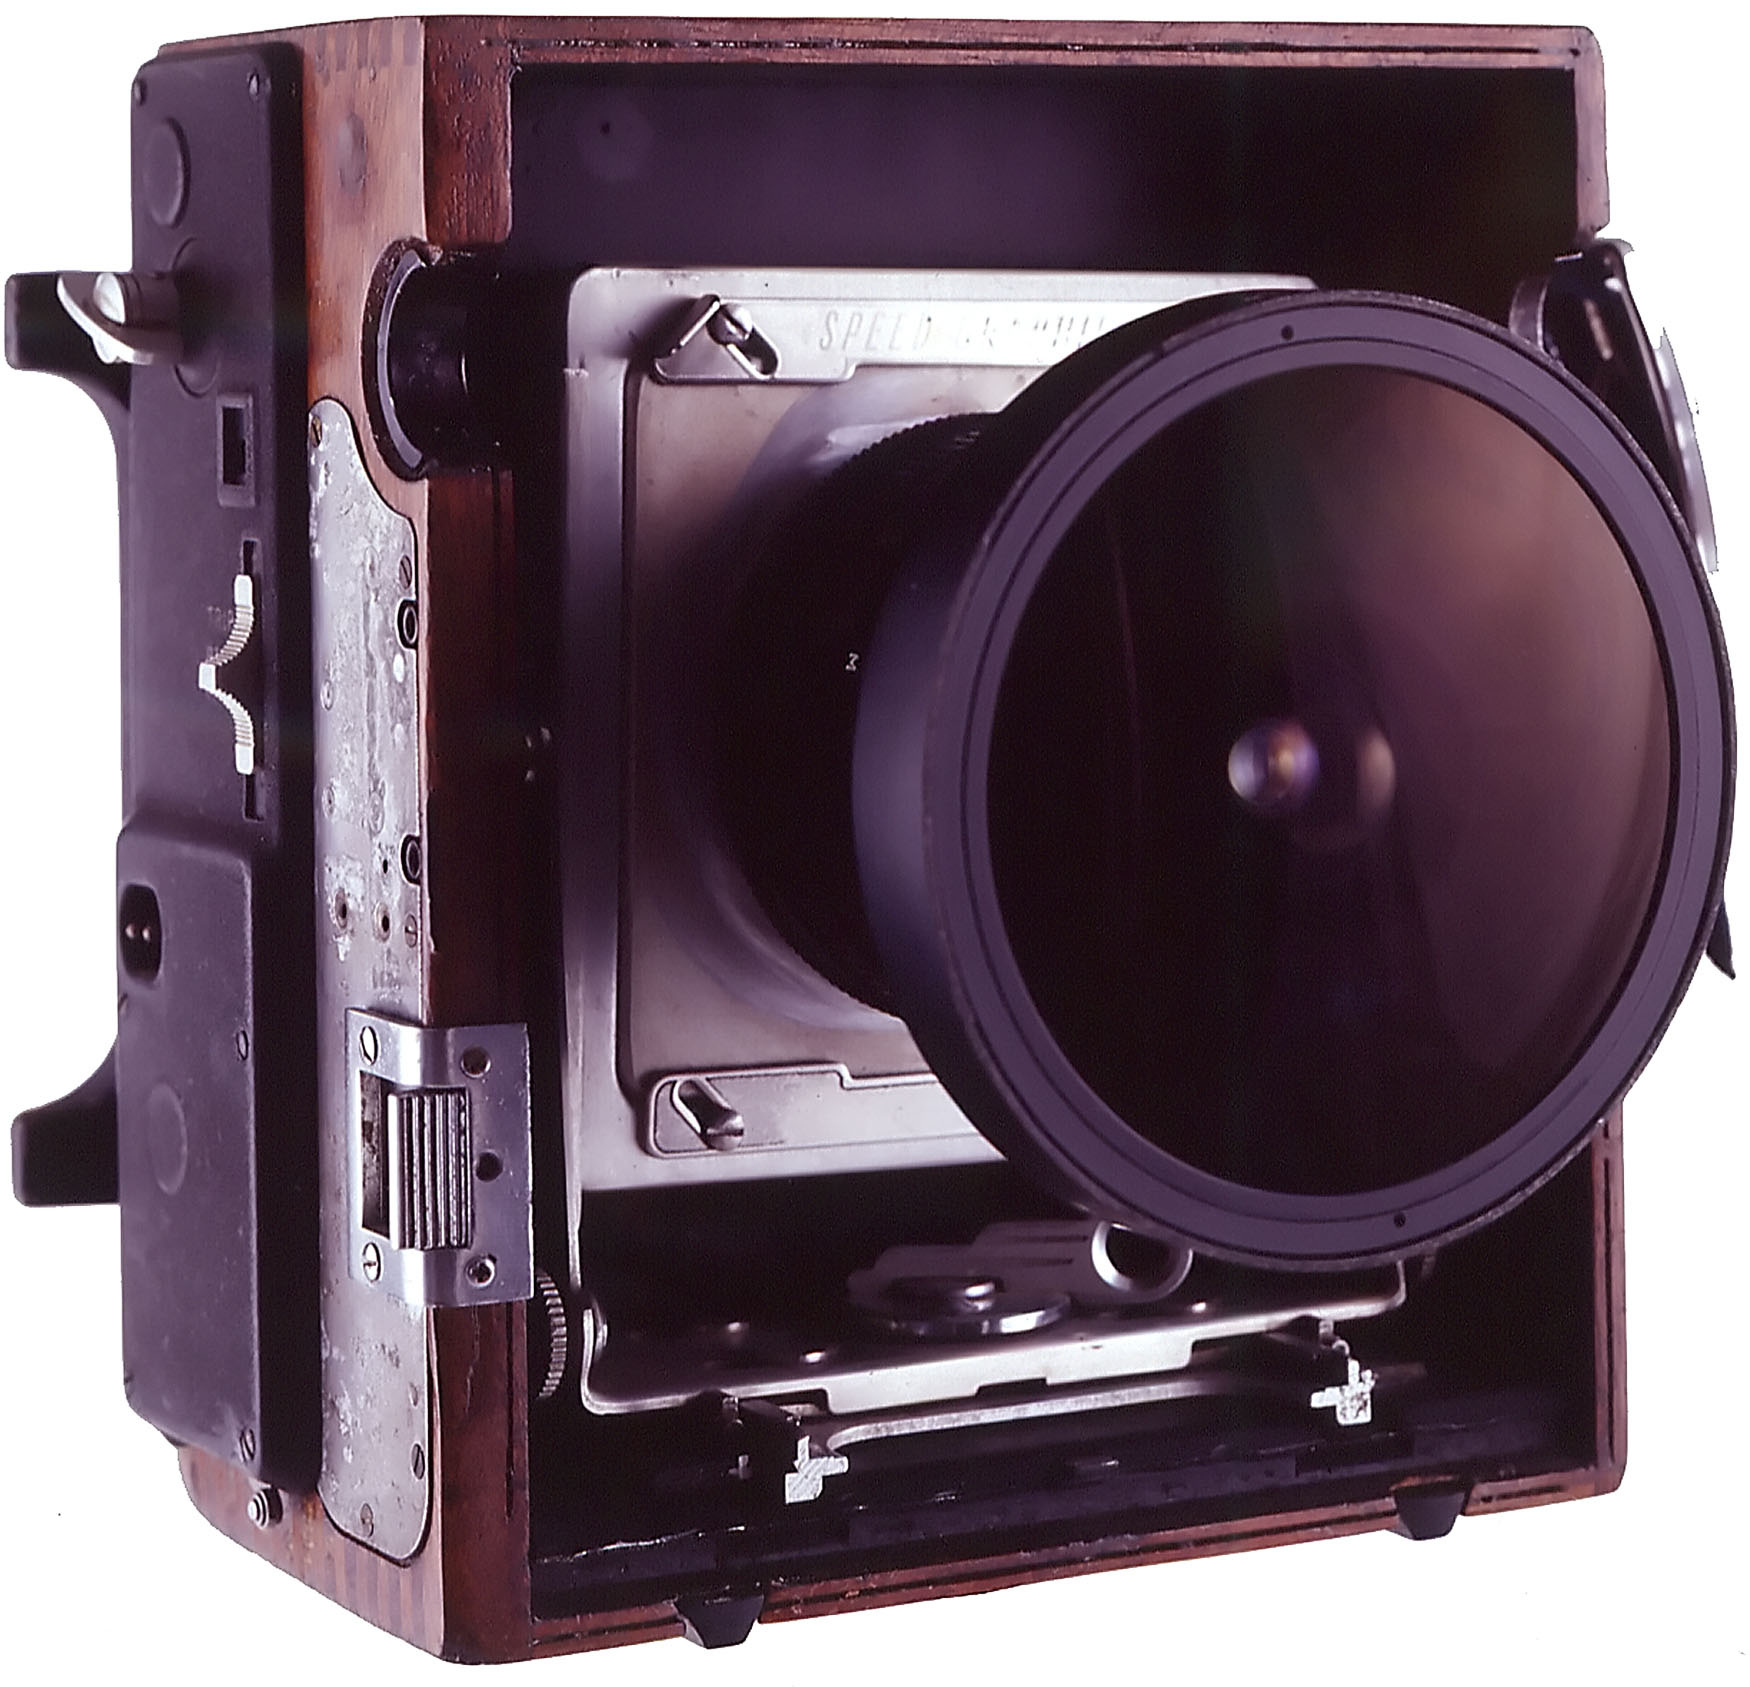
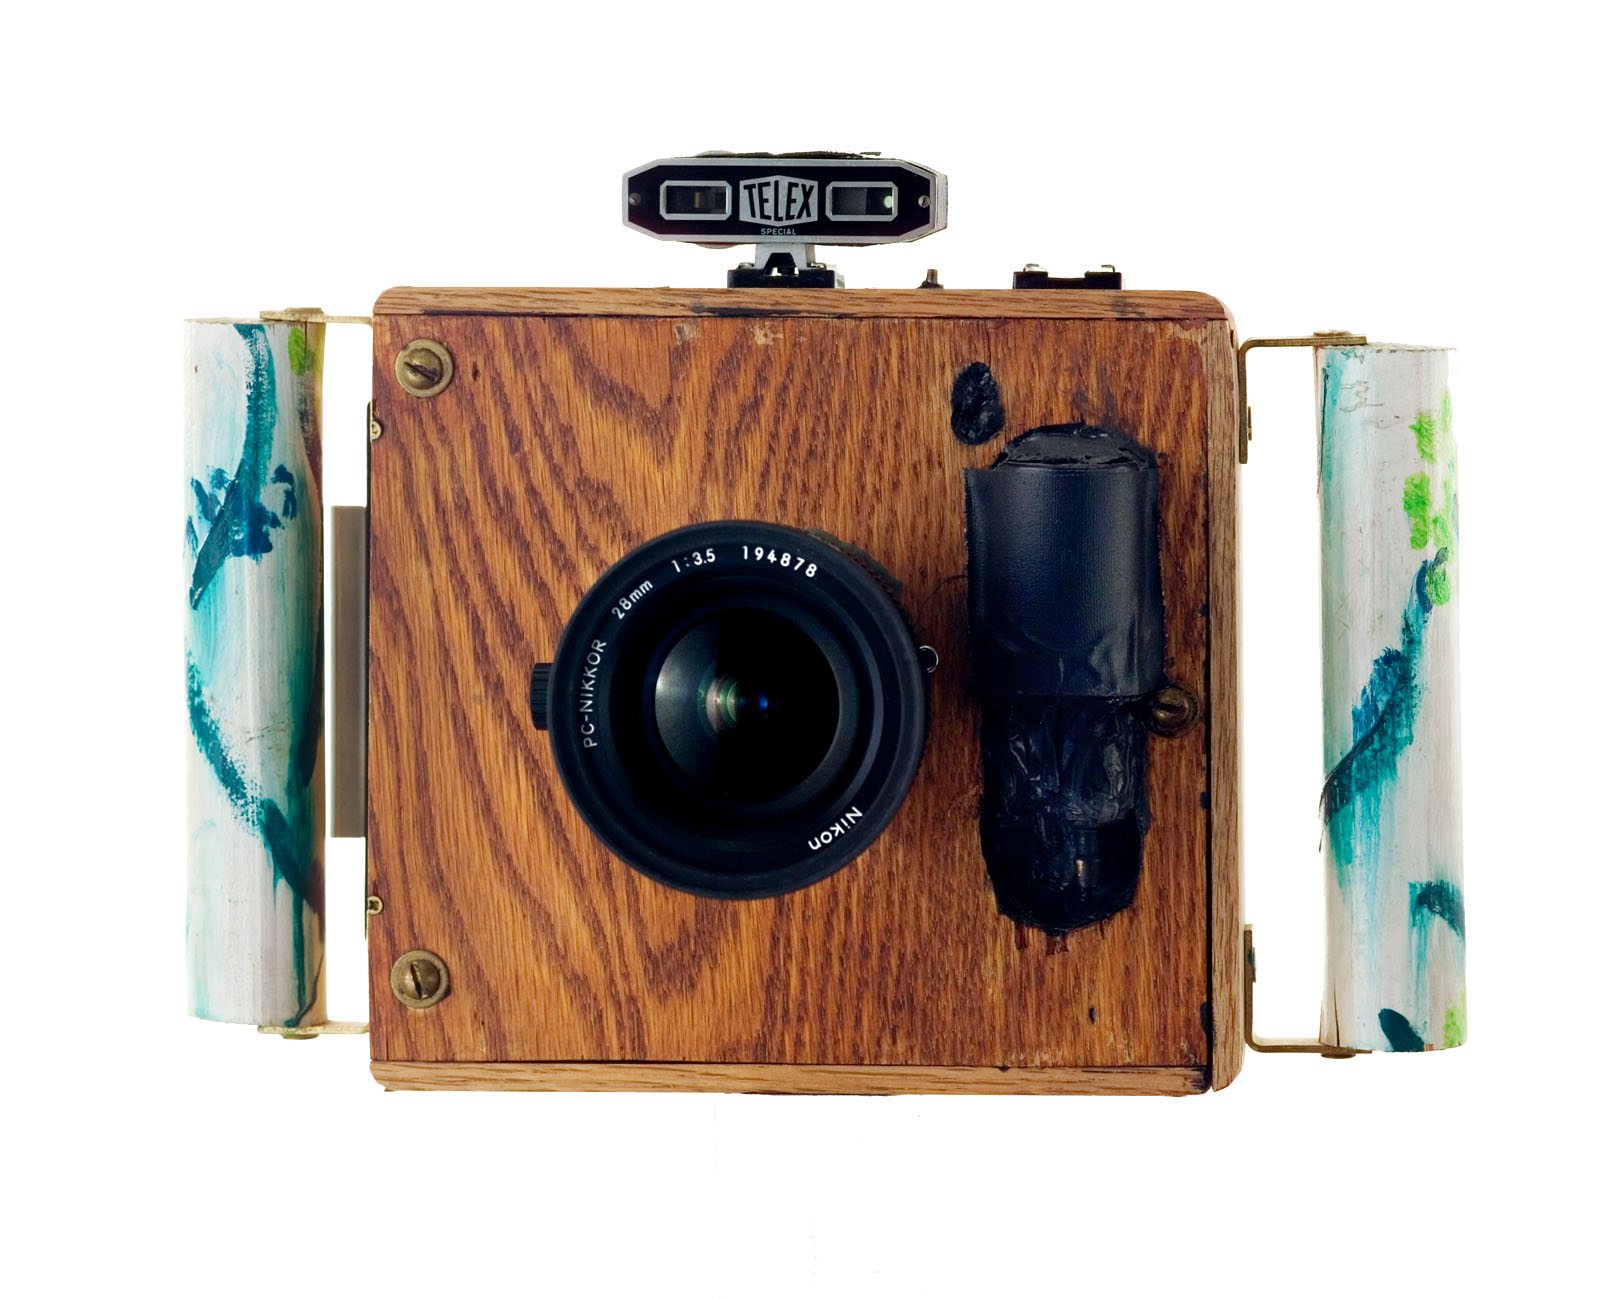
My original 11×14 Camera. The Perrin #001. I learned a lot from this camera.
About 8 years, maybe, ago I got an 11×14 camera. I really didn’t think about all the aspects of making pictures with this camera when I bought it. And, so it goes… I decided that the best way to actually work with this camera would be to use paper negatives. The material is much cheaper: one sheet of Ilford Multigrade in 11×14 is about $2.60, and 1 sheet of Ilford Delta 100 film is about $15.20. Paper is easier to process, the process is quicker and you can use safelight. There is a lot of information about the project with the 11X14 camera on my blog. Start with this link: https://siskinphoto.com/blog/?p=4397. The title of this project is Courting Chaos. Not all of this work is “work safe.”
Curt #5. Part of the Courting Chaos Project. You can see the effects of Solarizartion in this image. The large negatives allow for considerable experimentation
As I have recently begun using paper negatives again, I’ve received a few technical questions about my experience with paper negatives. First, I most often use Ilford Multigrade, because it’s probably the easiest product to get. I have also used Arista from Freestyle, without noticing any big difference. I recently tested some very old Kodak Polycontrast III paper. Unfortunately, this paper was fogged, that is it’s so old that it acts like it’s partially exposed, even before I use it in the camera. Still, it has an interesting look, so I’ll probably play with it some. I use resin coated (RC) glossy paper. There are a couple of reasons for this: first it’s much easier and quicker to process than a fiber base paper. Second, because it dries flat it is really easy to scan. I feel it is much easier to scan than film negatives are.
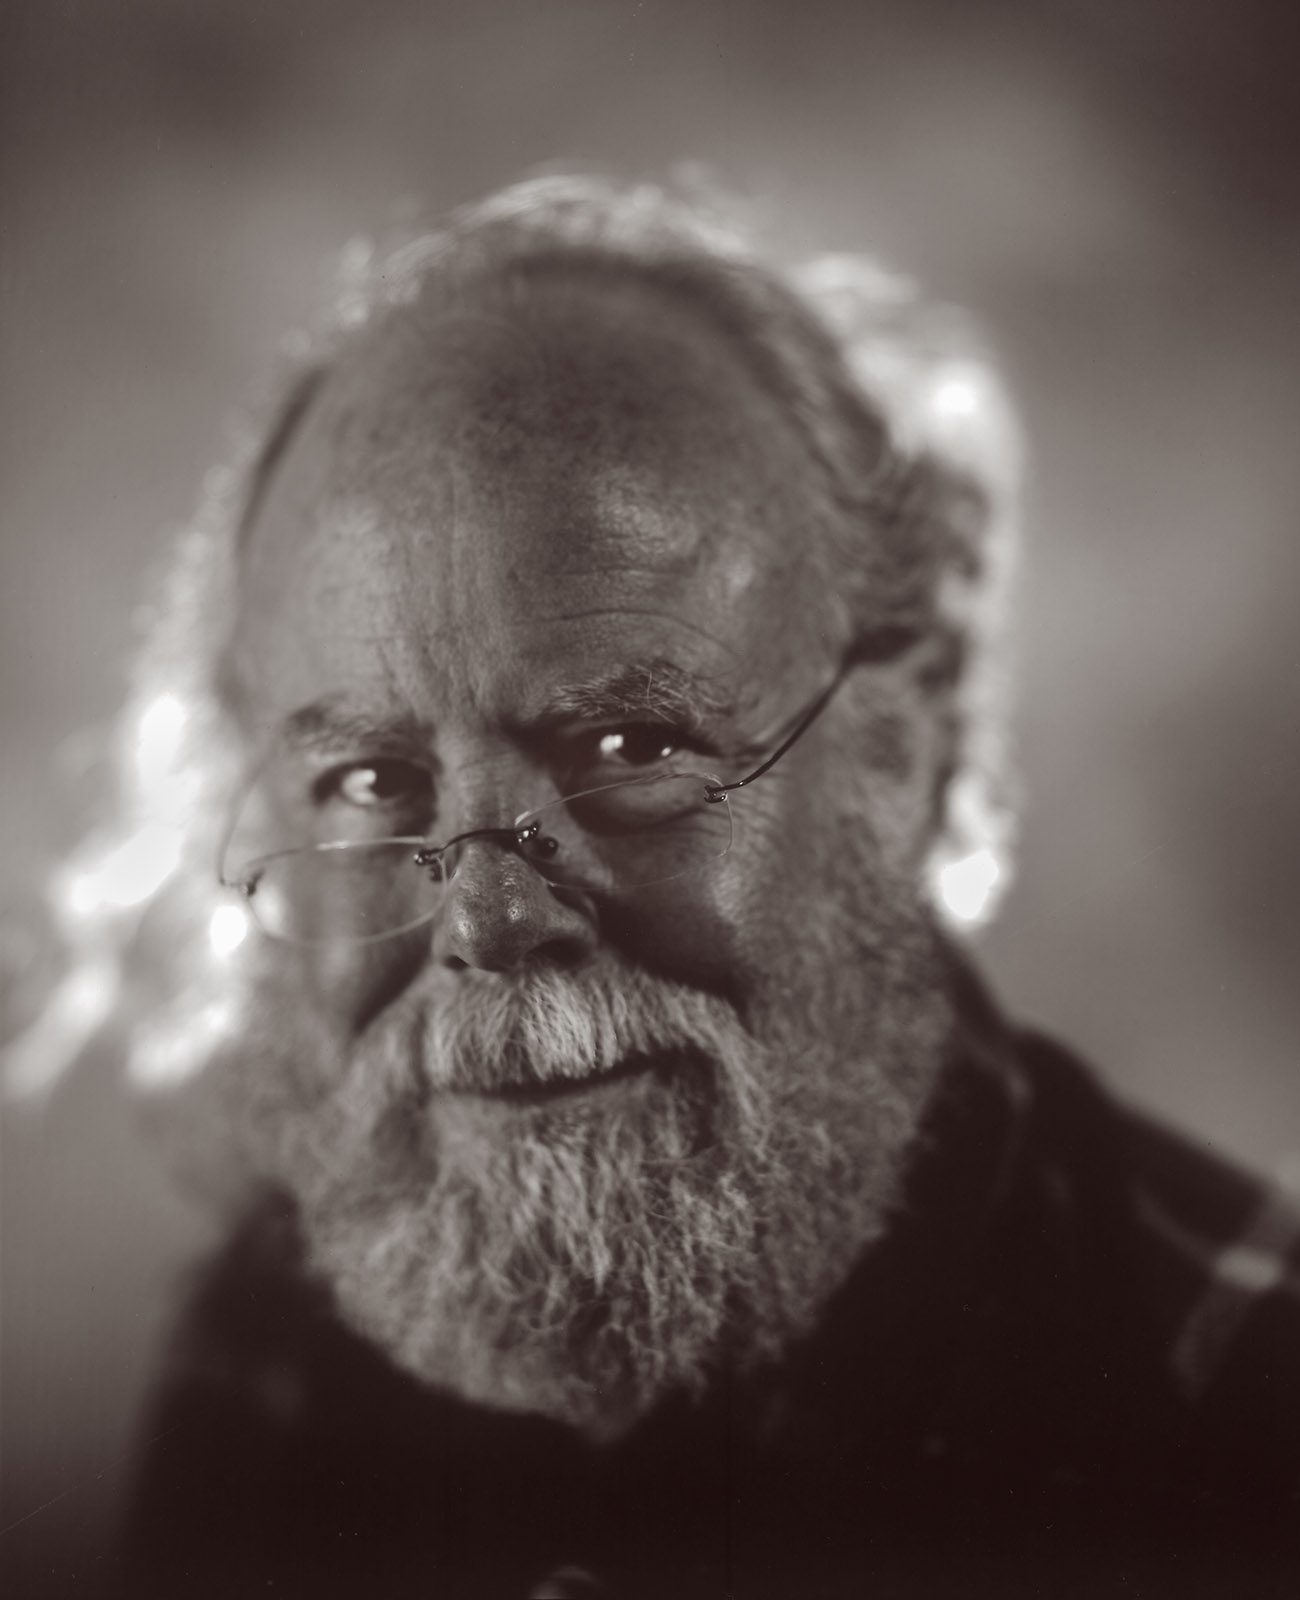
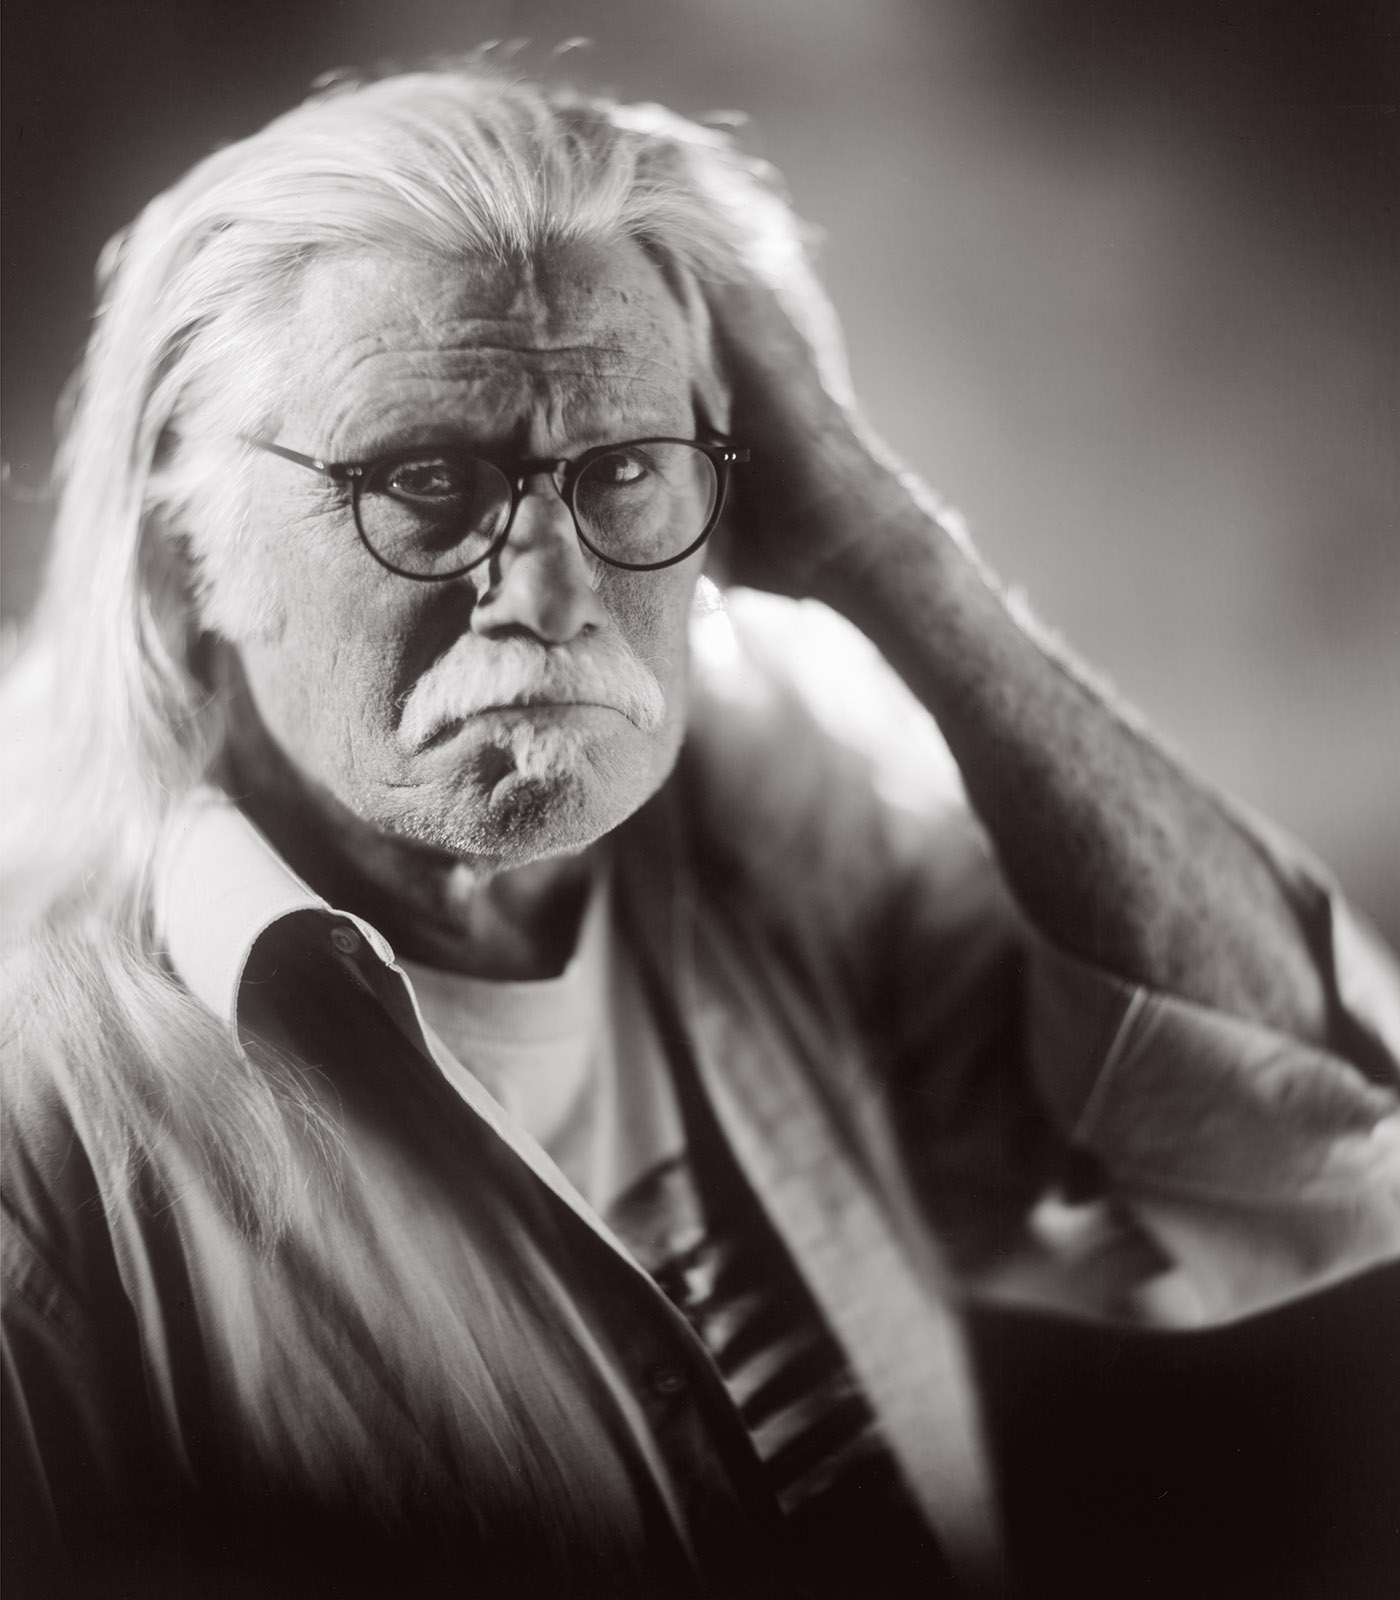
Jim I. This image was made with fresh Ilford Multigrade paper.
Jim I. This image was made on old Kodak Polycontrast paper. The fog affected the contrast and color of the paper. An interesting look.
I used Ilford Multigrade Paper Developer for most of the Courting Chaos, in part because Roberts Camera was a few blocks from my studio in Indianapolis, and Roberts had the Ilford product in stock. I now use Clayton P-20 Plus, because I like it better for regular printing. I haven’t noticed a significant difference between the developers when working with paper negatives. I did use some very concentrated versions of the Ilford developer when I re-exposed the negatives to light and painted on a second developer. This was part of the Solarization process I was using in the Courting Chaos project. So, you might want to look at the link above for more information on that part of the process.
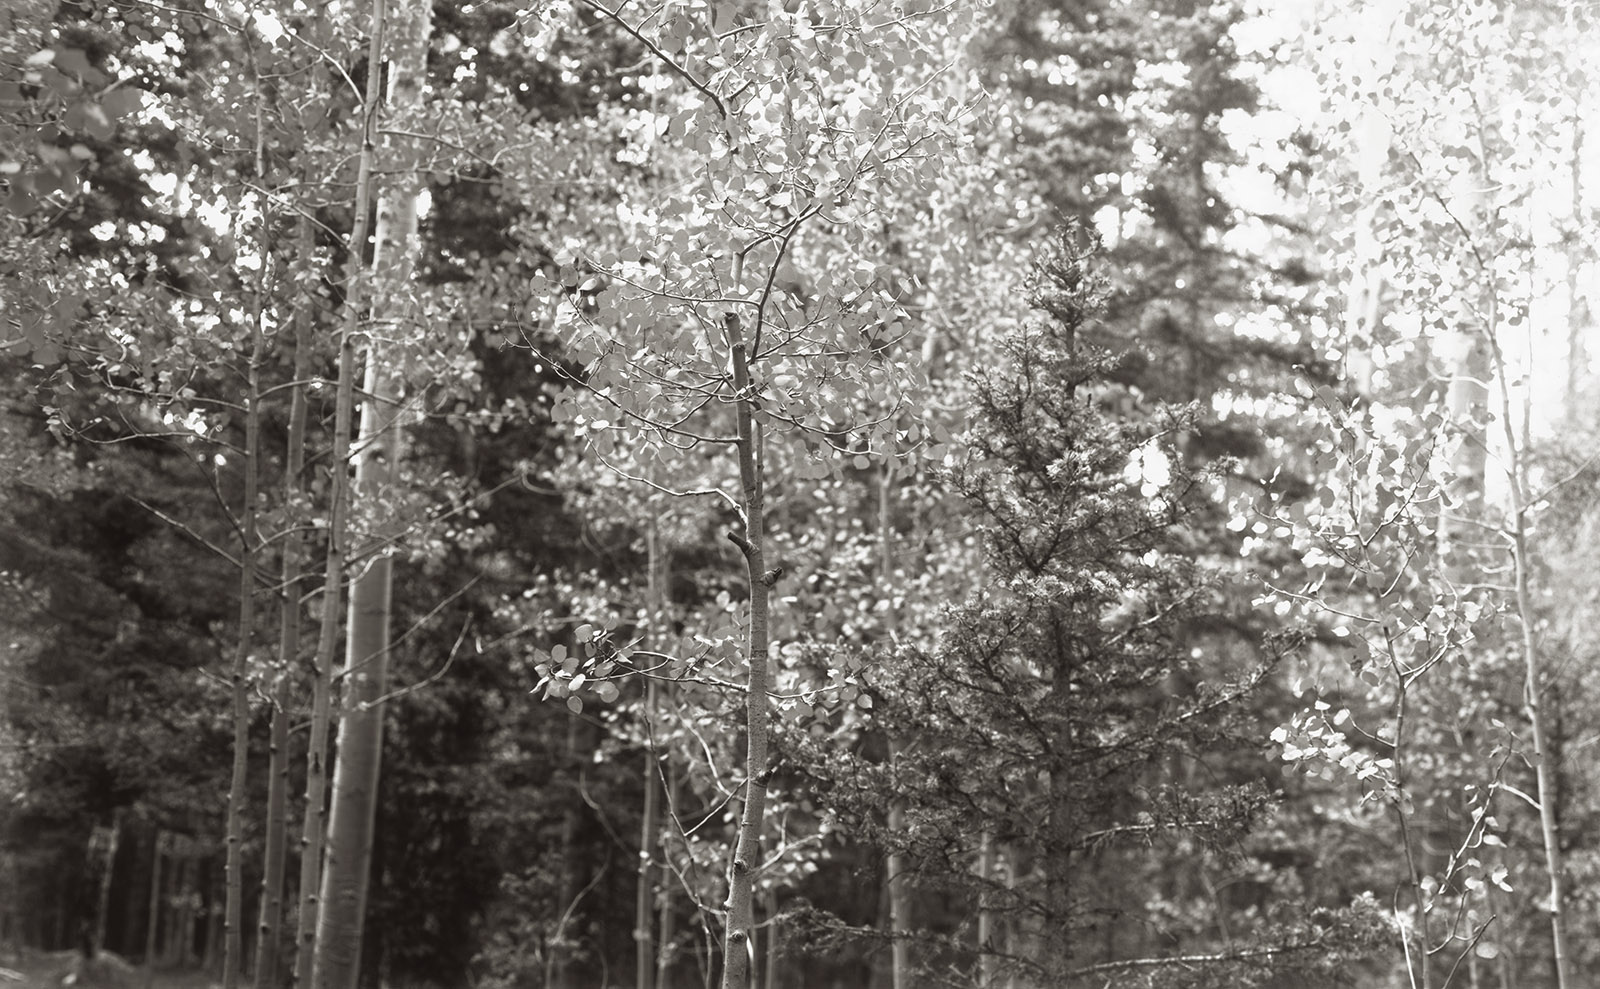
Aspen Trees at Ski Santa Fe. Shot with my 8×20 inch camera on Ilford Multigrade Paper. I had some fogging from the film holder, so this isn’t the whole negative
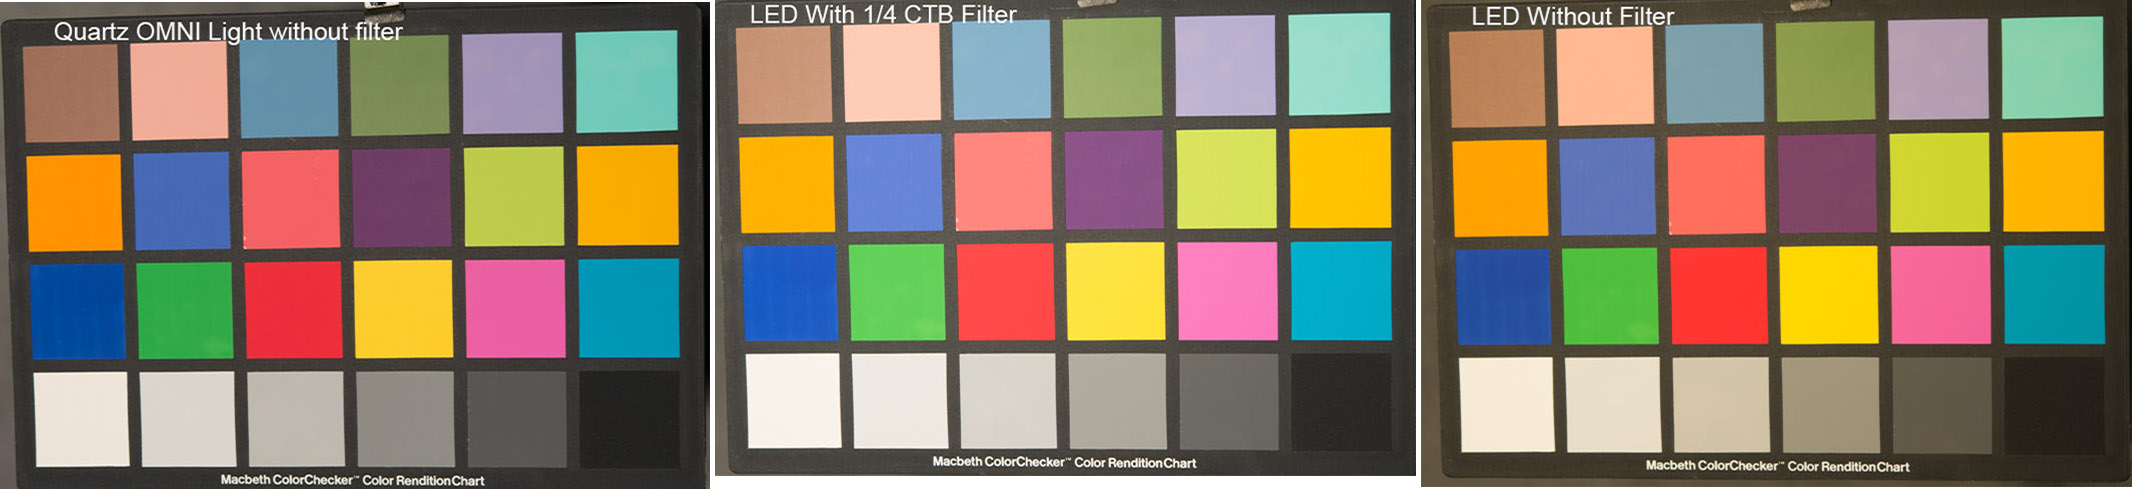
By far, and you’ll wonder why I didn’t lead with this, the most asked question is how light sensitive are your paper negatives. Either I get asked “what are you rating your negatives at?” or “how long are your exposures?” With respect the first question should be “how are you lighting your subjects?” The reason for this is that paper negatives respond very differently to different light sources. Film has this effect to a lesser degree: it’s referred to as reciprocity. We most often run into this when we expose film for very long times and/or when we use light with less blue to expose film. Paper is designed for very long exposures and for light with much less blue than we would use for film. Since I use strobe light to expose my paper negatives it might be expected that this very fast light and very blue light would cause the paper to become more sensitive to light than it would be for normal printing. This is exactly what I’ve found. When using strobes, in the studio, I find my paper has an ISO of about 80. This is about 8 times more sensitive than I’ve used for outdoor exposure in shadowed areas (ISO 10?) and for regular daylight I might get ISO 32 if the exposure is less than a second. As with regular film reciprocity, the longer the exposure is the less sensitive the film or paper is. Since our expectations of paper are usually based on very long exposures with a 100-watt bulb, we often find that the sensitivity of paper to strobe light is unexpectedly high.
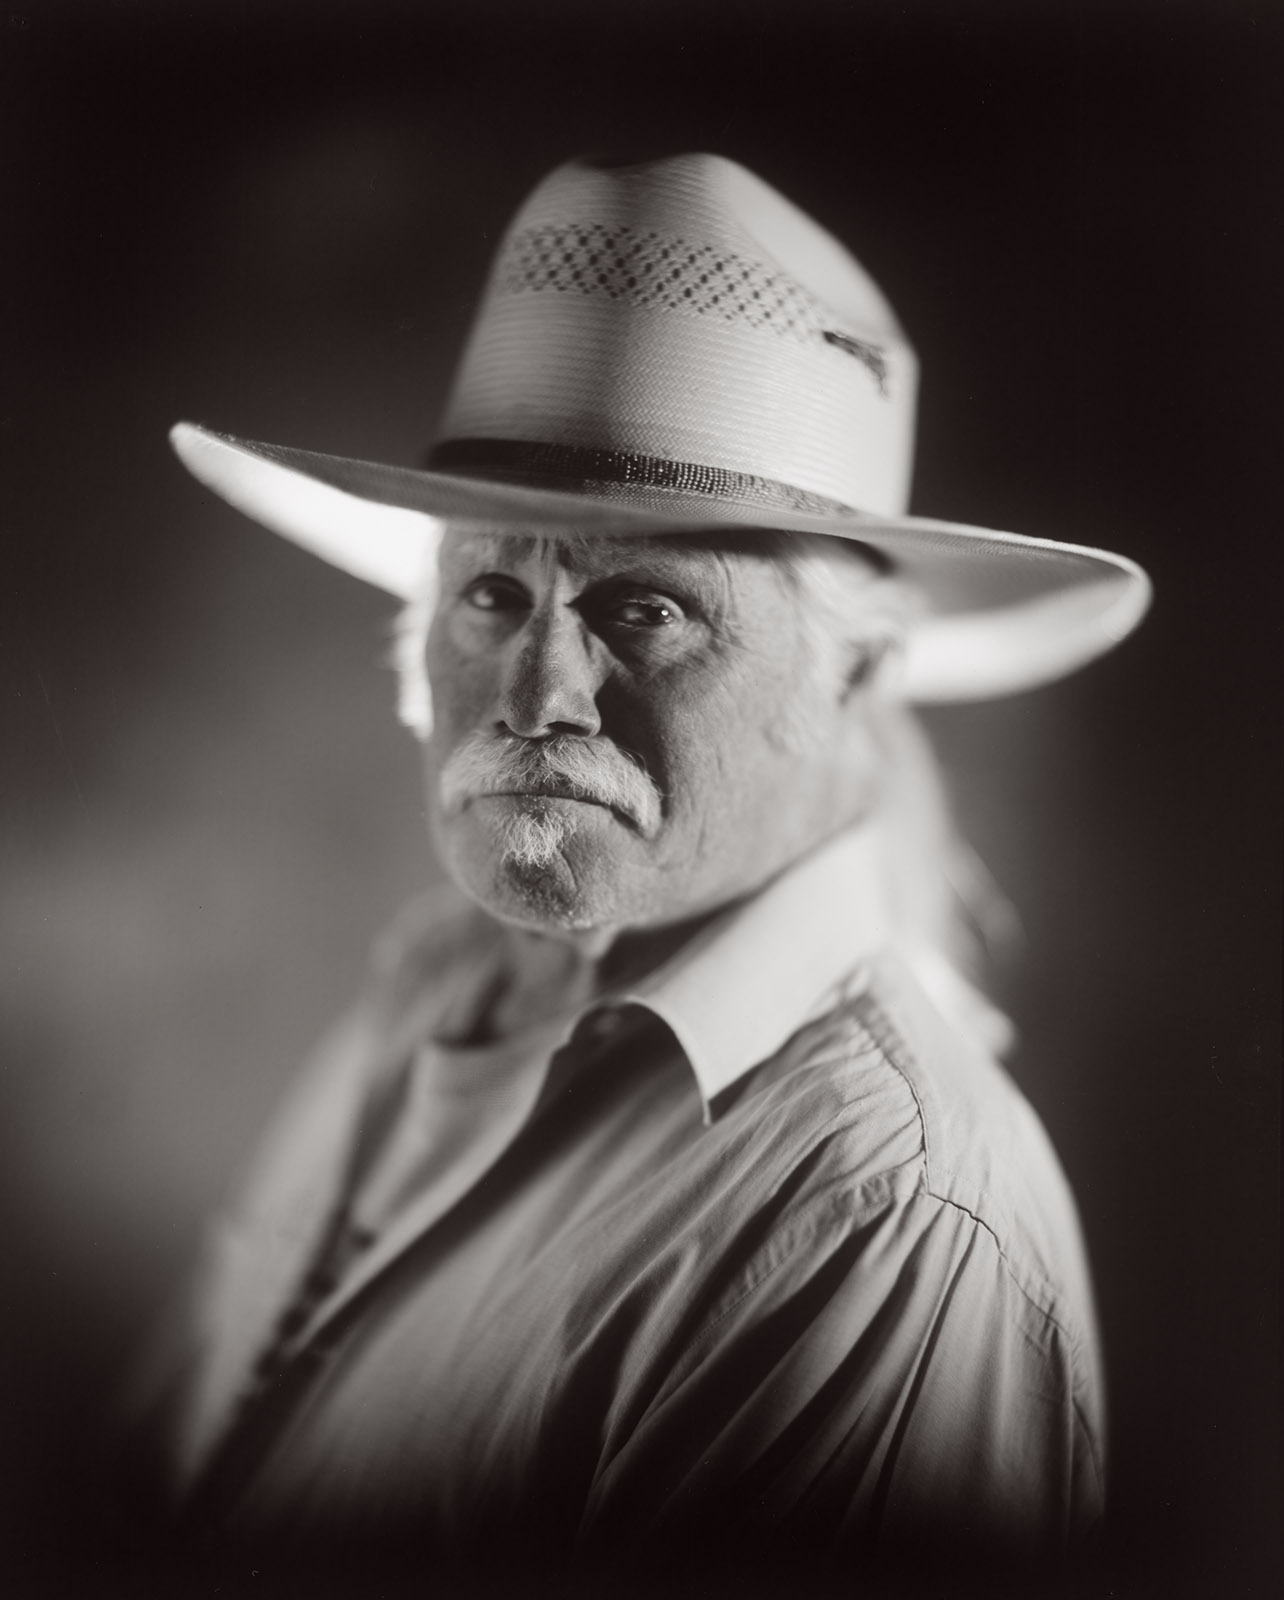
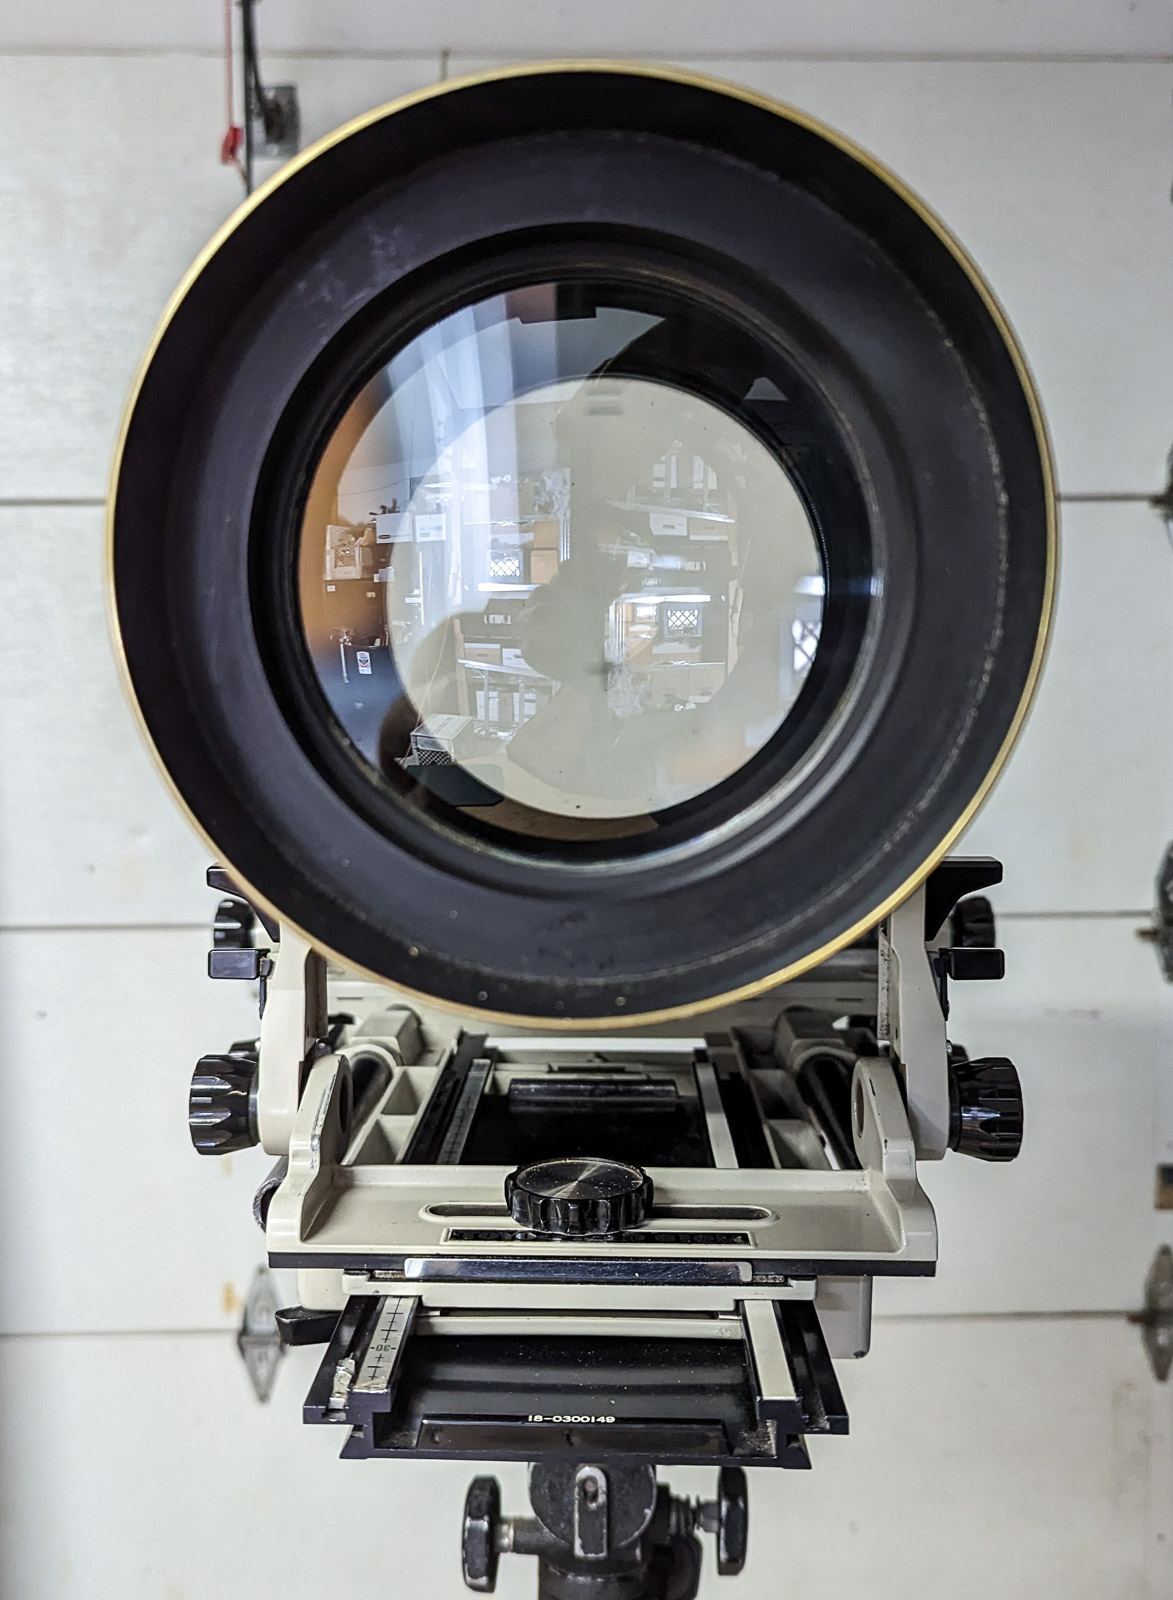
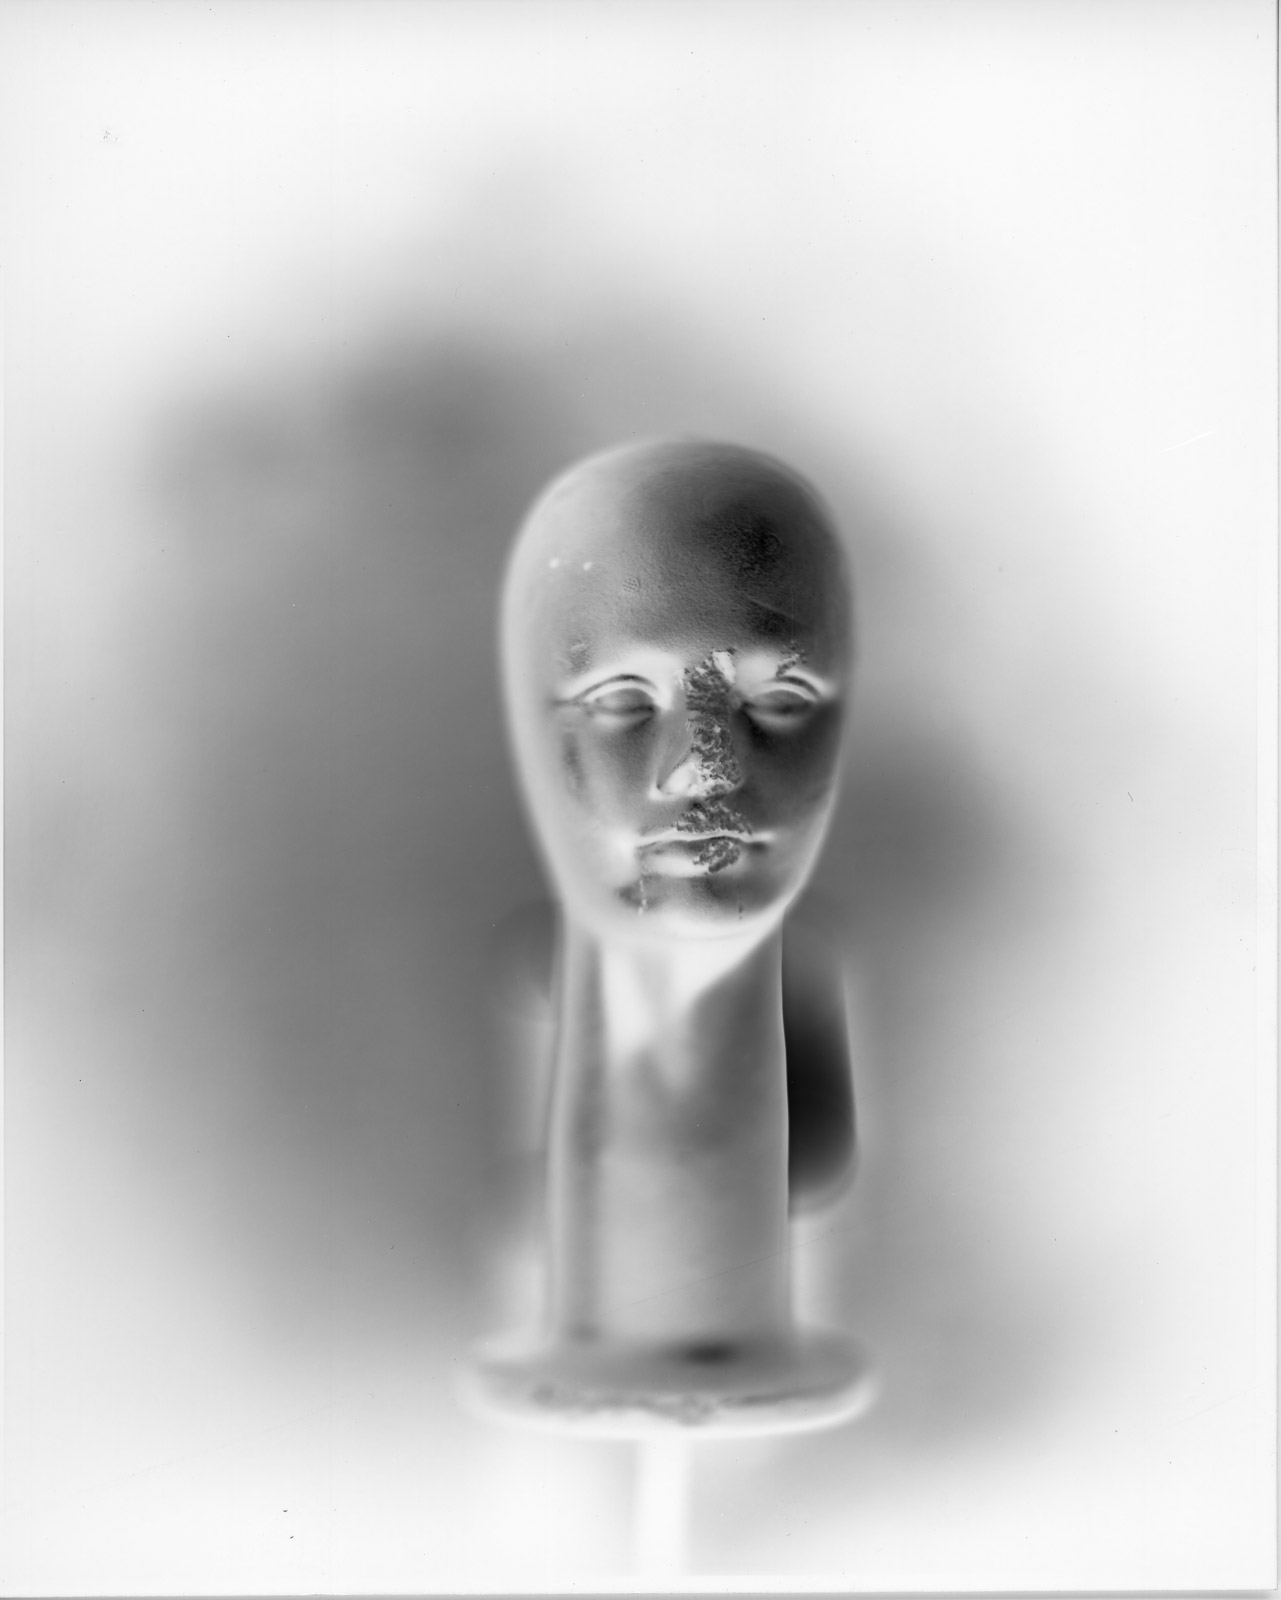
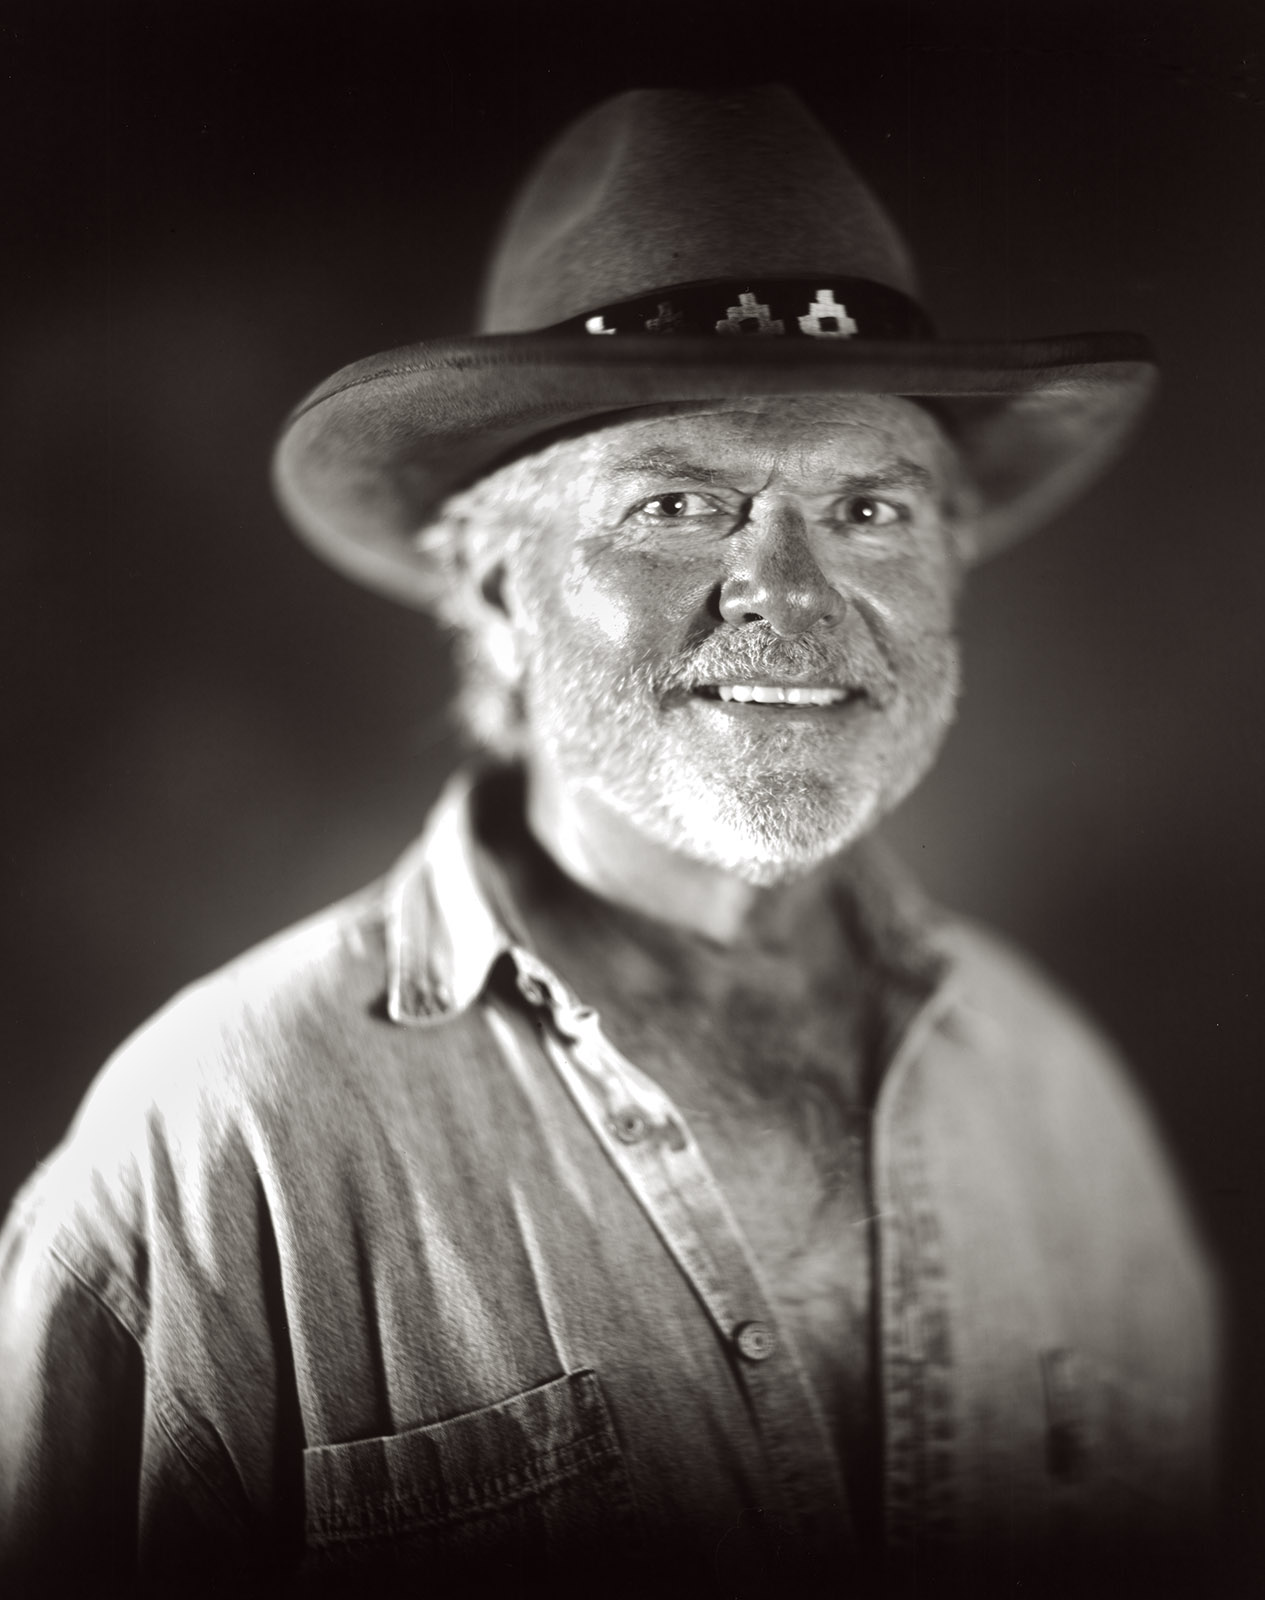
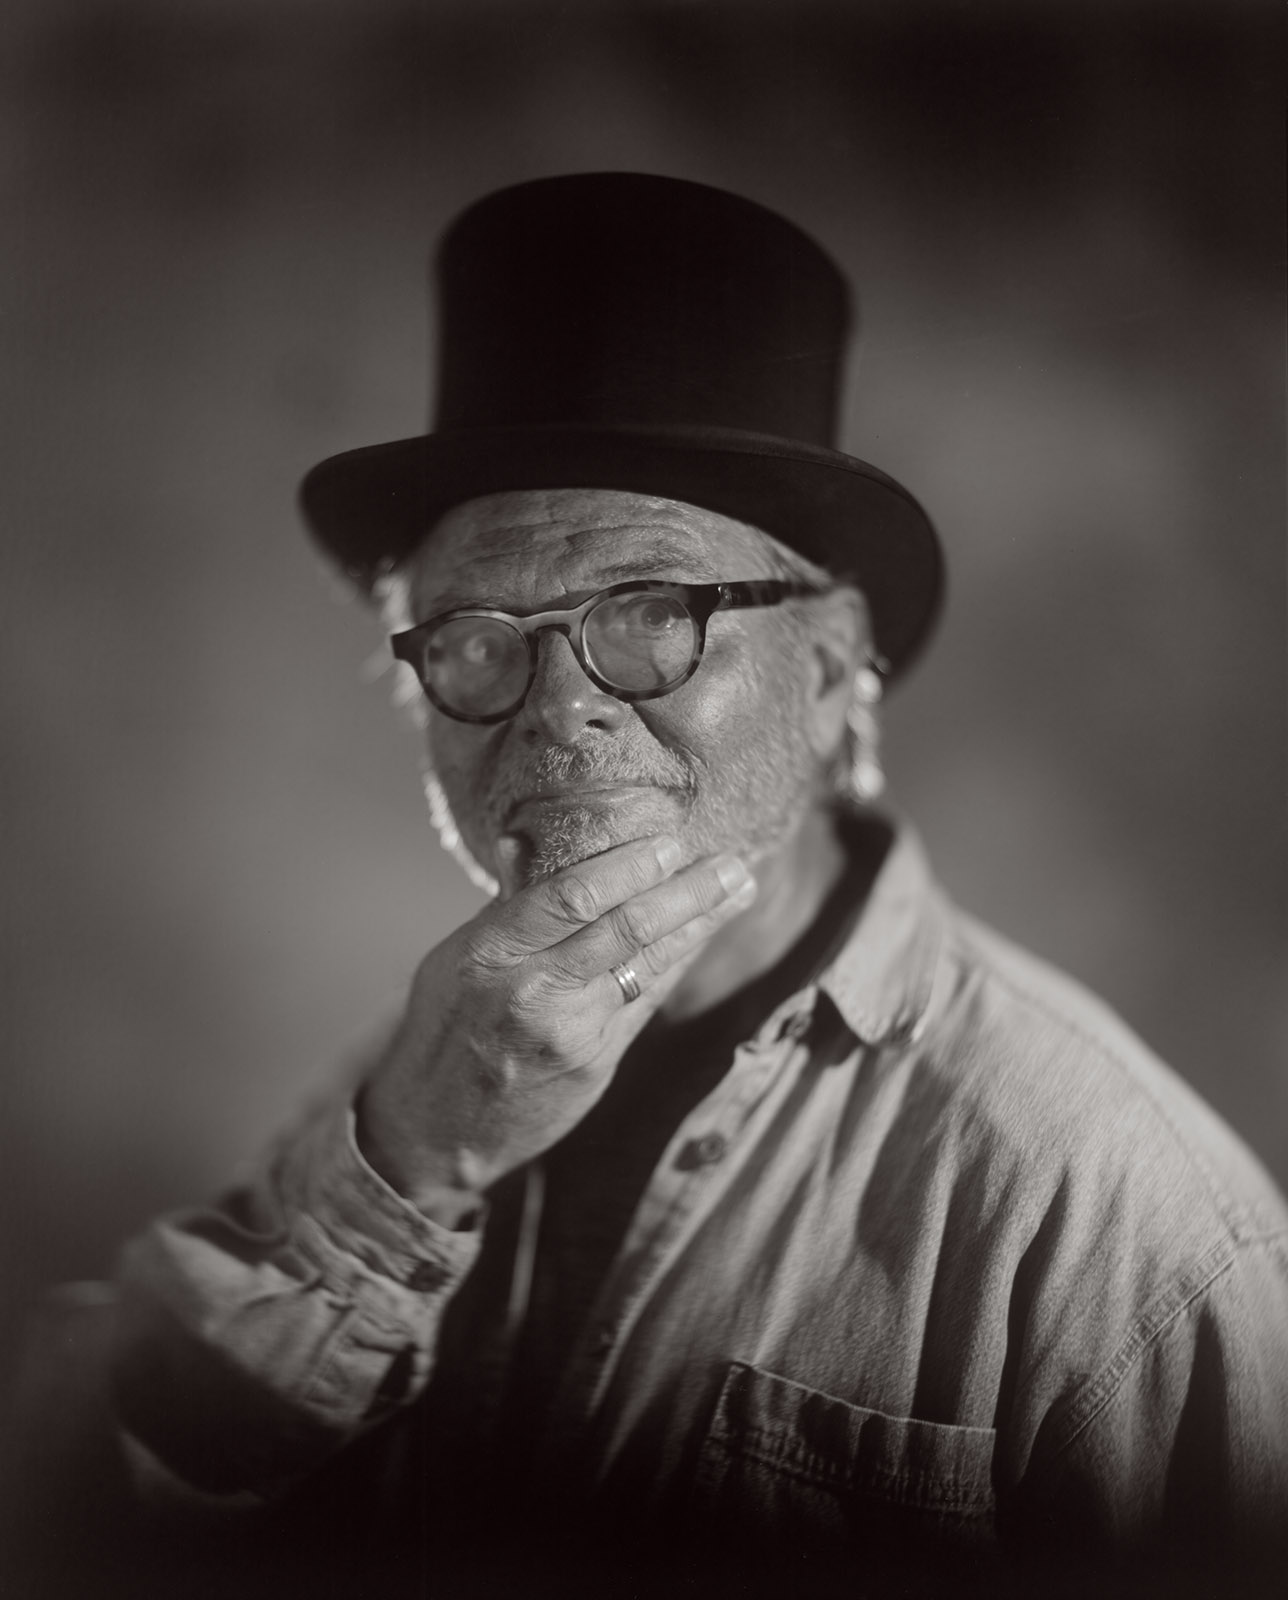
Myself. Photograph by my wife. Used the Bausch & Lomb Petzval lens and Ilford Multigrade paper. 8X10 negative
Several other points about how I work with paper negatives:
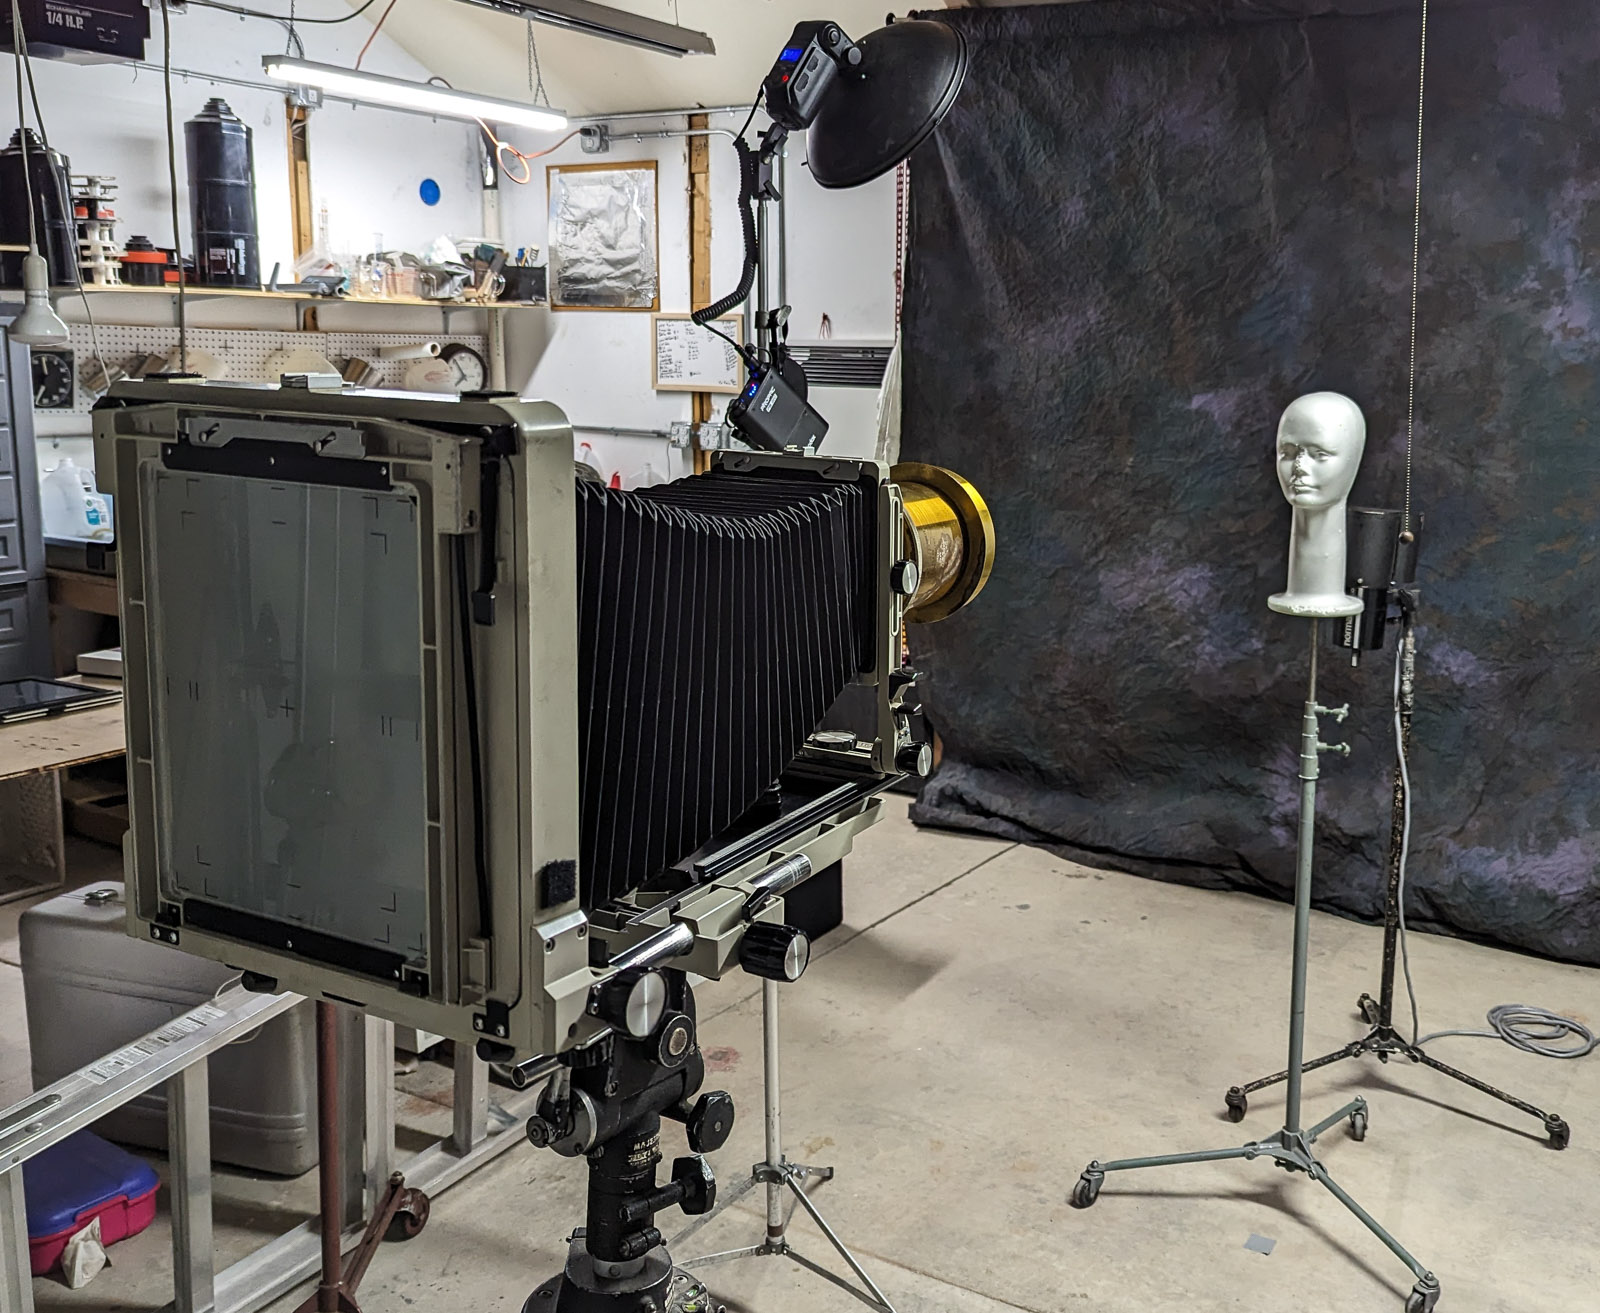
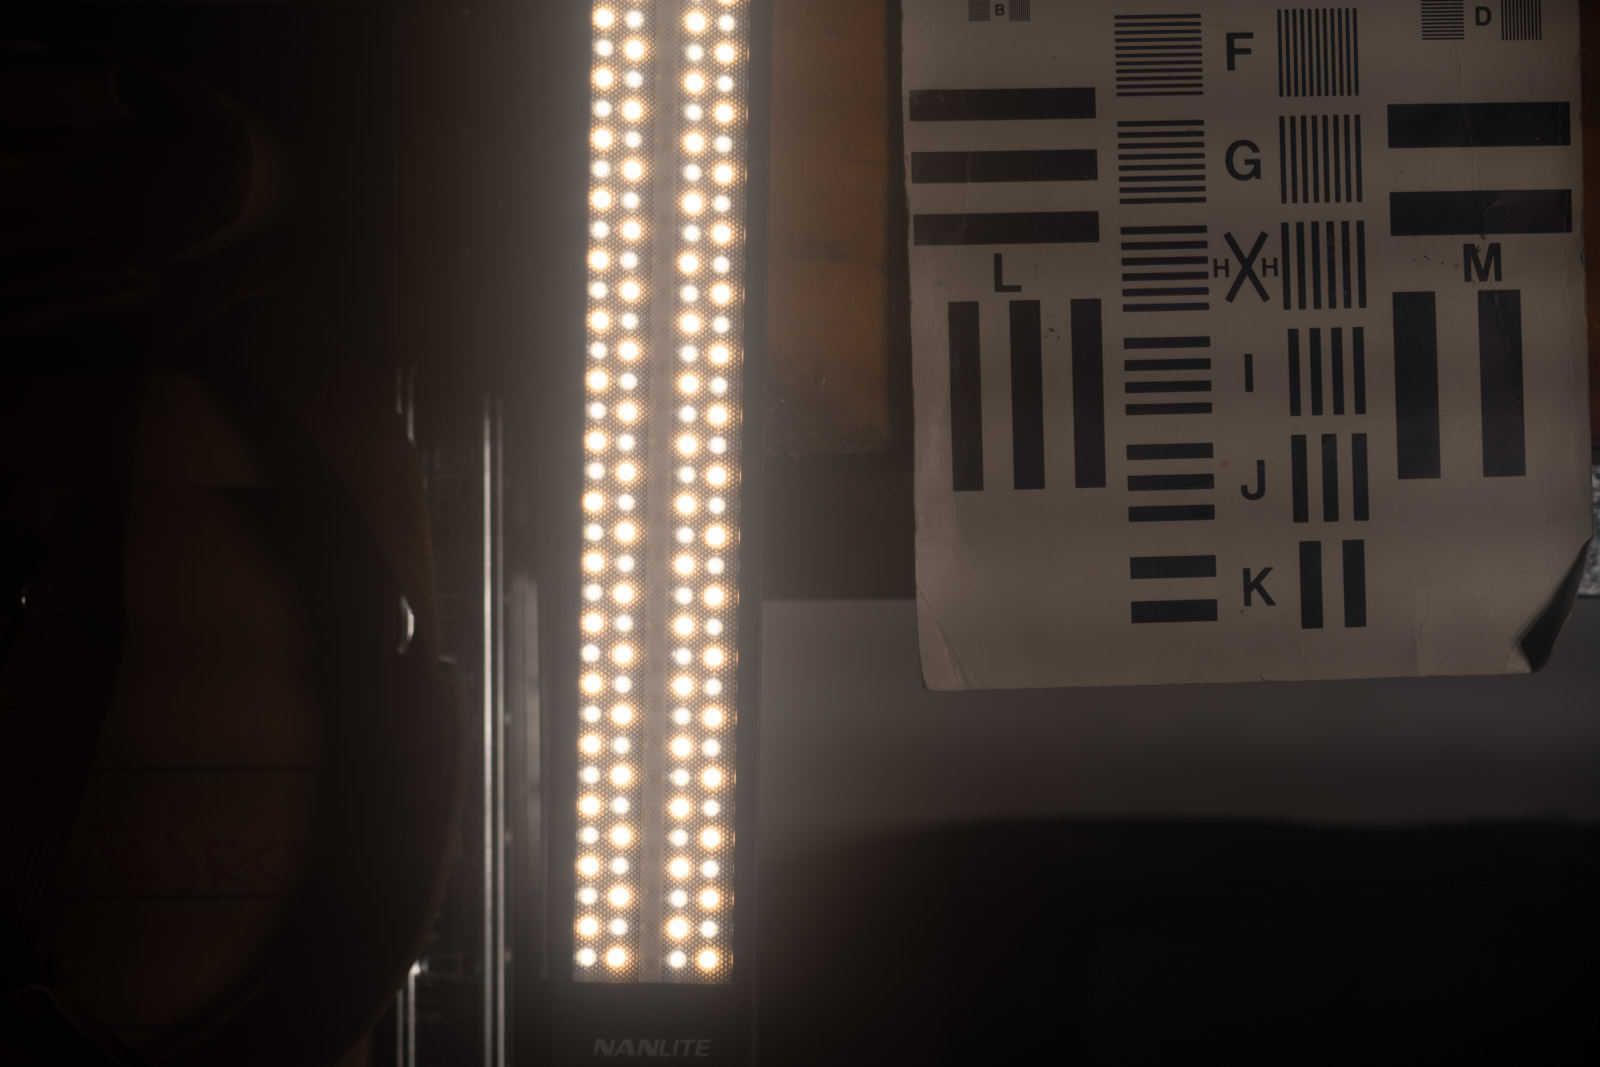
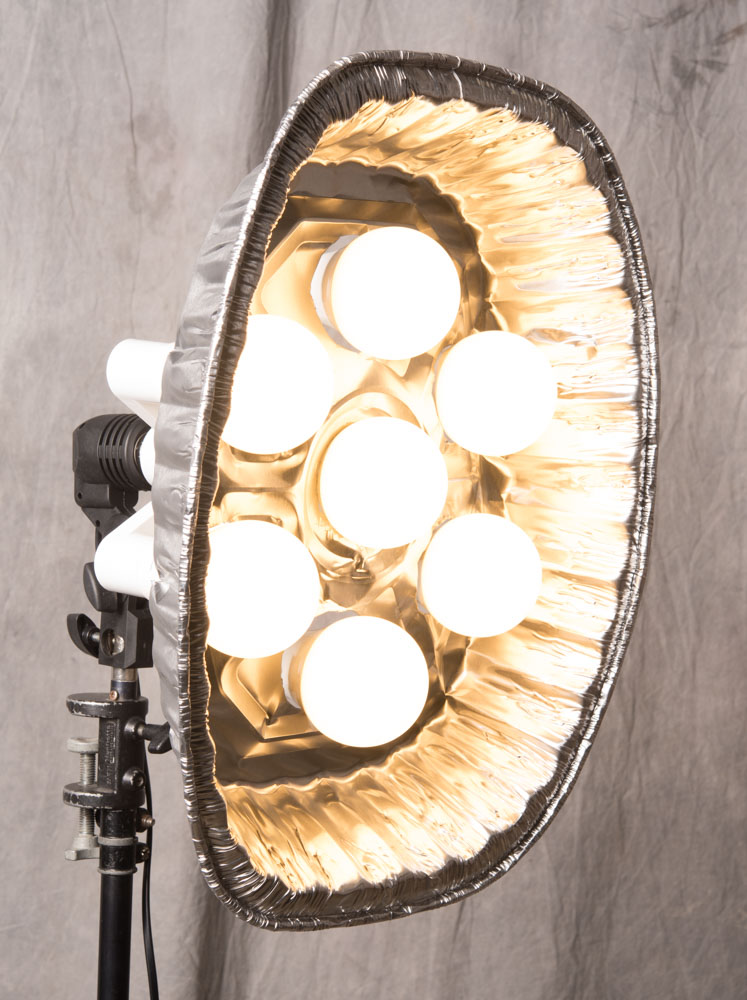
In the studio I have a sodium vapor safelight. This is just about the brightest safelight anyone ever made. It makes it much easier to shoot under just safelight illumination. I find this helpful because most of the lenses I’ve used with paper negatives don’t have shutters. I just leave the lens open and trigger the strobes to make my exposure. I do have a bright focusing light on a foot switch which makes it possible to focus accurately and frame the shot.
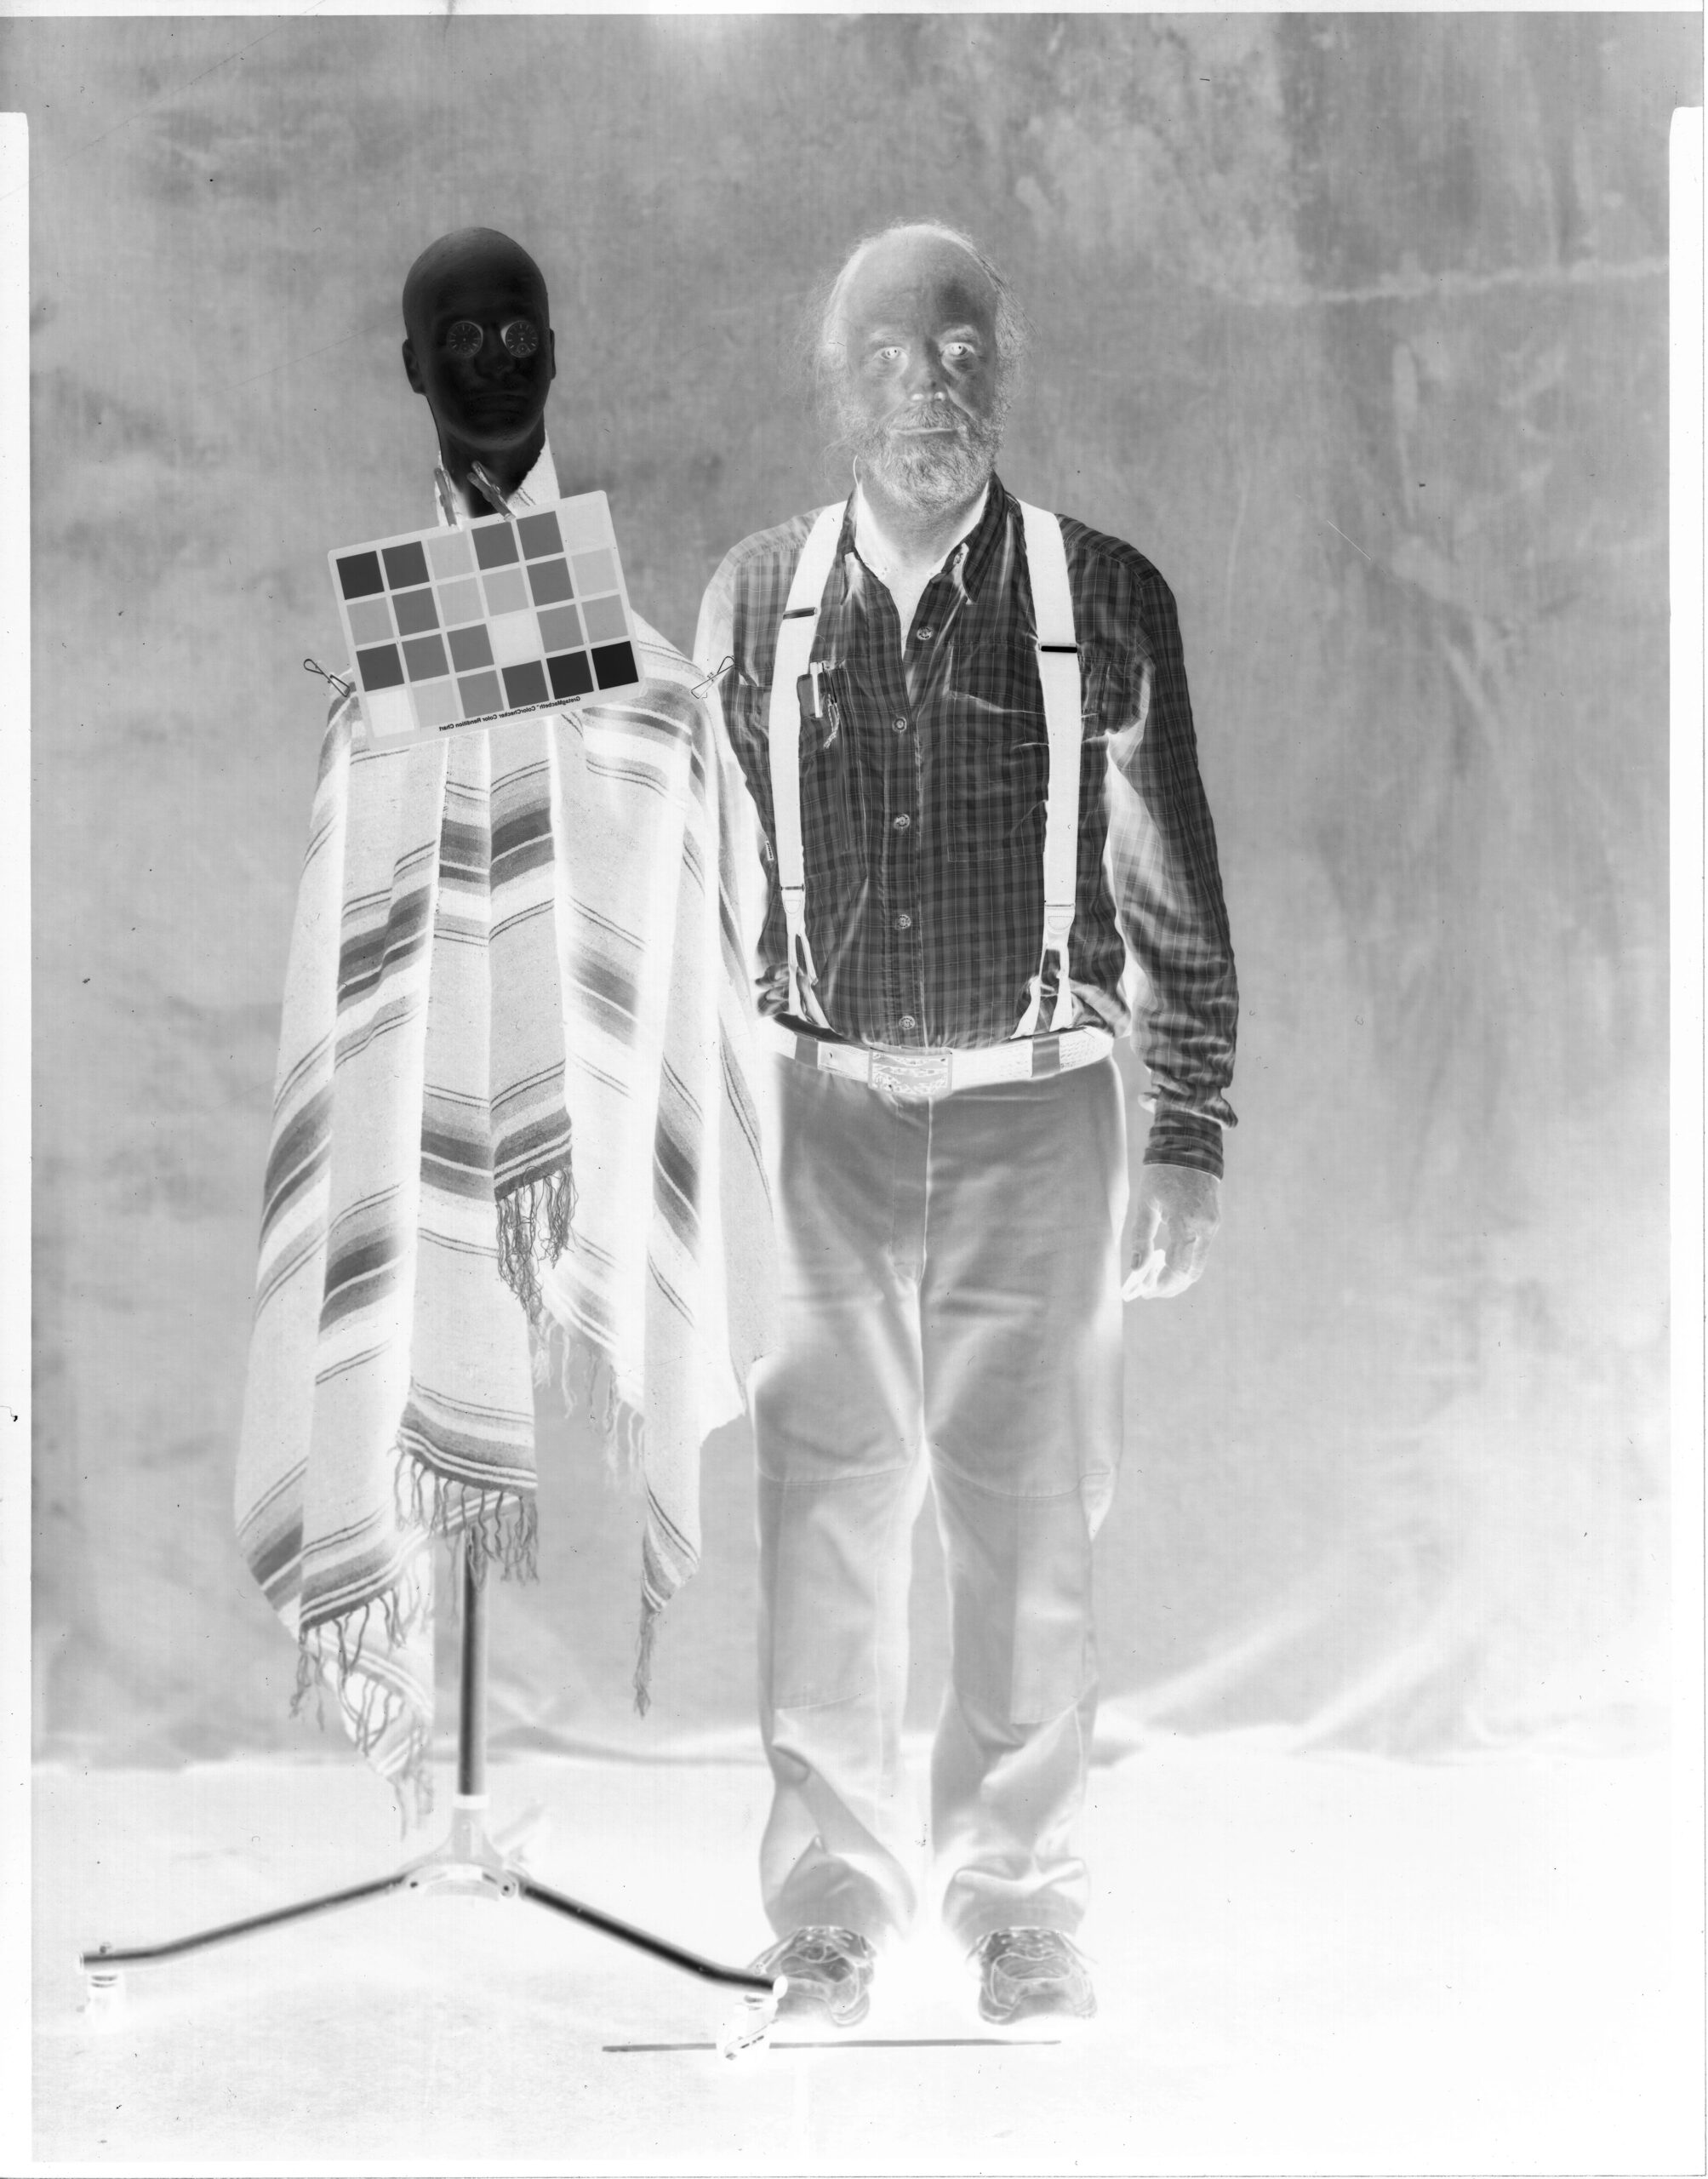
Wiggy & Me. This is an early test with the 11×14 camera with paper. I’m looking for information about contrast and color rendition. Wiggy & I have been through a lot together.
I usually end up using between 1200 and 4000 watt seconds (joules) of strobe light to make my exposures, depending on the camera lens and lighting design. This is a lot of strobe light. I am using a very large camera and some slow lenses, so this is to be expected. Also, there is a lot of bellows extension in what I do, which also eats up light. I use Norman strobes; I’ve used Norman gear since the 1980s.

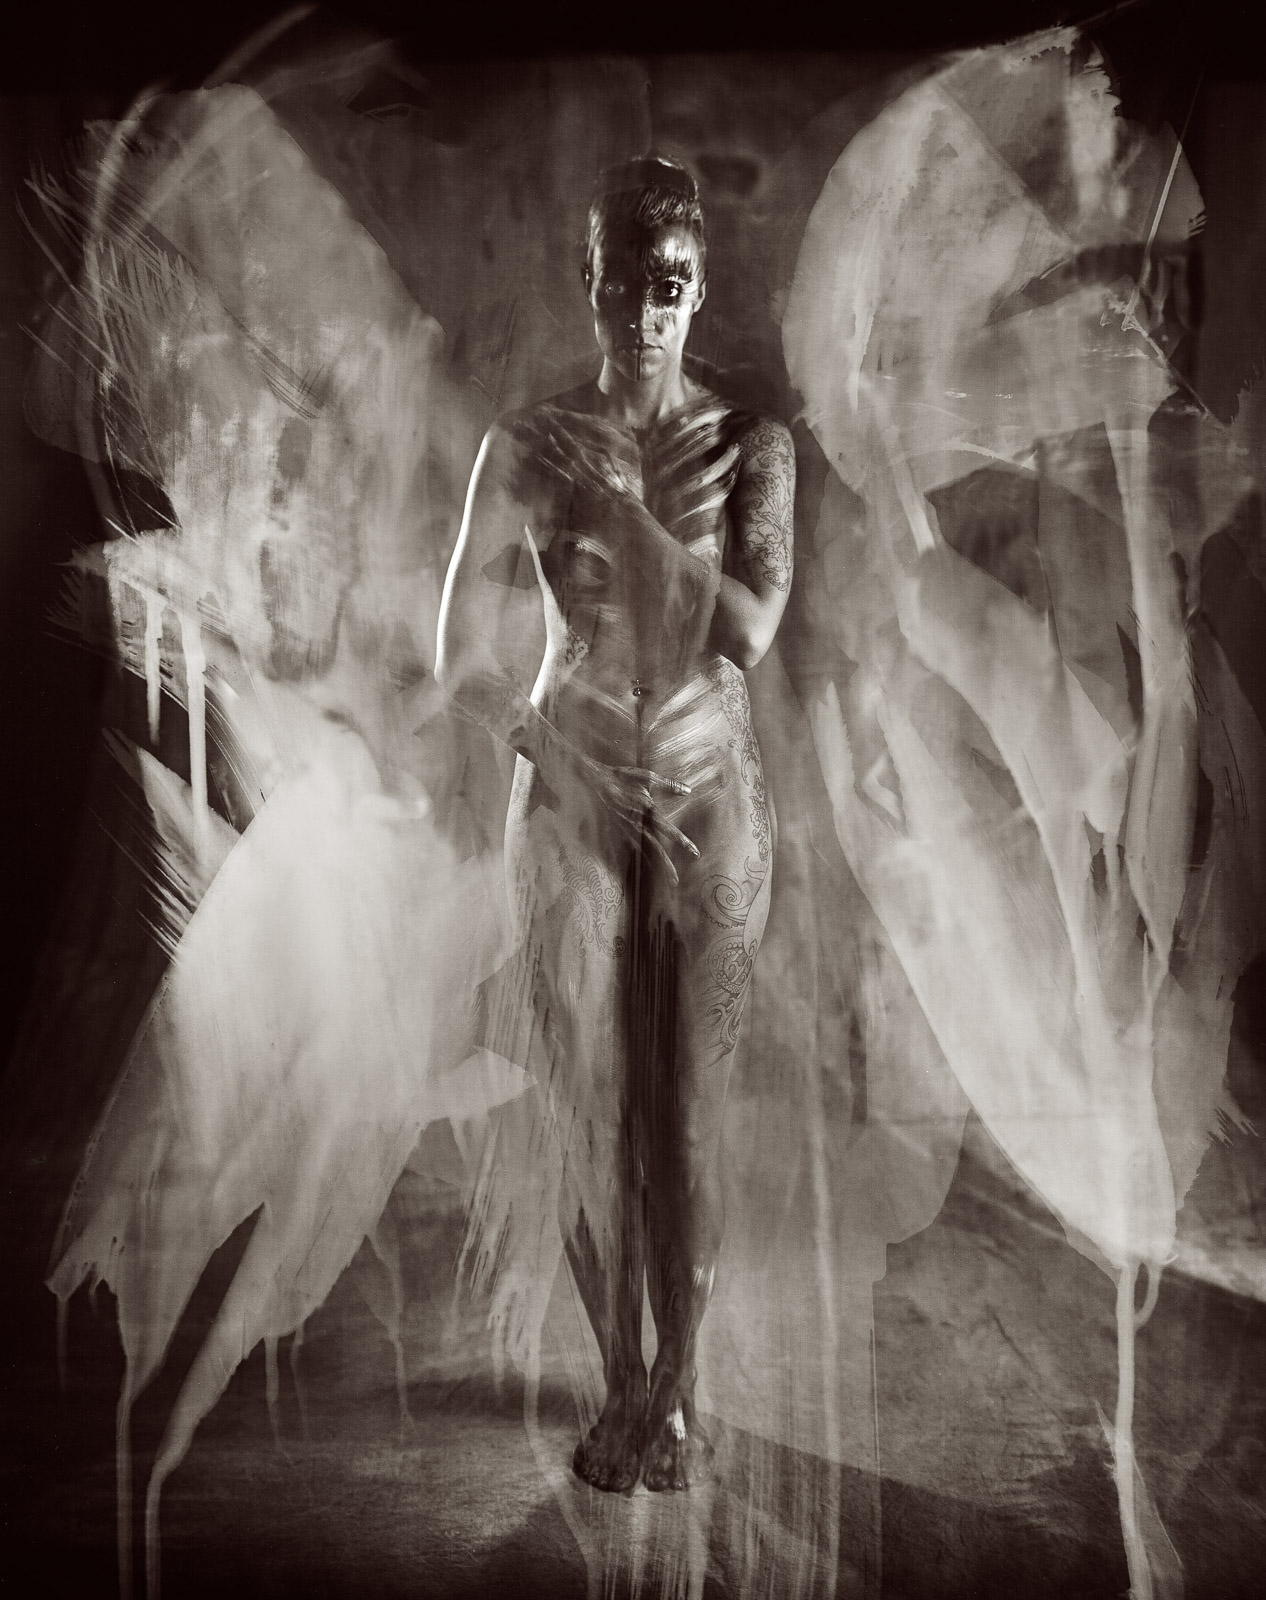
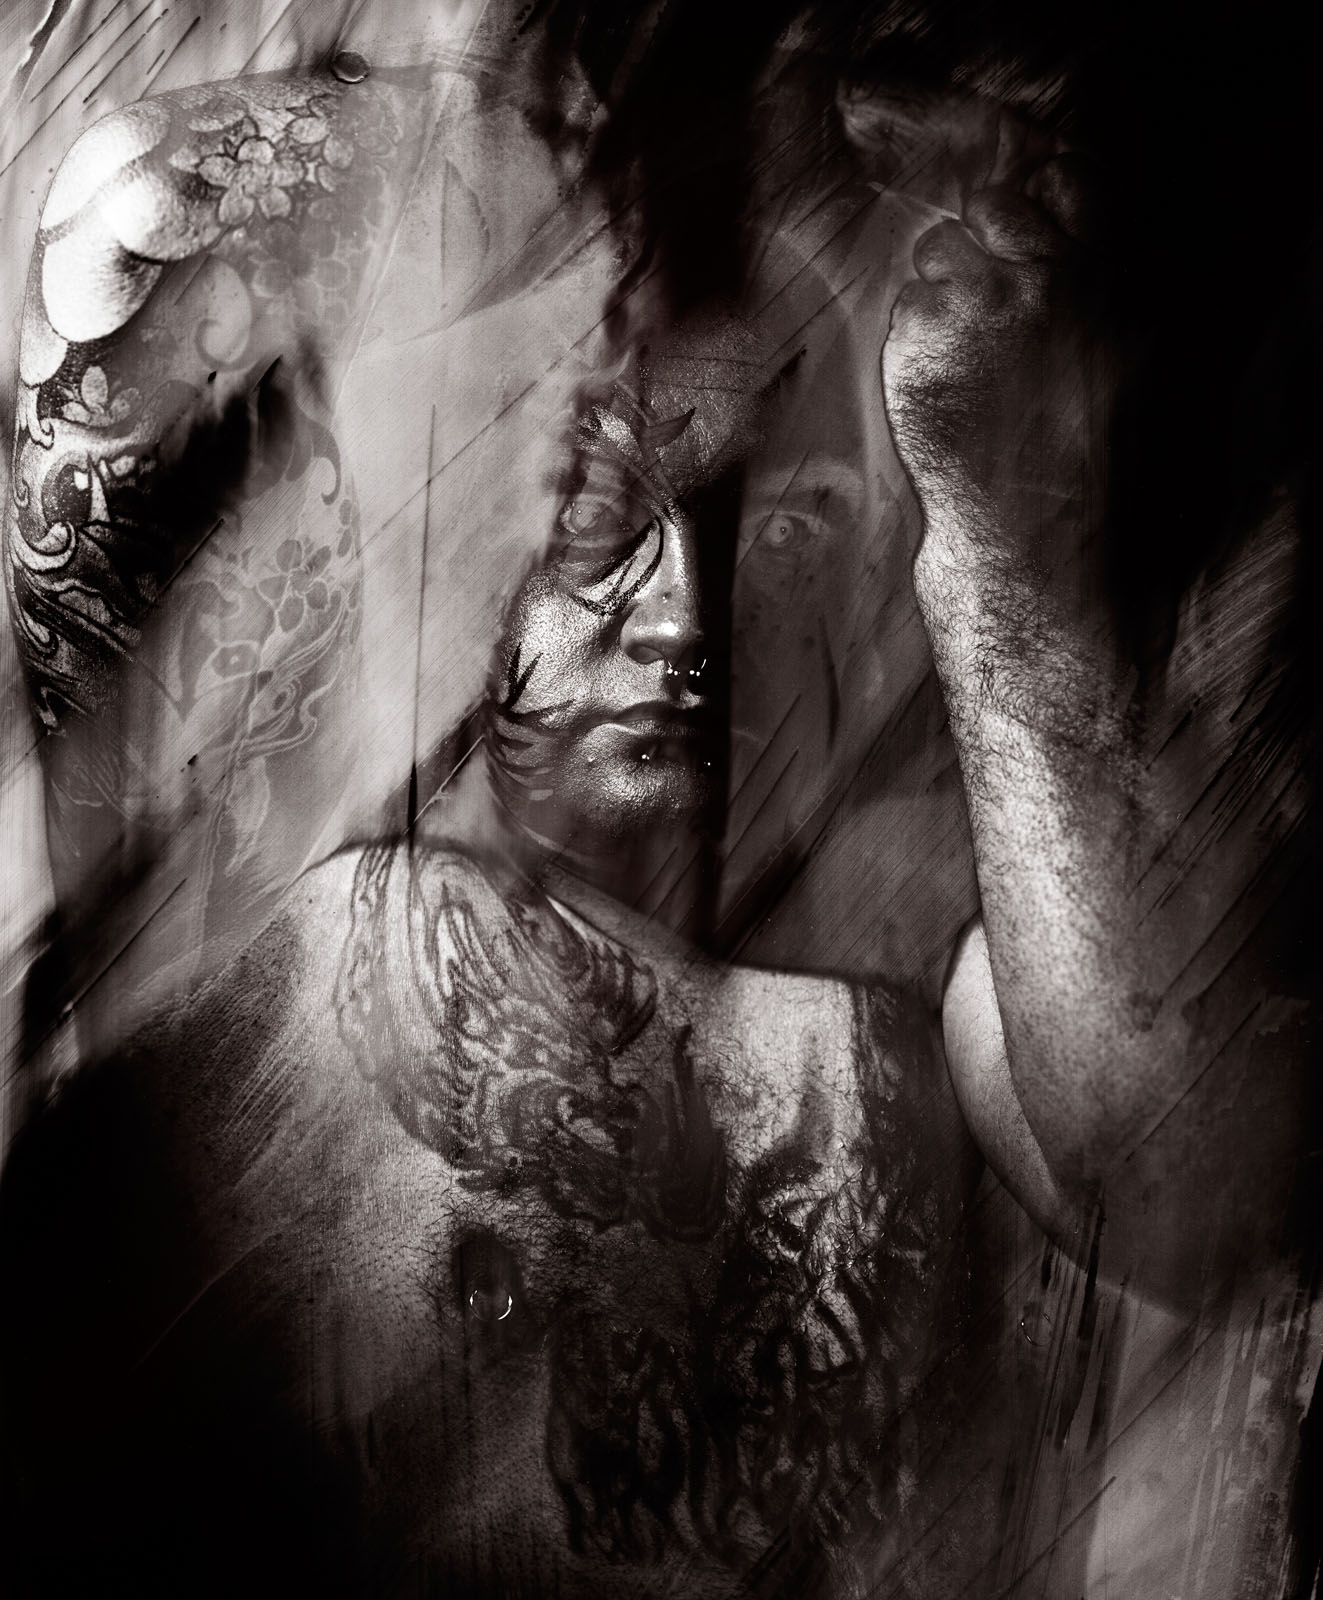
Rubella #10. From Courting Chaos Project. The open lens allows for considerable variation and experimentation with lighting. Here a double exposure offers a second view of the face
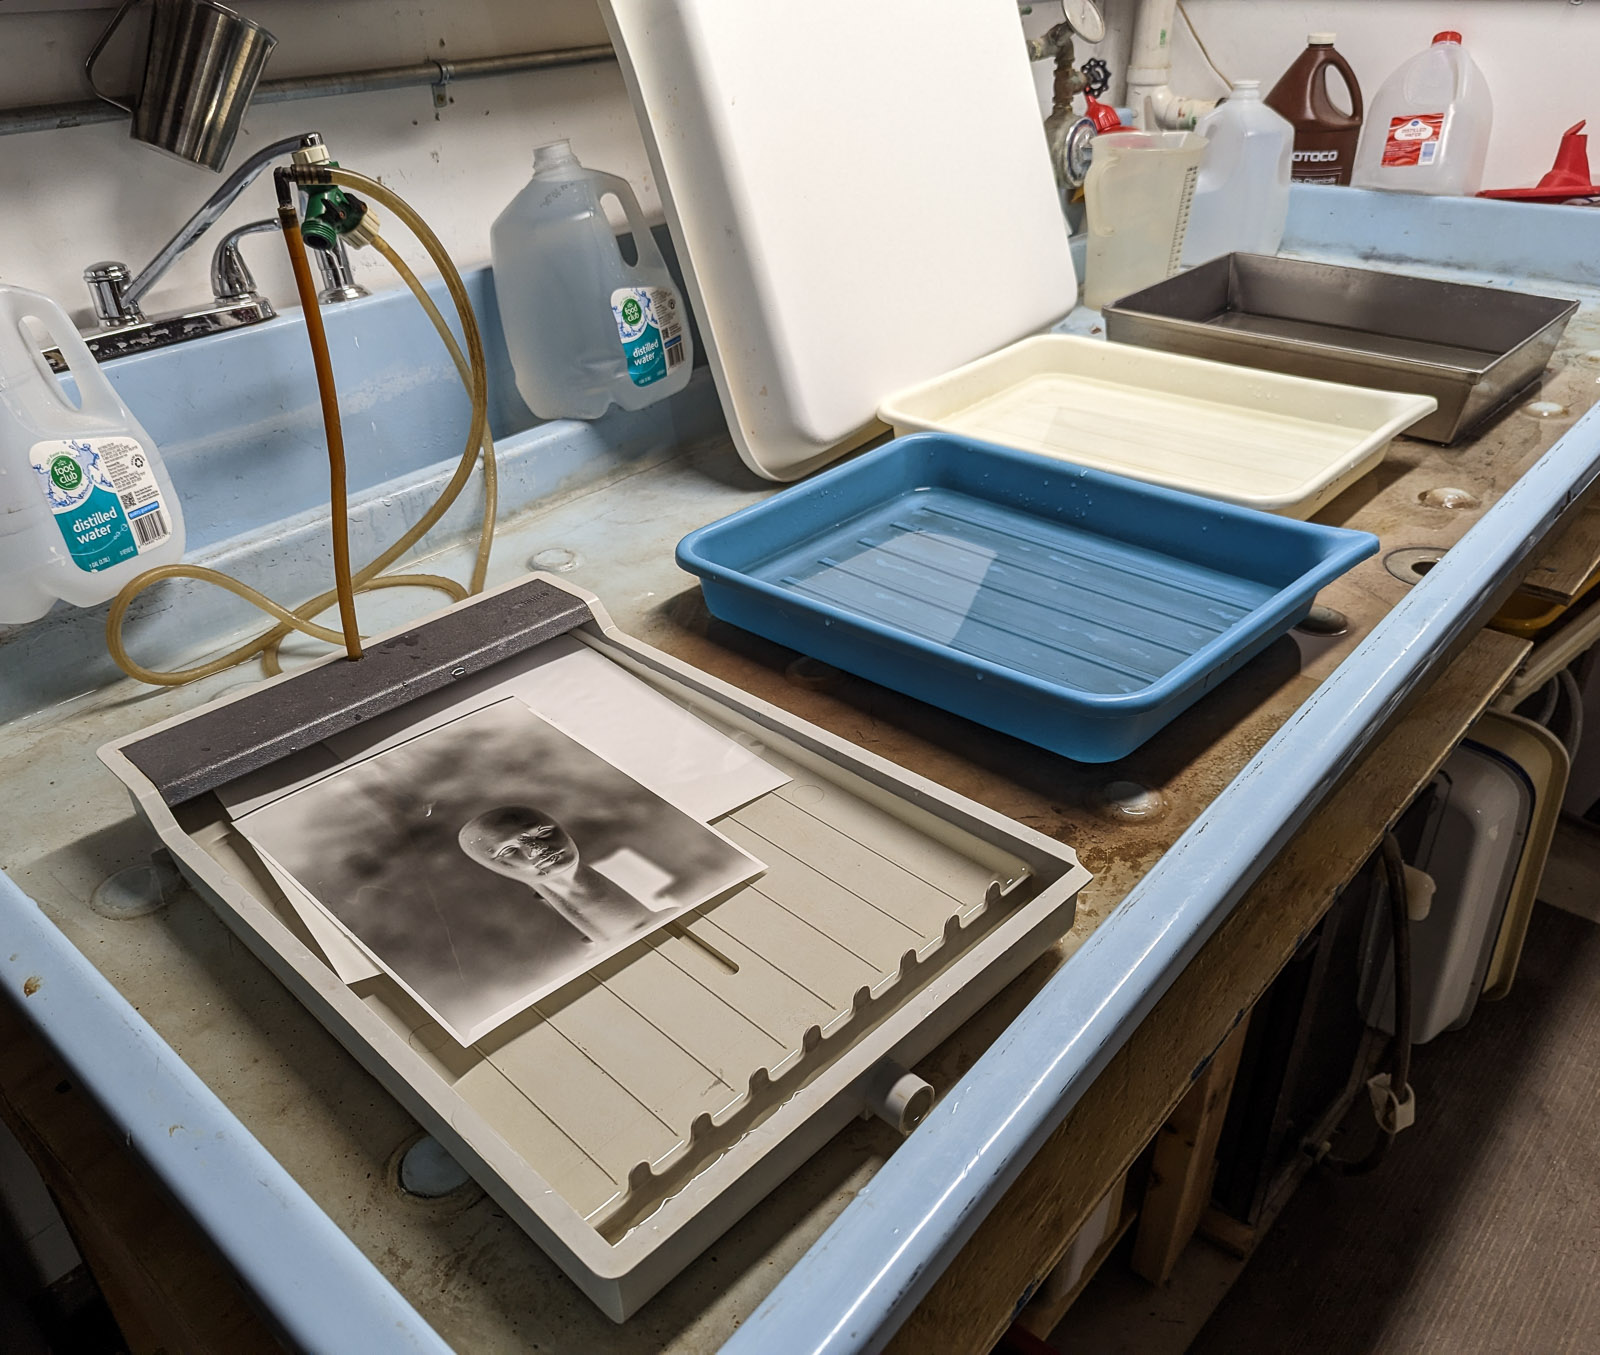
I have a processing line set up when I work with paper negatives in the studio. This enables me to see my exposure and light design, albeit in a negative way, as I am shooting. Since most of images I’ve made with paper negatives are portraits, I’ve also found that processing as I shoot really engages the subjects in the process. It’s somewhat like shooting very large Polaroid images.
Woddy S. #5. I used 8×10 Ilford Multigrade. The lens is a Bausch & Lomb Petzval from the 19th century
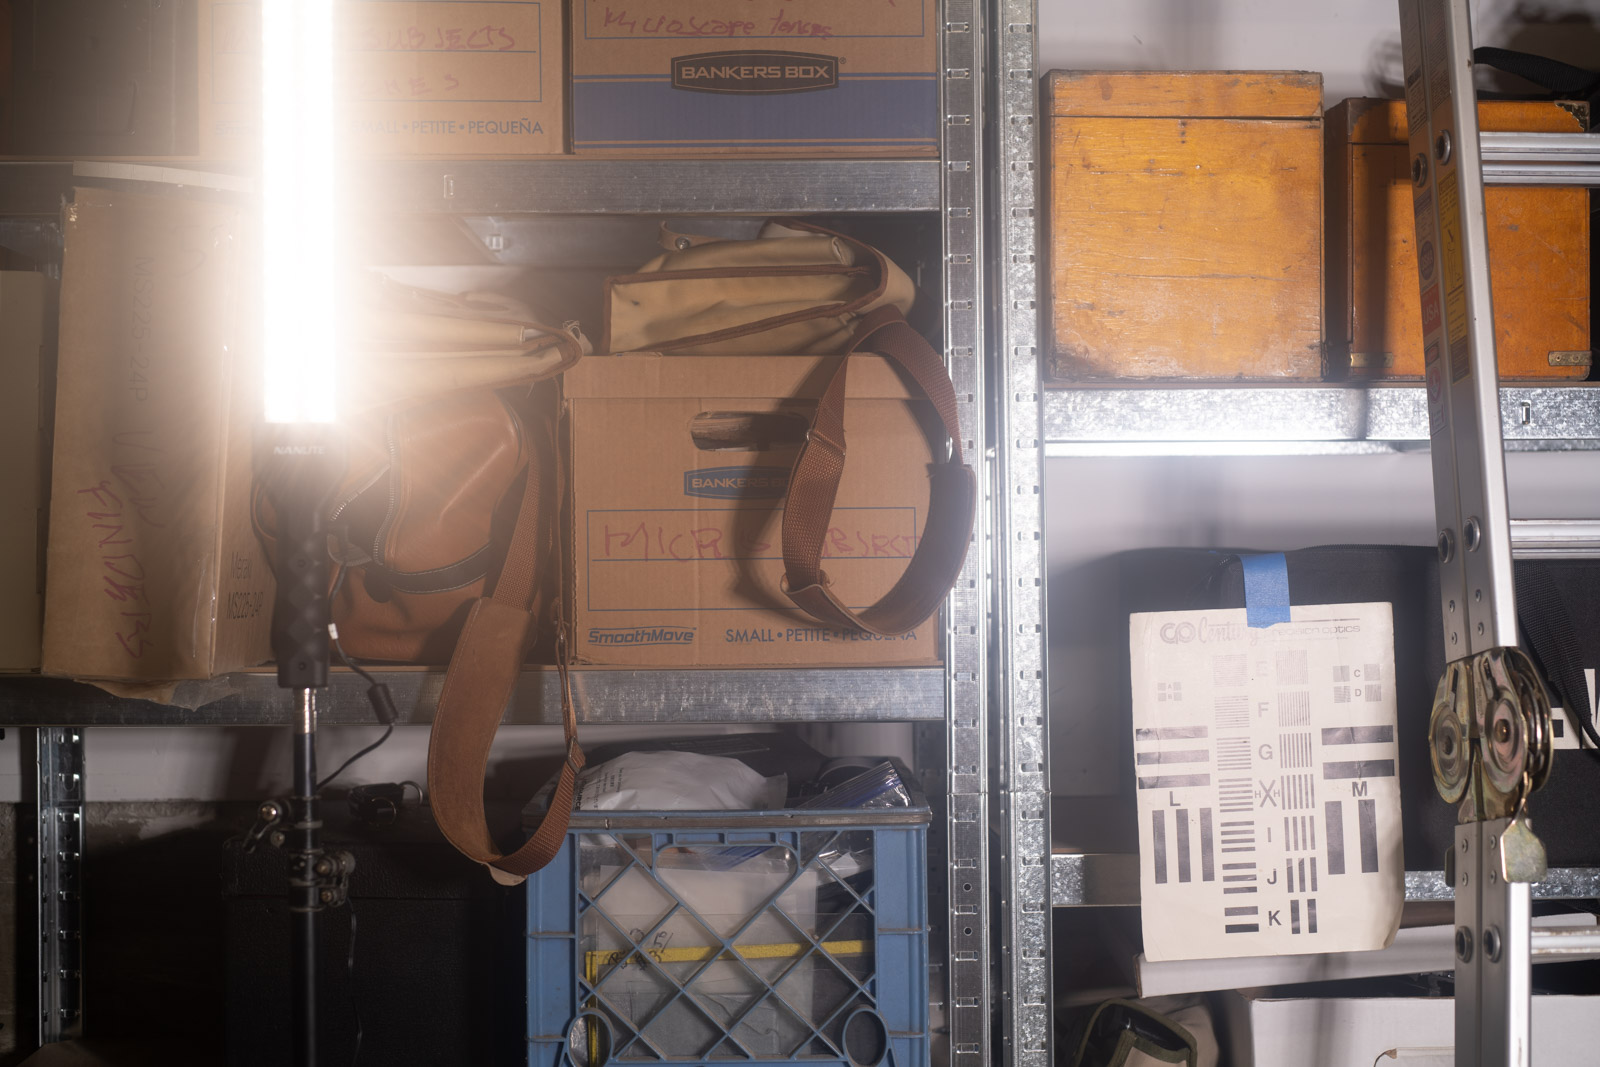
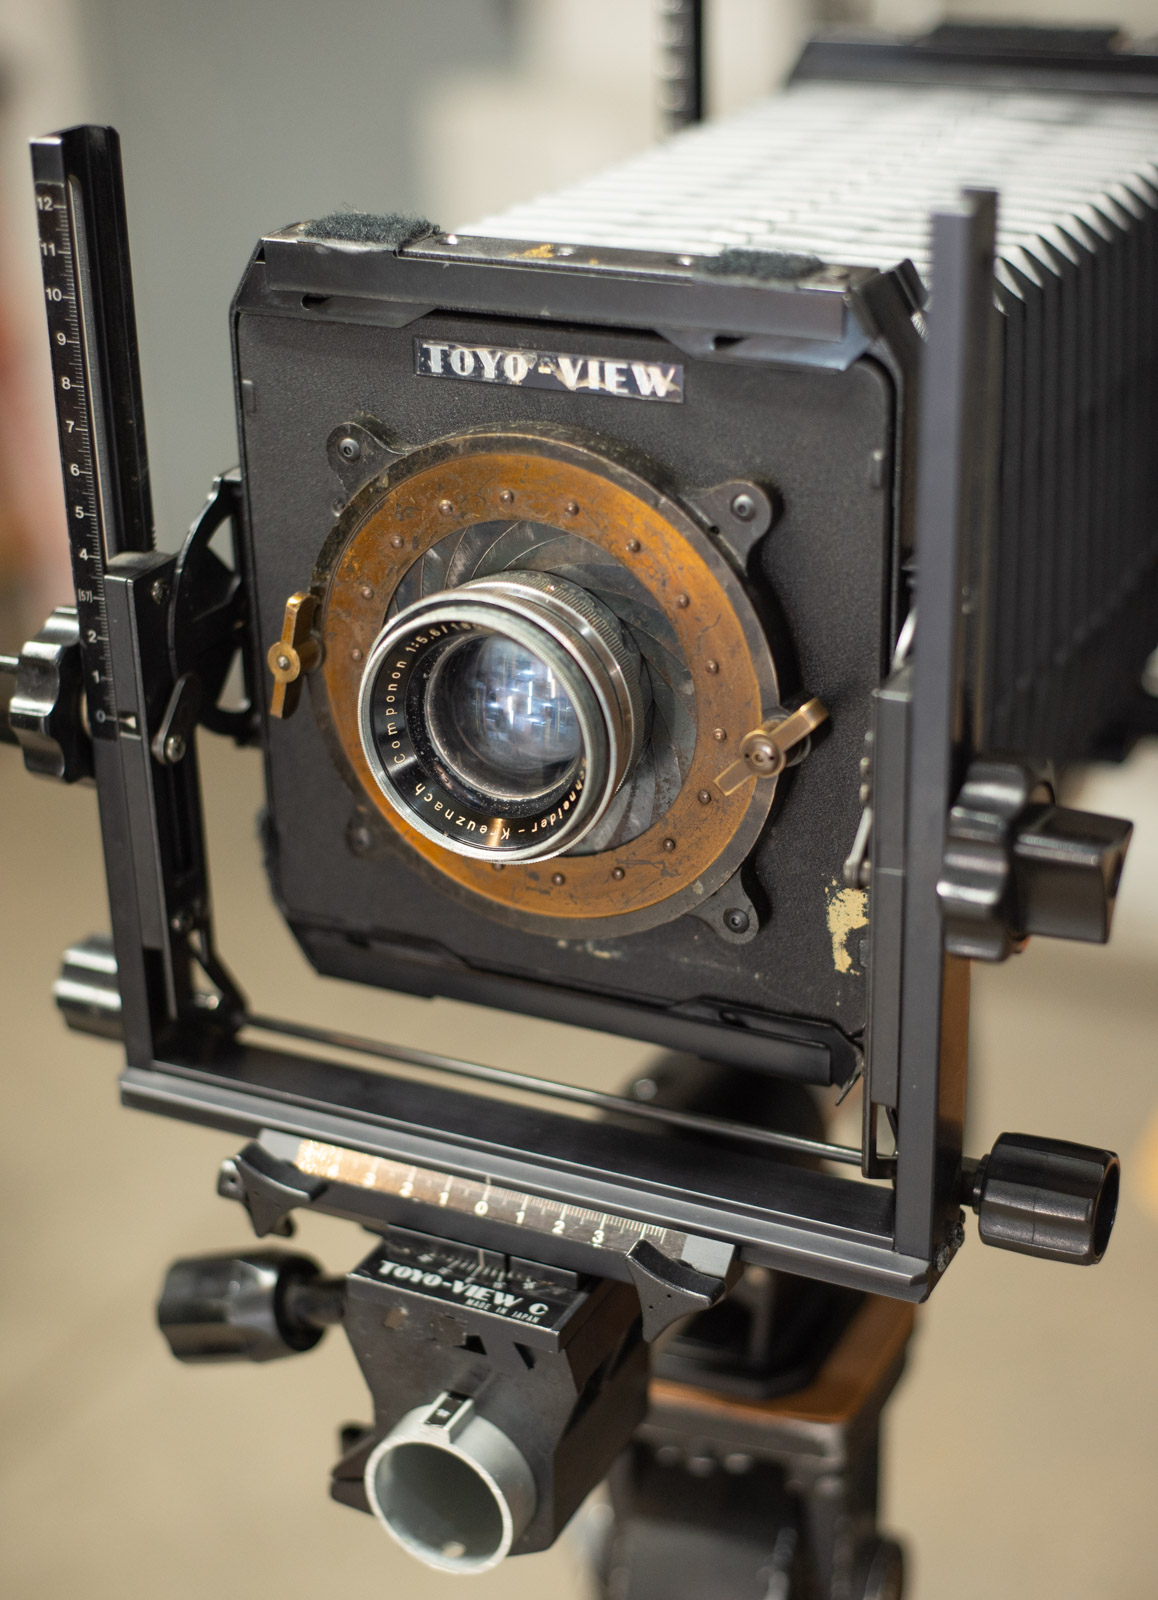
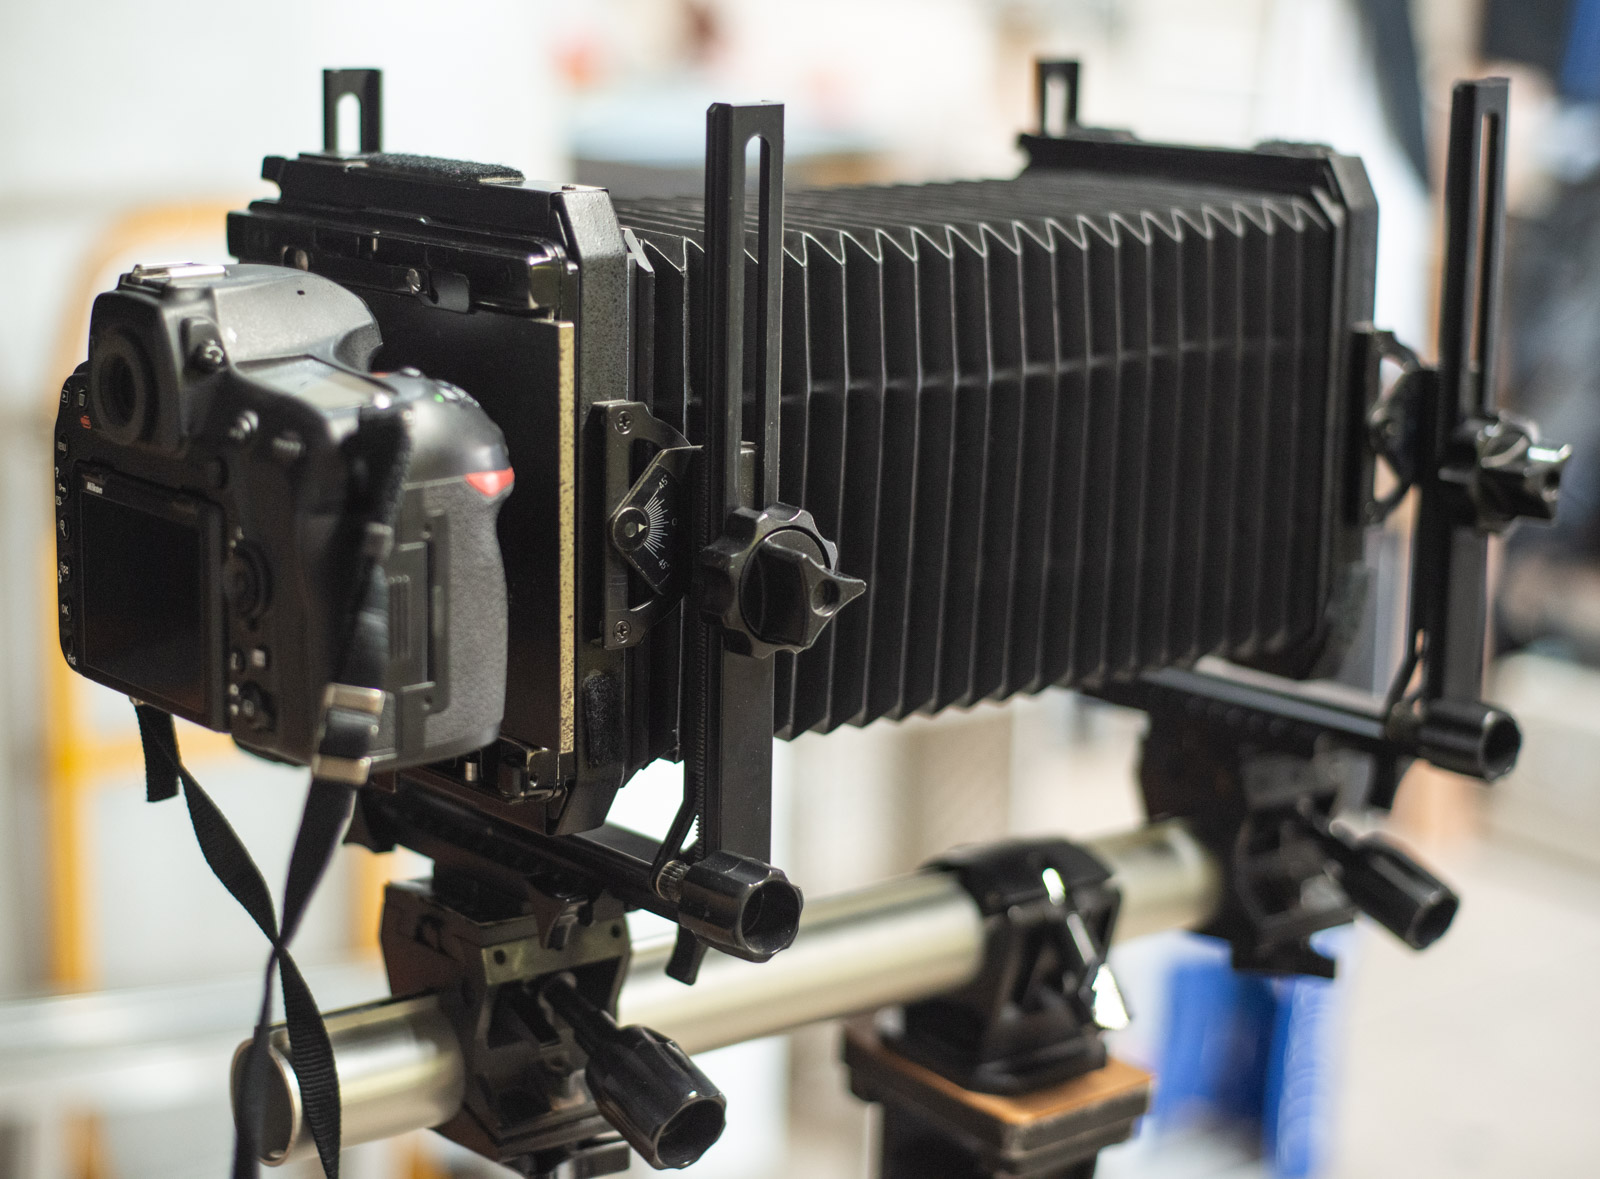
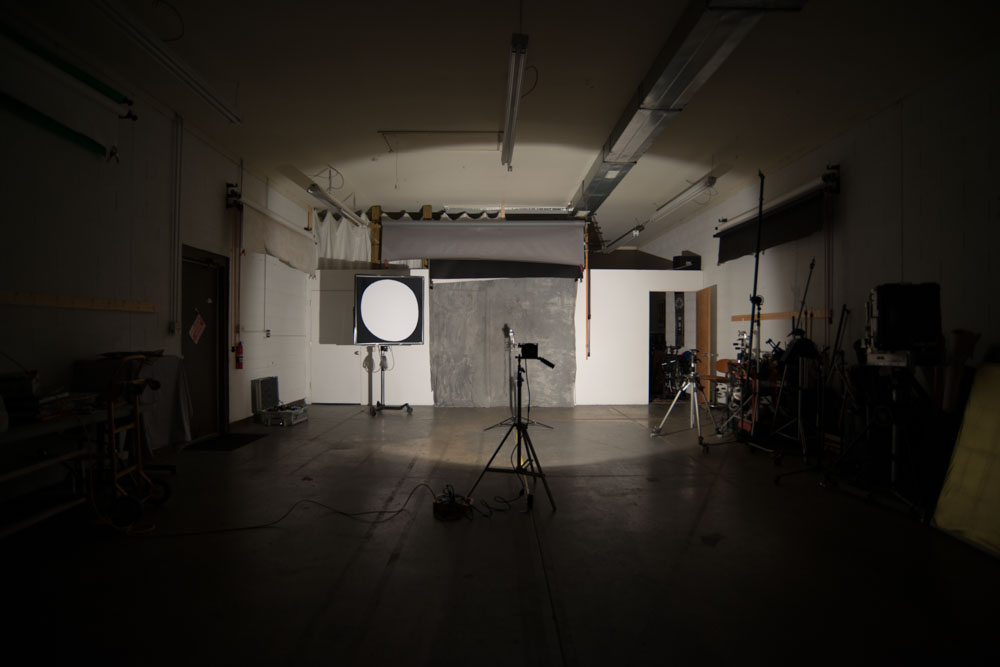
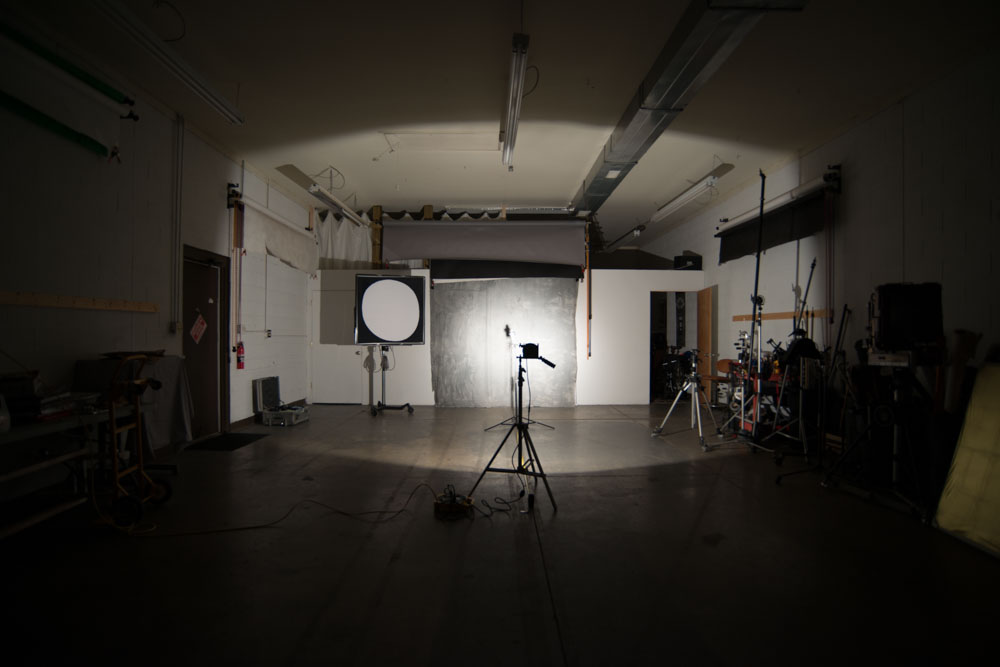
I use several different ways to find a beginning exposure when starting with a new set up. I can use a digital camera to shoot the subject. If I shoot at about ISO 100 and f32, a somewhat over exposed digital capture might be a good indication of exposure, but this is affected by the lens I choose and bellows extension. A better way is to make a test strip, as you might do under an enlarger. I choose a low level of strobe, and pop multiple times while pulling the darkslide a little further from the holder with each strobe pop. Of course, I may just run a test exposure, based on what I did last time. I haven’t found that an actual light meter is much help.
Jim I. #5
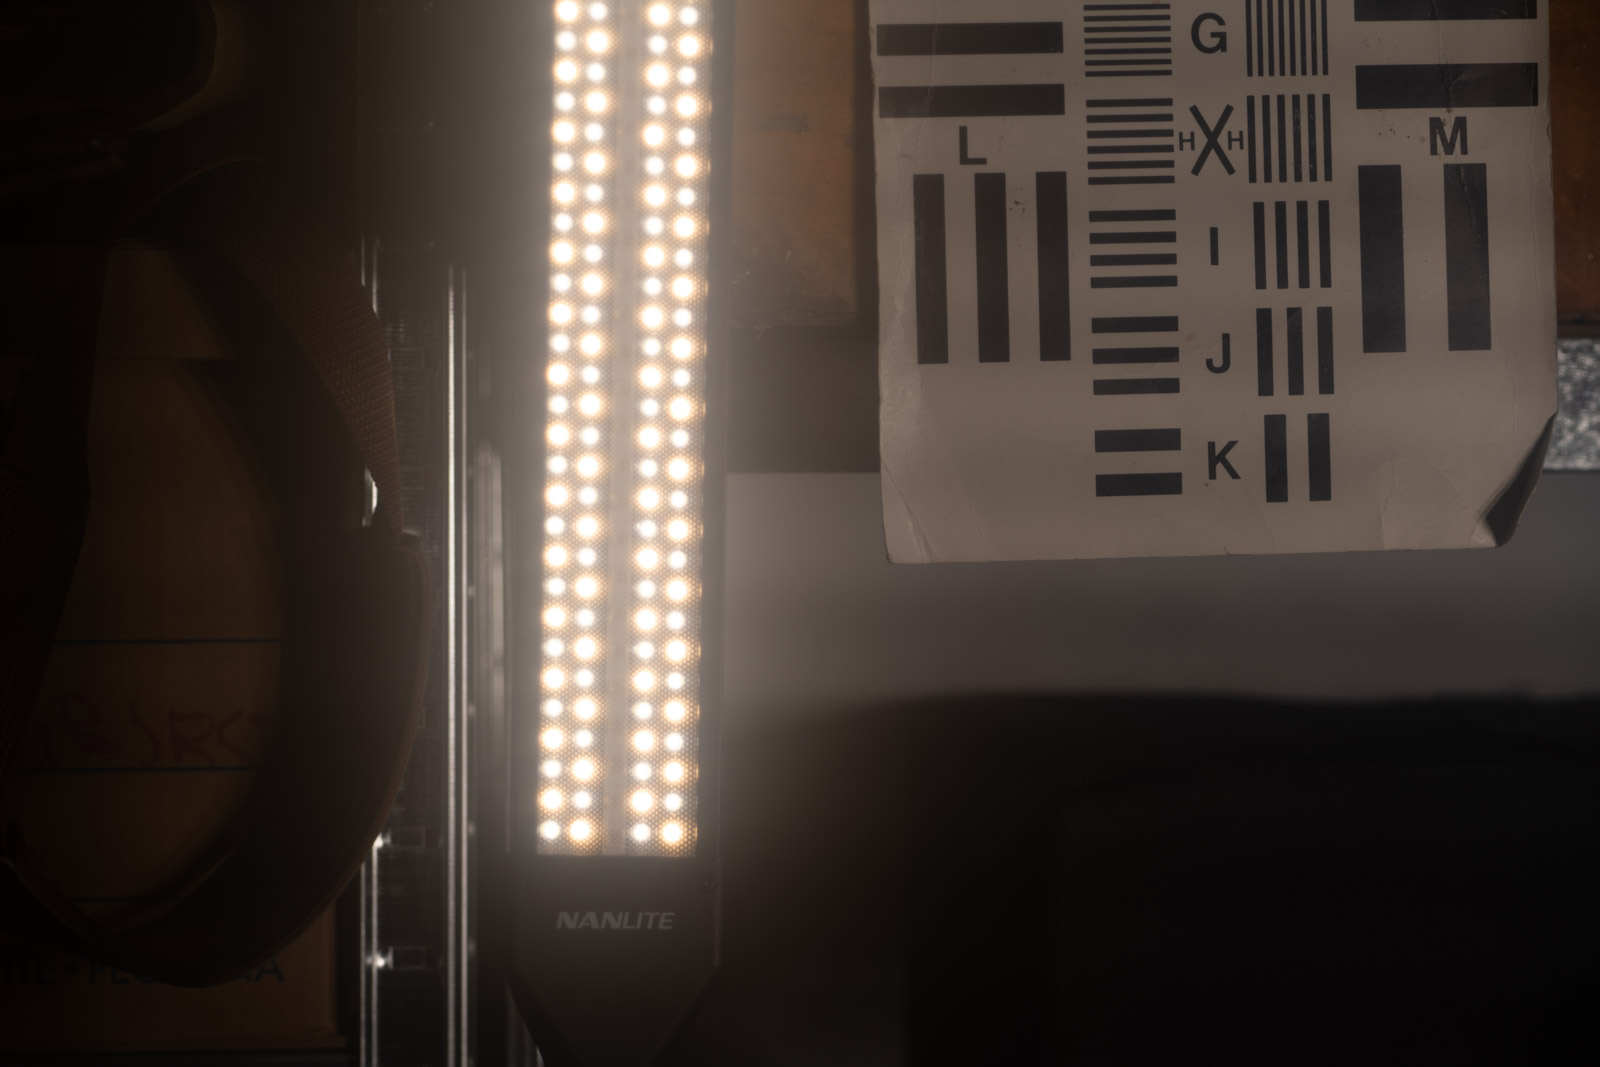
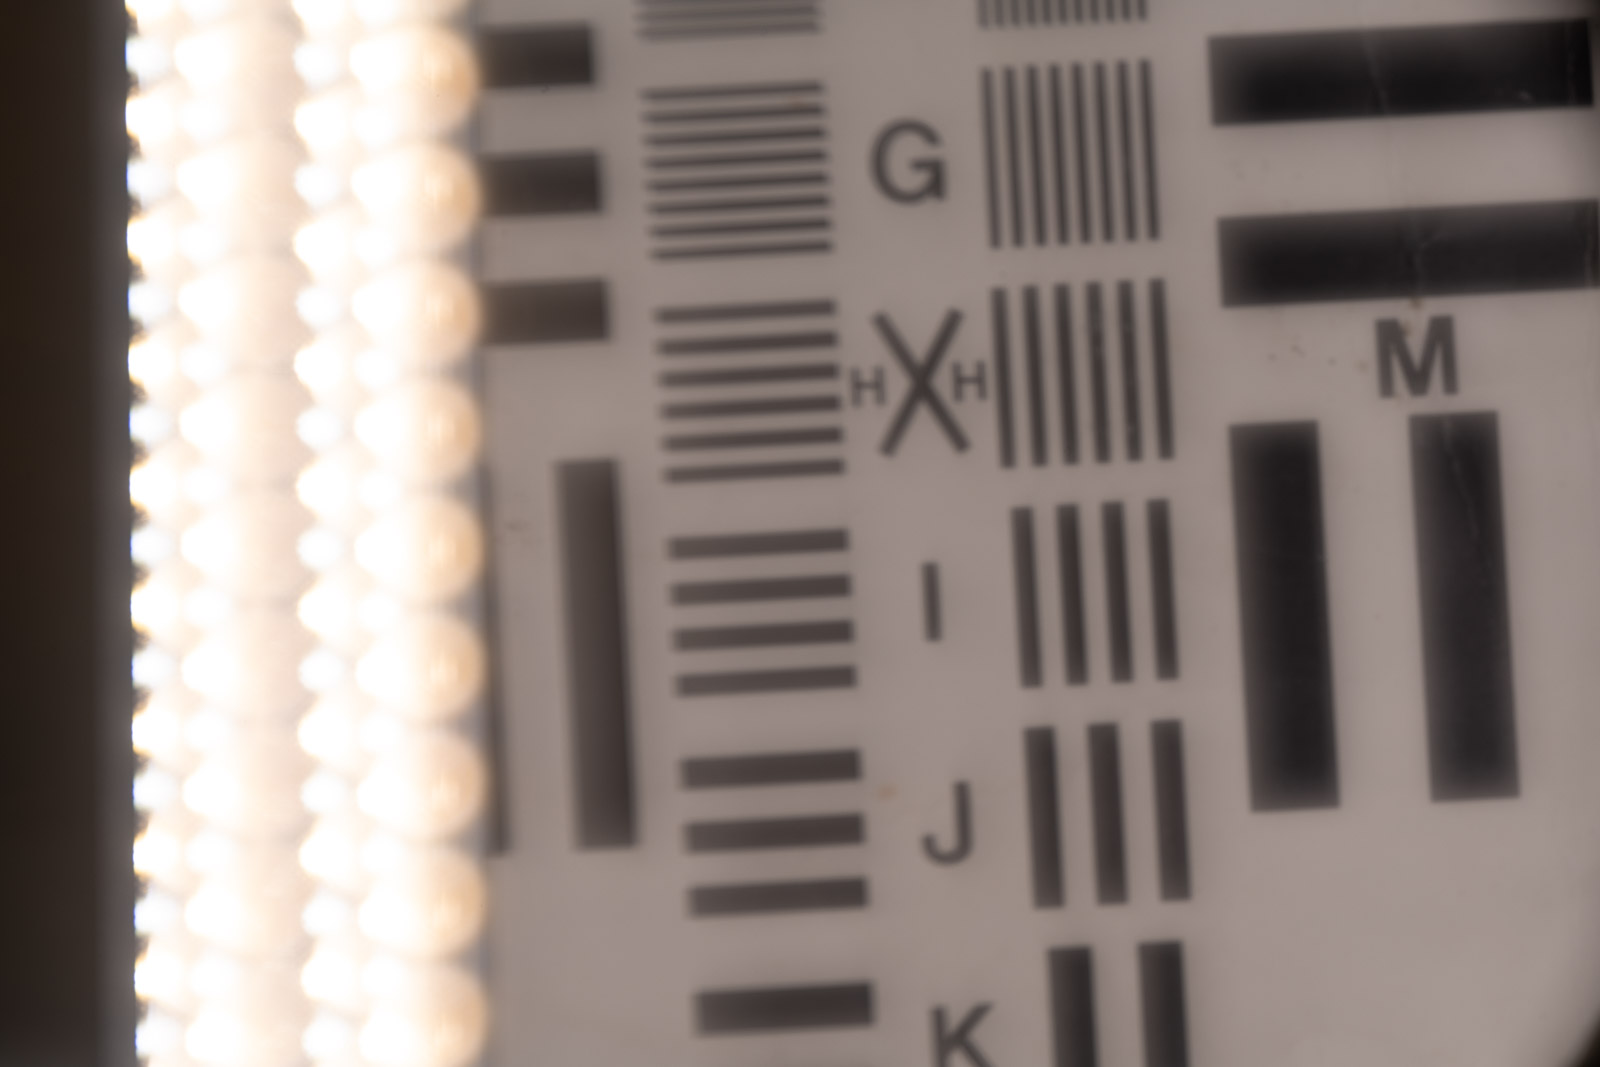
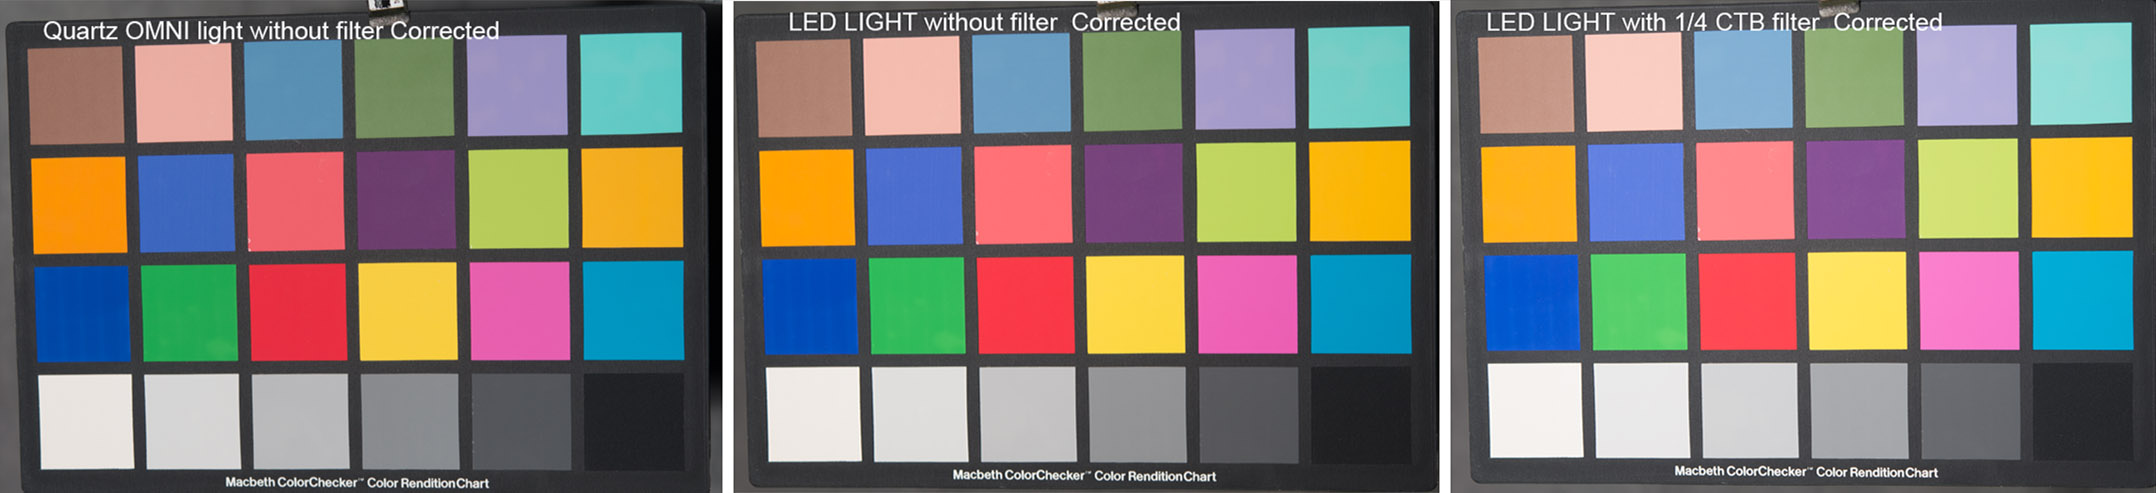
One more important point about shooting a paper negative, color effects exposure. Paper is not set up to record all colors in the same way. Because the paper has two emulsions, in order to allow you to change the contrast in a regular print, colors don’t always record in an intuitive way. In addition, since the paper is designed to NOT be exposed by the safelight, amber light has little effect on the negative. While this can take some getting used to, the effect is much less difficult to work with than the blue only sensitivity of wet plate negatives. I’m attaching some color samples I’ve made which might help to understand how color is recorded.
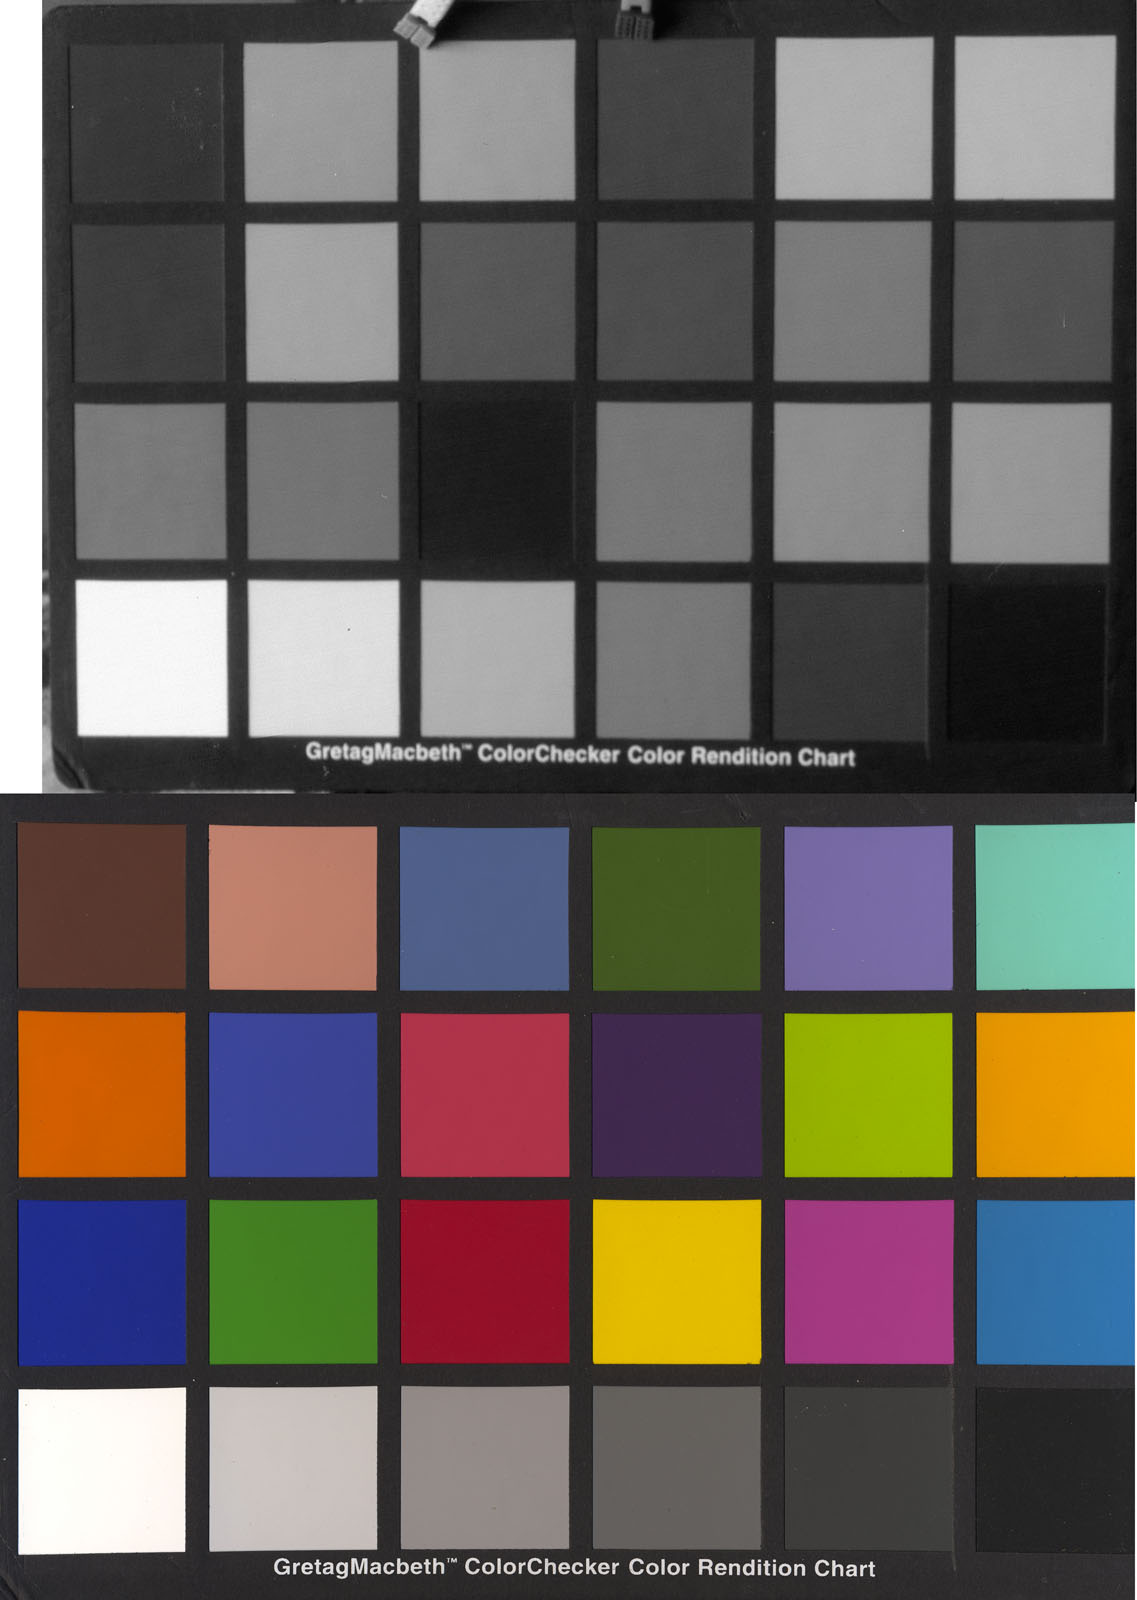
The top is the way Ilford Multigrade interprets the colors on the bottom. Note how dark the red is.
I really enjoy being able to learn by experimentation. With large format film cameras this can be very expensive, so working with paper negatives can be a real luxury. I hope you’ll take this post as an invitation to experiment!
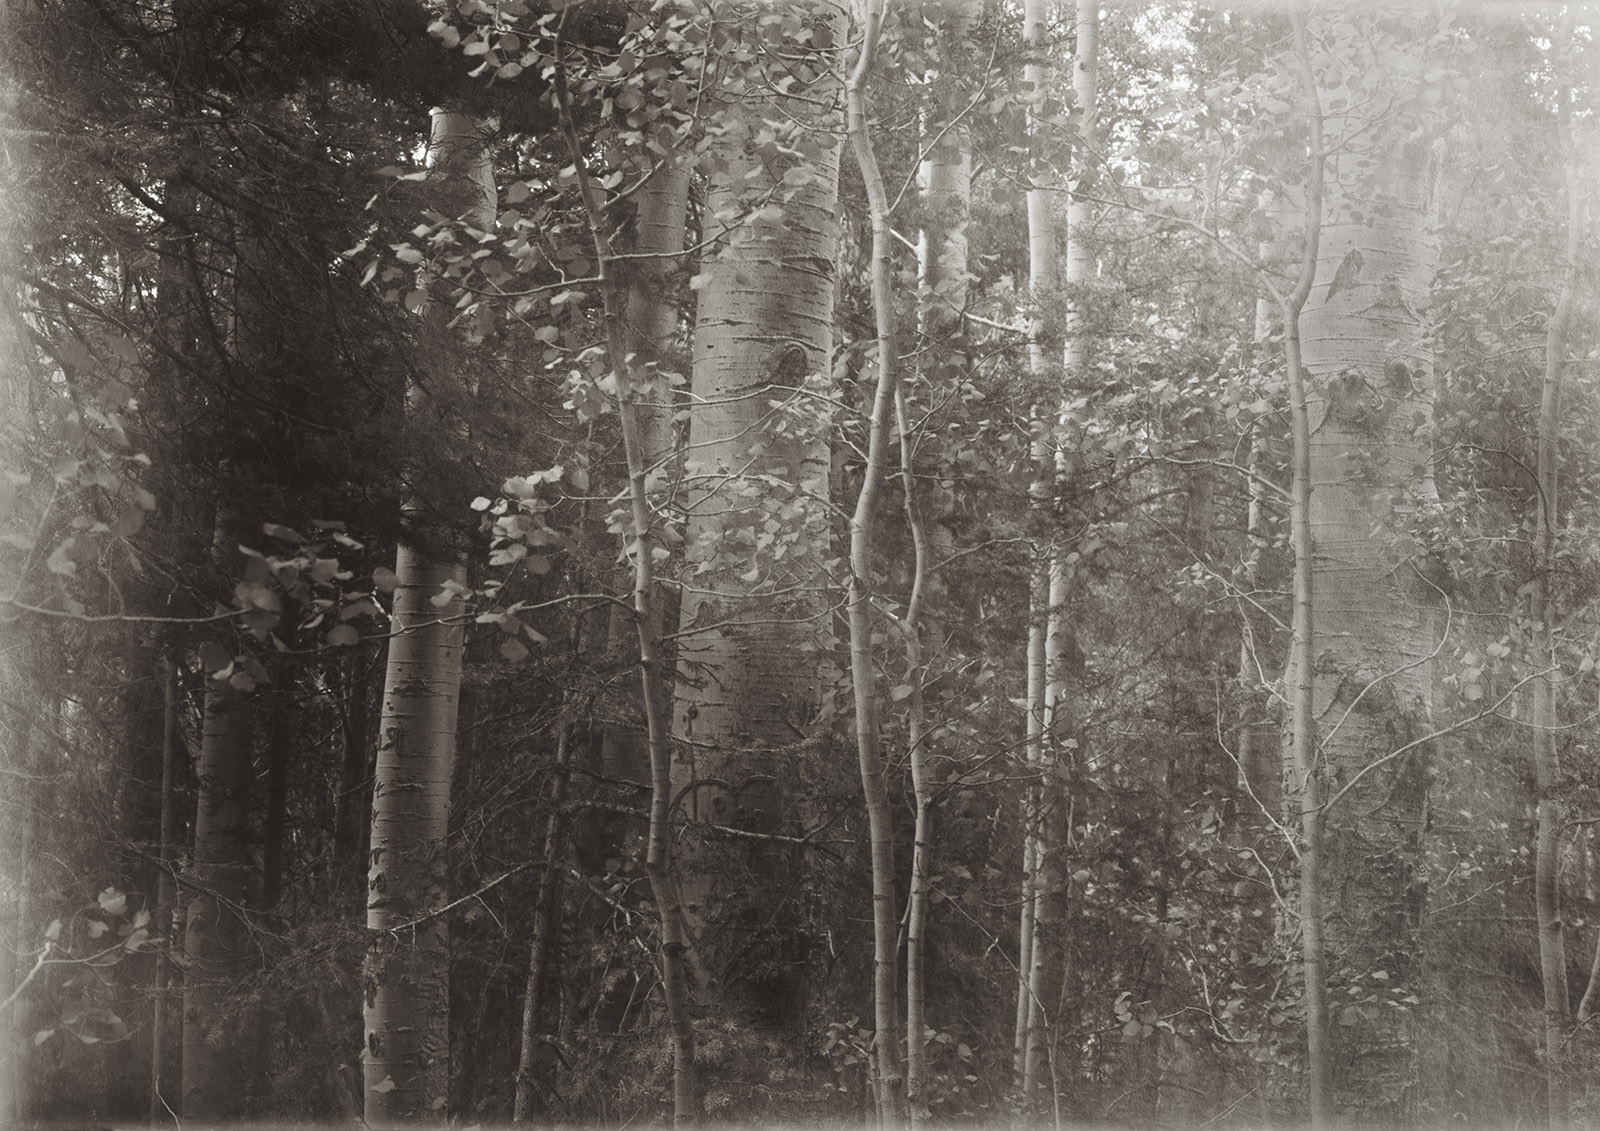
Aspen Trees at Ski Santa Fe. Shot with my 8×20 inch camera on Ilford Multigrade Paper. I had some fogging from the film holder, so this isn’t the whole negative. You can see a little of the fogging on the edges. Used an ISO of about 12.
Here are a couple more images I’ve done recently with paper negatives. Thanks for your attention
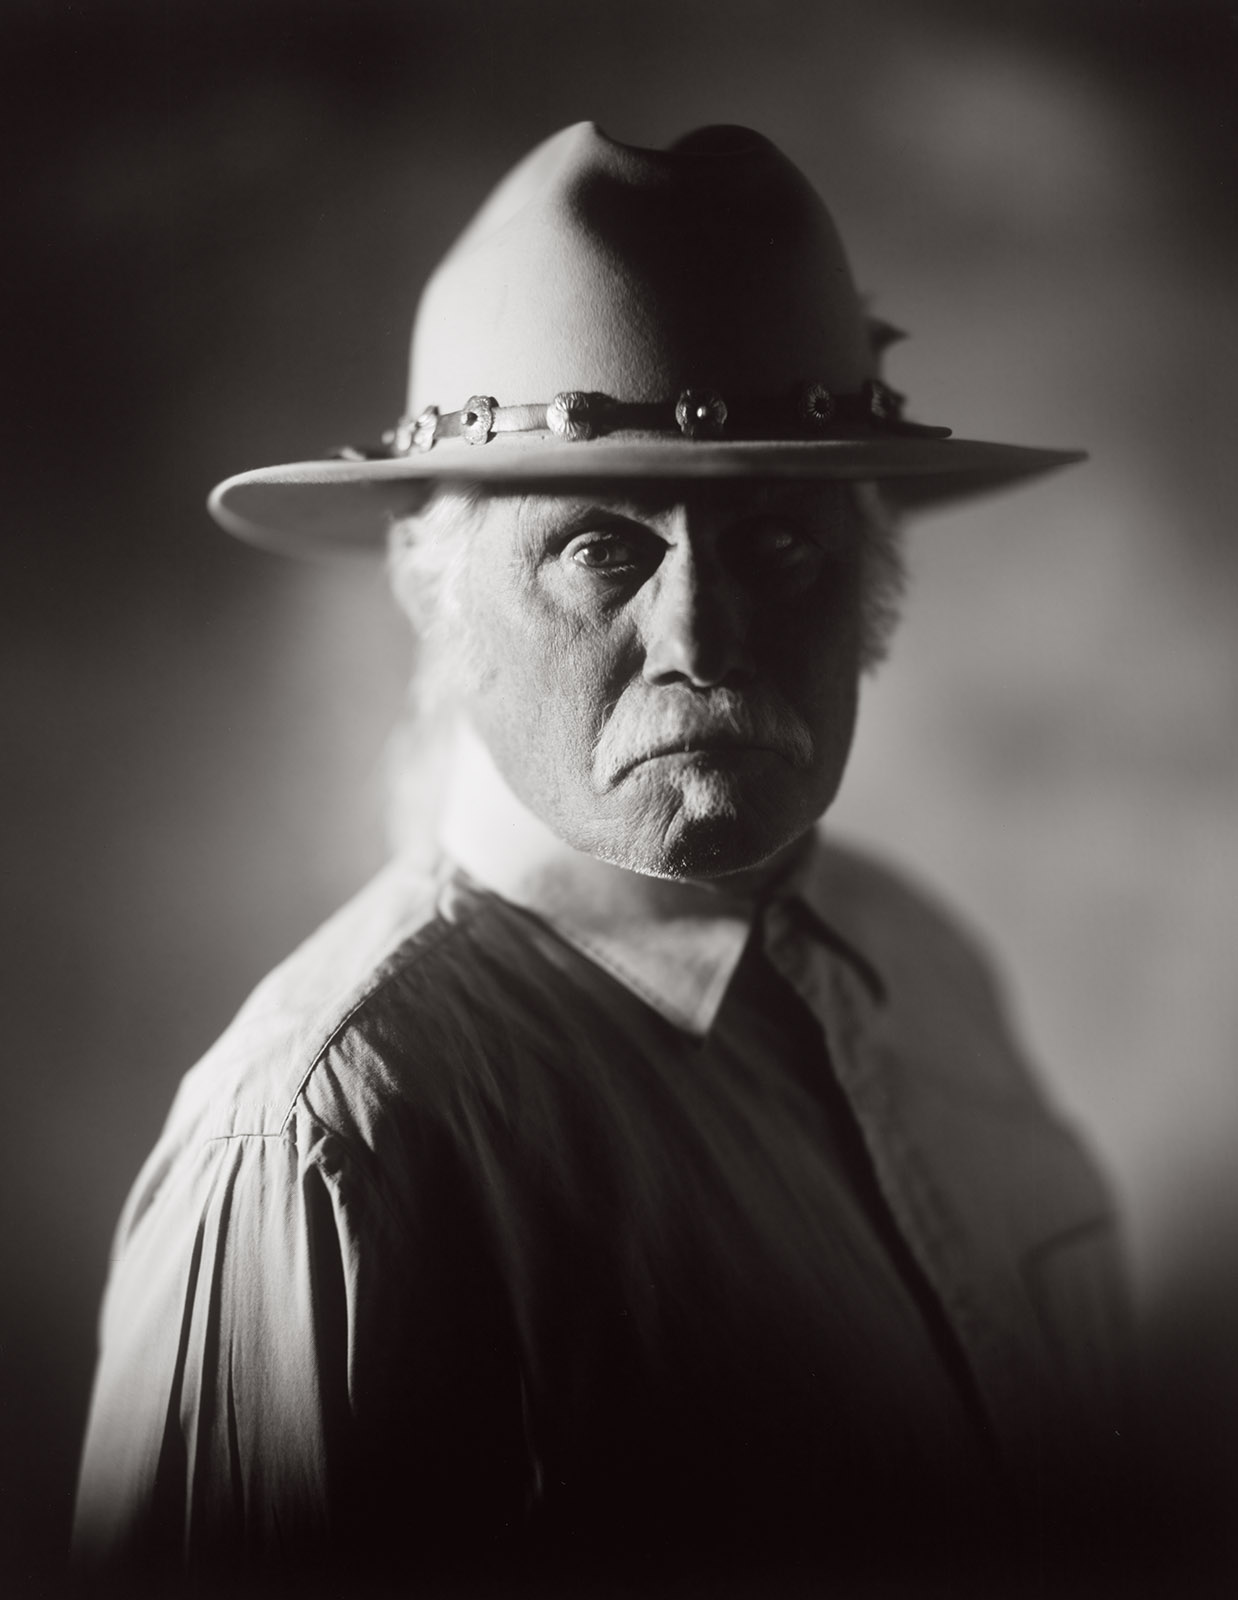
Woody S. Shot on 8×10 Ilford Multigrade paper
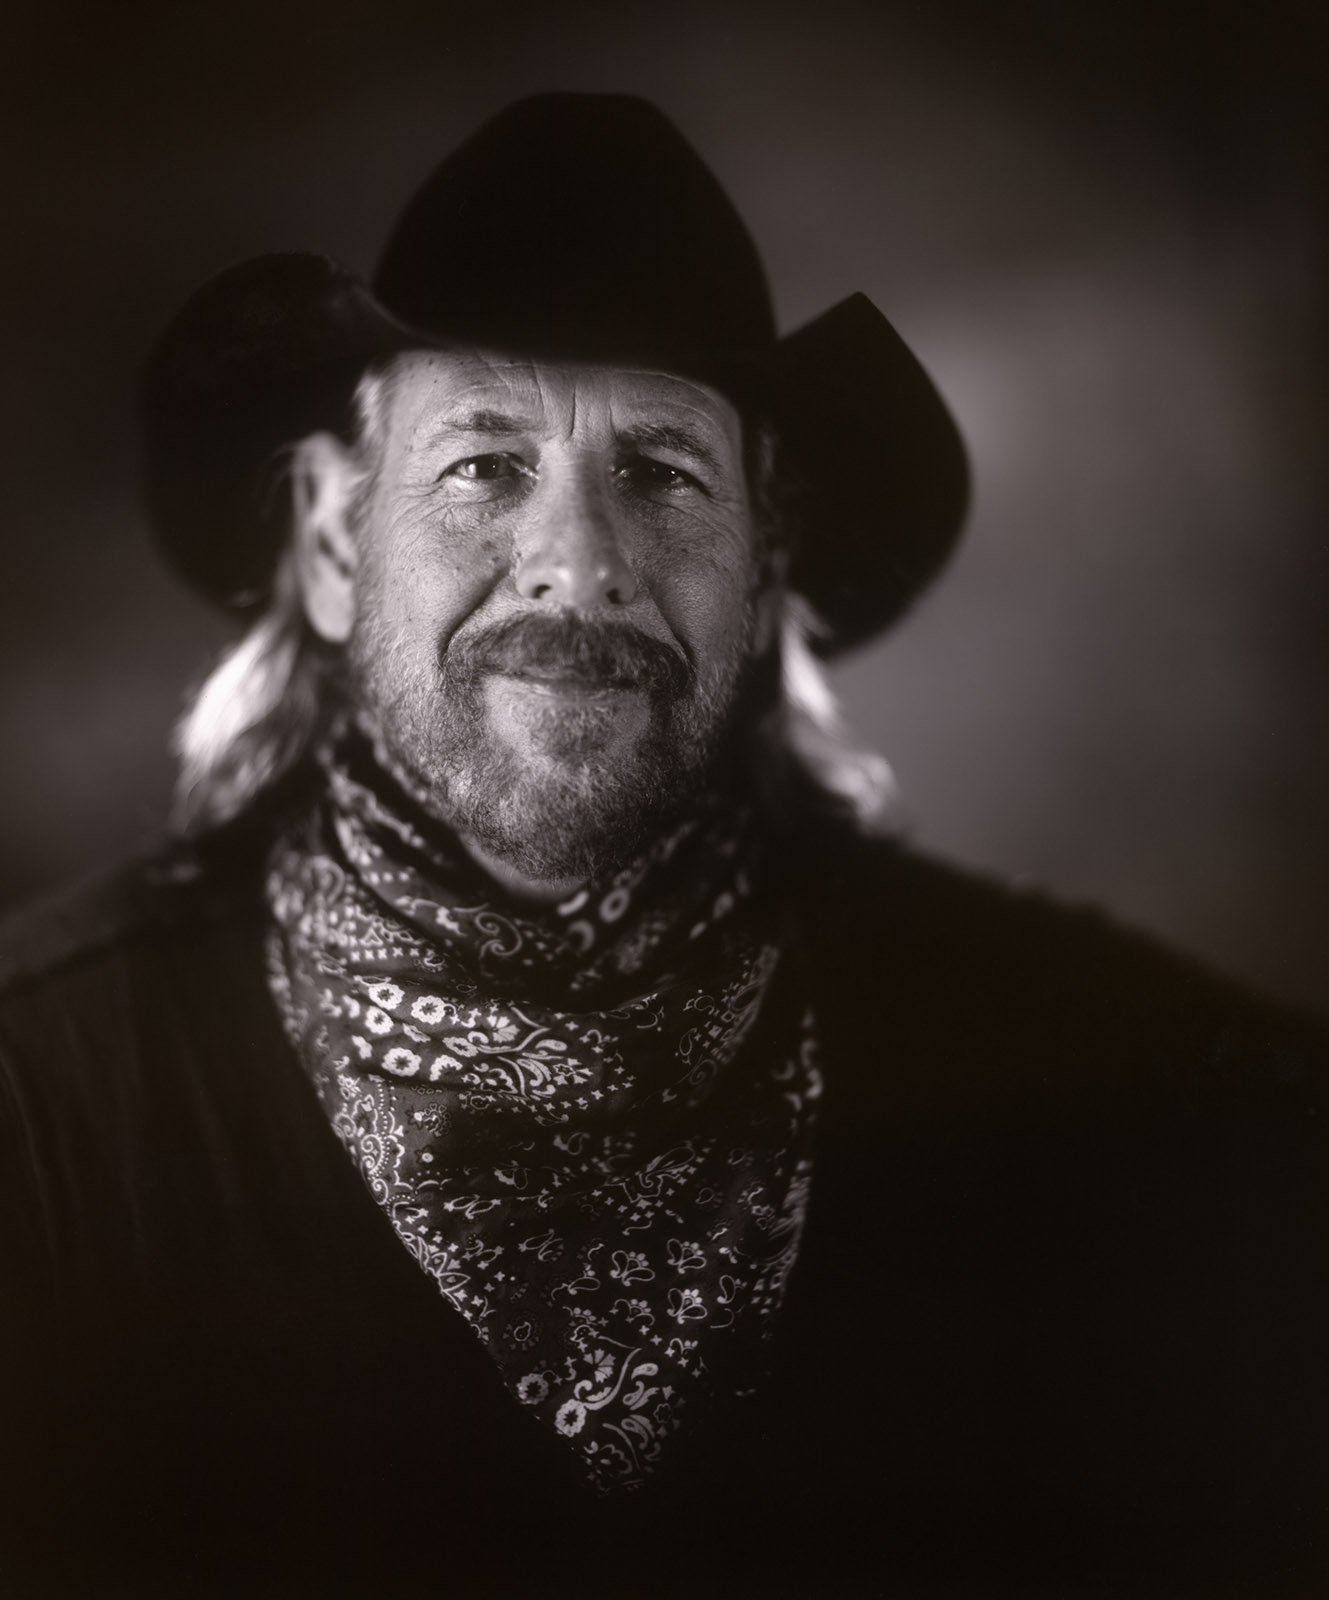
R J #2 shot on arista paper
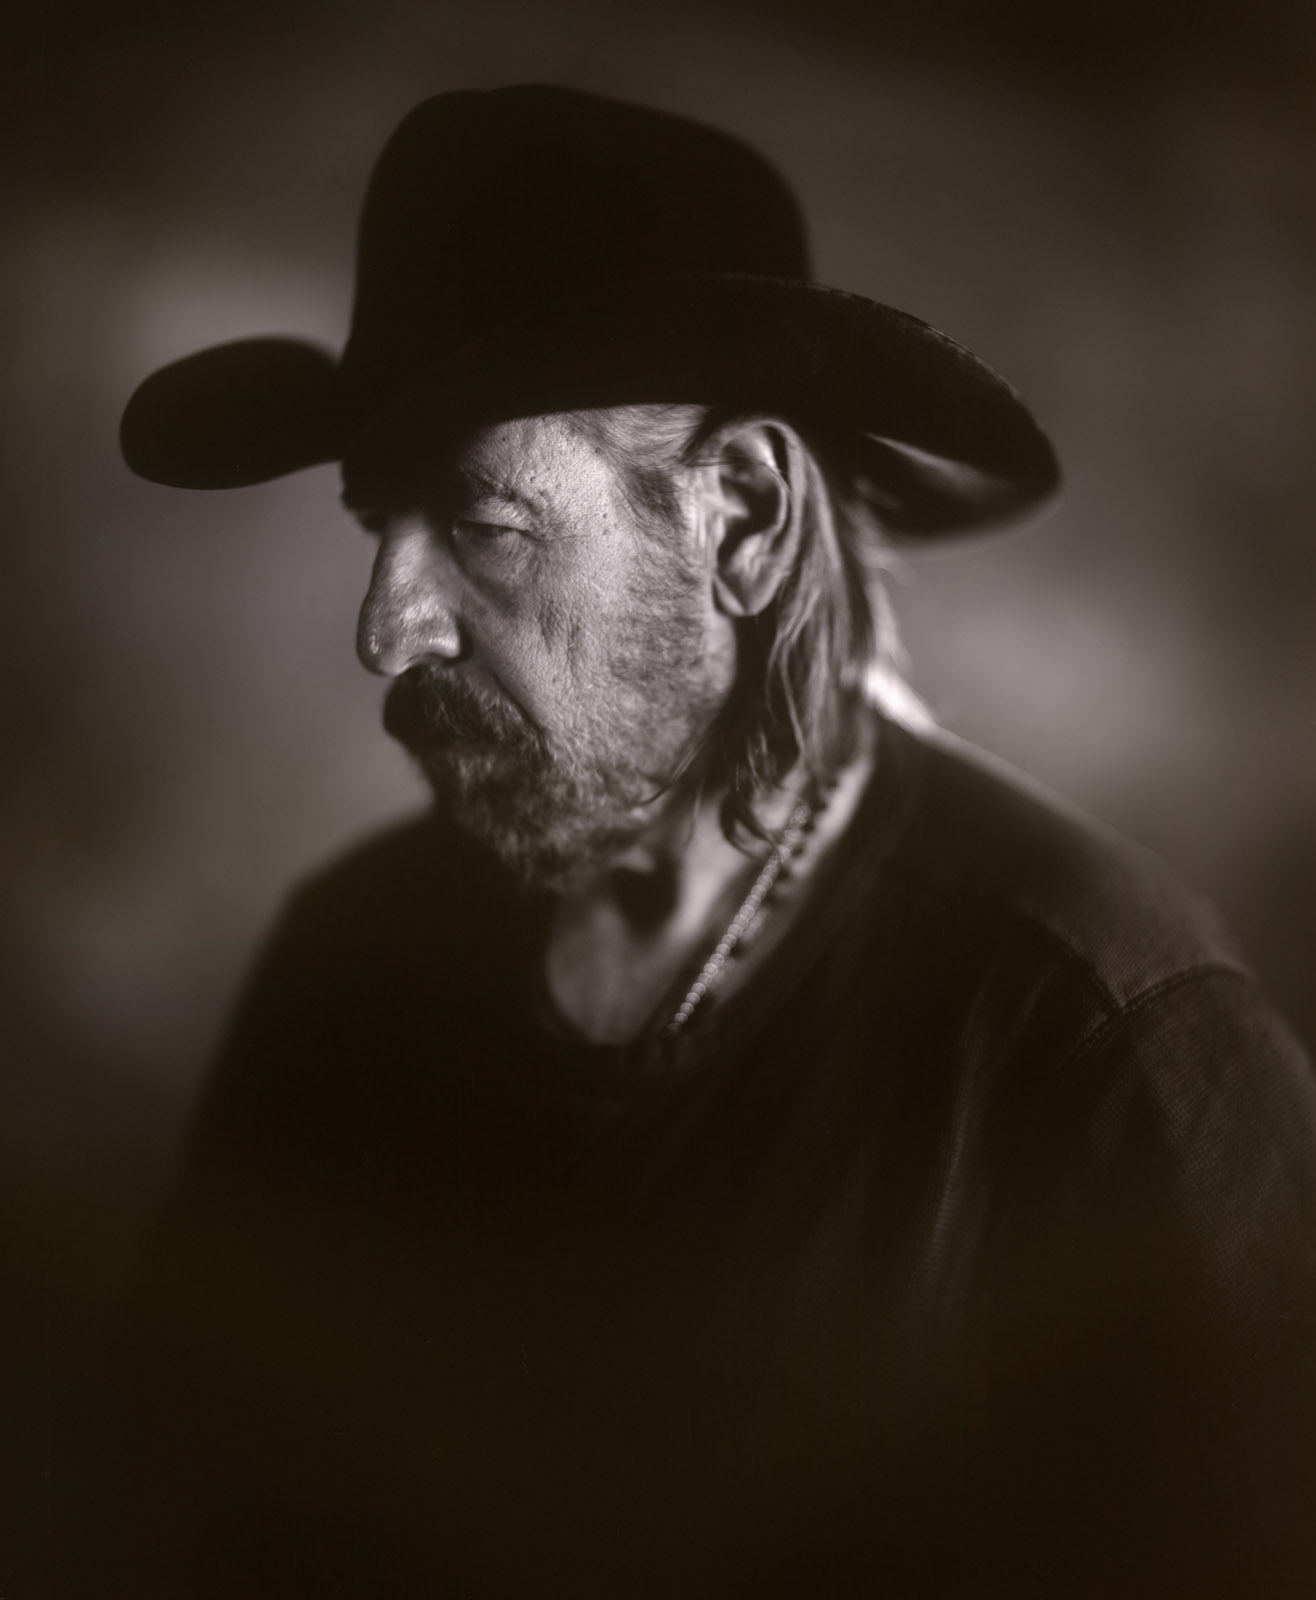
R J #7 shot on arista paper
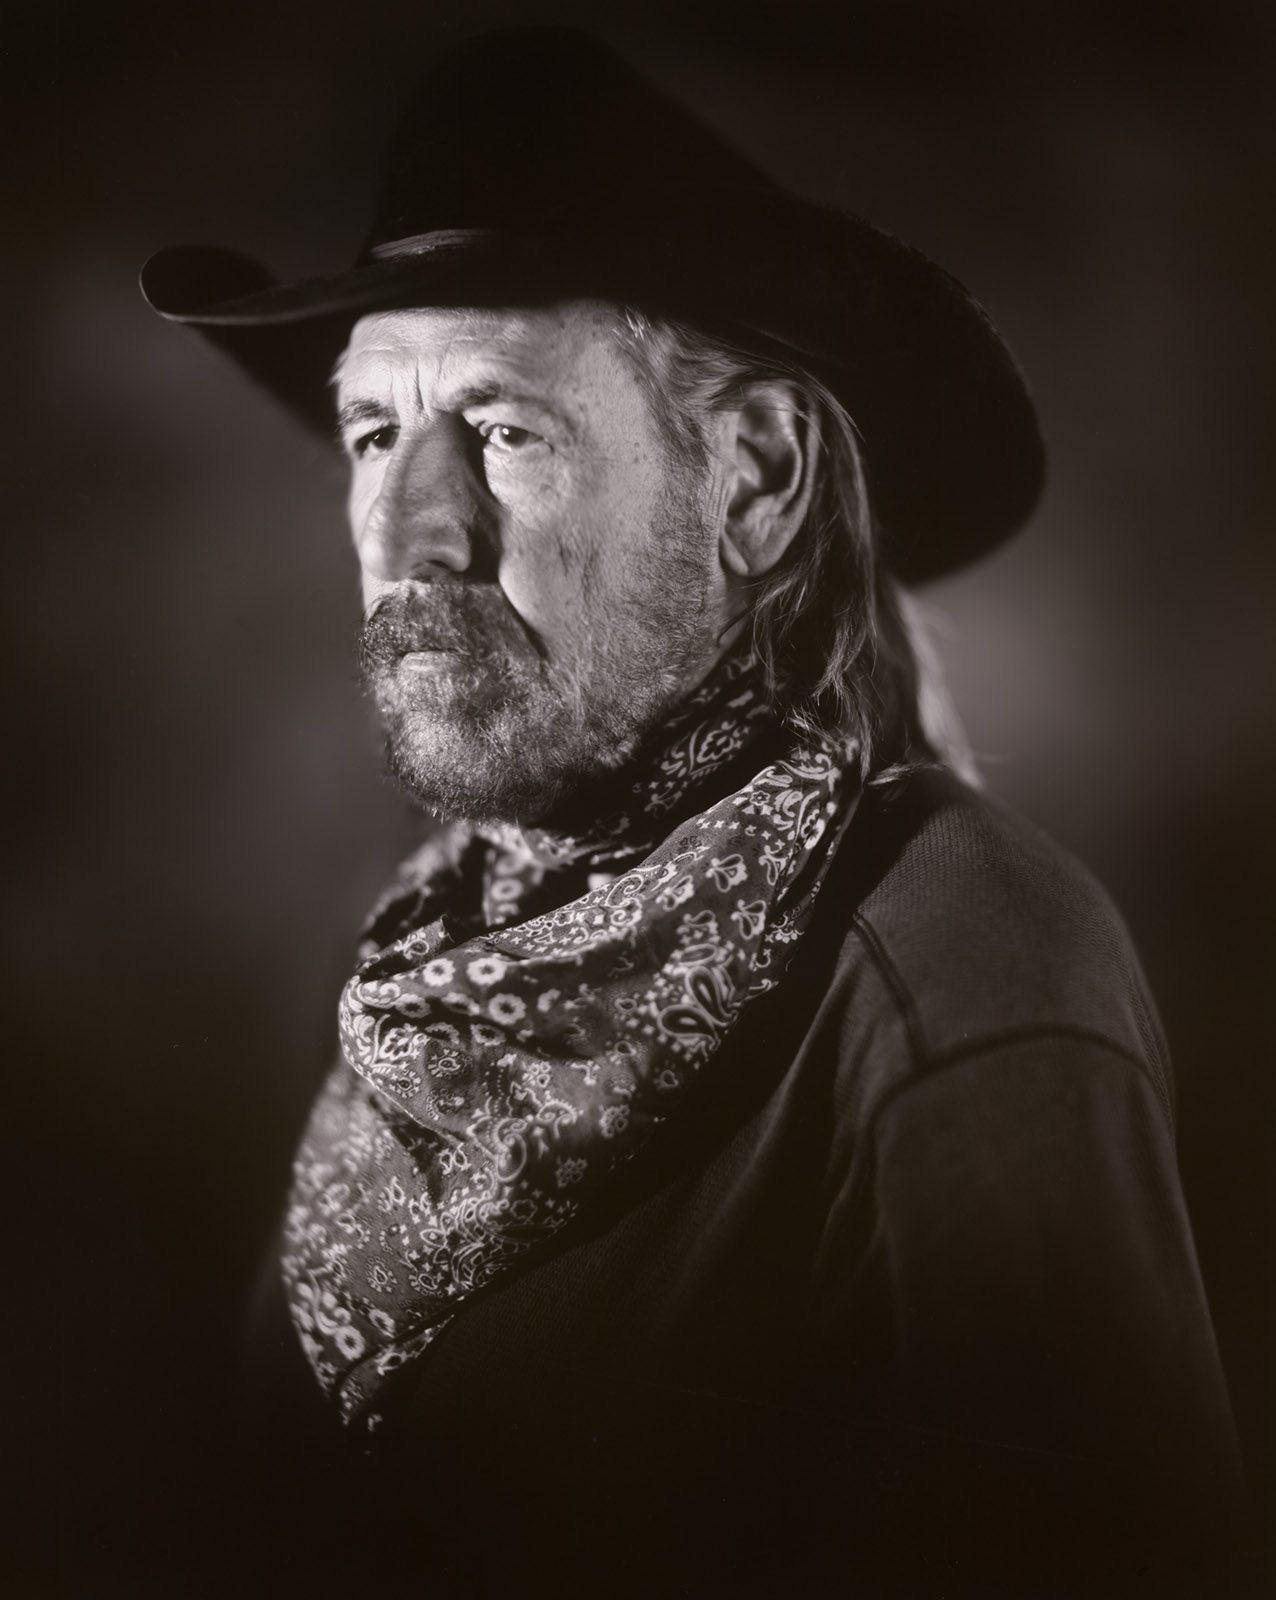
R J #4 shot on arista paper
A few links
I did a large show when I was still in Indianapolis called Courting Chaos. The link will take you to the pages which describe the work and its evolution. These images are, well, chaotic and many of them are nudes. I hope you’ll find it interesting.
Links to my books, still available at Amazon!