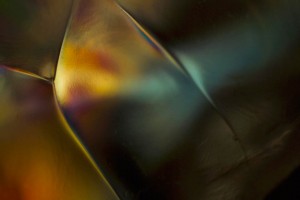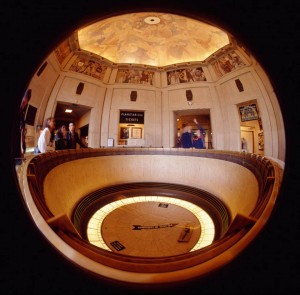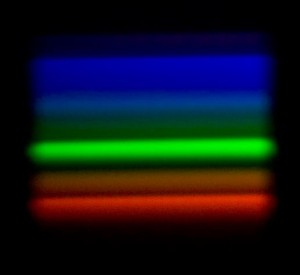
Made with my custom Super-wide camera that uses a 28mm Nikkor lens on 120 film
Editing photographs is not only difficult, sometimes it is heart wrenching. Often each image seems a special and unique expression of your creative vision, how can you bare to part with even one. Get over it; this feeling is personal. No one else will ever experience your photographs the way you do. You remember the day, what happened before and after, you remember the client and you remember whether you got paid. The viewer doesn’t experience any of this, and for the photograph to be effective for the viewer you have to give him/her an image they can perceive in their own terms. That is the purpose of editing. I am going to attach some photographs I made to this blog. I designed and built the cameras that made these images. Because of that intimacy no one else will ever perceive the shot in the way I do. I hope they will like it, but they will inevitably have a different feel for the image. You may think editing is time consuming, and it is, but it will make you a better photographer.
The first step in editing is shooting. You need to shoot a lot of images. The last head shot job I did was around 300 images, but on a product job I might shoot only 2 images per product. Since we are now working in digital it is important to always shoot that extra image, or extra dozen images. It is always easier to shoot more than it is to go back. Although Eisenstaedt was famous for just taking a few shots for an assignment, we will do better not to emulate him.

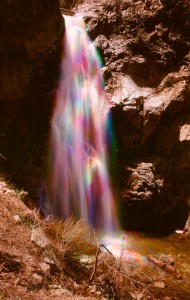
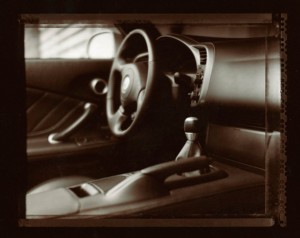
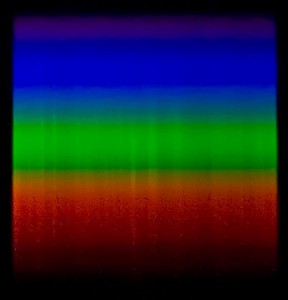
Made with a custom camera that uses a Speed Graphic body and a 30mm lens
In order to edit effectively we need to be ruthless. The first step is to remove everything that is clearly a mistake. With a portrait type job this is generally pretty easy. A mistake is an image that doesn’t grab your eye. A mistake is an image that is out of focus. A mistake is an image that is not focused on the subject. A mistake is an image that is blurry. If you shoot in raw a shot doesn’t have to be perfectly exposed, but if the shot is two stops from perfect exposure the shot is a mistake. If the strobes didn’t go off it is a mistake. Get rid of all this stuff, you should have plenty more images. I understand the Photoshop CS 15 will be able to fix everything, but that hasn’t happened yet. Photoshop 16 will be able to make your entire childhood perfect. Yes there are many mistakes you could fix, but you could spend days working in Photoshop. It is better to move through the process quickly. But you might as well save these images somewhere.
Step two is to get rid of everything that makes the subject look like a doofus. So that shot where the subject is checking out your shoes? Gone. At the same time you should part with all the shot where you awkwardly cut off body parts, hands cut in half and so on. Yes a lot of these shots could be saved. If you shot enough you shouldn’t need to save them.

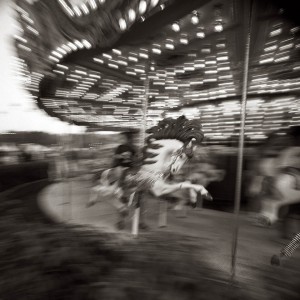
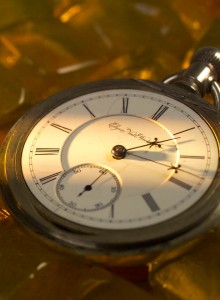
I used a custiomized Graflex SLR with a 180 soft-focus lens from Fuji
This should do it for negative editing; that is removing images because of problems. With any luck you have removed any where from 20 to 50 percent of your shots. Good. The other thing you have does is to look at all of the images that are left at least twice, well you went through the images twice didn’t you? That familiarity with your images is going to help a lot in the next go round. When you look through the images this time, look for images that are particularly fine, not just acceptable. They should have something special they may need cropping or other minor work, but the quality of your vision should be apparent. Also you want to look at the images as if you didn’t shoot them, as if you were seeing them not editing them. Look for an image that really connects. Certainly you can keep images you are unsure about, but you should end up with less than 10 percent of the images you started with.

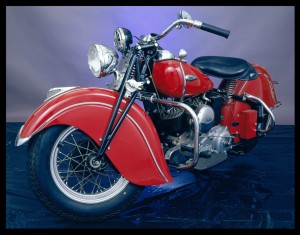
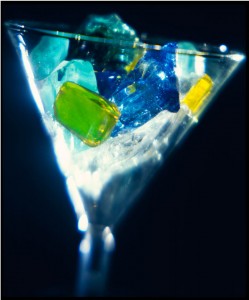
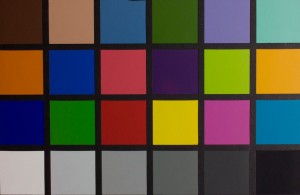
Made with a digital camera mounted on a customized 4X5 Toyo C
I do this in Adobe Bridge, but there are certainly other programs that would do as well or better. As I go through each step I display the images larger, so that I get a better feel for the shots. The next step is to bring the images into Adobe Raw. Raw gives me a better look at each image, and I can begin the image processing. In raw I can do batch corrections on color, contrast, saturation and so on. I can also crop my images and do a variety of individual corrections. I will do my final choices on editing in raw. An image may get left behind at this point for a variety of reasons. Sometimes it is something I could fix, but don’t want to, or perhaps two images are very similar.
Finally I will open up all of the images that made it through raw in Photoshop. While I will rarely remove an image form the group in Photoshop I will perfect the images in Photoshop. This is where I will sharpen and do other detail work. Now finally, if the client asks for just there shots (not likely on a head shot) and I don’t have any personal reasons to make a choice, I can say enie minie moe….

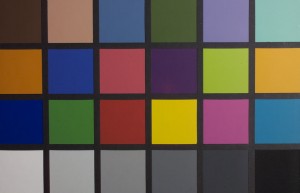
Made with a lens I built
You can download a copy of my article on building cameras at this link: www.siskinphoto.com/magazine/camerabuilding.pdf
