 Some important updates: first BetterPhoto has brought back two of my classes. So I hope you’ll sign up for either Portrait Lighting on Location and in the Studio or Getting Started in Commercial Photography. These classes, particularly the portrait class, were popular before. I hope they will be again. If you want any information on the classes, that isn’t on the links, please e-mail me: john@siskinphoto.com. Of course you can take my other class at BetterPhoto: An Introduction to Photographic Lighting. I’m pleased to say that my first book continues to sell well. Please pick up a copy of Understanding and Controlling Strobe Lighting: A Guide for Digital Photographers. Another update: my second book will be out in February. You can visit the sale page for Lighting for Architectural Photography. Finally I have a fine art book that I made at blurb, please check out B Four.
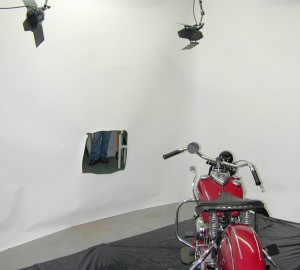
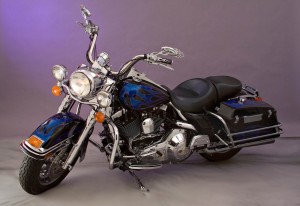 I was evaluating the photo equipment in an old photograph for the Indiana Historical Society. There’s an old 8X10 stand camera and a 4X5 and so on, but I found the lighting set up kind of interesting. Now, if you looked at the shot, you’ll know that it’s impossible to be sure of everything that is going on in the set up. But it looks like there is an opening cut for a vignette in a white wall half way down the studio. The wall has to be lit from the camera side in order to keep the vignette white. It looks like some clamp lights were added at some time to help with this. The subject would be lit from behind the wall. This got me thinking; because it is similar to the way I light motorcycles. I want to try lighting the back side of a wall, as I would with a motorcycle, and then bounce the light into a human subject. As with the motorcycle shot I would use white seamless paper for the wall.
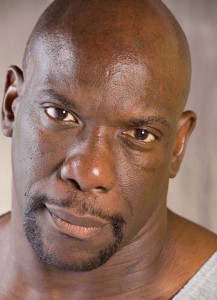
It’s cheap and much easier to work with than drywall. I would probably use two strobes pointed at the wall. It would be good to keep any direct light from these strobes from falling onto the subject. This should create a very soft even light, virtually shadowless. You could vary the lighting somewhat, by changing the brightness of the strobes behind the wall, and by changing the placement. This should do a lot of what people expect from a large ring light. As a lot of my students know a ring light doesn’t really create shadowless light, except when you are extremely close to the subject. In general a lighting set up like this won’t give you much sparkle, or a catch light in the eye, but it could give shape and make most fabrics look great. So maybe a bare bulb, or a light behind the subject would work well as a third light. I haven’t had a chance to work on this, so I’ll be interested to see if anybody, who reads this blog, does an experiment. I would keep the hole in the wall close enough to the camera, and big enough, so that there won’t actually be a vignette. I would guess that the close wall would be 3-6 feet from the camera, and there would be at least 8 feet between the walls. I don’t think I would try to add much hard light to the shot. It would be much easier to design a shot with hard light using the light panels, because they are much easier to move around. Any really large light source, which will create shadowless light, is pretty flattering to persons with skin issues.
I’m thinking about some workshops for next year. Please let me know what would interest you. Thanks, John
