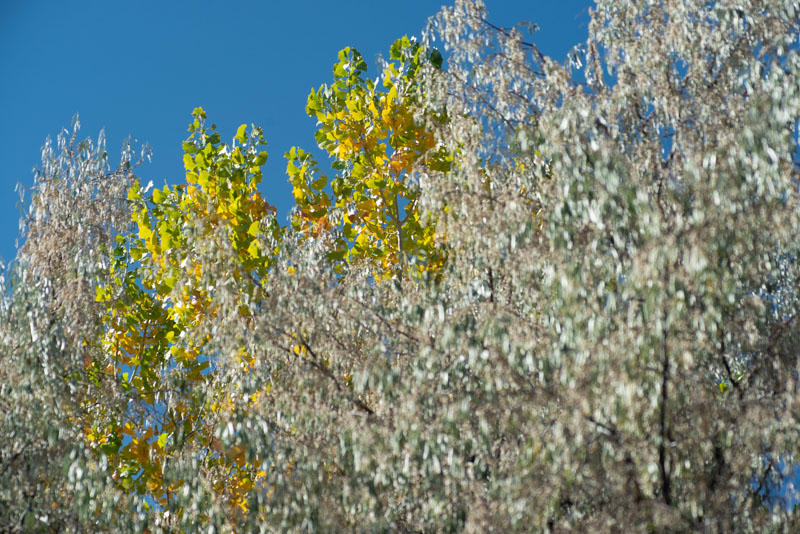
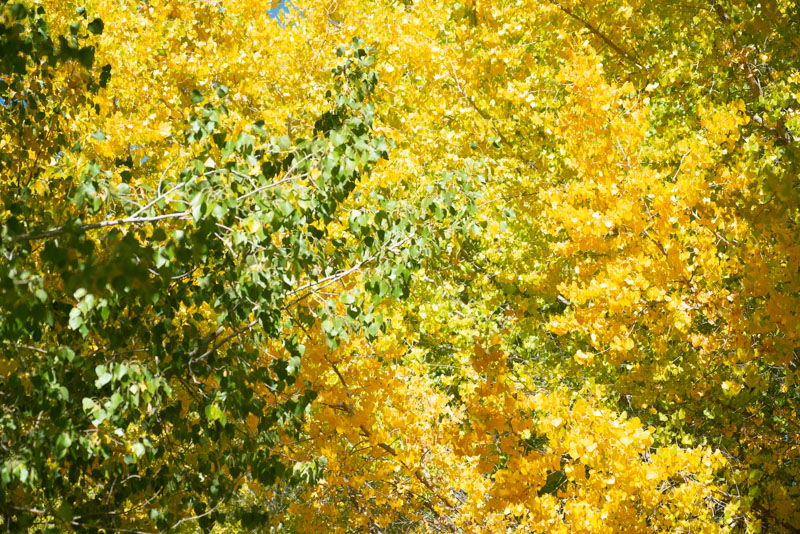
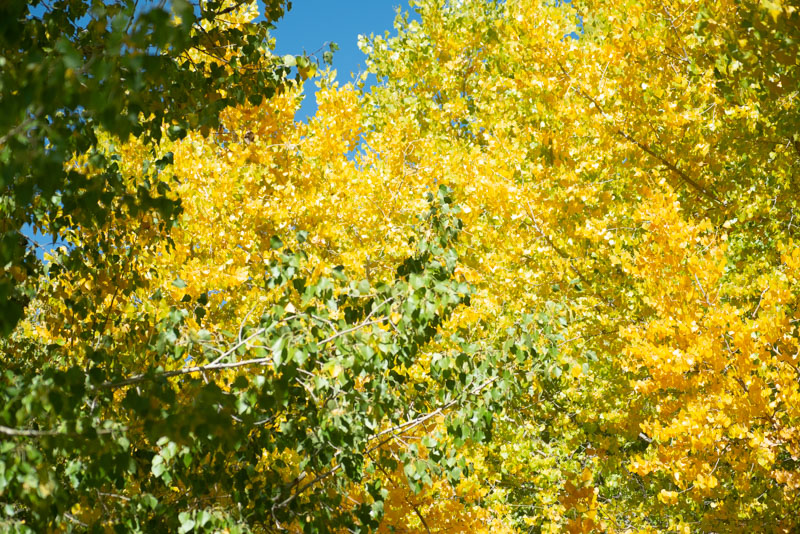
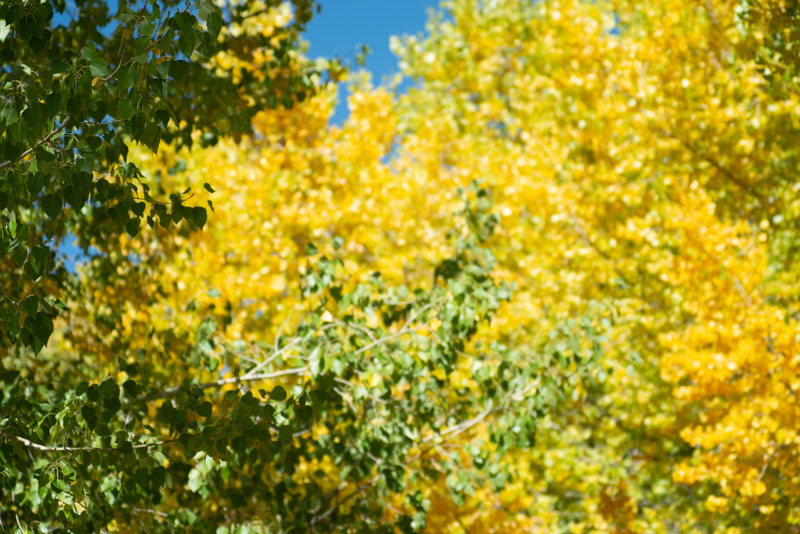
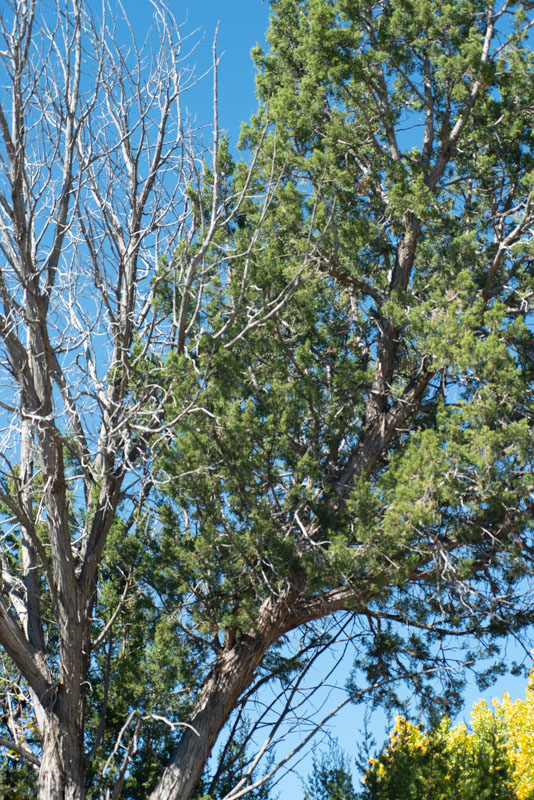
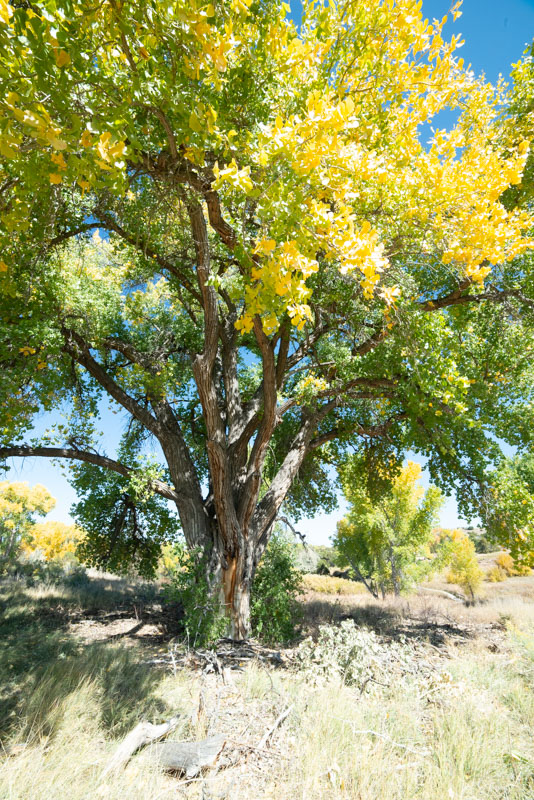
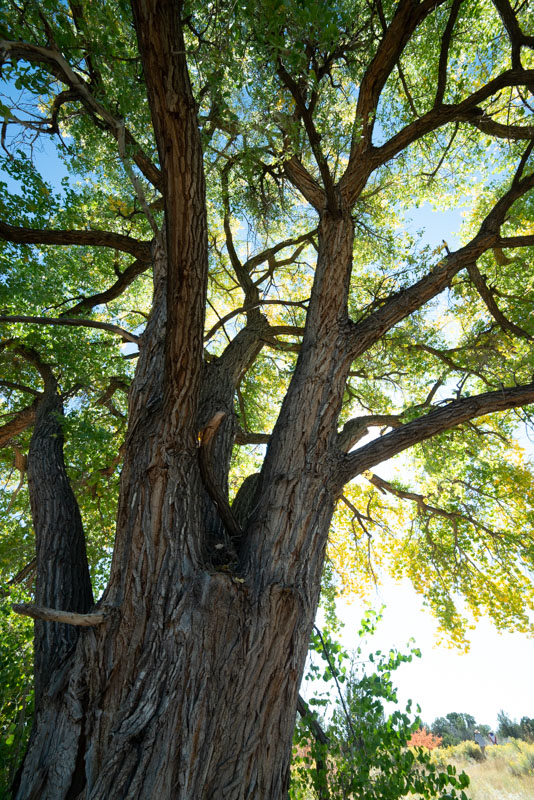
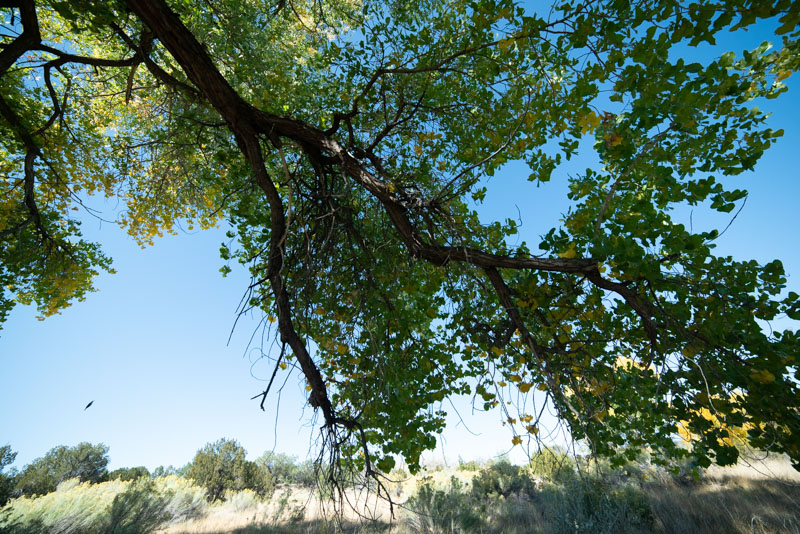
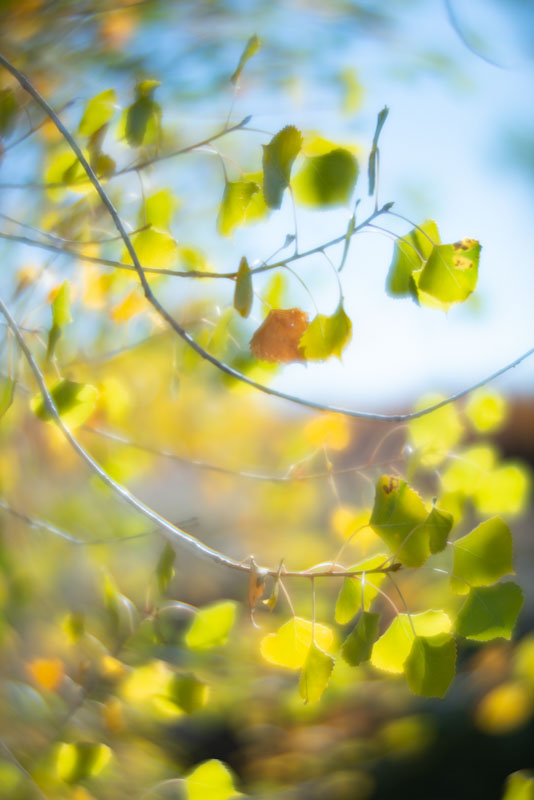
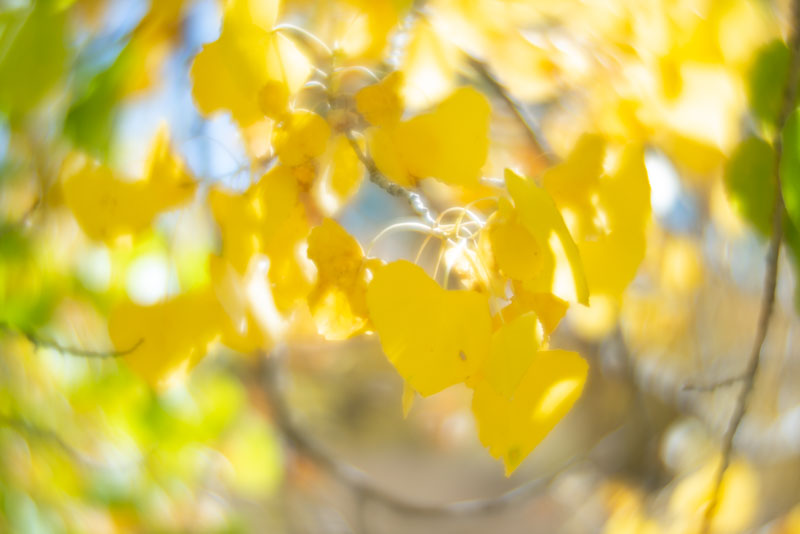
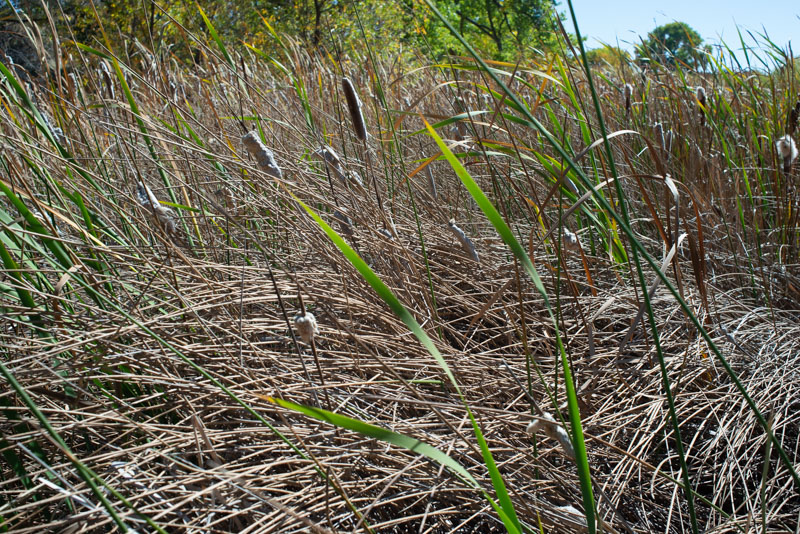
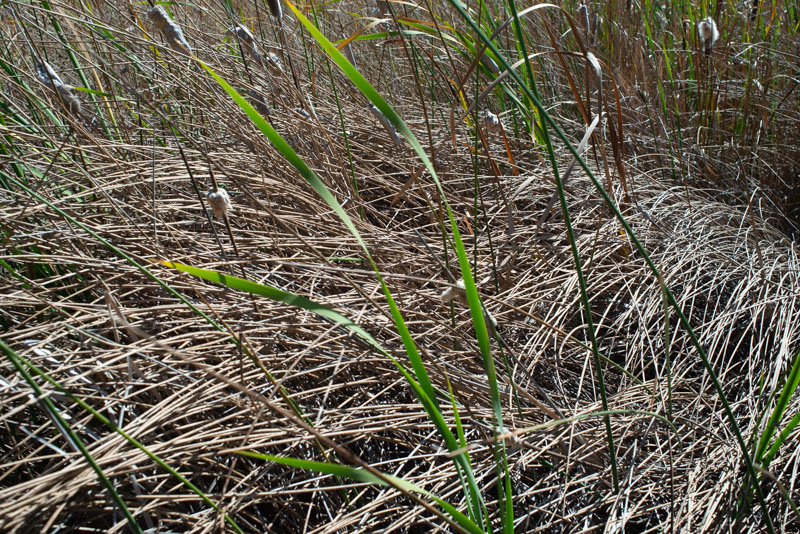
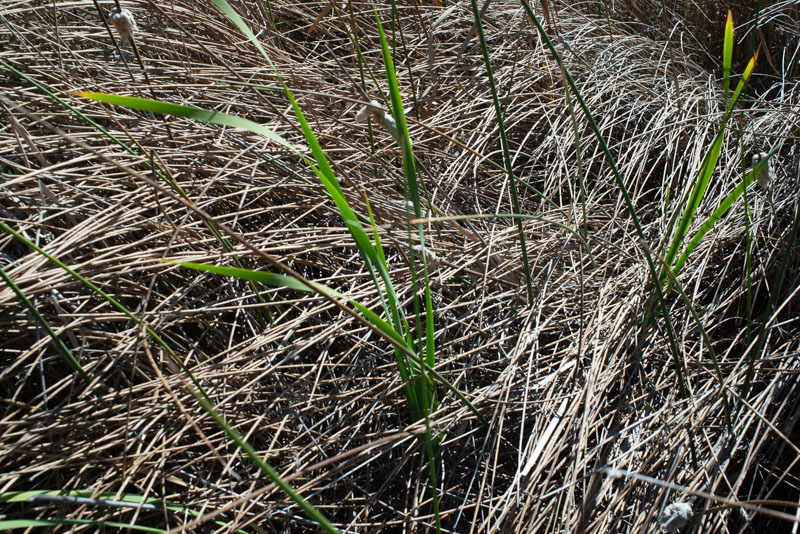
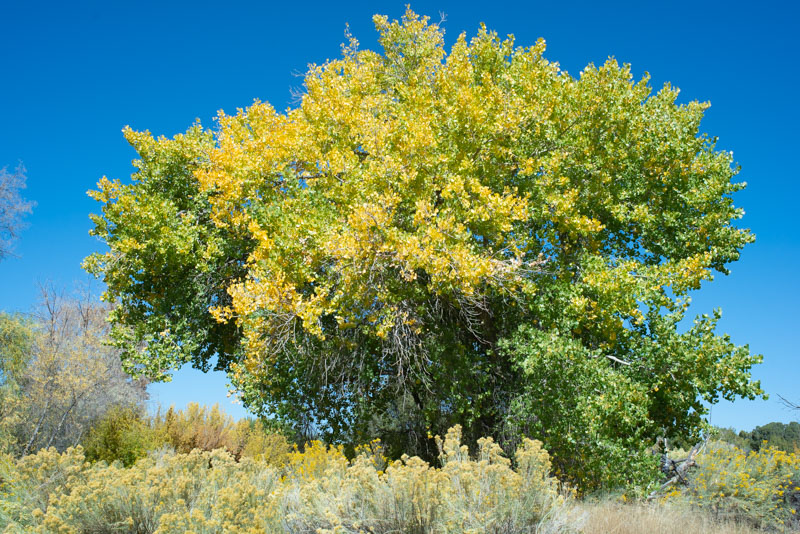
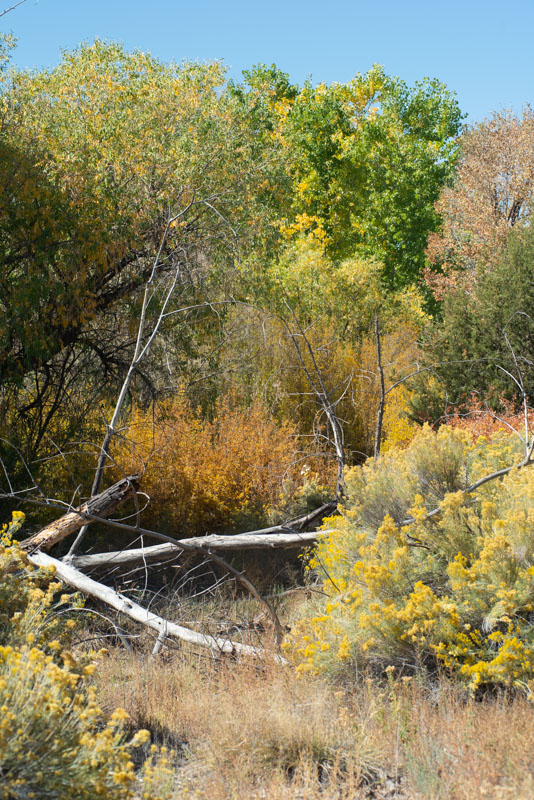
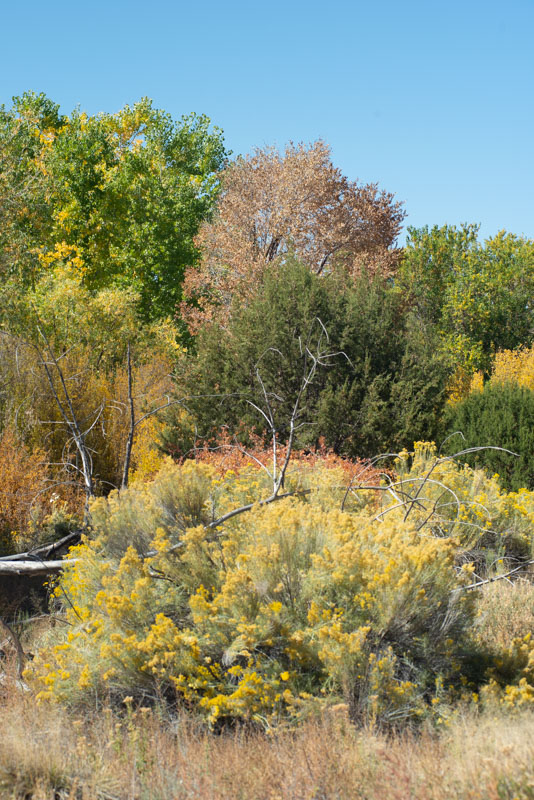
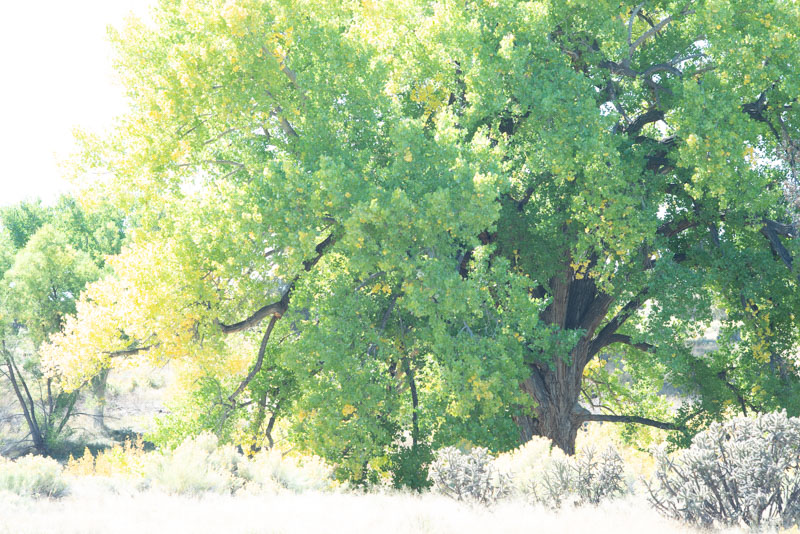
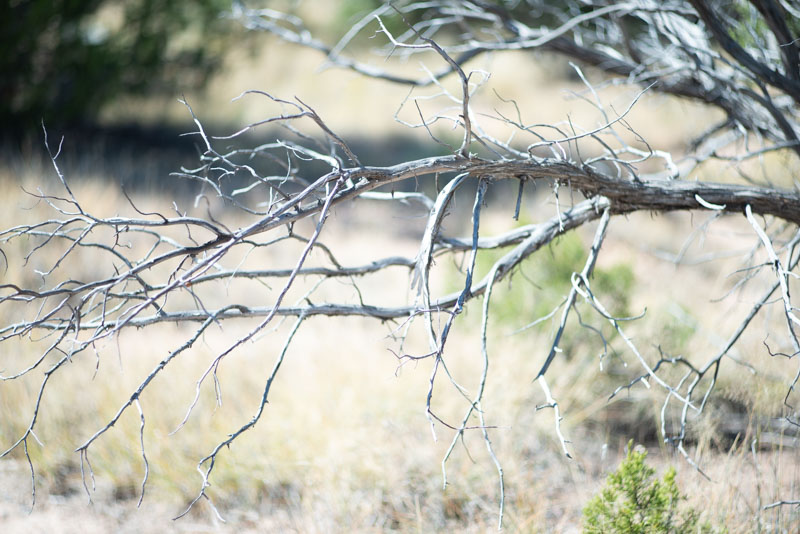
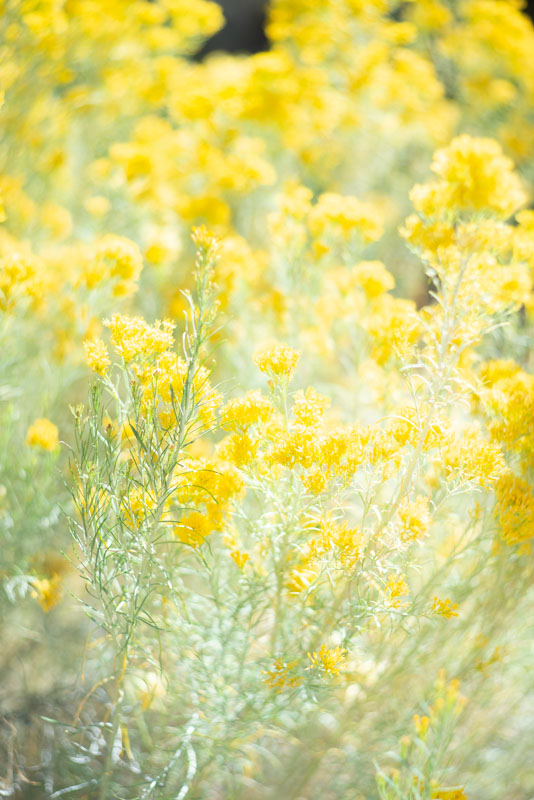
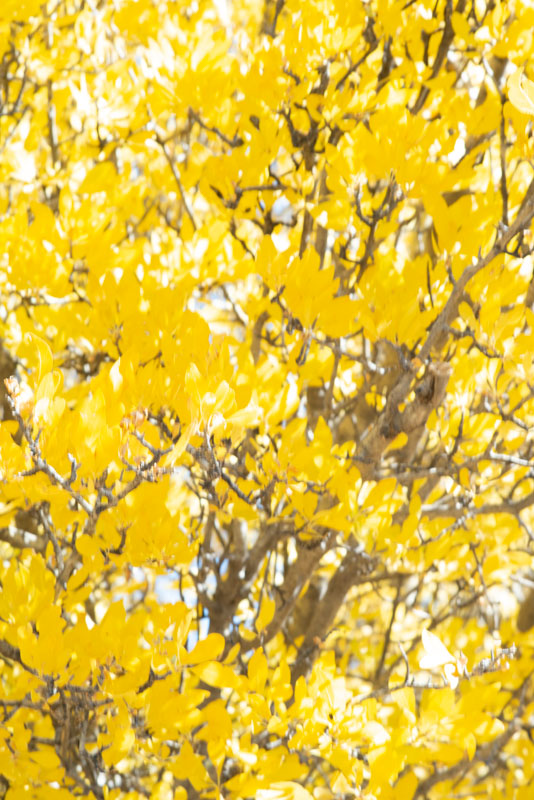
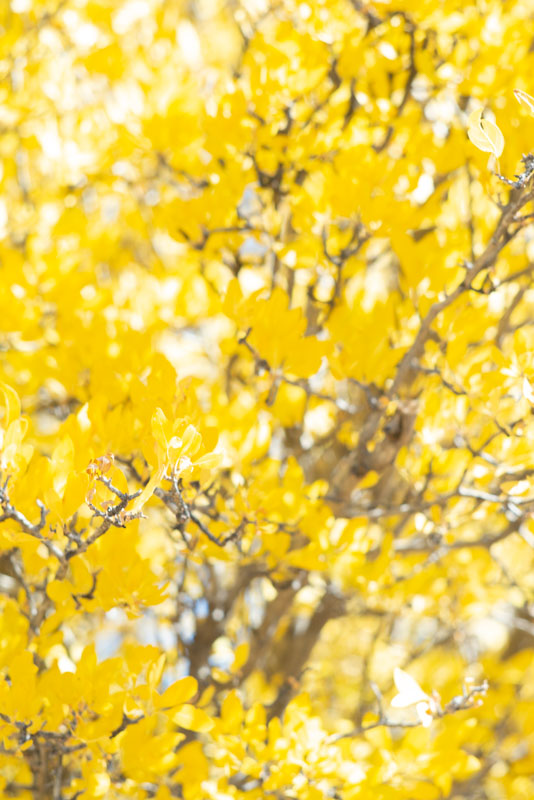
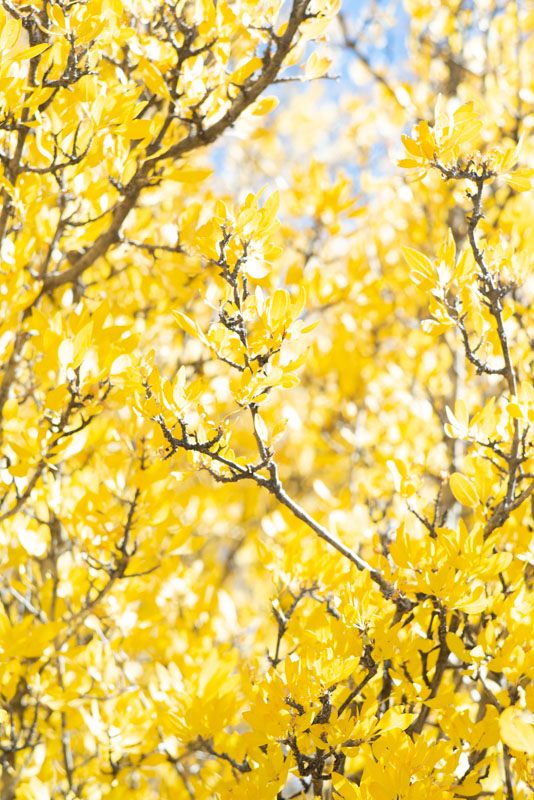
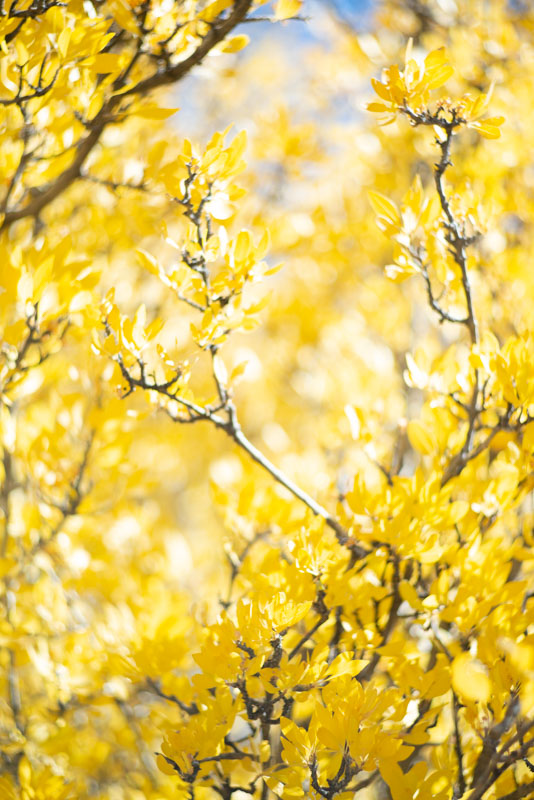
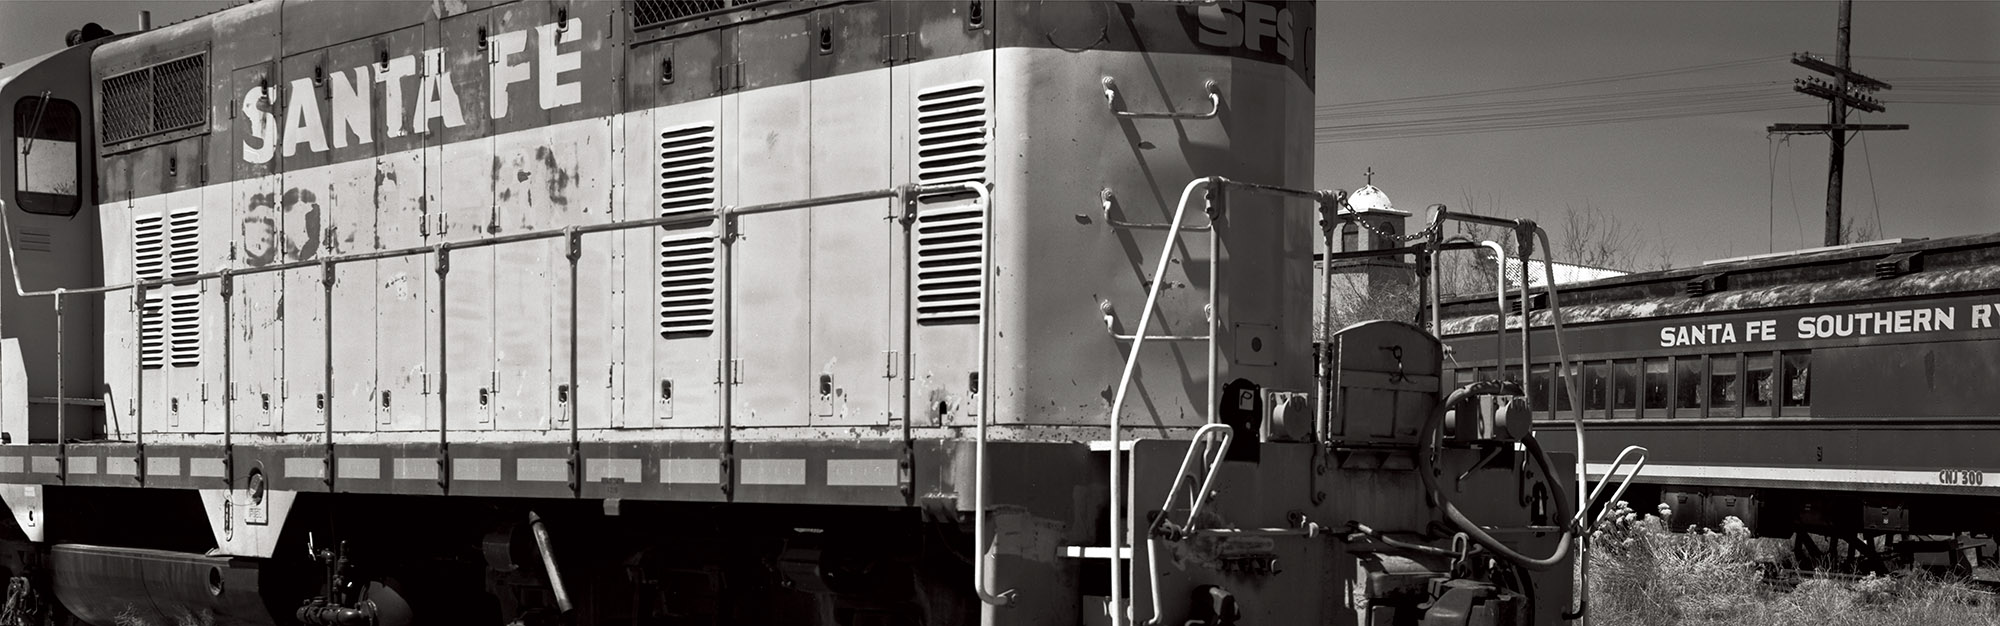
Photo Notes A place to talk about making images.

April 24, 2021

Photographic Seeing and Interpretation


Apache Mountain Spirit Dancer at Museum Hill Santa Fe, by Craig Dan Goseyan

I made this picture Wednesday on Museum Hill in Santa Fe. The subject is a sculpture titled Apache Mountain Spirit Dancer, and it was made by Craig Dan Goseyan. It’s a very impressive piece. One of the things I hope this image captures is the effect created by the very large size of the work. Regardless of how I interpret the piece, and all photography of 3 dimensional objects, is interpretation, the effect of seeing a photograph is not the same as seeing the thing itself. If you see a photograph of the Grand Canyon, you haven’t seen the Grand Canyon. I think most people who have ever tried to photograph the Grand Canyon have discovered how photographs do not convey the effect of seeing the canyon.

I wanted to mention this because I have a related problem with sharing my images on computer screens. The effect of seeing the image on screens is not the same as seeing a print. First, as in the image of this sculpture, you do not have actual scale of the work. This sculpture must be close to 20 feet tall. If you’re looking at the image on a phone, you simply have no idea, and you also miss texture and much more. I’ve made many big prints over the years, some over 6 feet tall. In fact, one of the reasons I shoot large format film is that I can make big prints. The original size of the digital file of this image is 4 foot 6 inches tall at 300dpi. Actually, I could make an even bigger scan of this negative. If I were to make a traditional darkroom print of this shot, I could make it 9 feet tall, which would help convey the size of the sculpture. Of course, it would be an incredibly difficult thing to make such a print. A few old friends may remember that I once made an enlarger to make such huge prints. Another aspect of my interpretation of this sculpture is that I shot it in black and white. Any black and white image is certainly an interpretation of the original, since most of us see in color. Cole Weston was quoted as saying to his brother Brett “I see in color, don’t you?” I choose to shoot in black and white much of the time because I’m more interested in the shape and feel of my subjects and I want to push the viewers’ eye to see that way. That doesn’t mean I don’t use color; this image like most of my black and white images is subtly toned, which I hope affects the mood of the image. Of course, a print would allow me more control over the tone of an image because it wouldn’t be dependent on how you set up your monitor.

Often, I feel that sharing my images as small digital files is like listening to Tales From the Topographic Oceans done by the band Yes in 1973 on the original speaker of a 1967 Chrysler.  The sound that you hear are related to what the band recorded, but perhaps not closely related. Another disappointing aspect of sharing images this way is that the images from digital phones, and every other image making device out there, are the same size and on the same monitor as images that I crafted with large cameras and processed, painstakingly, in my darkroom.

When I began doing photograph, in the very early seventies, much of what we were taught was actually print making. In those days we were taught to print on silver chloride and silver bromide papers. In more recent times I’ve also learned to make Vandyke and cyanotype prints, both of which involve hand coating paper. I could scan and share these prints but you would lose just about every aspect of the prints which makes them special. Except for the cyanotypes which are a strong blue color. In addition to these types of prints I’ve also made type C prints and Cibachromes, both of which are color prints as well as a couple of platinum prints which are black and white. Print making is an art and craft which was once an integral part of photography; you could not learn to be a photographer without learning to be a print maker. Even when I started doing photography, by which time commercial color printing for amateur photographers was ubiquitous, photo classes always taught printmaking as part of the course. I was talking to another photographer, a guy who is really serious about it. He’s really into wet plate work, tin types and ambrotypes, but he has never actually seen a platinum print or a Vandyke print or an albumen print. These are all beautiful ways of presenting and interpreting a photographic image. One of the reasons that I like to shoot black and white film, rather than make wet plate negatives, is that I can print them in all these different ways. Truth be told, you can also convert your digital images into black and white negatives and print them out onto transparent media. You can make all these print types with these digital negatives. For a variety of reasons, I’ve made digital negatives of film images before printing them, this method works very well.

There are many very fine digital printers on the market and some very lovely papers designed for them. I certainly do not want to take anything away from the current Epson and Canon high end printers. I can’t think of any reason why I would want to make a color print using an enlarger and a darkroom. The simple fact is that these are better prints. Not only is the color spectacular, but the long-term stability of digital prints, if you do it right, is at least as good as prints made from color negatives using type C papers. The fact is that you can purchase one of these printers for much less than a 4×5 color enlarger would have cost you in 1980, in actual not corrected for inflation dollars, is fabulous. While people often mention the cost of paper and ink for these printers, you should have seen what paper and chemicals cost for color darkroom printing. I really like the Canon Pro 100 printer I use these days and I would certainly consider buying another printer from either Canon or Epson. These are terrific tools for color printing. They will also make a fine black and white print. But… the digitally printed black and white image is different from a darkroom print. The dyes or pigments used for the prints are different, and look different, from the silver halides used in traditional black and white prints. The digital prints will also look different, sometimes very different, from the various hand coated prints: Vandyke, cyanotype, platinum and so on. Still it’s no reason not to try and make black and white prints with an ink jet printer, and it might lead to hand made printing.

One more thing about digital printing: it’s really easy to make a bunch of prints. Thousands… So, I’ll sell a digital print for $75, but I won’t sell any darkroom print for less than $300, and some prints would be much more expensive. If you see any prints that you’re interested in on my site, or that I’ve posted, please contact me about buying a print!

In addition to buying images from me, PLEASE buy some photo books. I was looking around my office today and I have over 375 photo books, just in my office. You can look at the images of other photographers on line, and that will improve your seeing, but books allow the photographer to have greater control over the size color and presentation of the images. I believe that spending time with images, especially images the maker cared about, is the best way to improve your own image making.

I thought it might be good to close this post with another image of a sculpture. By way of contrast with the first image in this post, this piece is 3 inches high. It’s a monochromatic piece of work. So, I added color and built a background for the piece in this shot. Also, if you’re interested, I made this image BEFORE Photoshop. The shot was done on a single piece of film using light, multiple exposure and props, old school!

Check out my books at Amazon. I’m not sure the links will work, but you can search for me at Amazon. A digital print of Apache Mountain Spirit Dancer is available for $75 which includes shipping the U.S.A. Such a deal. Please e-mail me at john@siskinphoto.com to order this or another print. Thanks for your attention!

Understanding and Controlling Strobe Lighting: A Guide for Digital Photographers

https://amzn.to/3tH5Dp9

Photographing Architecture: Lighting, Composition, Post production and Marketing Techniques

https://amzn.to/3c8nLlU

March 30, 2021

Changes in Seeing

The made this image in the Gallisteo Basin, just a couple of miles from where I live. I expect to go back out there later this week. I’m not sure what gear I’ll bring with me. I’m challenging myself to work with different cameras and films to improve my ability to interpret what I see in different ways. Interpretation of a subject is part of making a photograph rather than just taking one.

New version
Gallisteo Basin 12-8-2020-2

I’m putting two versions of this on my blog. The original version I did just after making the photograph. I opened the shot again yesterday, a few months after I did the original version, and made a new version. Of course, I like the new version better, right now… It’s easier to see and re-interpret an image when you’ve put a little time between you and the original shot. There is always more to see.

Original version
Gallisteo Basin 12-8-2020-2

I am now offering prints of many of these images. The index codes for these images are: 46A 3-12-2021 #2. you can buy a print! Right now, all prints are set to fit on an 11×14 inch piece of paper. If the image is too thin it will have white paper on the sides. I am printing with an archival ink/paper combination. Prints are shipped by USPS priority mail to anywhere in the US that’s covered by Priority Mail service. The price is $75 for the first print and $60 for each additional print ordered at the same time. Please e-mail me at john@siskinphoto.com and include index code and your address. I will send you a PayPal request to arrange payment. I will be adding old and new images to this service. If you see an image on my site you would like to purchase please tell me where you found it and I’ll try to make it available to you. Thanks for your support!

And my books!
Understanding and Controlling Strobe Lighting: A Guide for Digital Photographers

https://amzn.to/3tH5Dp9

Photographing Architecture: Lighting, Composition, Postproduction and Marketing Techniques

https://amzn.to/3c8nLlU

November 8, 2020

Digital Shooting is Different!

Filed under: Basic Photo Technique,Digital Photography,Looking at Photographs — John Siskin @ 3:12 pm

There are over 600 images attached to this blog post, probably excessive… Please take a look. Due to the number of images I’ve decided to place them after the text. If you only want to look at the images please scroll right through the text. Please note, all of these images were shot by me in 2020. They are covered by any and all applicable copyright law. Thanks!

I’ve had several discussions, over the years about the difference between digital and analog photography. When I first started to do a blog I did some posts about the things that hadn’t changed, the things that carried over from film to digital. Some of that stuff is in this article: file:///Users/siskin/Downloads/basic-1.pdf. This made the point that many of the basics of photographic capture, things like aperture and shutter speed and design, don’t really change when you’re shooting digital. Over the years, I’ve met a lot of people, including photo instructors, who want to work with a digital camera as if it is a film camera. You can certainly do this, but it ignores some of the great advantages of digital shooting.

Since I got out to New Mexico most of my time, photographically, has been spent with film cameras. I don’t want to try to justify that choice, except by saying I’m having a lot of fun playing with film cameras. Since most of my time as a commercial photographer and teacher, for many years, has been largely spent with digital cameras, I’m very aware of differences in the way I shoot digital and film. This blog post is about a very basic and EXTREMELY IMPORTANT, differences between shooting film and digital: MONEY and TIME. Every time you press the shutter button on a film camera you have committed to a financial expenditure. Maybe you think, but it’s not a lot, it shouldn’t be important to your shooting decisions. Here’s the thing, it’s not a lot, if you shoot a digital camera like a film camera, BUT, if you shoot it like a digital camera, it should be a lot. Later in this blog I’m going to present the shots I took at Leonora Curtin Wetlands, a couple of weeks ago. The first time I went with a film camera, and shot about 8 images. I went back a few days later with my digital camera and shot 700 images. The film cost about $8 dollars. I took be about an hour to process the roll and another hour to scan the images. If I’d shot film, I’d have spent about $85 dollars and say a couple of days to process and scan all those shots…

My Mamiya Press camera is a little tricky to use and it has questionable ergonomics; the Nikon D800 is easy to use and a dream to handle. Why do I insist on working with film cameras, and while we’re at it why do people climb mountains… Ansel Adams often spent a lot of time on making each image, at best his 4×5 camera and tripod took minutes to set up, so he put a lot of effort into each negative. Jay Maisel was also, originally, a film photographer. Instead of a 4×5 camera he was using 35mm cameras. The thing about Jay is that he shot a ton of film! I’ve heard him speak and have some of his books. One of my articles even appeared in a magazine that featured his work. He is a terrific photographer and you should look at his work. Every story I’ve heard about him stresses how many photographs he takes, how much film he used. It was EXPENSIVE to shoot like Jay. Of course, he had a big budget for his shoots…

The thing is that digital capture separates pushing the shutter button from emptying your wallet. SO, SHOOT LIKE JAY MAISEL!!

But then I have to edit all those images…

Of course, did you think that buying an expensive camera made you a better photographer? Editing makes you a better photographer.

Over the years I’ve talked to a lot of stock photographers, magazine photographers and photo teachers. The stock photographers and the magazine photographers will always tell you to “frame loosely”, leave a little extra space in your composition. And, they’ll remind you to shoot both vertical and horizontal versions of your subject. The reason is that when you sell that image you don’t know what the buyer will want to do with it: maybe they’ll need a little extra room for a title or for a label. I’ve heard a lot of photo teachers harangue students to make their compositions in the camera; to do their final framing in the view finder. This is a good exercise, and it was sort of important if you were shooting slides for projection, but it’s not good advice for digital shooting. Those ideas were important when folks were shooting 35mm film. Today, people have forgotten how little resolution 35mm film had. You could make a good 8×10 inch print, if you didn’t crop much. If you had a really graphic composition a bigger print would work, but a double page spread in Life Magazine wasn’t going to look great. So, people were using bigger film, much of the time. Like my Mamiya Press camera, which uses 6x9cm film. As you may know, I often shoot much bigger film, 8×10 inch and 11×14 inch negatives! Modern digital cameras have huge files, which can translate into either huge prints, or cropping without a loss in image resolution. The files from my Nikon will print at 24×16 inches at 300 dpi, fantastic resolution! Even the files from my phone camera have more resolution than the 35mm film I used when I started out. So shoot loosely!

In the old days, most of us spent a good deal of time in the darkroom. It was part of basic training. First, if a photographer didn’t understand the whole process, he/she was often handicapped in dealing with a professional lab: you didn’t know what they could and couldn’t do. Of course, there were lazy photographers, people who dropped the film off and assumed that the lab would do right by them. If you were a wedding shooter, and went to a pro lab that was good at weddings, this generally worked out. If you dropped your film off at the drug store your work often looked lousy. Today, with digital, a good photographer needs to have a real familiarity with digital image processing. You can get services like www.deepetch to do the work for you, but just like with an old school professional lab, you need to communicate with them. You can also work with Photoshop or Lightroom and get great results on your own, and your hands won’t smell like fixer. The bottom line is that you’re going to have to have some involvement in the interpretation of the image after the shot. Shooting loosely doesn’t mean that your finished images should be loose!

I’ve already done a blog post about editing: https://siskinphoto.com/blog/?p=3362. Editing is very difficult process; it can be heart breaking. In this post I’ve included a proof sheet of the 8 images I shot with my film camera at Leonora Curtin Wetlands. One shot was ruined by my mistake, and I took 3 shots through Photoshop. This was a quick shoot; I was only there for about a half hour because the place was closing. Because of the short time I kept the wide-angle lens on the camera the whole time. Three out of eight is pretty good odds…

I went back a couple of days later with the digital camera: Nikon D800. I had a few hours to shoot, which would have changed the original shoot as well. The big change was that I shot like a digital photographer. I shot 700 images. I’ve attached 608 of the images to this blog. I kept the others back because they had people in them and I didn’t bother to get model releases from those folks. If you plan on selling your shots you better plan on getting model release forms filled out. Regardless, it’s a hell of a lot of pictures. I edited these files several times. It took a while, and I put it off for a while. It’s often better to edit after you’ve spent a few days away from the shoot. You’re more likely to edit the images for effect, rather than the experience of making the shot. I used to ask students to trade raw images with each other so that they could get the feeling of editing, truly independent of shooting. This is great exercise. We often forget that the viewer won’t have the experience of making the shot, they only have what we choose to share. I finished 15 shots in Photoshop, not such good odds, but odds on, better images. I’ve included all these images so that you can get the idea of what it’s like to edit a big shoot.

For the digital shoot I had four lenses, all manual focus. It’s not that I don’t have, or use, autofocus lenses, but I felt I needed some practice with these lenses. As I’ve written before, it’s extremely important for photographers to PRACTICE. I had the Vivitar Series 1, 90-180 Flat Field zoom lens F4.5. This is a very unusual lens design. It was supposed to have been designed for medical photography. The one I have now is wicked sharp, but what really makes this lens different is that it CONTINUOUSLY focuses from infinity to macro. I know of only one other zoom lens that would do that: the Nikkor 70-180, discontinued now. Both these lenses are rare and rather expensive for older manual focus used lenses. The Vivitar is really great for shooting product because it has a tripod collar, which makes it really easy to charge the camera orientation without changing the centering. I also took the Lomography Daguerreotype Achromat. This is a modern lens built with a similar optical design to 19th century lenses. It’s a beautiful thing, actually gold plated. It makes very soft images. You’ll be able to pick them out of the attached images pretty easily. I was using it wide open, f2.9, which adds to the softness. Then I took the Nikkor 35mm PC. lens f2.8. This is a very manual lens with a manual diaphragm. What makes it interesting is that it is a shift lens. You can move the center of the lens in relation to the center of the film. Usually this is used for shooting architecture, but in this case, I just wanted to play with it. Finally I had the 14mm f2.8 Rokinon, which is just incredibly wide! There are no prizes for figuring out which images are made with which lens. In fact, since these lenses don’t leave a trace in the exif files, I don’t know myself. I really should keep better records.

I am sure you would choose different images to work with than I did. I am sure you would process the images differently than I did. That is an essential part of our individual expression. I would like to hear your thoughts about these images. Please e-mail me at john@siskinphoto.com with your thoughts! Unfortunately, I had to close the comments on this blog long ago, but I’ll add your comments at the end.

Shoot #1-Mamiya Press with 50mm lens-Processed images:

Shoot #1-Mamiya Press with 50mm lens-Proof sheet

contact sheet


Shoot #2-Nikon D800-Processed images

Shoot #2-Nikon D800-Original images

Wow, you’re still here? Thanks! If you have any comments e-mail me at john@siskinphoto.com!


September 13, 2020

Practice, Test & Play

New house

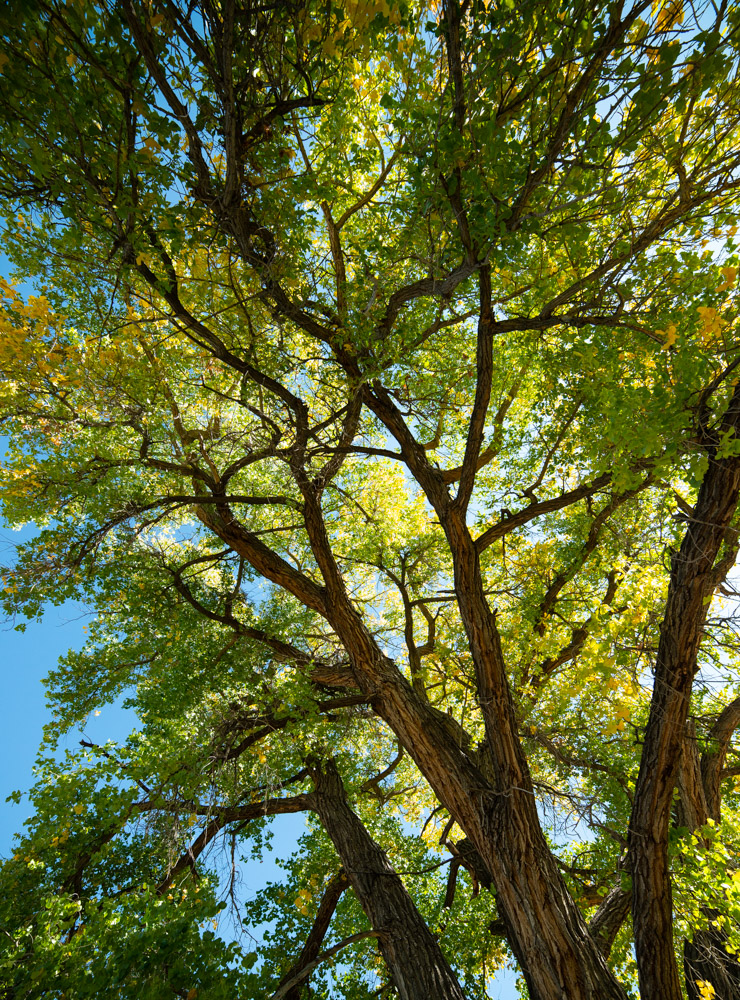
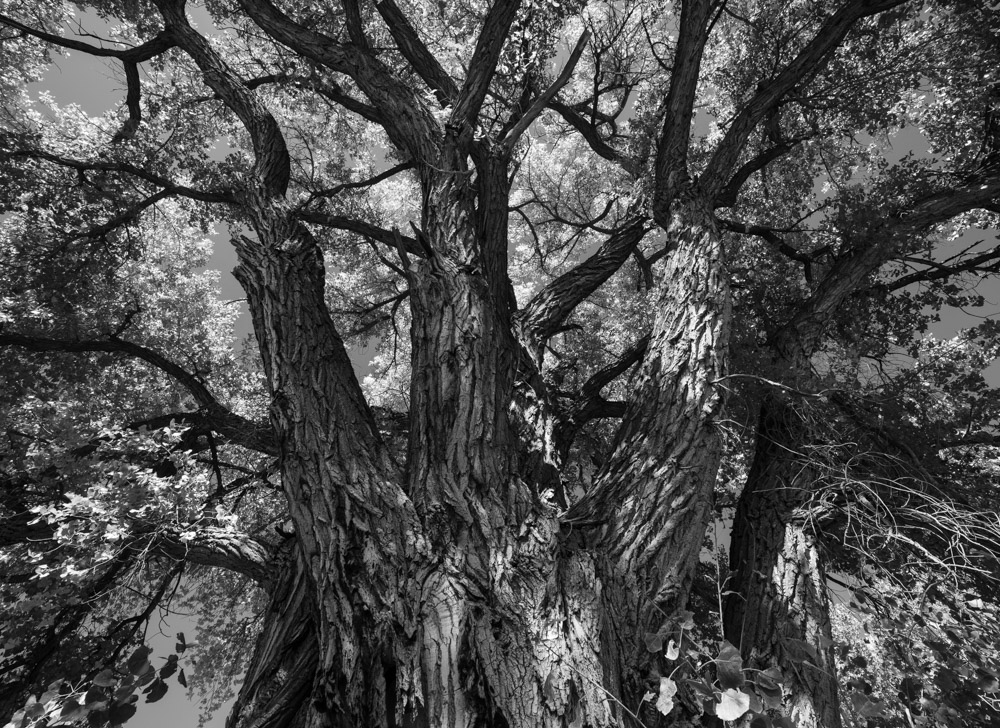
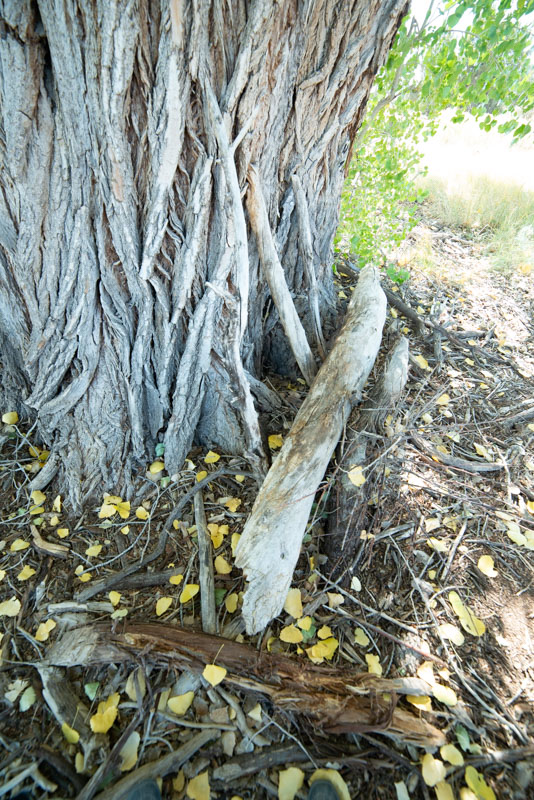
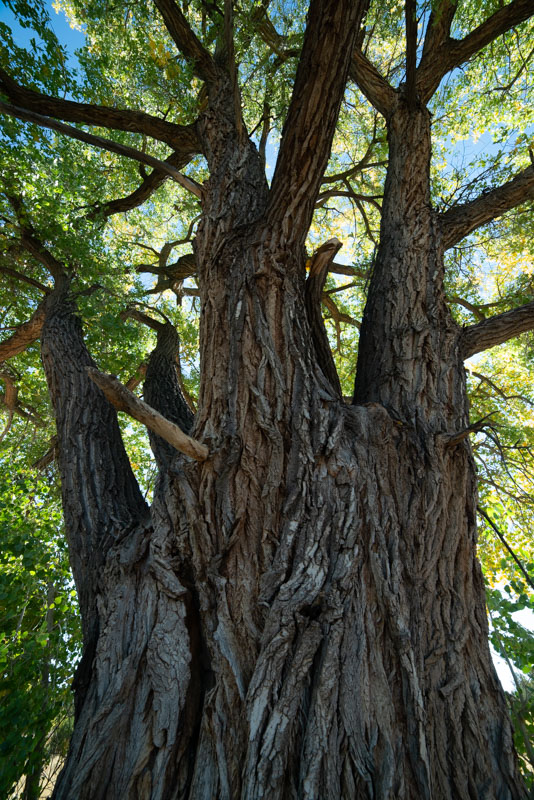
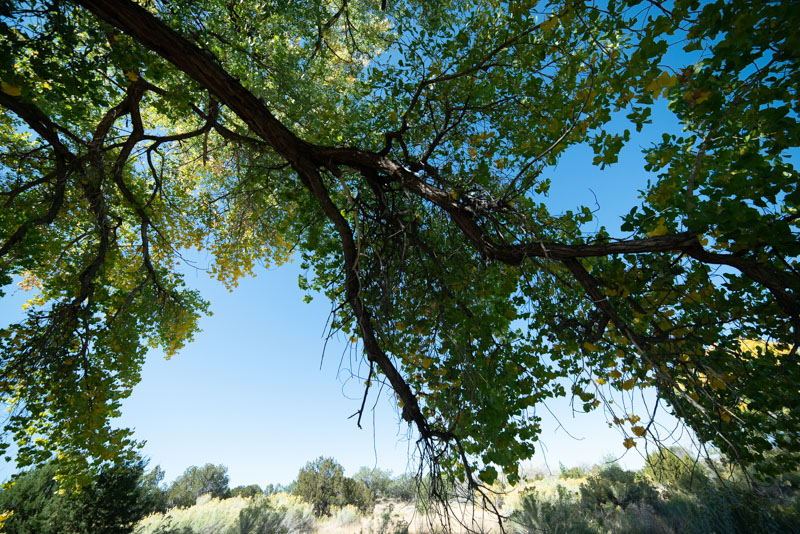
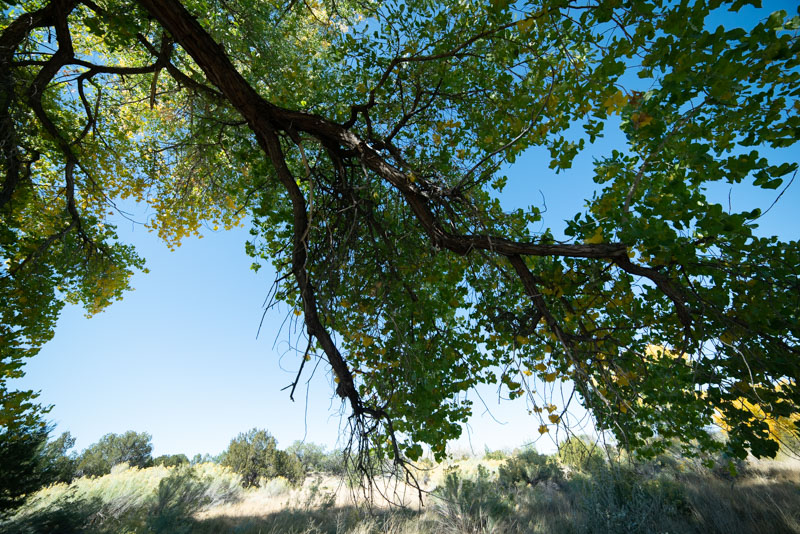
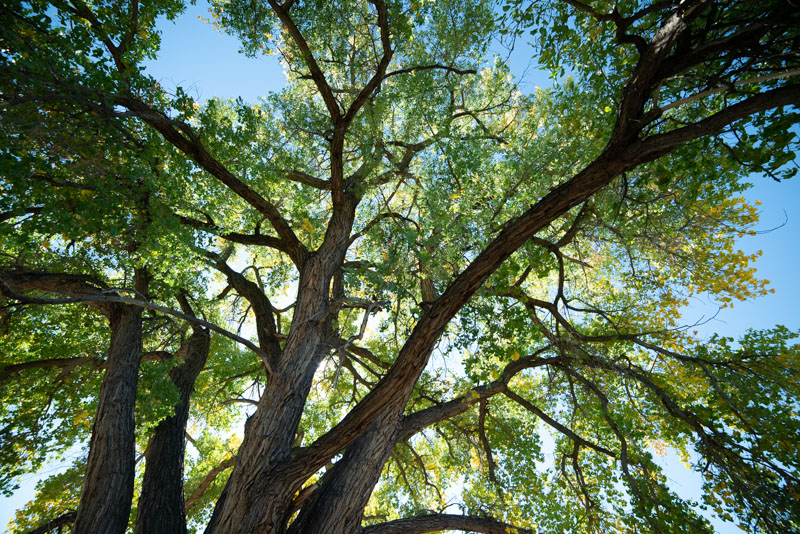
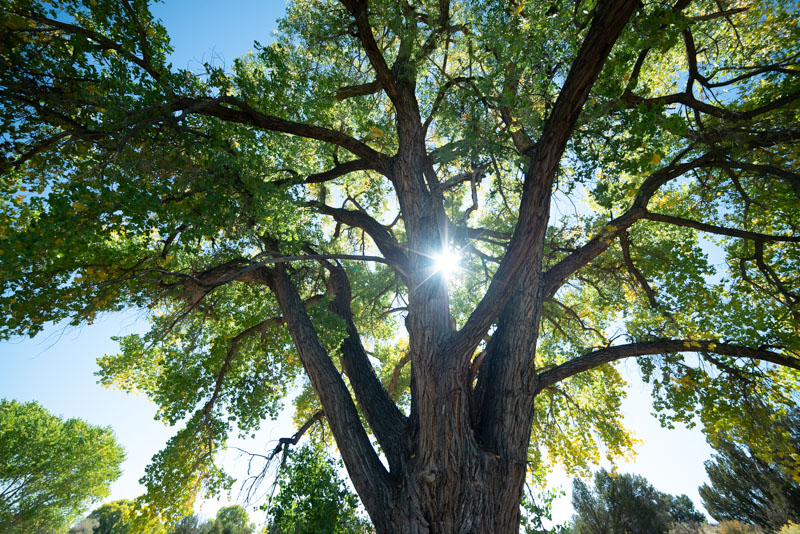
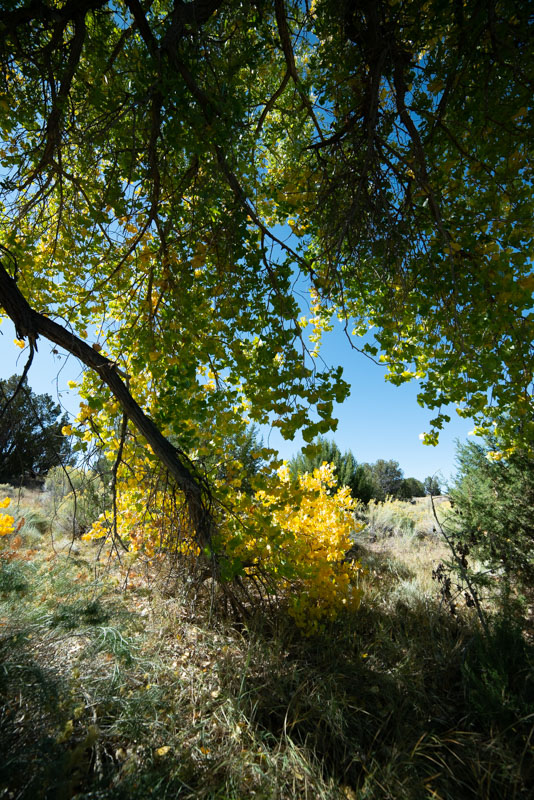
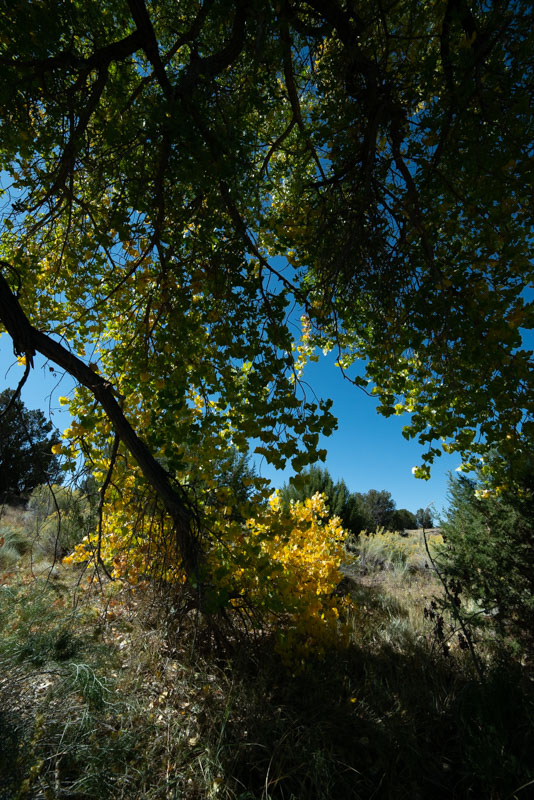
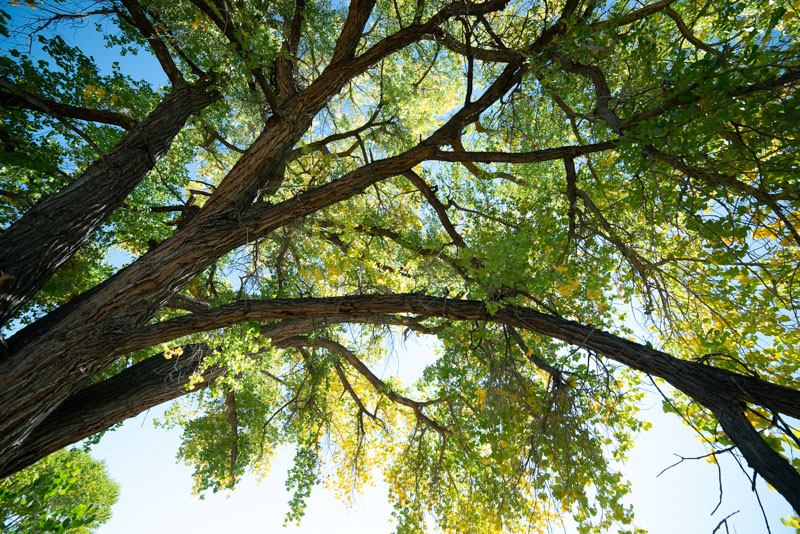
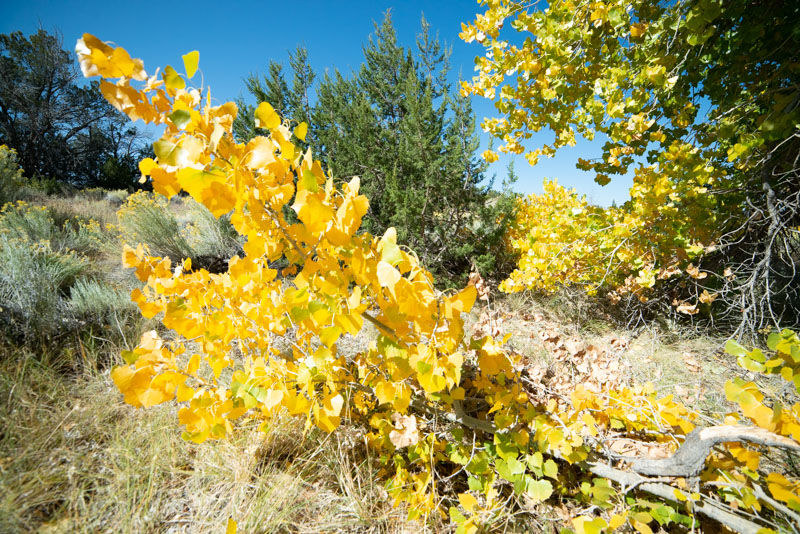
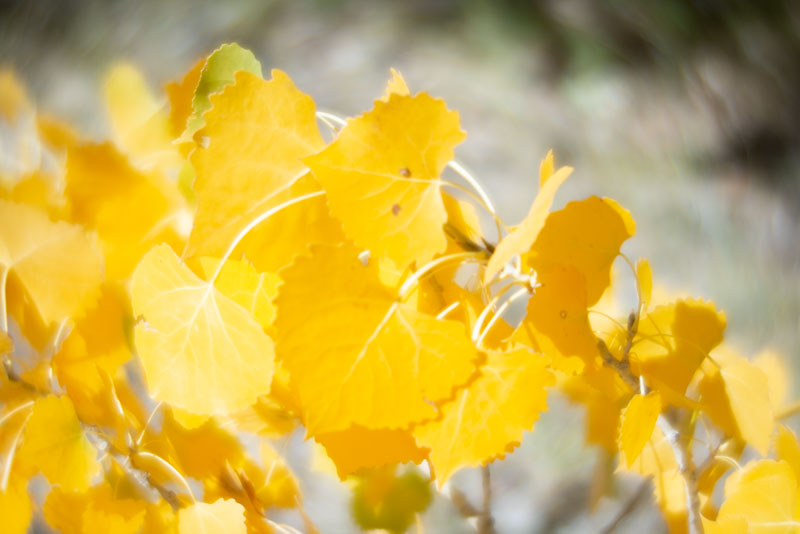
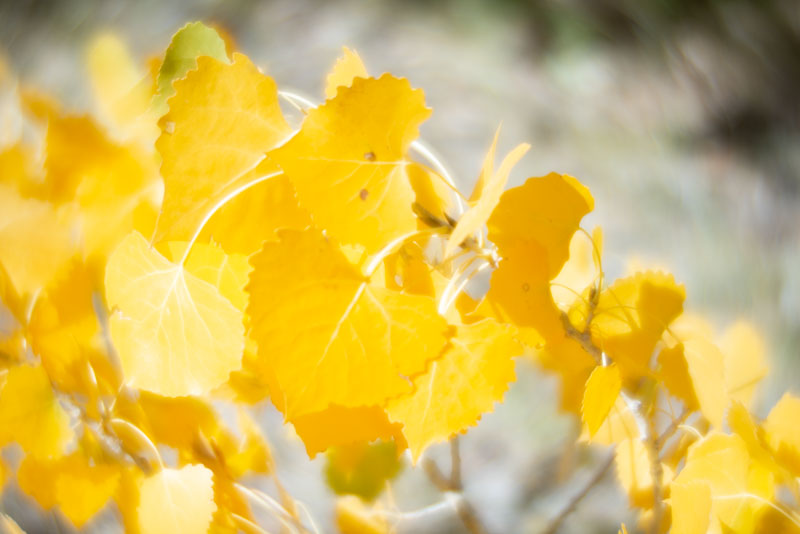
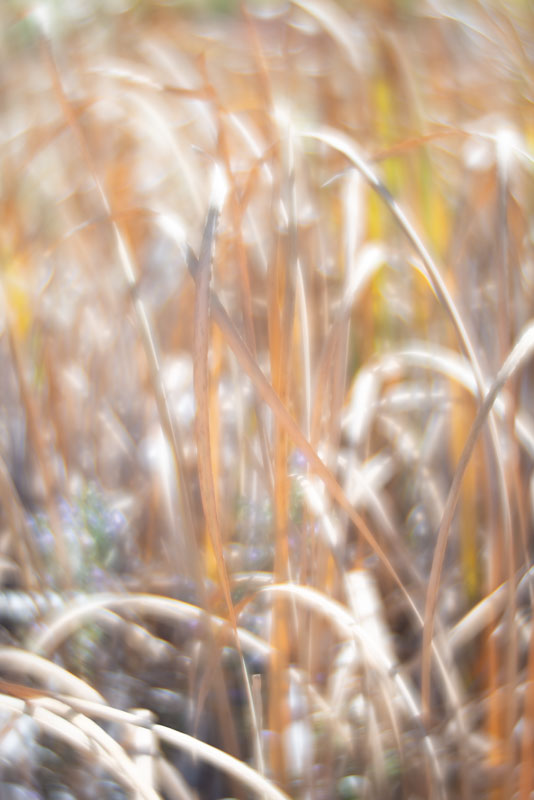
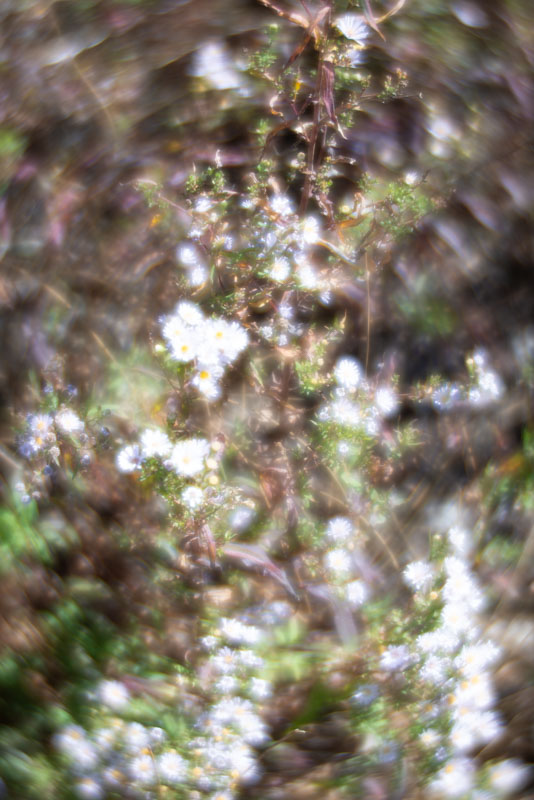
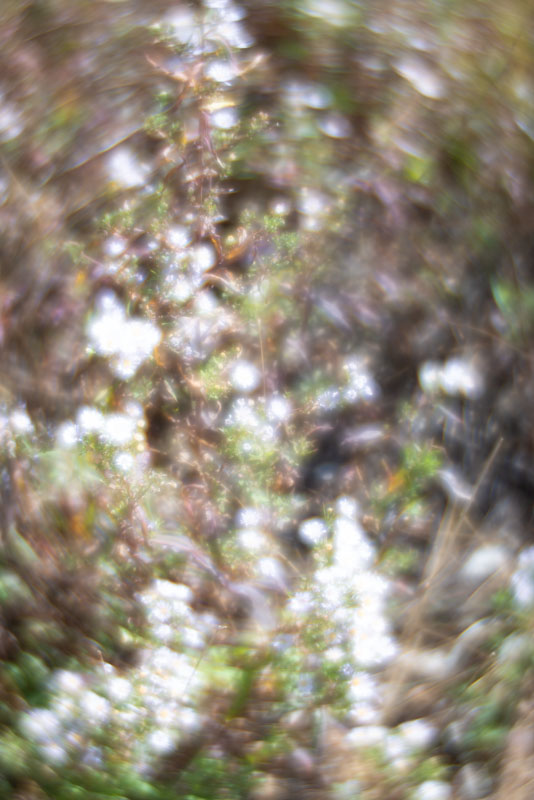
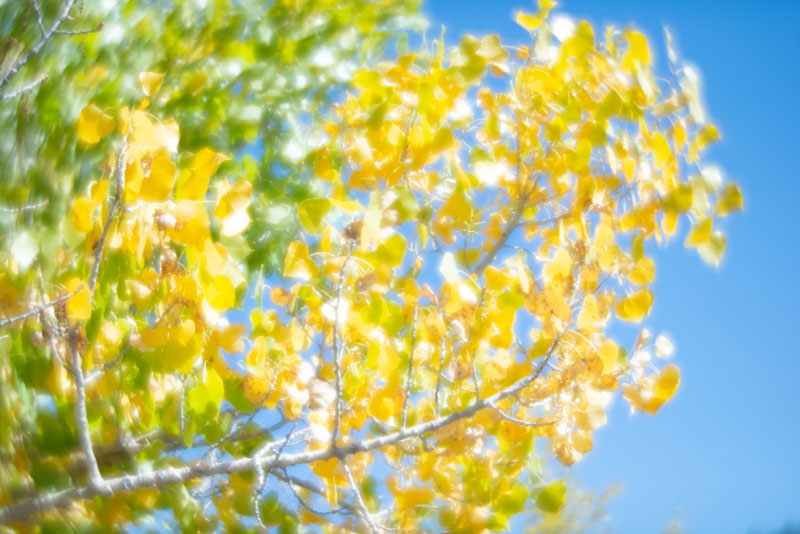
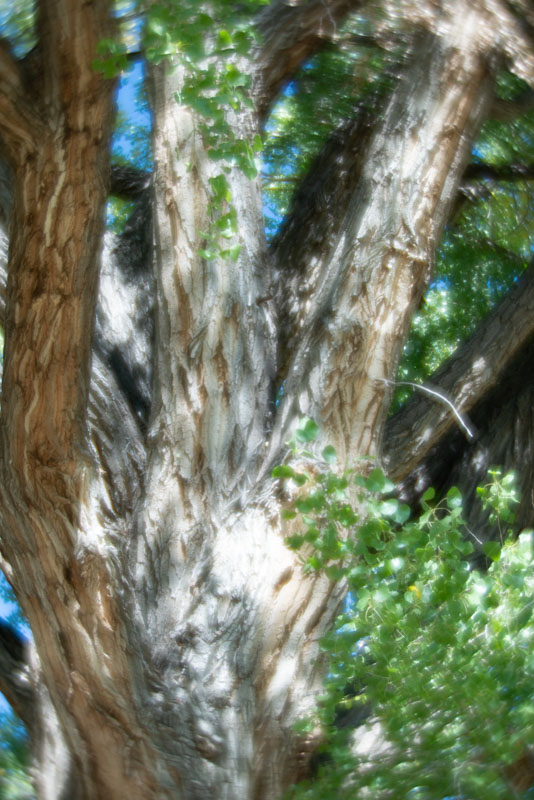
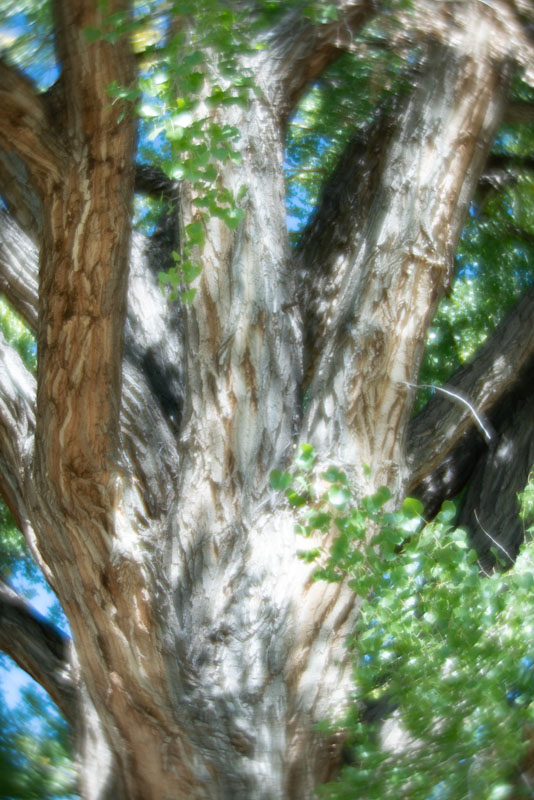
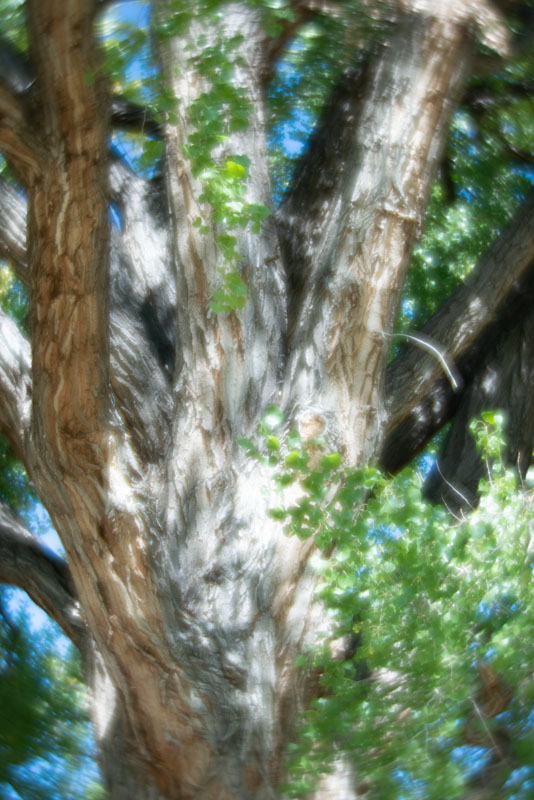
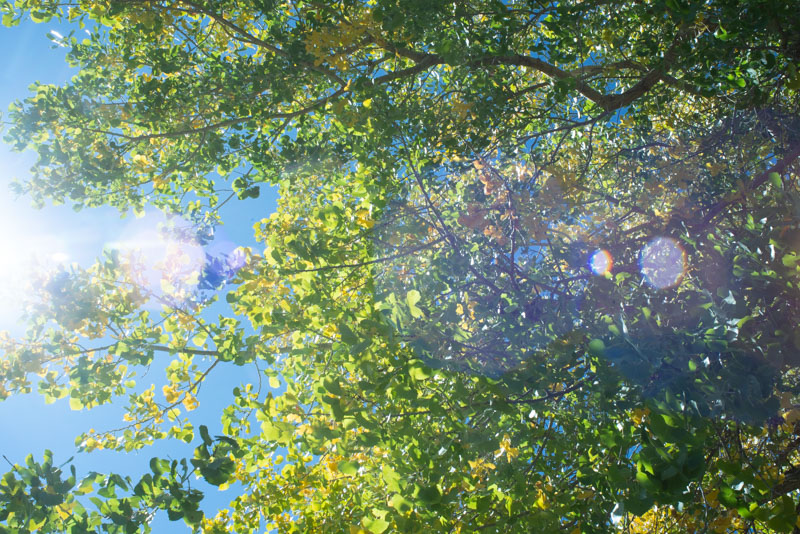
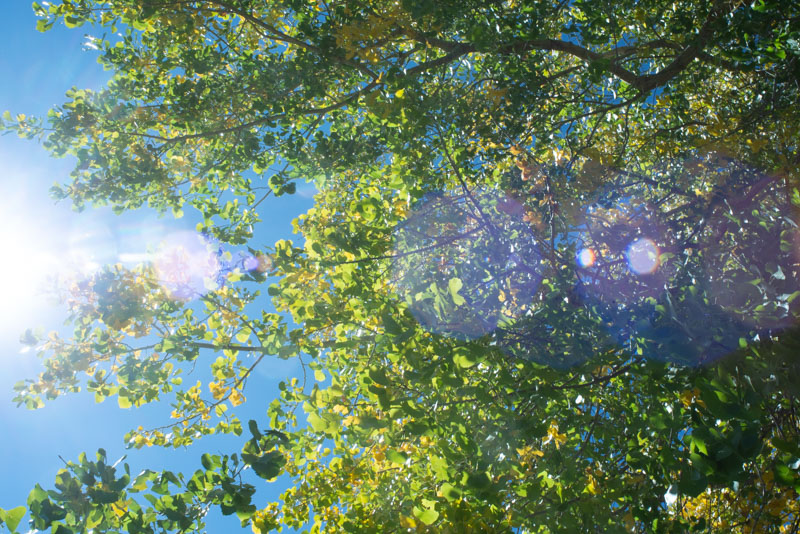
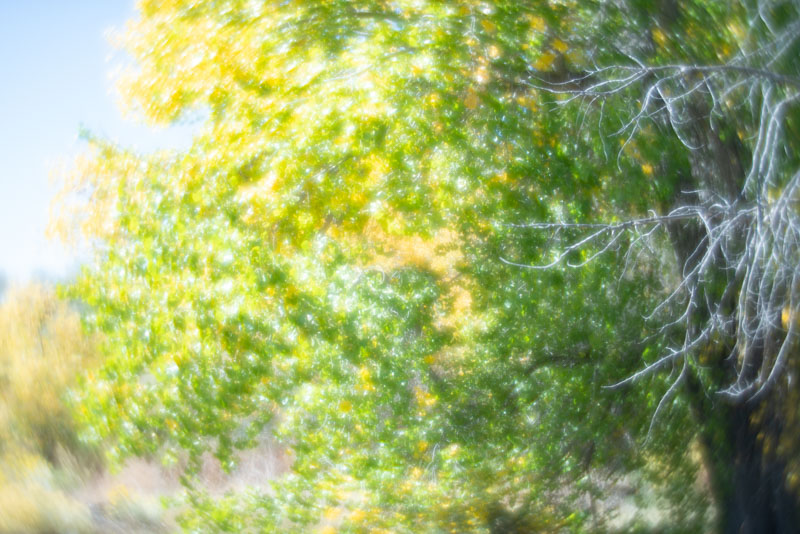
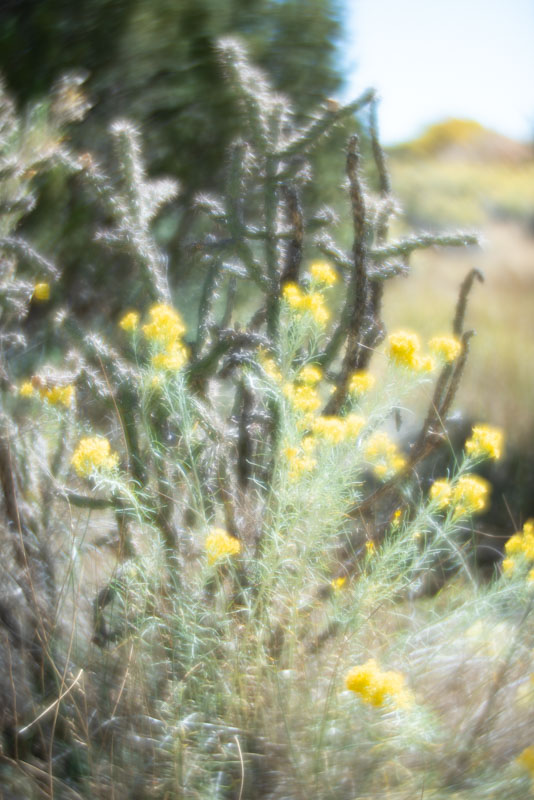
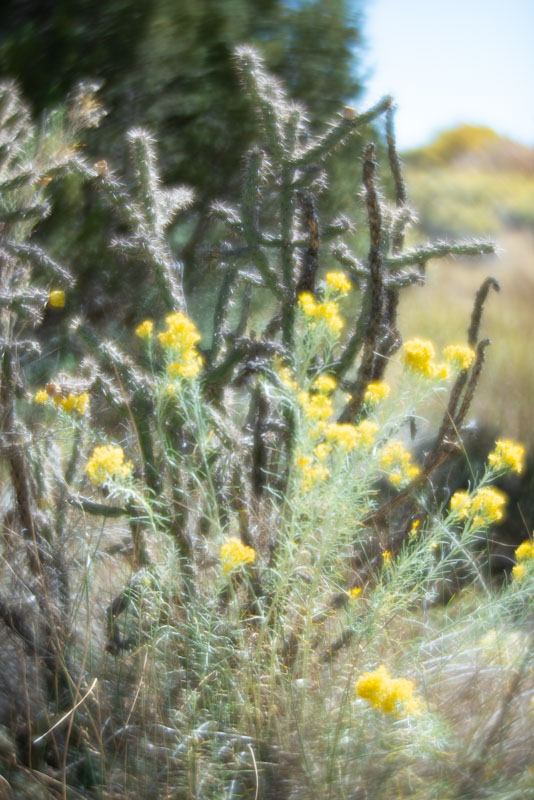
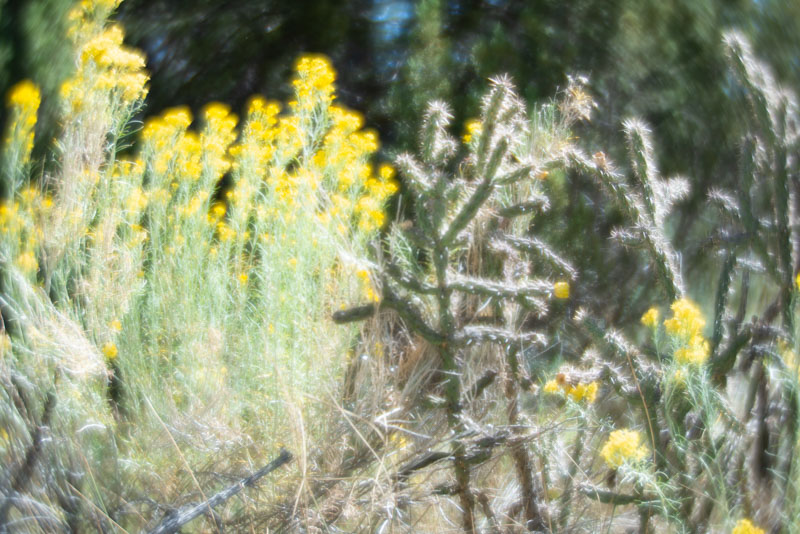
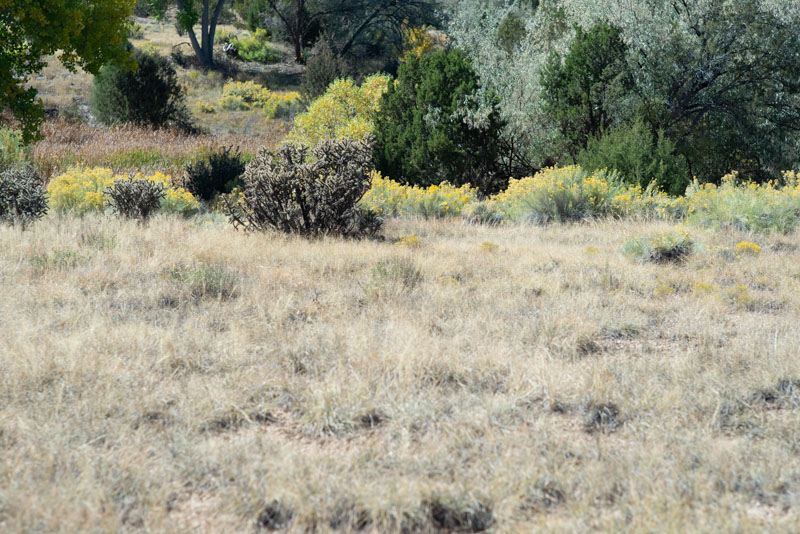
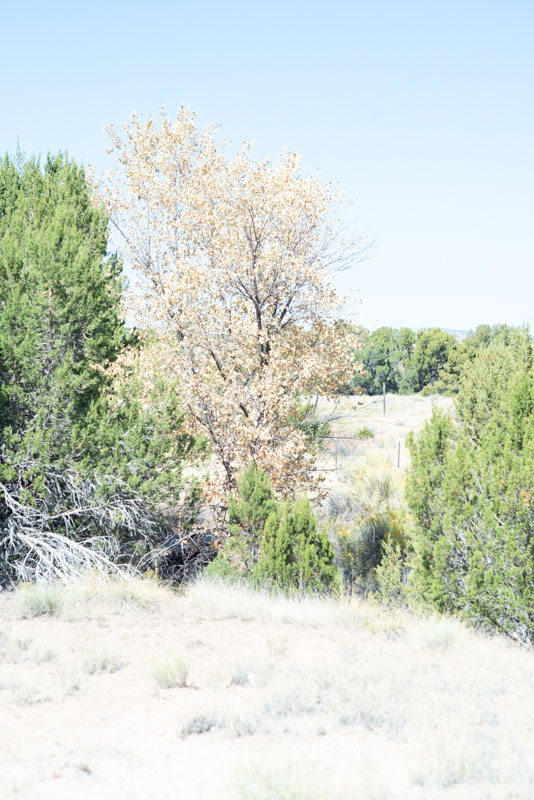
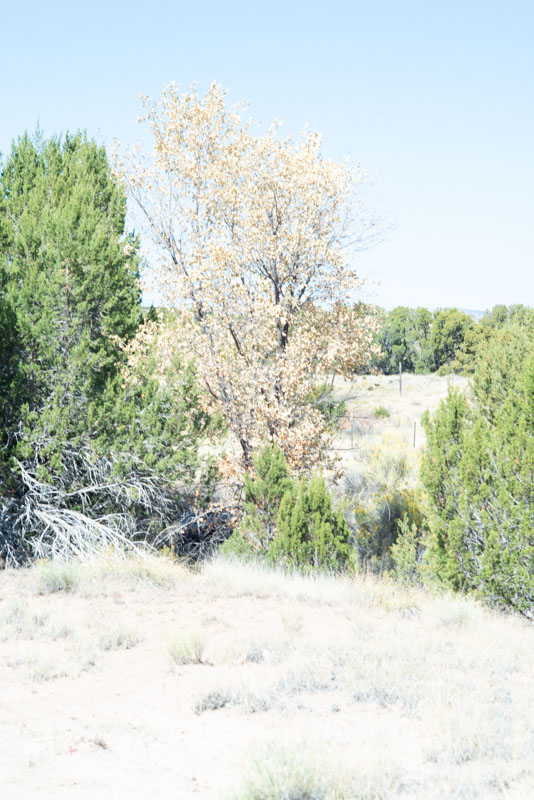
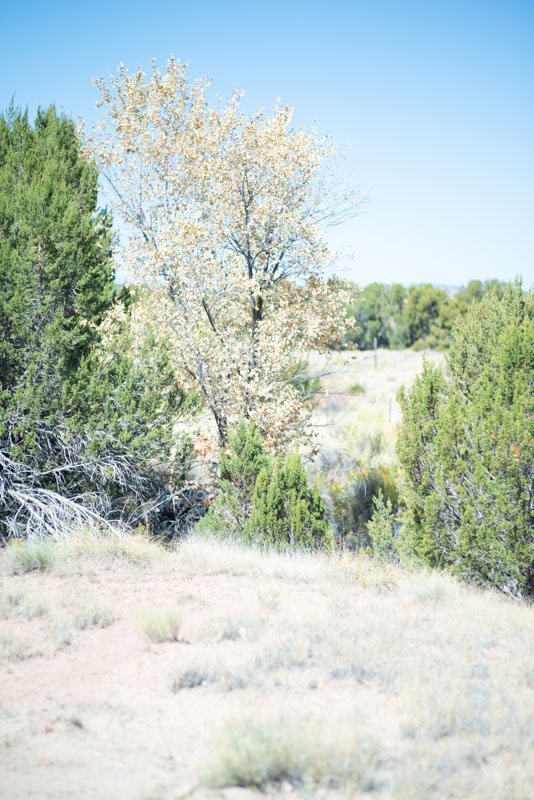
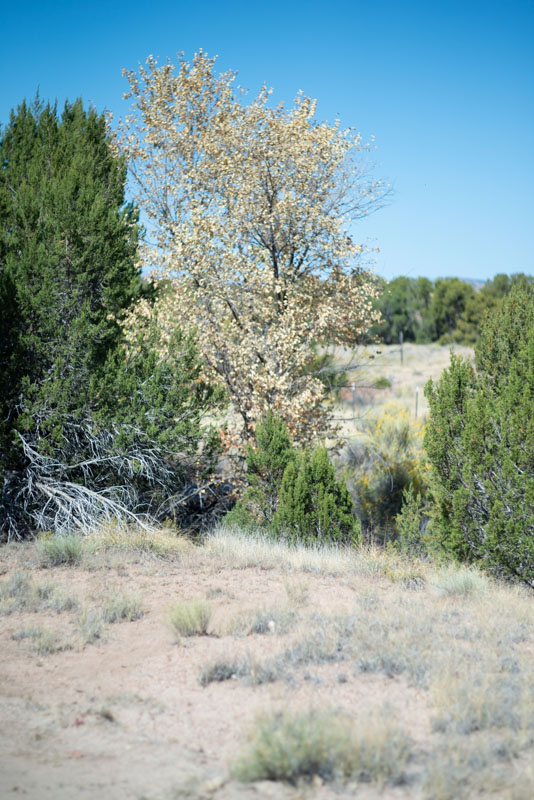
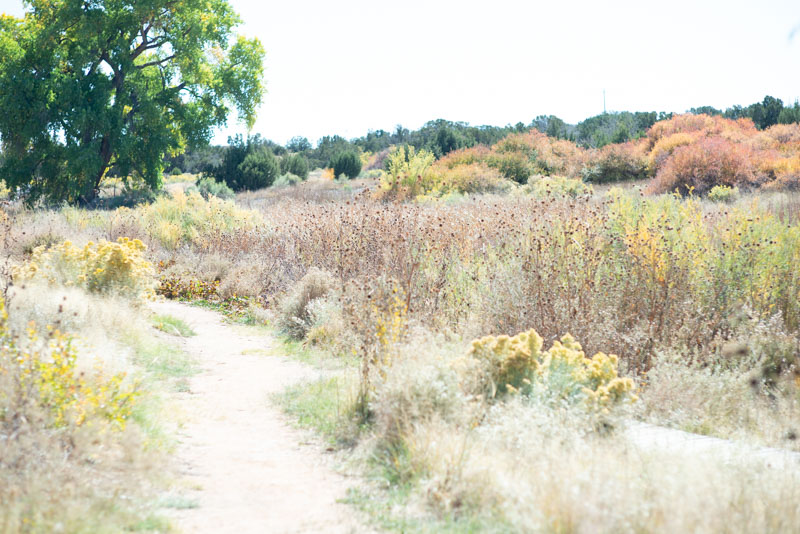
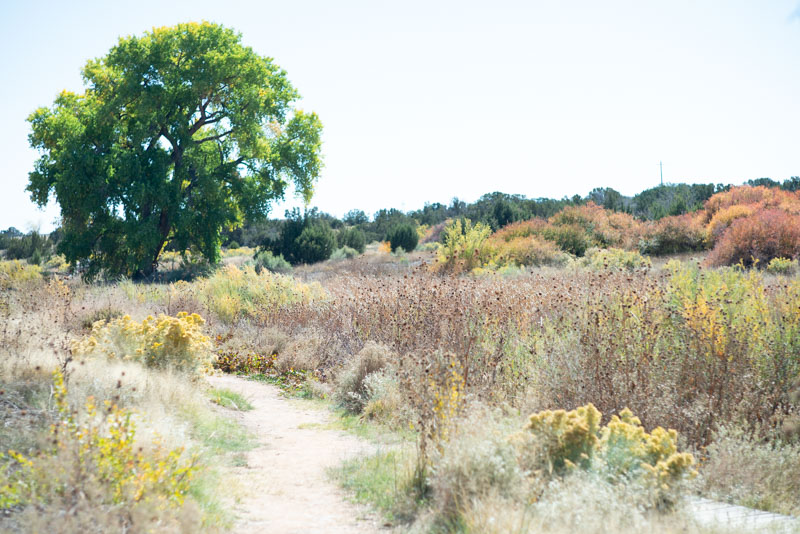
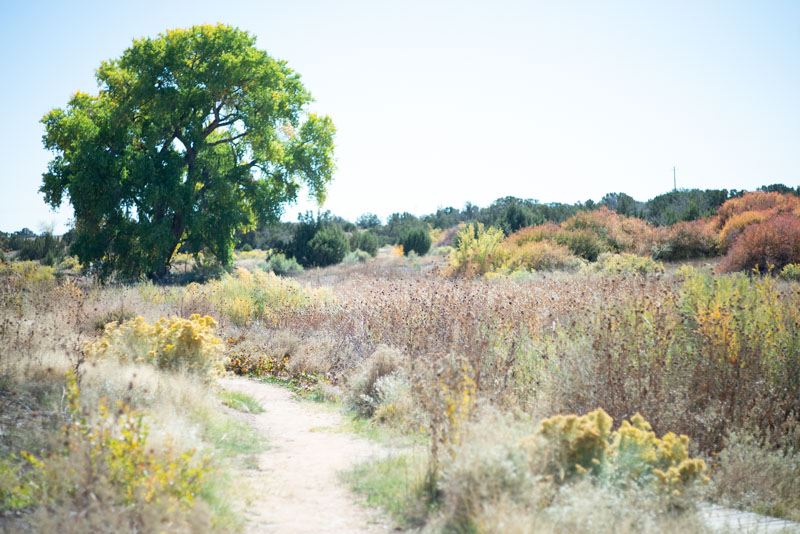
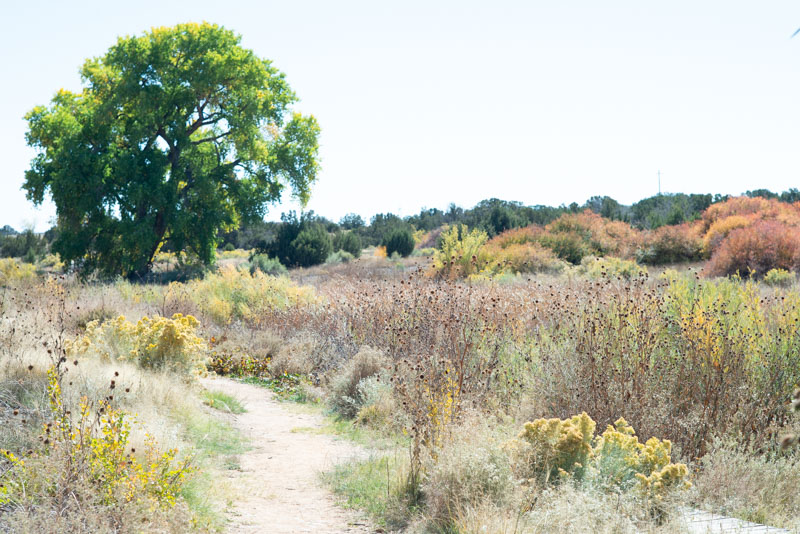
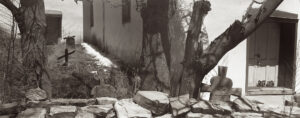
I don’t suppose it’s news that I’ve retired, at least it’s not news to me. Also, I’ve moved to a place just outside of Santa Fe, New Mexico. I should say that life is very, very good out here. Anyway, that being said, I wanted to say a few things about what I’m doing photographically right now. As I’ve finished up the Courting Chaos project, closed the studio and stopped teaching, there are not a lot of things pushing me to do photography anymore, and, at the same time, I’m not trying to find any commercial work. That used to take a lot of time. What I am doing is working with black and white film and a few interesting cameras. I feel very good about doing this; it’s a kind of re-invention, or maybe, a return to my roots…

In order for me to get my film chops back, so to speak, I need to do the simple basic things that any photographer needs to do, especially when they aren’t being pushed form the outside: practice, play and test. I wanted to write a little about these things today. I think the first time I heard about photographers practicing was when I went to Nikon School. I was selling cameras in Santa Barbara at the time, if memory serves. What they suggested was focus practice. Back in the days of 35mm film SLR cameras focus practice was very important. I remember that they stressed learning to focus anywhere on the screen, not just using the split image. The fact was that they were right: focus practice does make you a better photographer. Of course, if you’re using an auto focus camera it’s different; you need to stay aware of the point or points the camera is focusing on, and how that fits your image. Also, modern digital cameras have so many menus and useful features that it helps to practice using any feature that you like that you don’t often use. One great thing about practicing with a digital camera is that you can take actual pictures to get feedback on your practice, practicing with actual film could get pretty expensive.

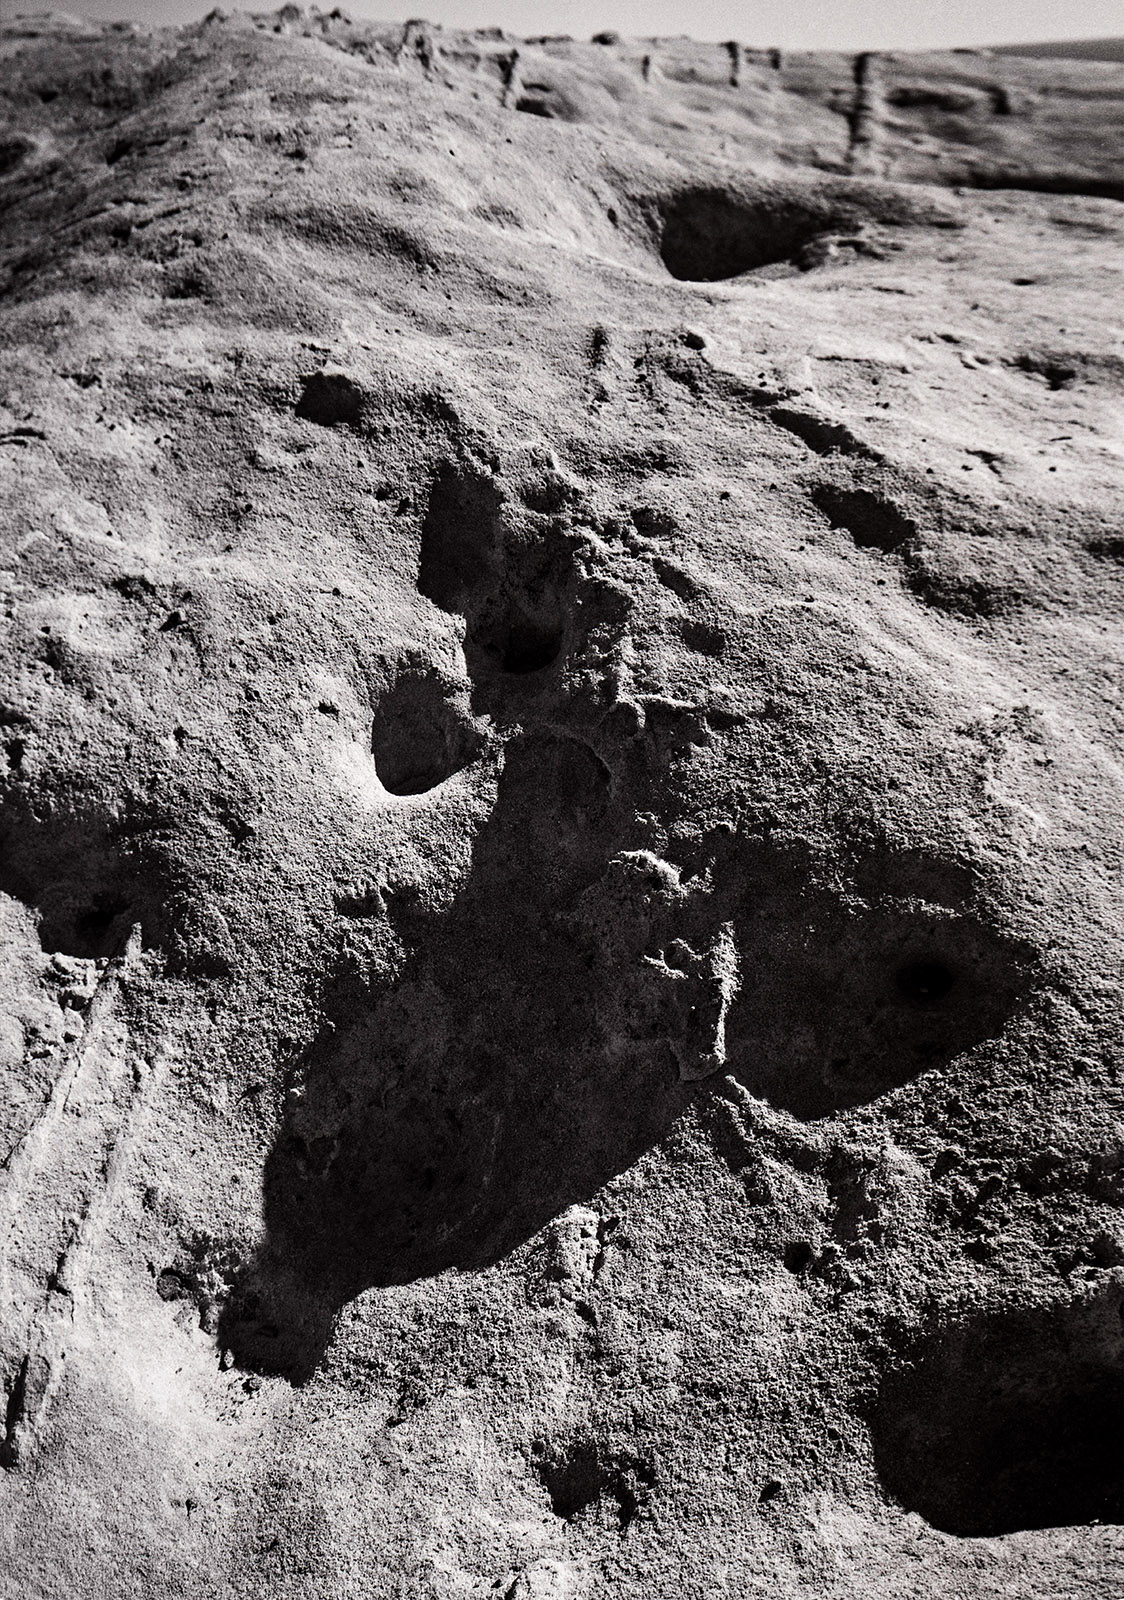
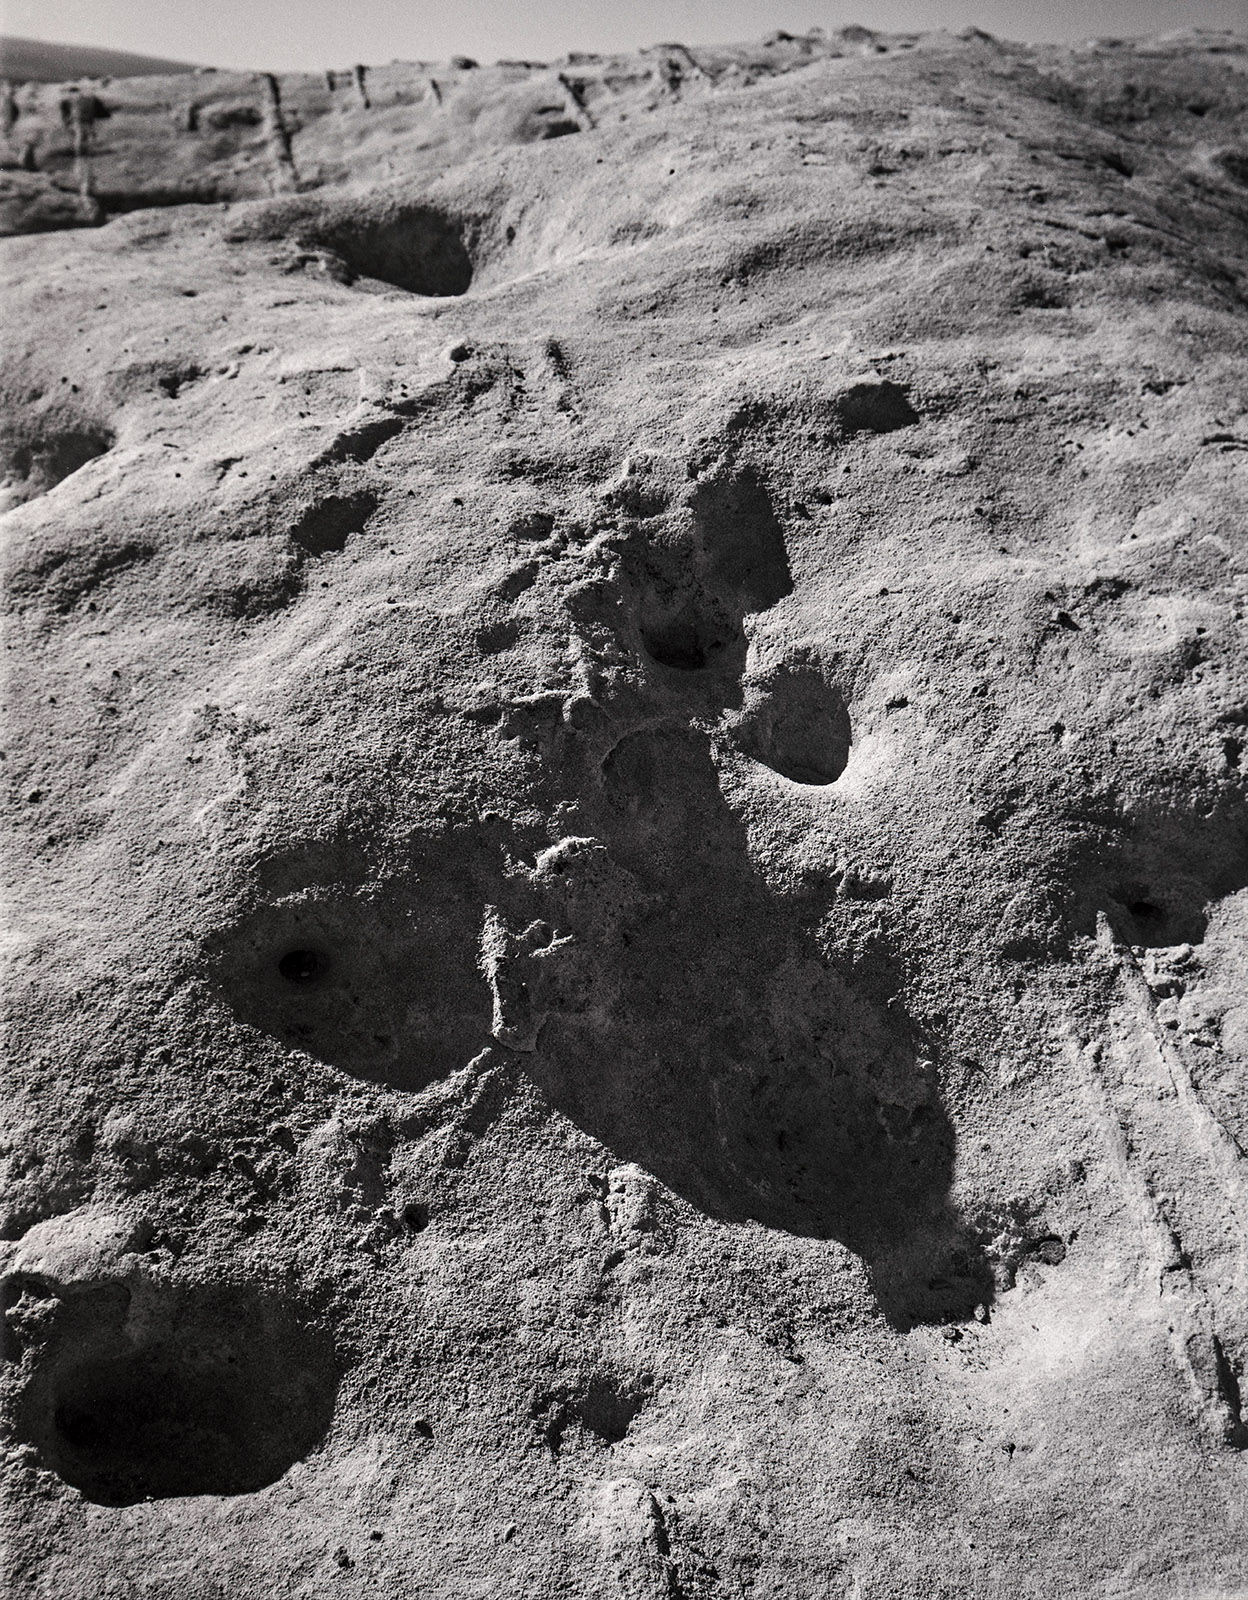
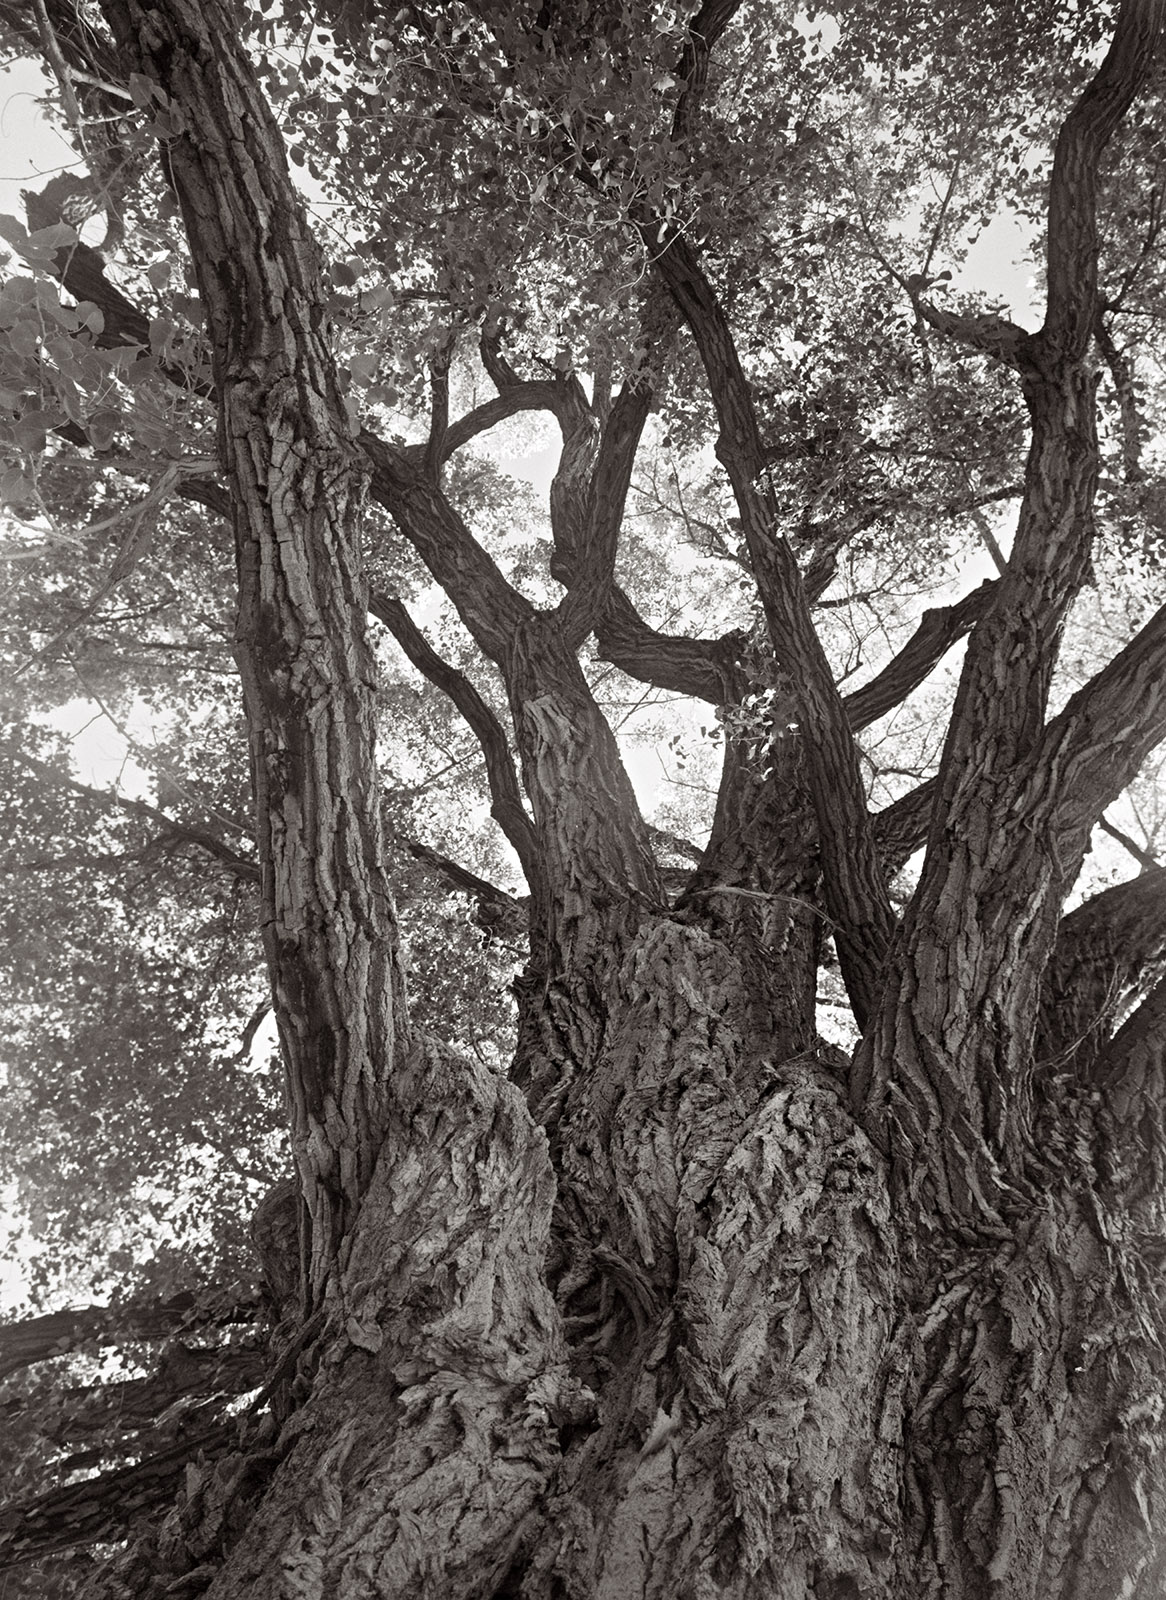
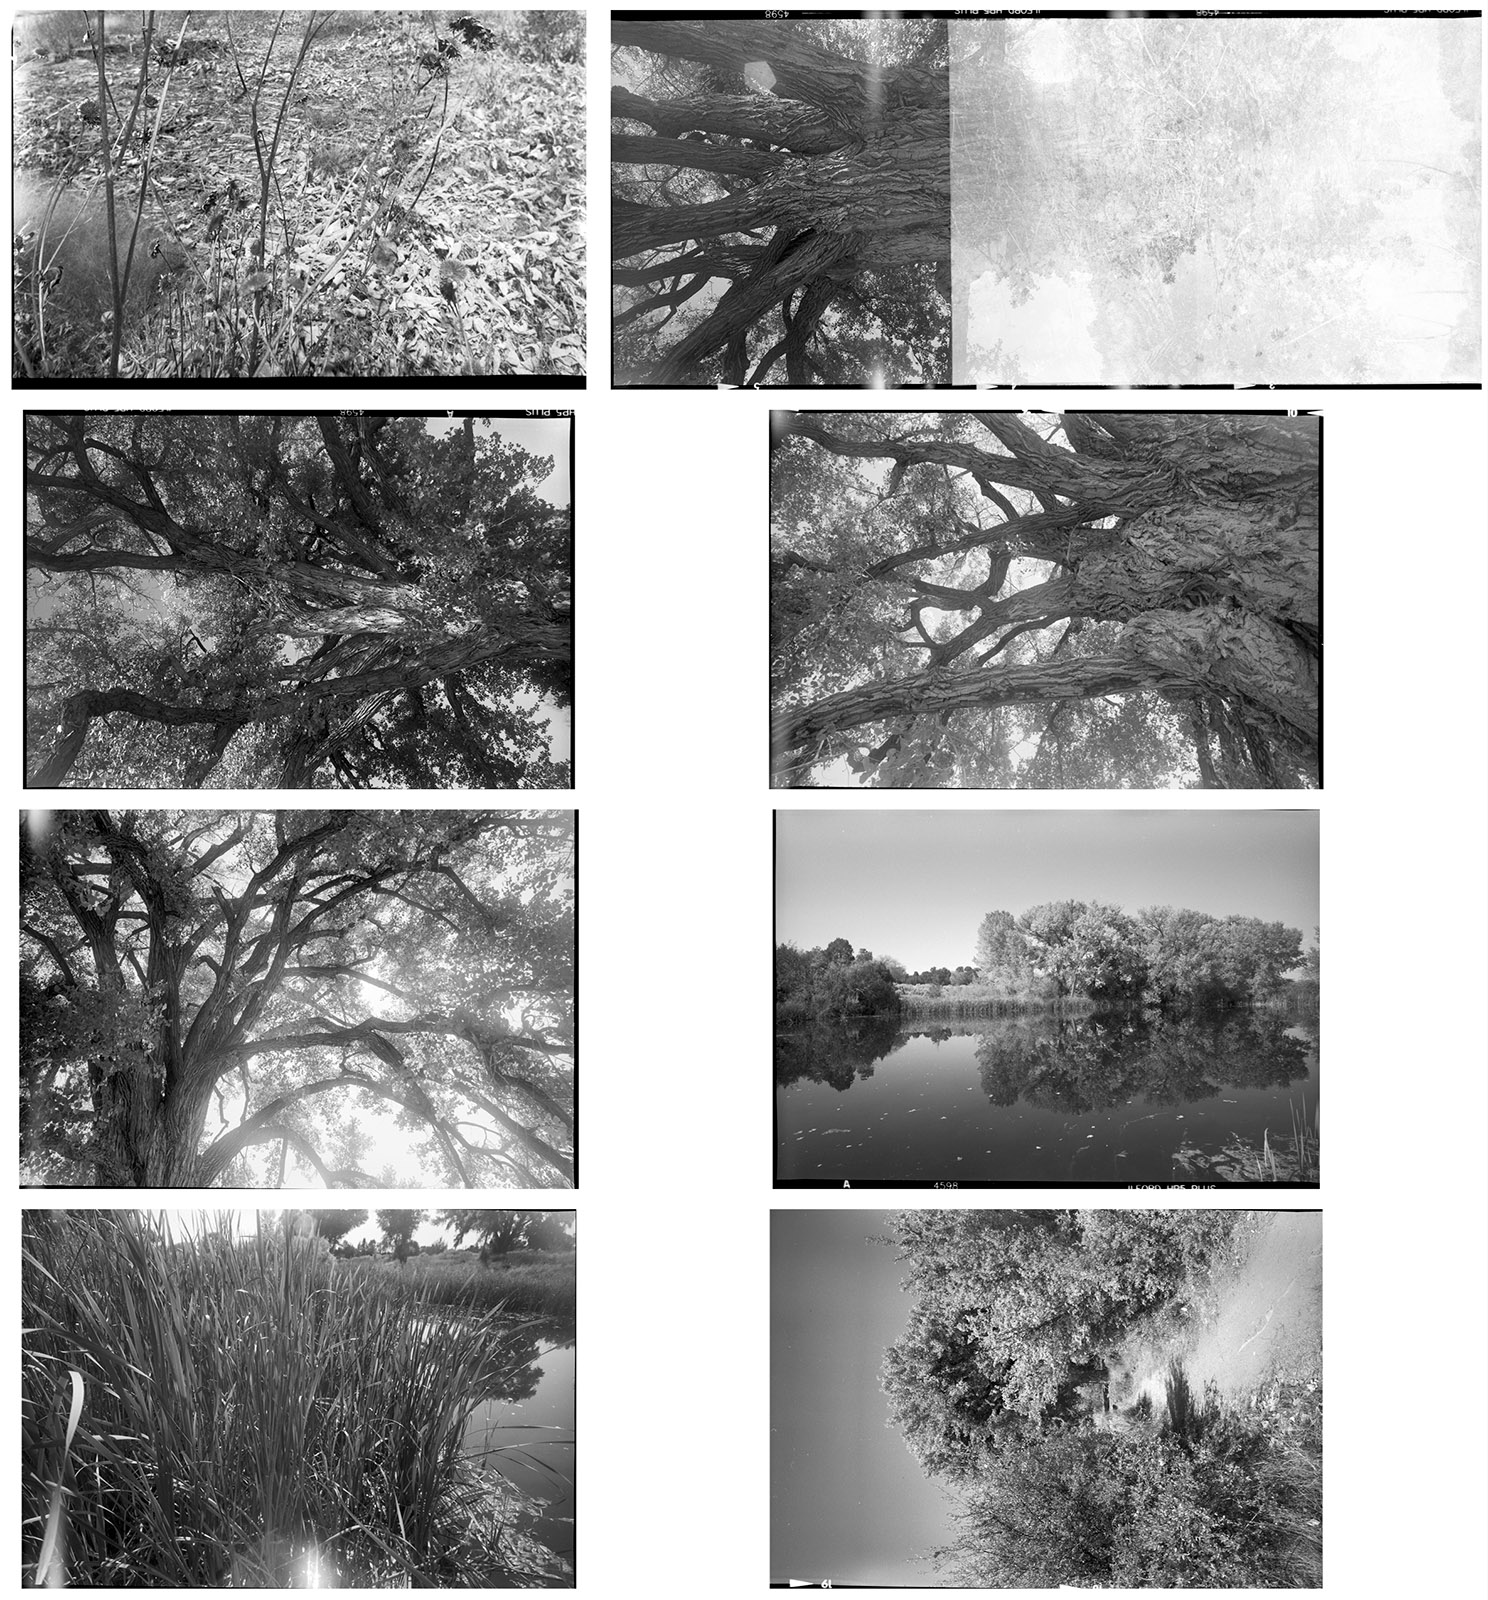
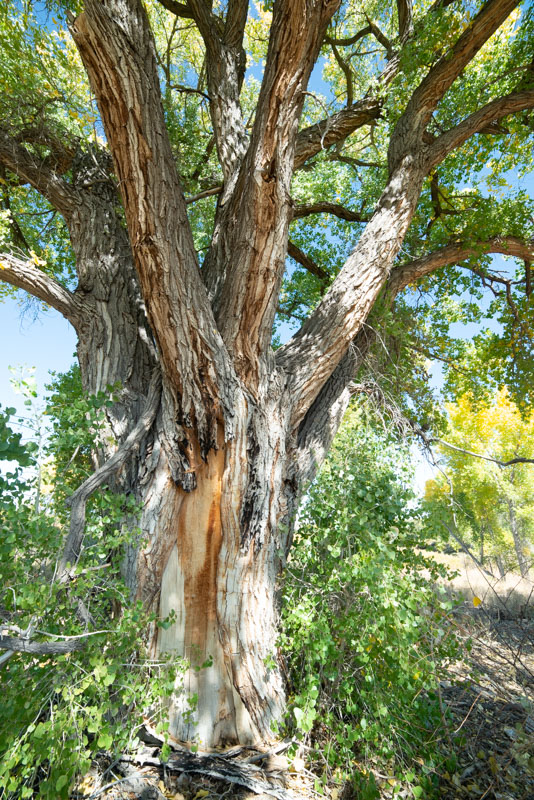
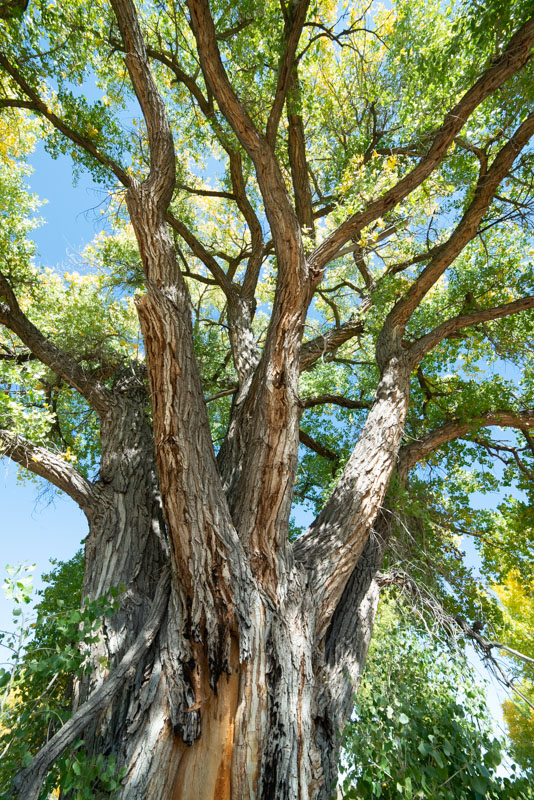
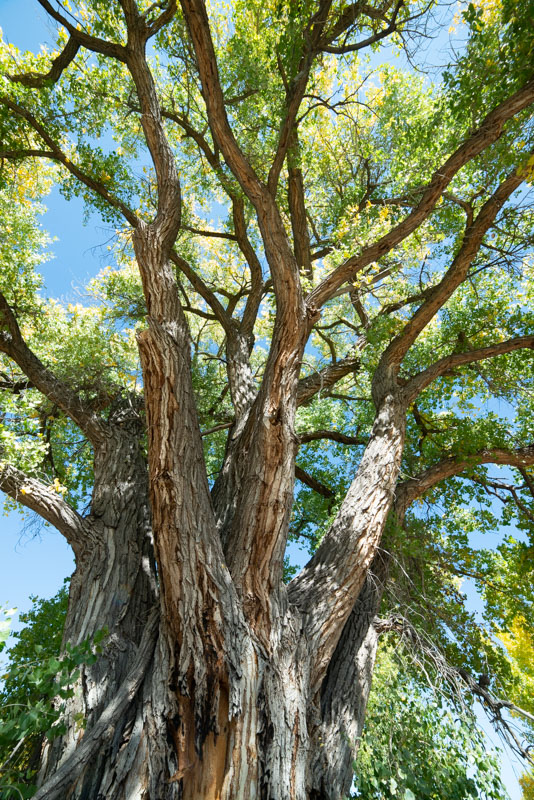
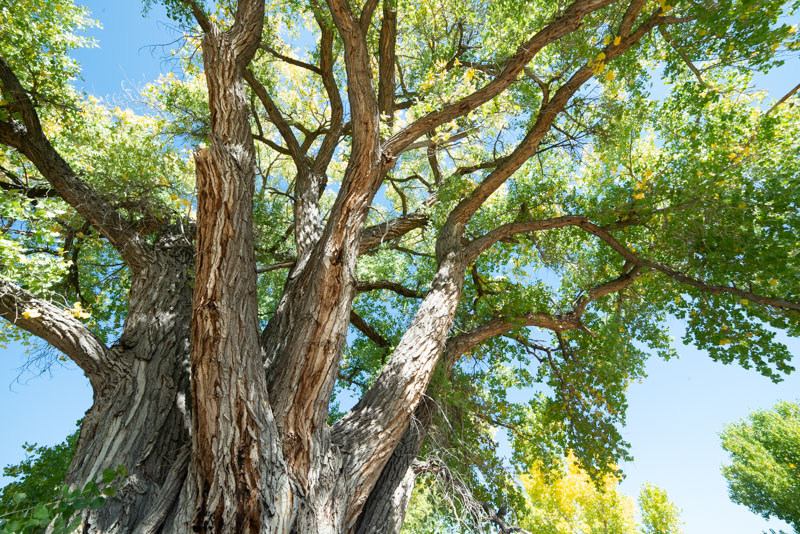
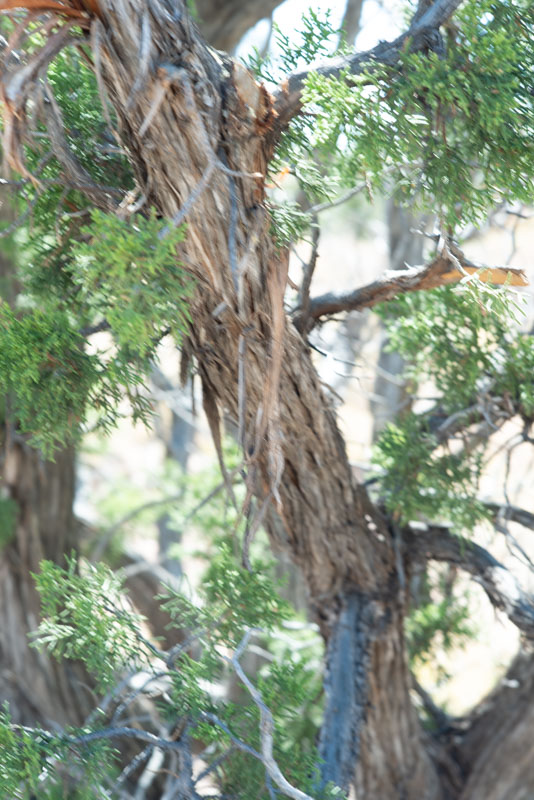
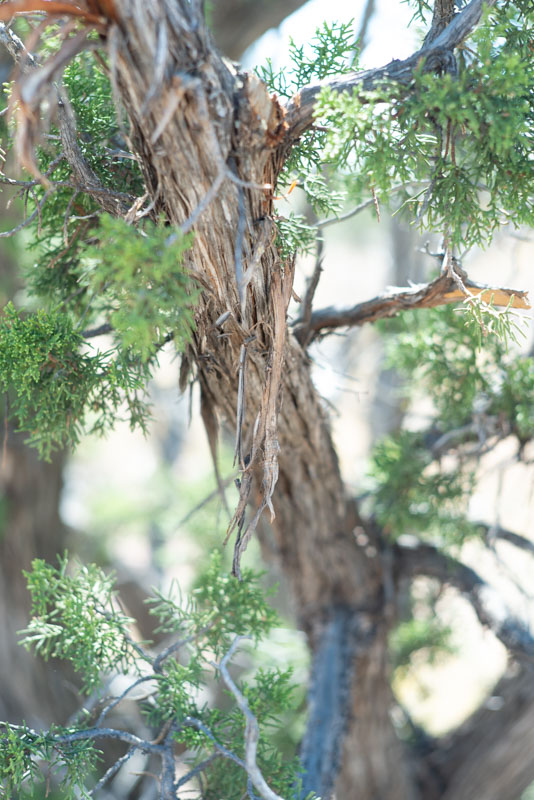
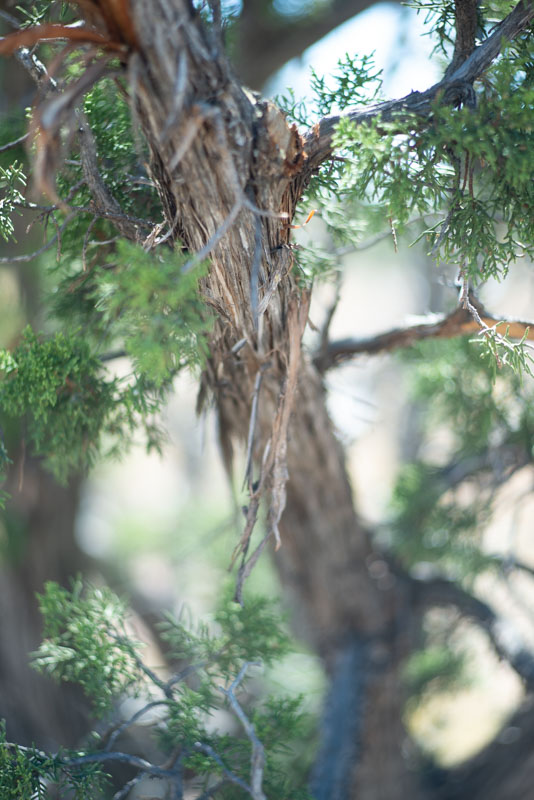
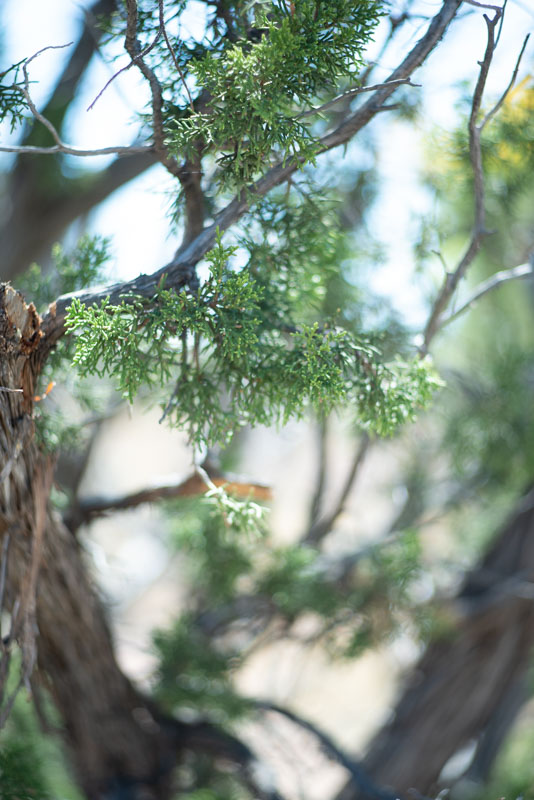
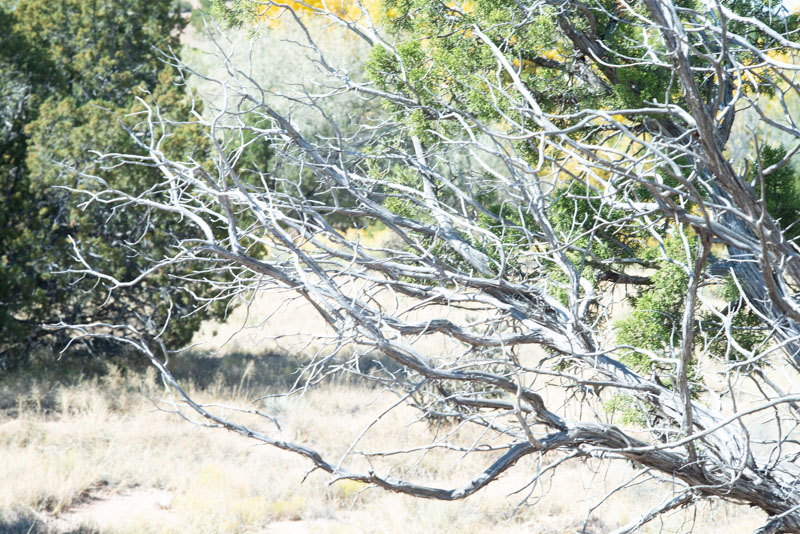
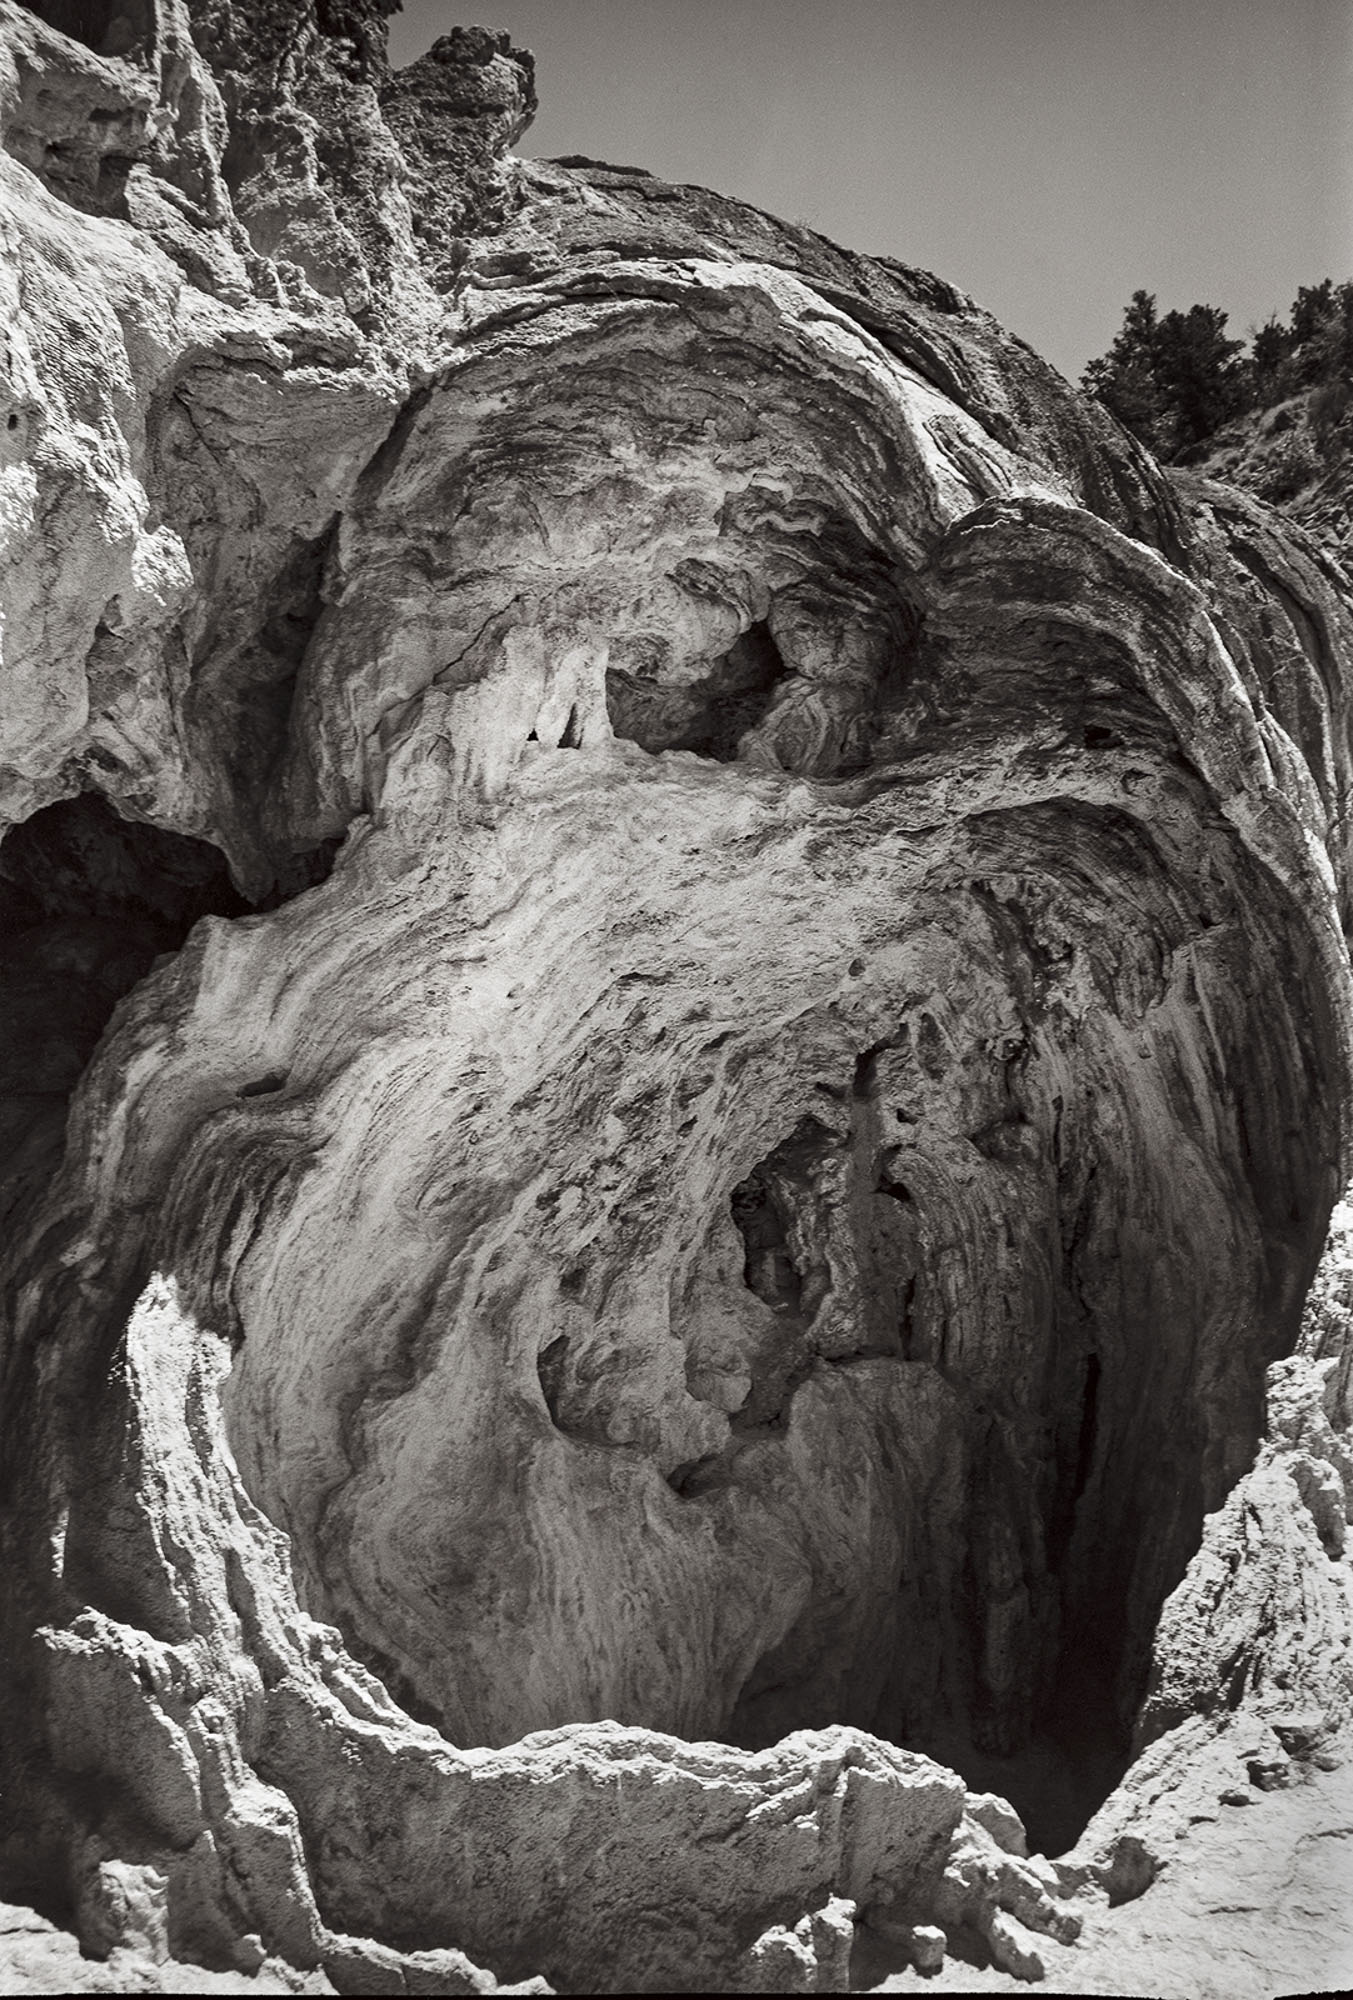
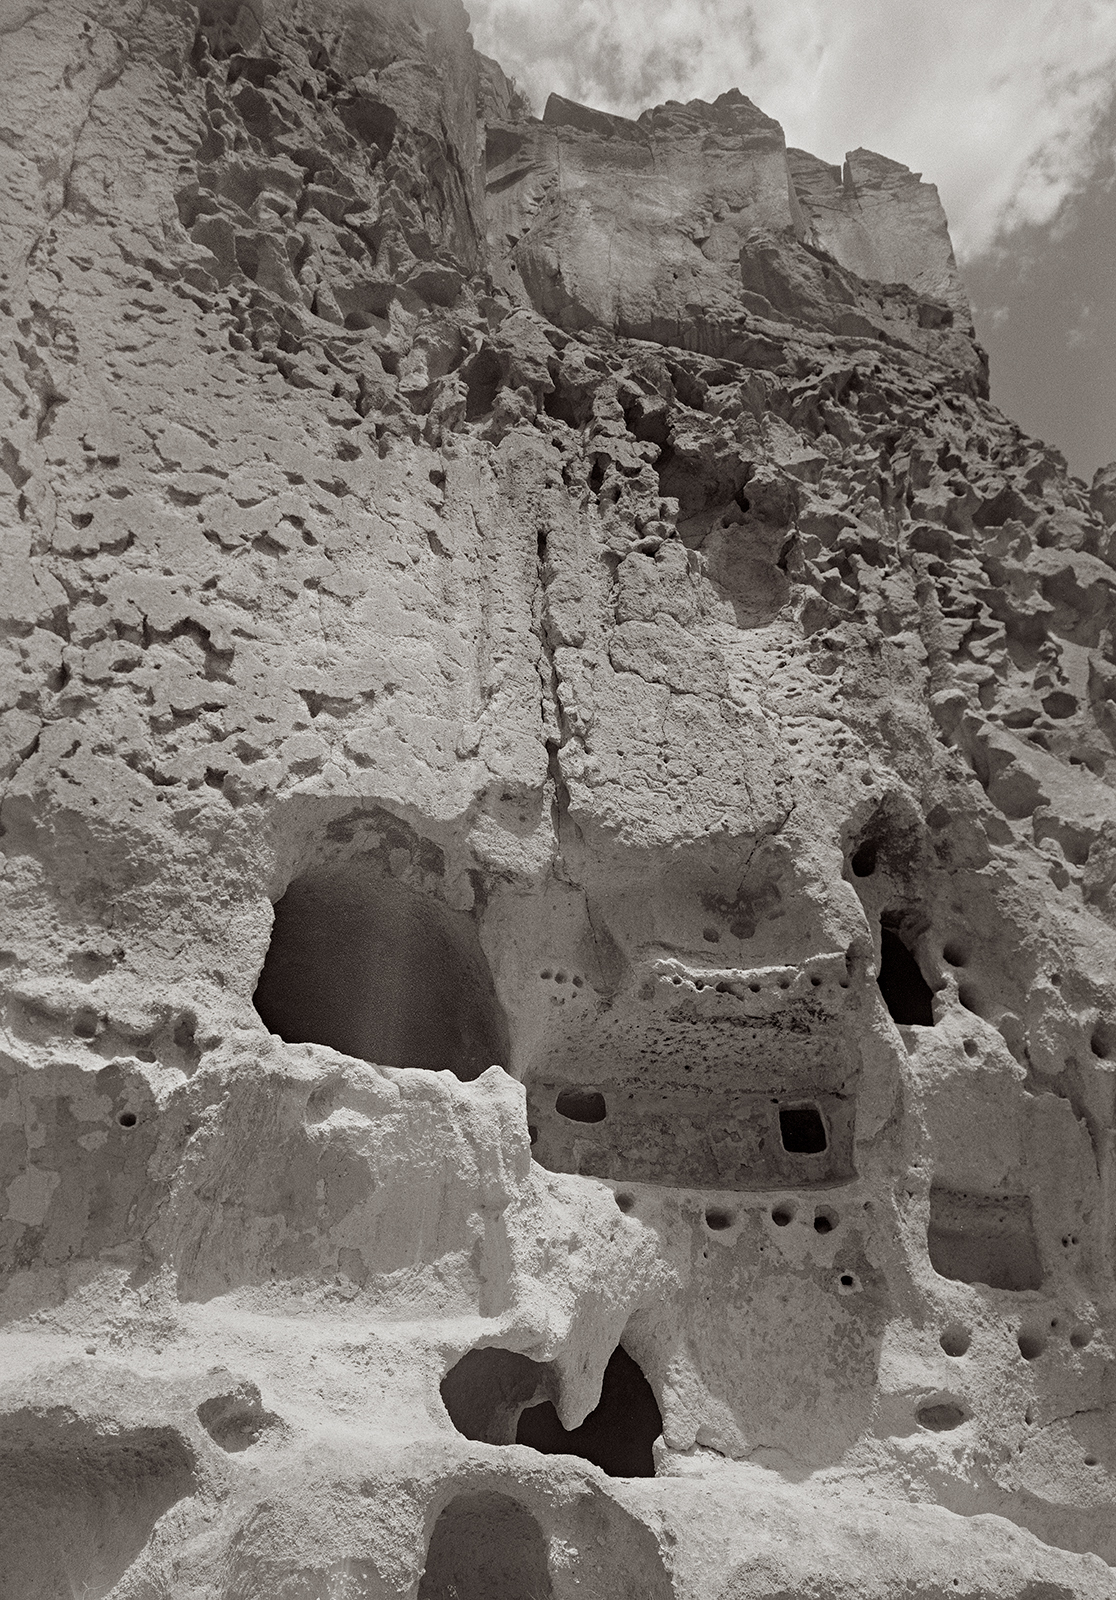
I’ve been working with a couple of cameras and with processing equipment, so I needed a lot of practice. It seems a little strange to me that the first camera I started to practice with was the Toyo 810M. Strange because this is one of the most difficult cameras to work that I’ve ever used. It’s an 8X10 metal field camera, so it weighs a LOT. As I mentioned above, working with film can get expensive, especially when each piece of film is 8X10 inches! I suppose I wanted to start with this beast because I knew that if I could work with that everything else would be easier. Then, of course, not only do you need to shoot this huge film; you need to process it! I’m using a Jobo processor. I got an 8X10 film reel that fits my tank and hold 3 pieces of 8×10 film. However just having this stuff doesn’t mean that you can actually load the reel in total darkness and get through a film run successfully. The processor makes it lot easier than running 35mm film in a metal tank: with inversion agitation every 30 seconds… However, it does help to have practice in running the processor. Also, there’s a lot of stuff you have to arrange to process film.  I had to build a darkroom and get plumbing to my sink! And, it’s important to know where you’re going to dry the film before you start! Every time you build a new darkroom, and I’ve built a few, there are a huge number of little details to be worked out.

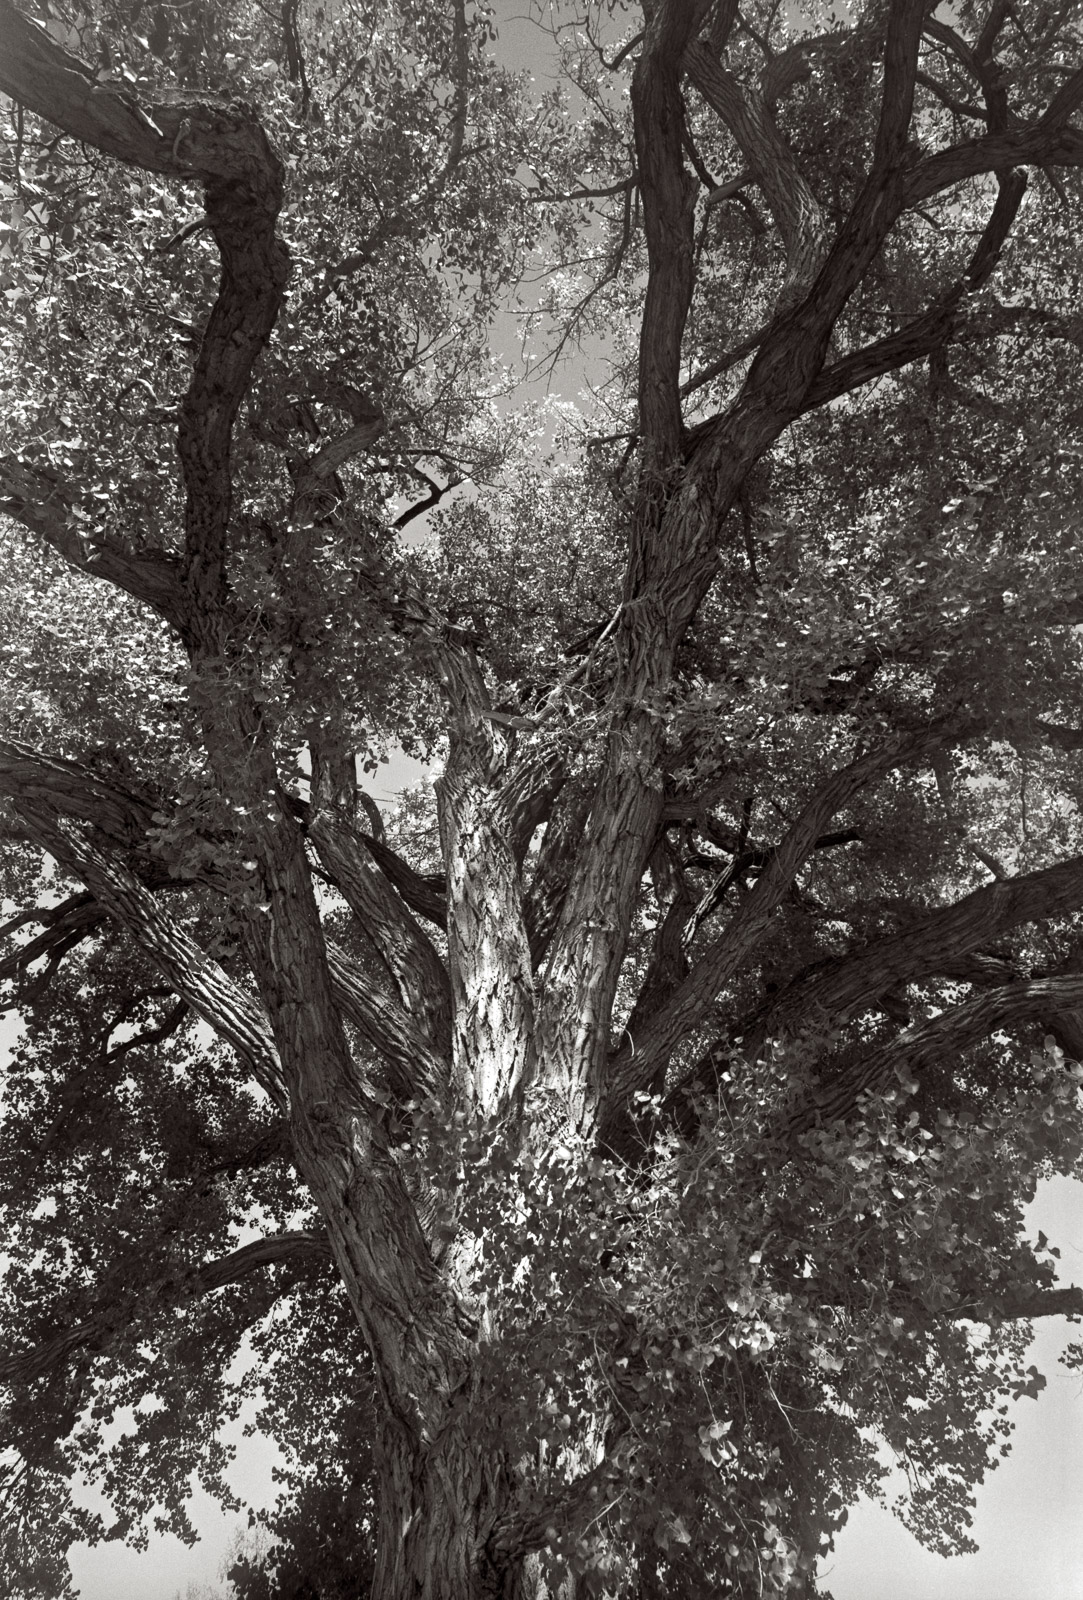
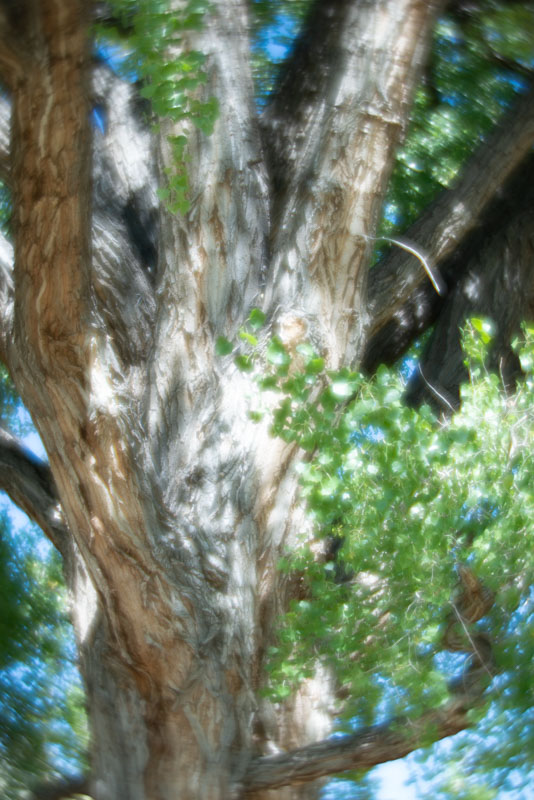
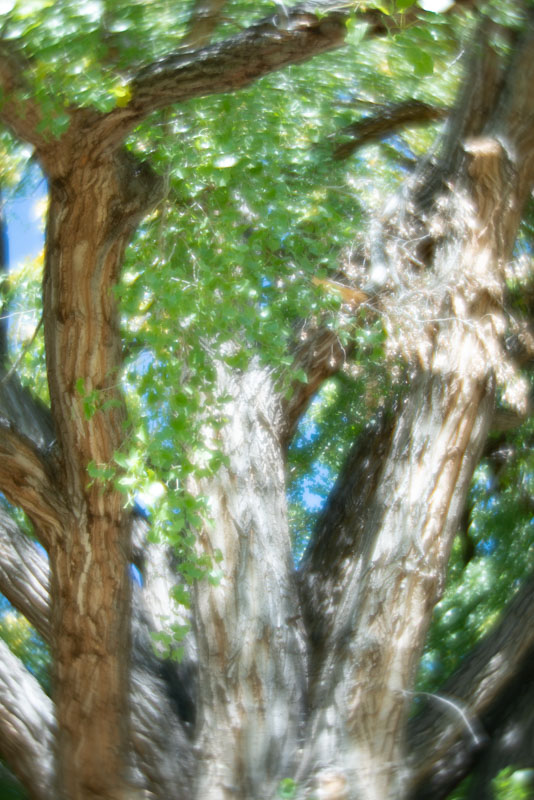
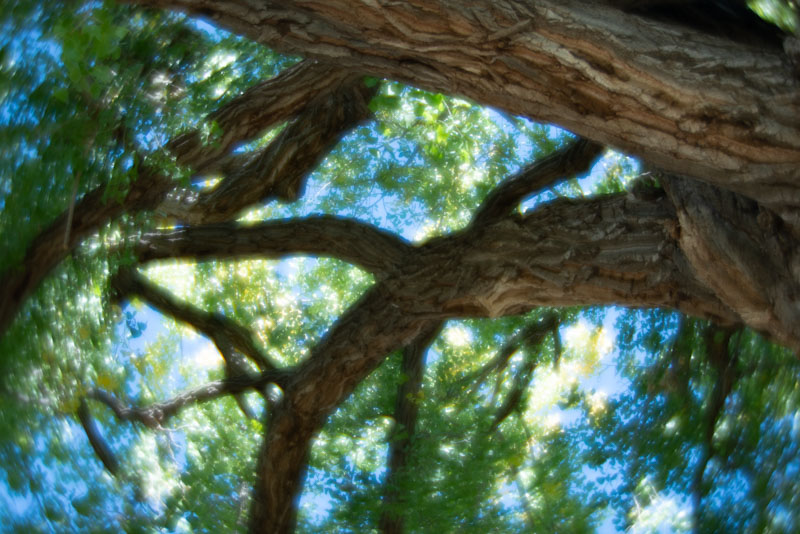
But there are more details than just processing to worry about. Just composing an 8×10 camera is a little tricky. You’re working on an image that is upside down and backwards. It’s often difficult to see the image, especially if wind is blowing your dark cloth around. Depending on the lens the image can be tough to see. Lenses with smaller stops, and wide-angle lenses are tougher to see. I did get a new fresnel lens for the camera, which is helping. It’s also good to practice getting the camera onto the tripod; not only is the camera heavy it’s very awkward. I’ve purchased a couple of lenses for the big camera recently, so I needed to understand how they see and how they work. Of course, you can look through a lens and know a lot about the way it sees, but you know a lot more if you shoot film with it.

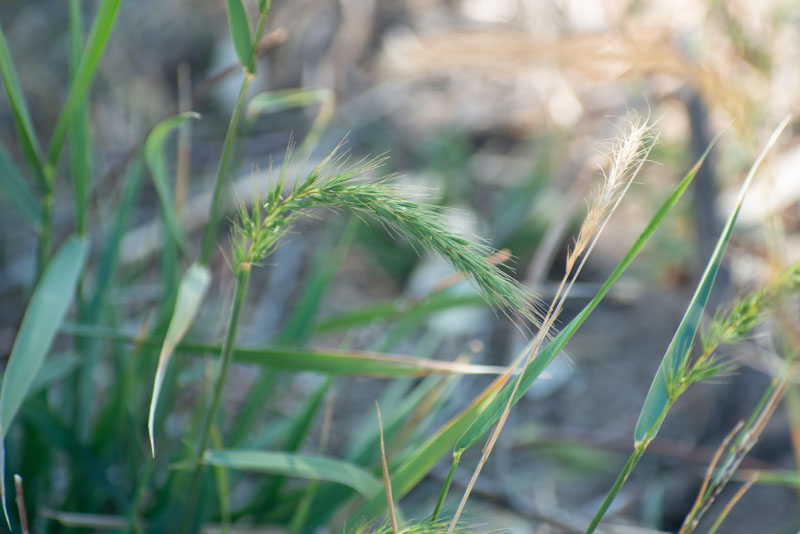
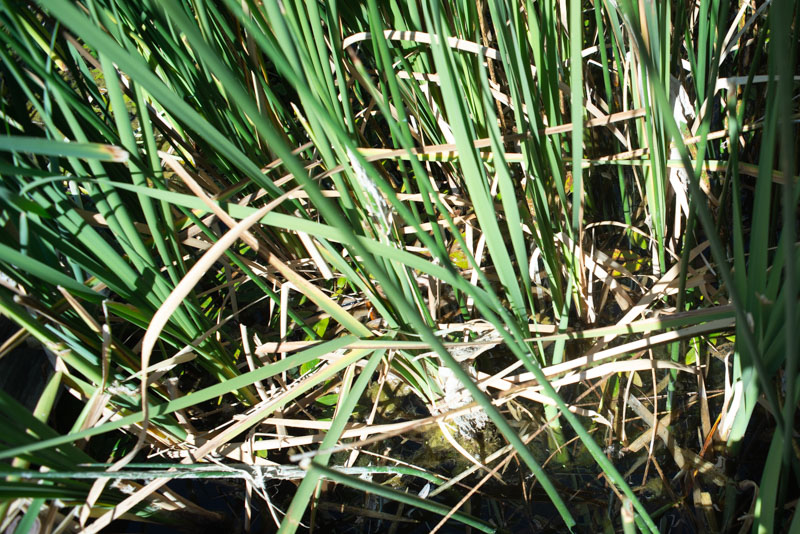
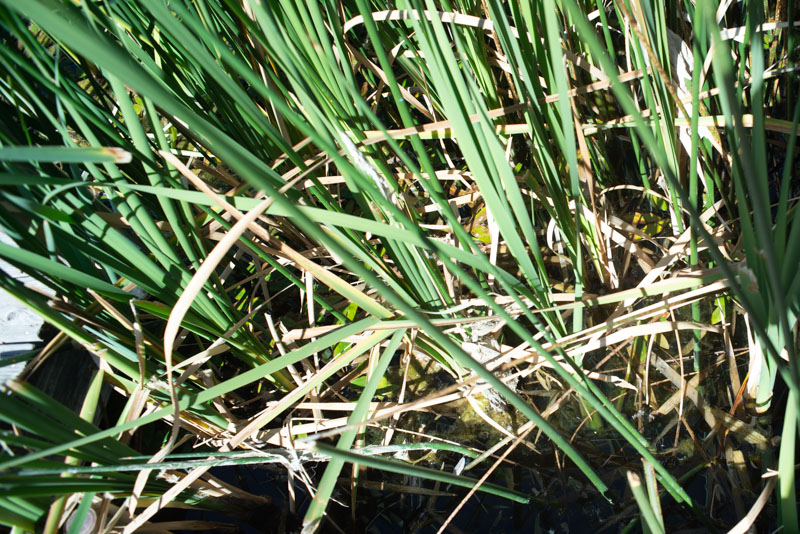
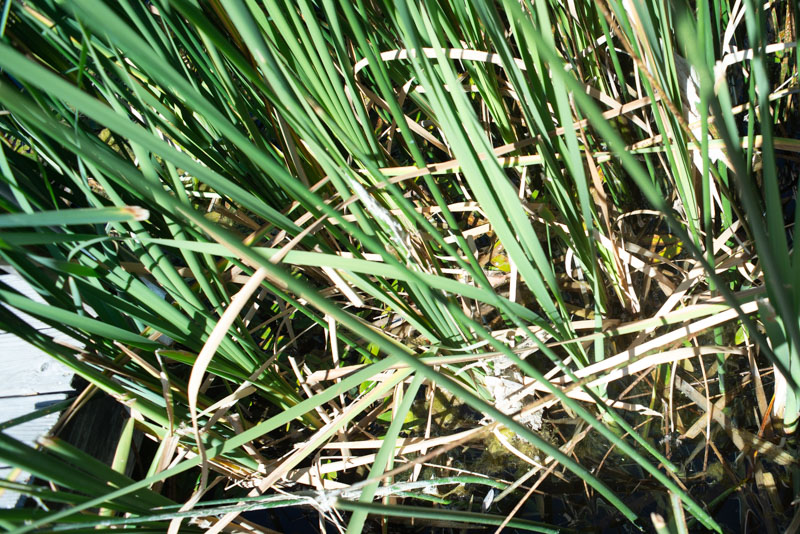
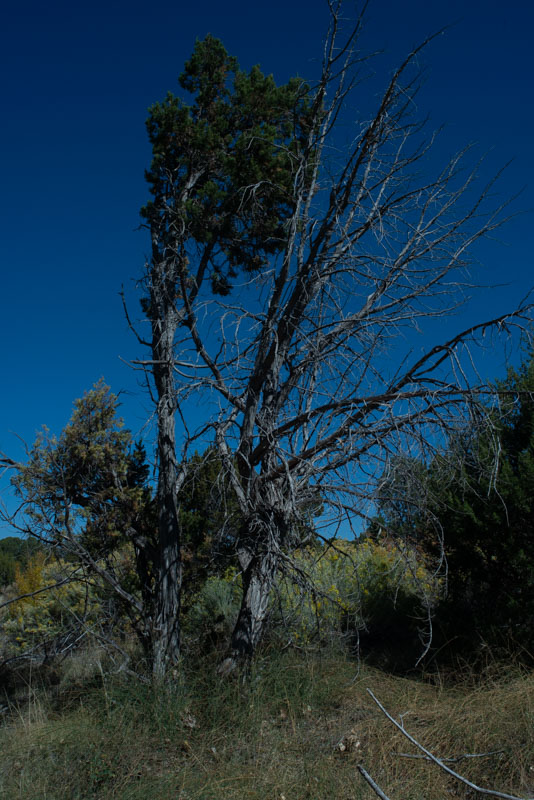
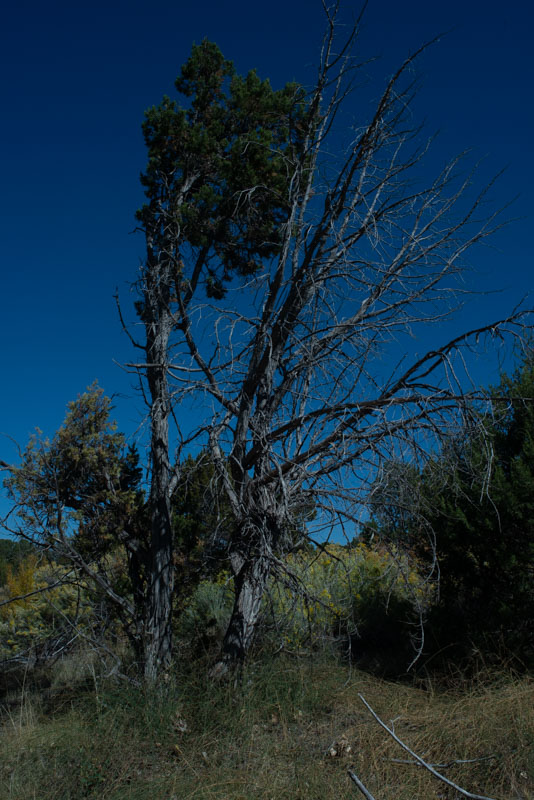
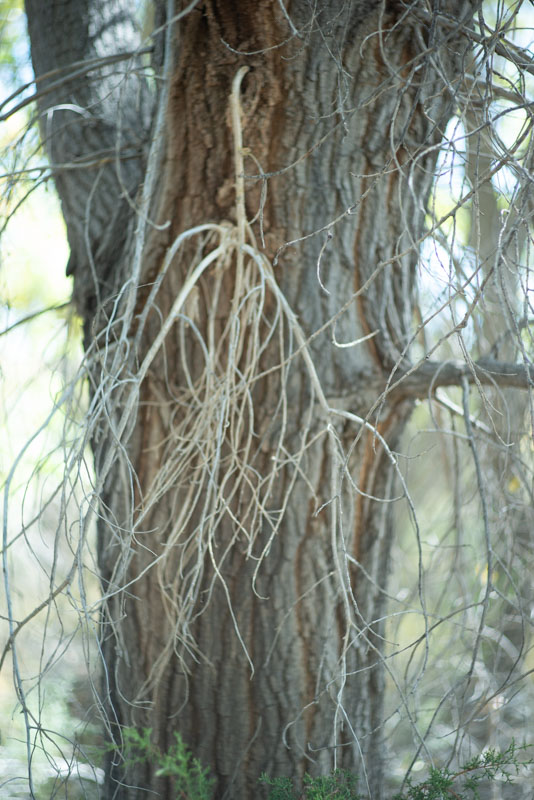
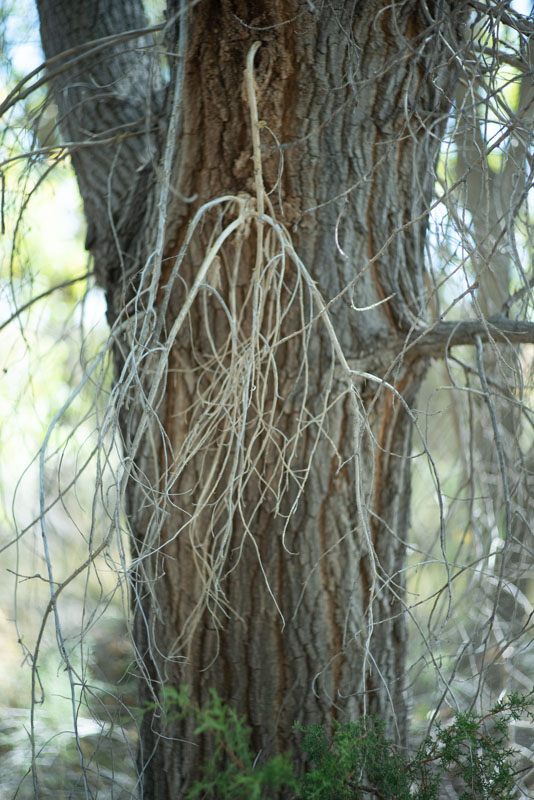
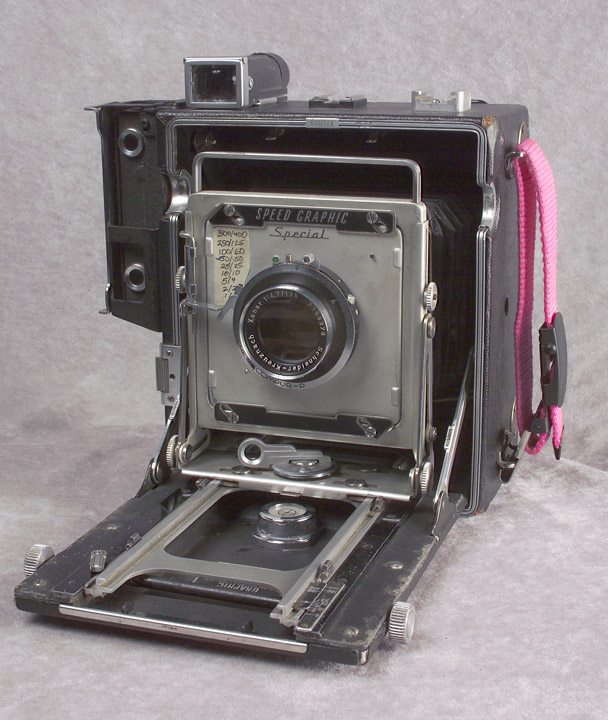
I’ve also practiced with a couple of medium format cameras. I’m trying to find a medium format camera that I want to stick with, but it’s tough to find something that meets my standards. First I’d prefer to work with the 6x9cm format. Obviously I like big negatives, but I also like that this format has the same ratio as 35mm full frame film. This cuts out a lot of popular cameras, like the Hasselblad (6x6cm), my beloved Mamiya C330 (6x6cm), the Mamiya RB and RZ (6x7cm) and the Bronica, Pentax and more. In fact, most of what it leaves you with are press cameras made in the late 1950s and 60s. Actually not such a bad thing, most have rangefinder focusing and they’re pretty cheap. I’ve tried out the Koni-Omega, the Horseman, the Graflex and the Mamiya Press. All of them have their advantages, but right now I’m using the Mamiya. There are a couple of reasons: first the Mamiya has the widest lens I can find for a medium format press camera, a 50mm f6.3. Second, some of the Mamiya Press cameras can use Graflex roll film backs. This is kind of rare, but I have one. I like this because I have a bunch of these backs, and they fit other things I own. Also, they are easier to find than most of the other roll film backs. The actual range of lenses is probably larger than most of the other cameras I mentioned, but the Horseman could take many view camera lenses. The Mamiya has some back movements, sort of like a perspective control lens for a digital camera or a standard view camera. The back also allows some macro work not available with the other cameras. In fact, one of the reasons I don’t like the Koni-Omega, is that it doesn’t have close focusing. Of course, you have to put on a ground glass to focus, but it’s great that the camera has this. Still, there are problems… These are all metal cameras, so they’re bulky and heavy. With 4 lenses my kit weighs almost 25 pounds. Second, these are old cameras and they often need maintenance. One of the things I’ve had to do is re-calibrate the rangefinder, a job which requires patience. You can’t just run to your local camera store and buy one, you’ll be searching for a while on eBay.

I’ve needed to practice with the Mamiya quite a bit. The rangefinder isn’t very contrasty, so you need to work with it to get the hang of it. The viewfinder is separate from the camera lens, so you need to learn about how the camera actually frames. In addition, the wide-angle lenses require auxiliary viewfinders, which is a little annoying, maybe a lot annoying… I needed to practice changing the lenses, too. If I forget to put the dark slide in, I’ve ruined a frame. One other thing that takes getting used to is that there isn’t any double exposure prevention. You need to decide if you’re going to wind the film before you shoot or after, and stick to it! Of course the upside is that you can change film holders in the middle of a roll. Perhaps it just that I’m a person who likes to d things the hard way. I believe there is evidence for that.

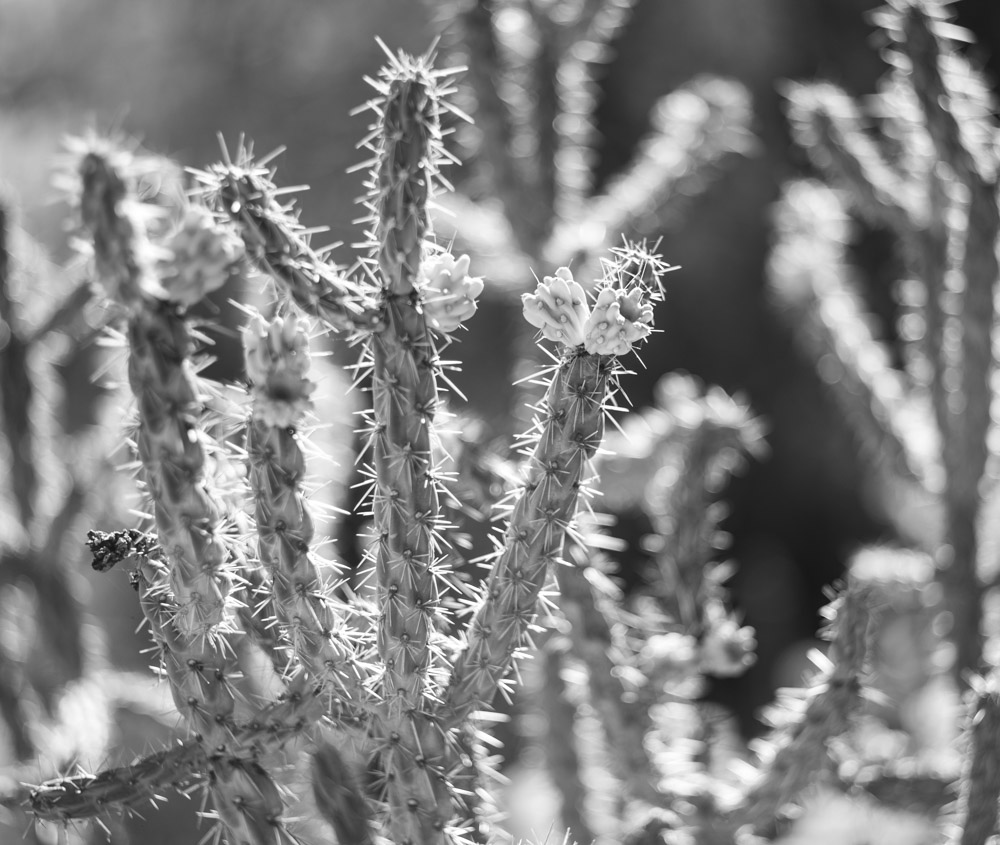
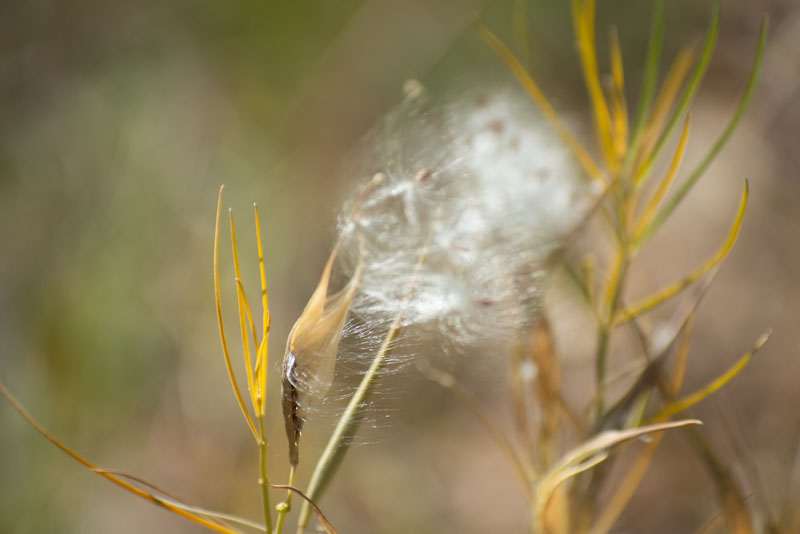
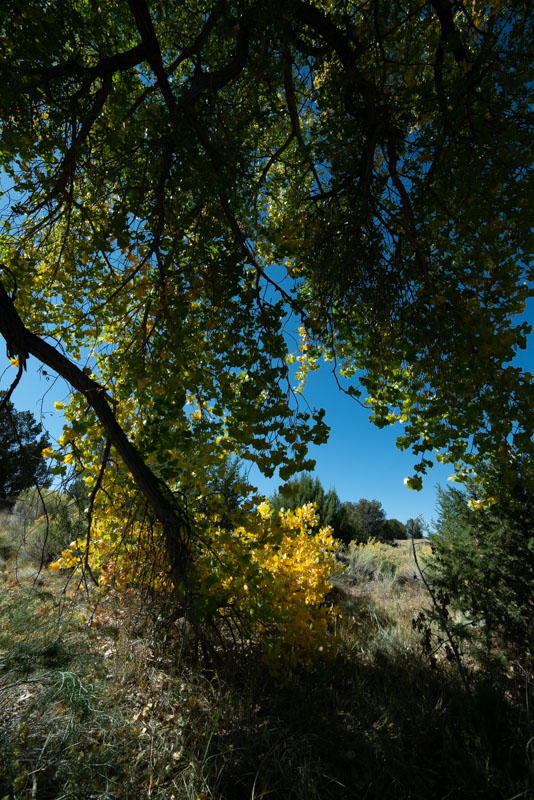
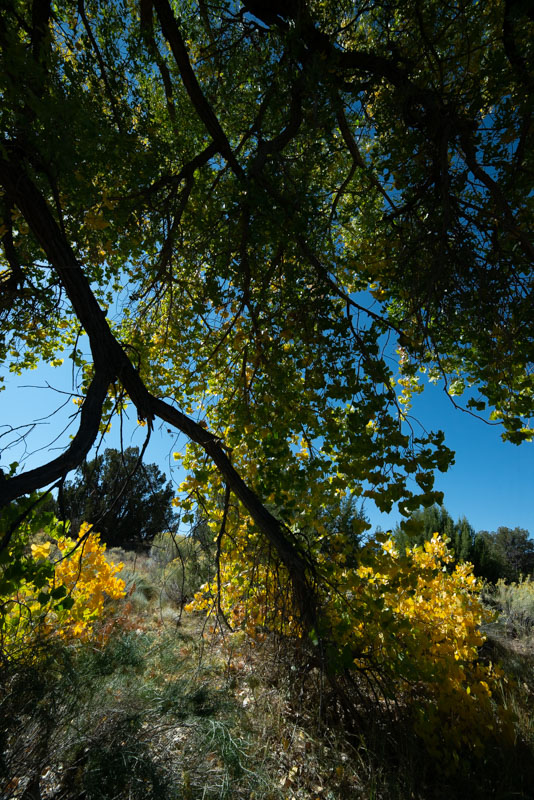
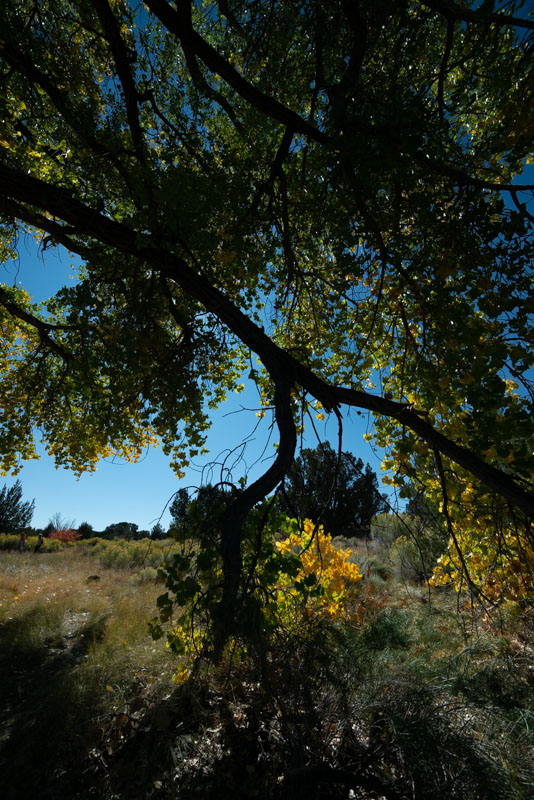
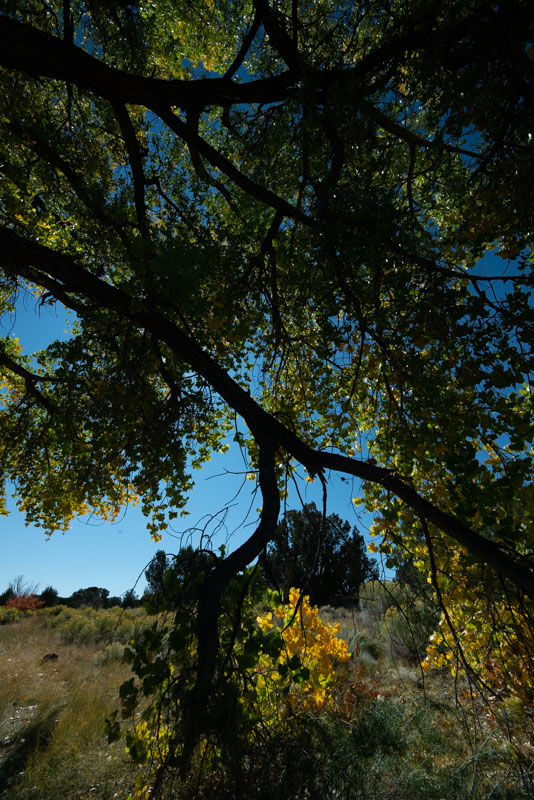
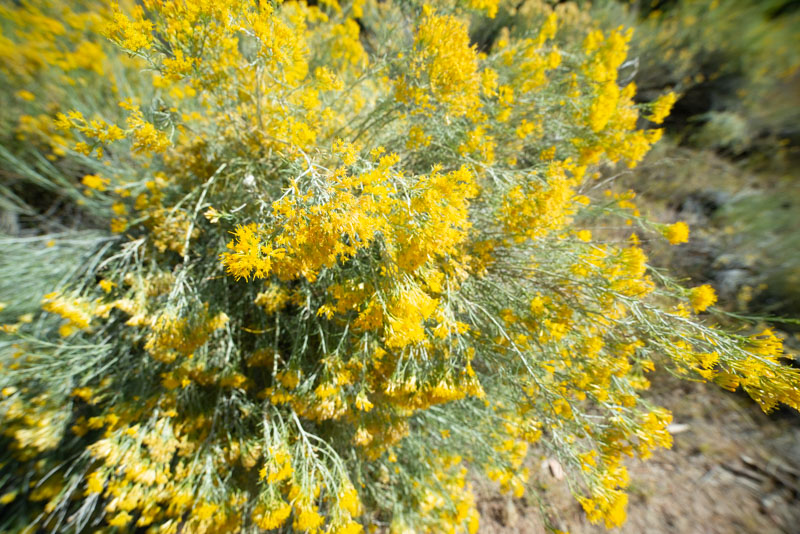
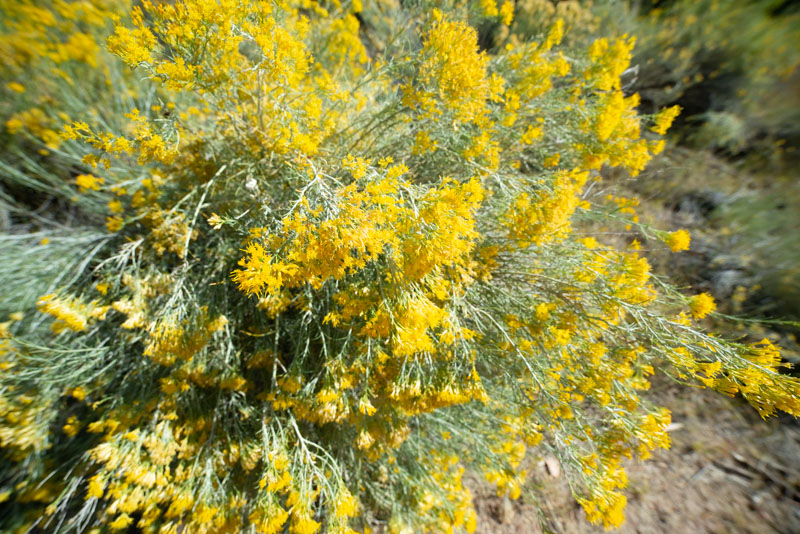
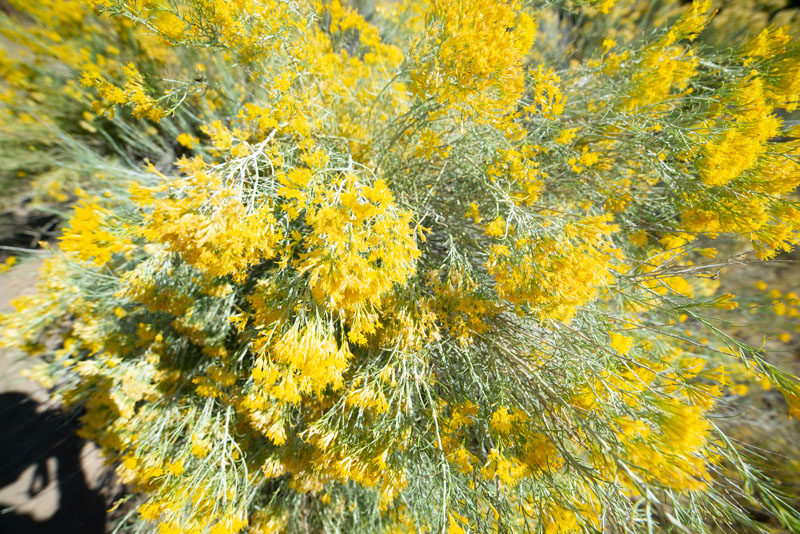
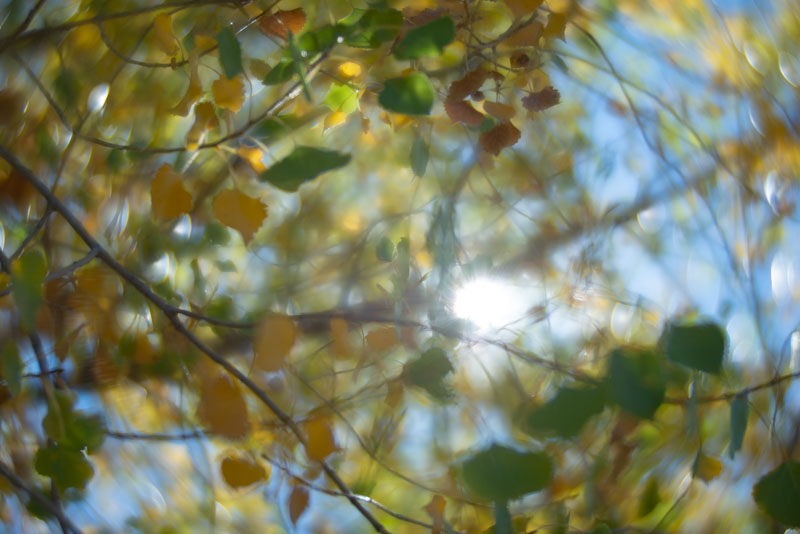
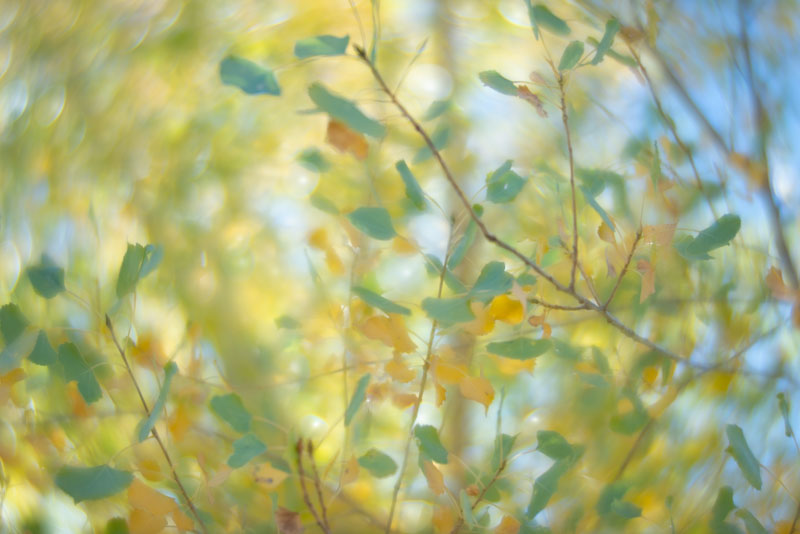
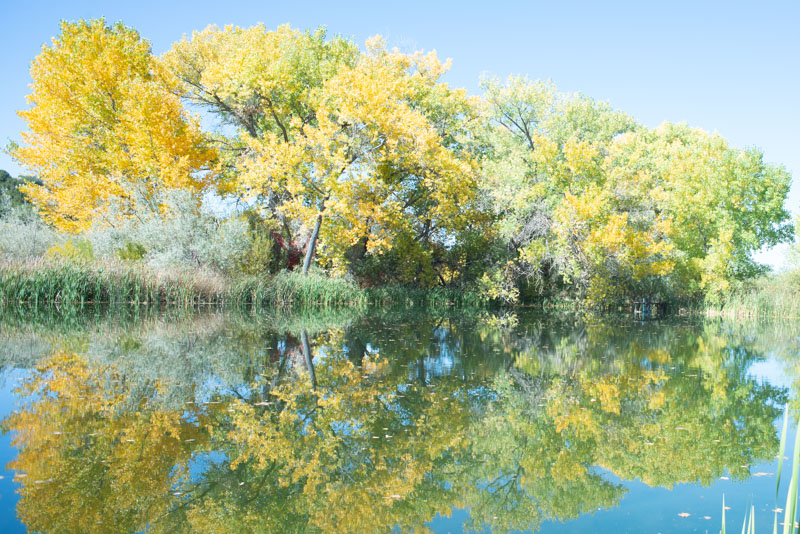
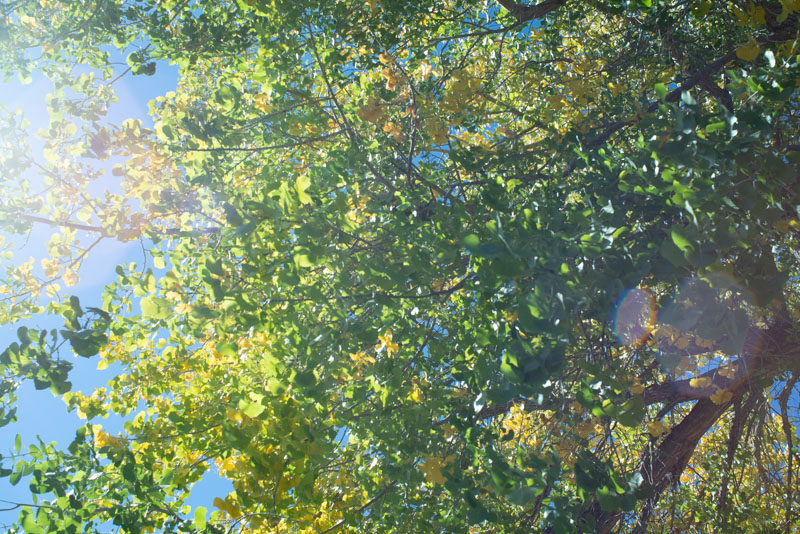
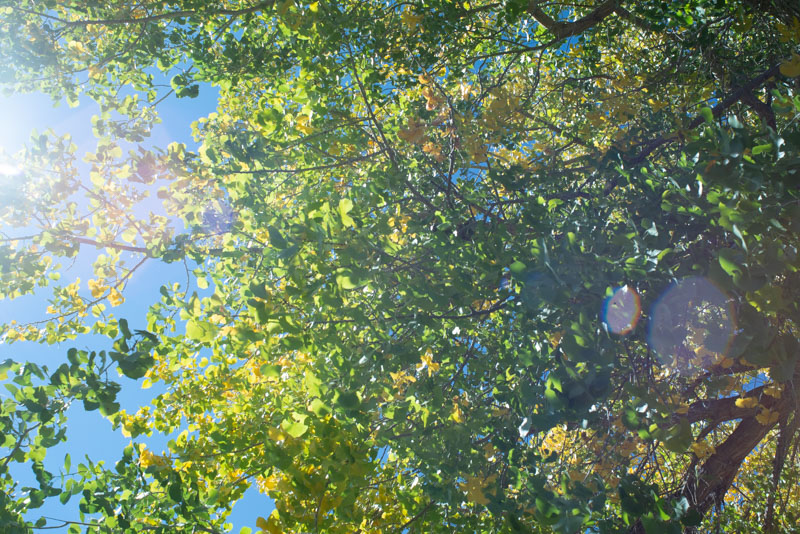
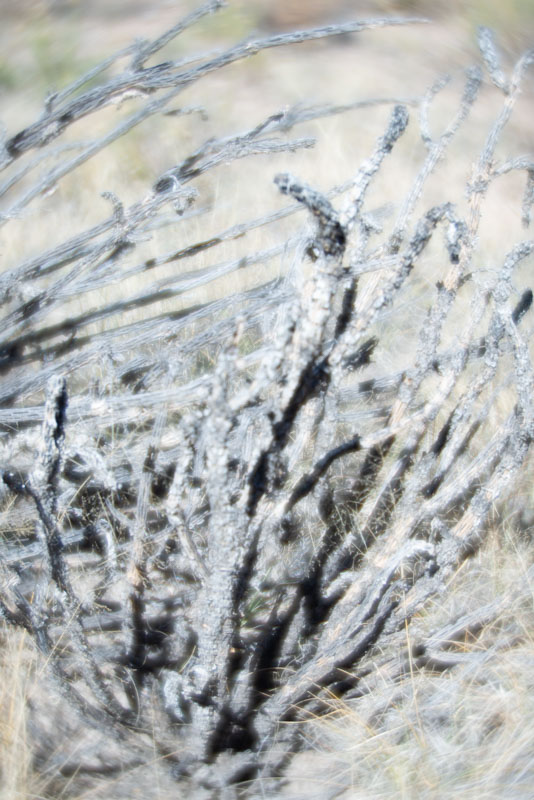
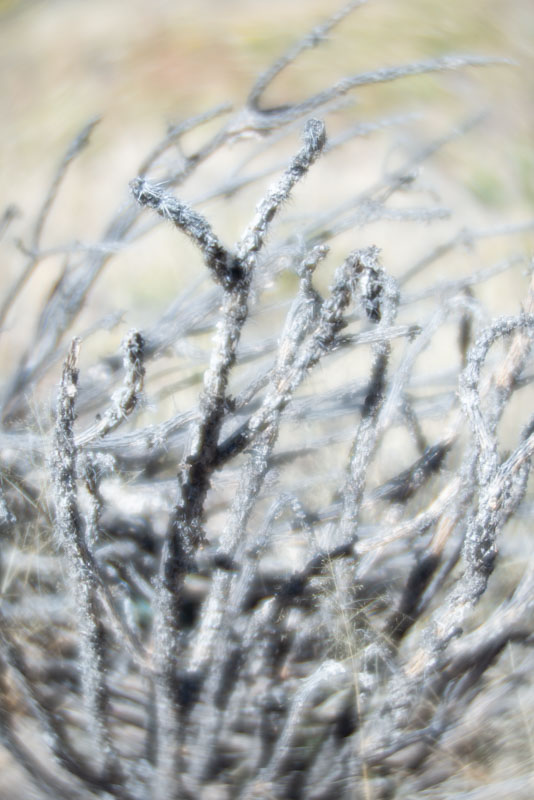
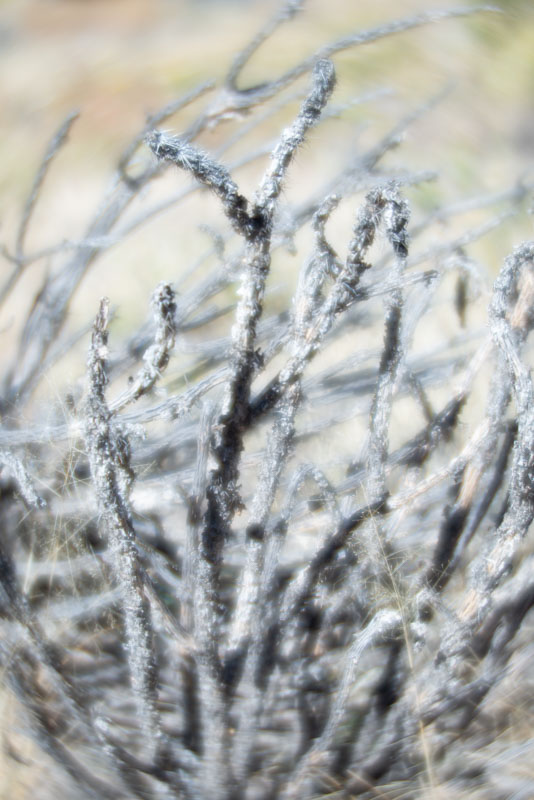
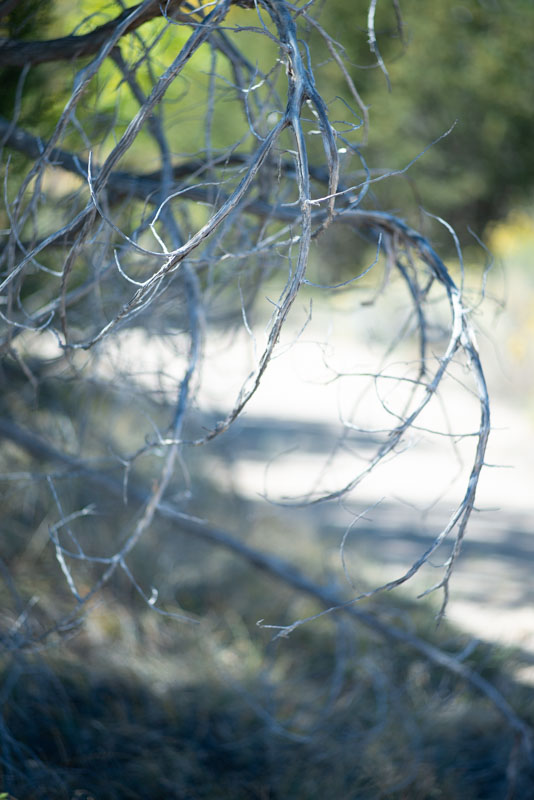
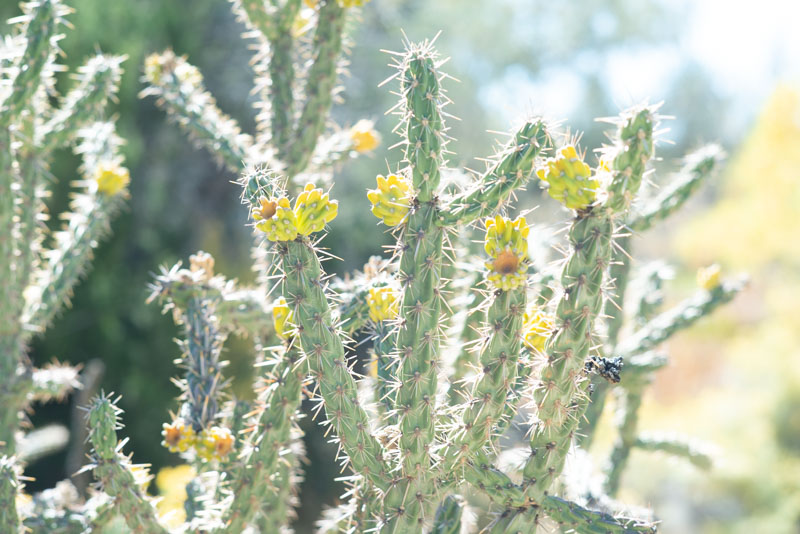
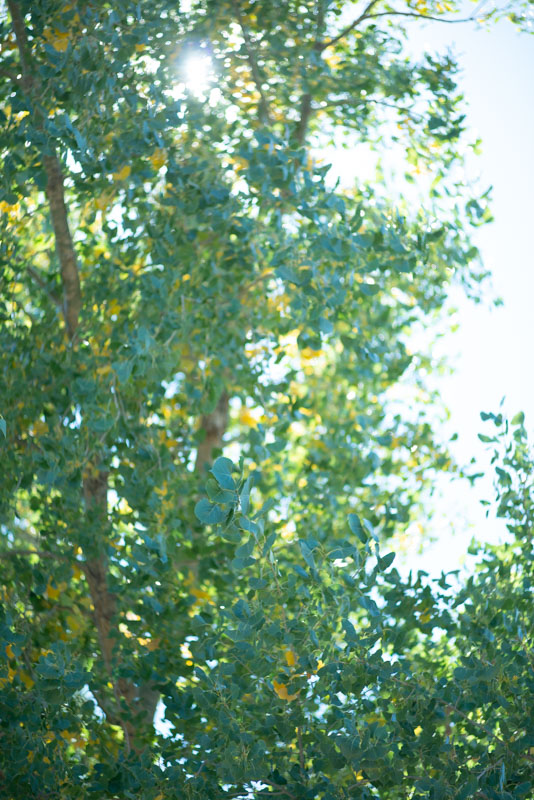
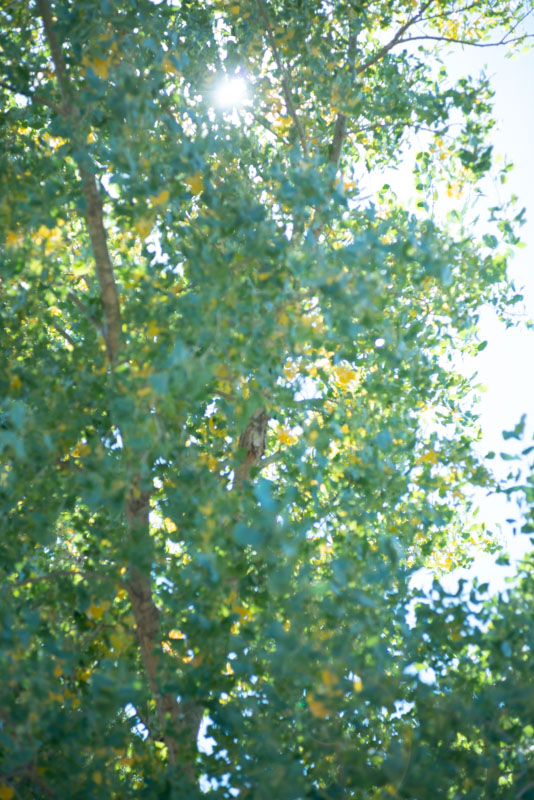
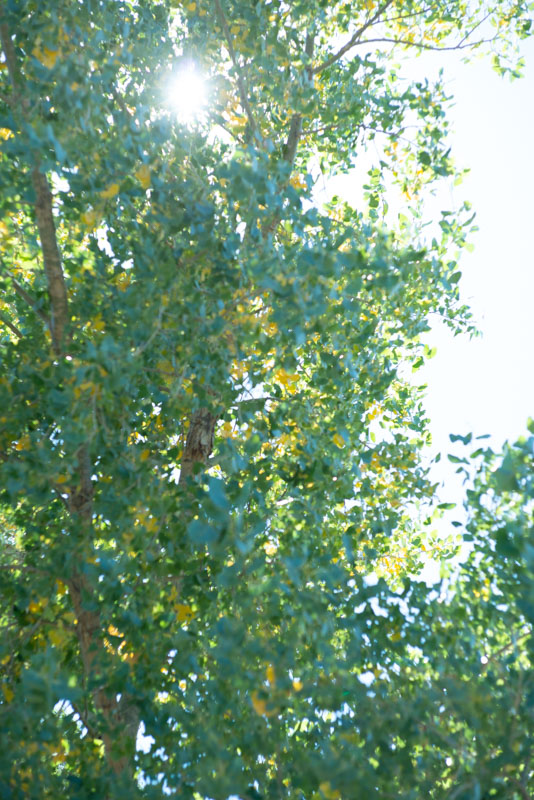
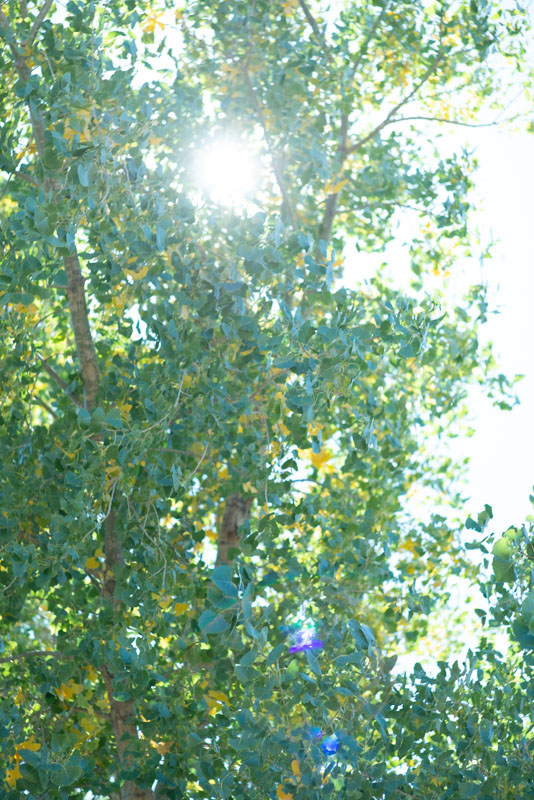
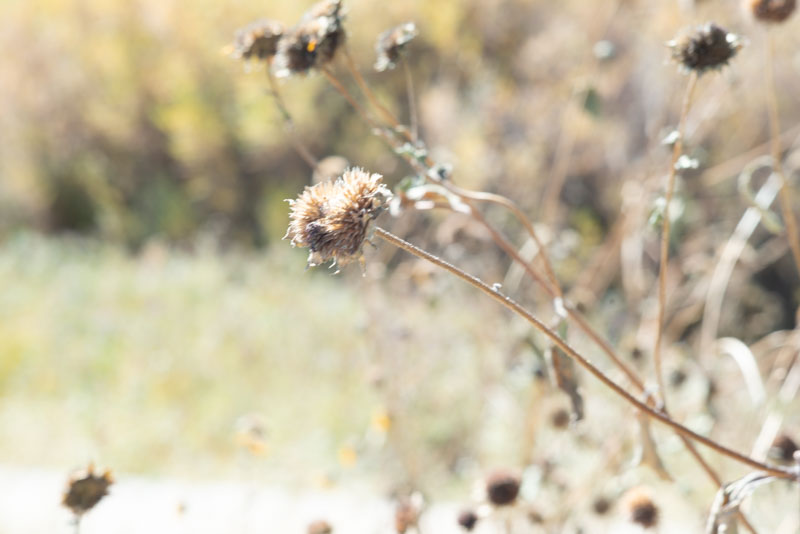
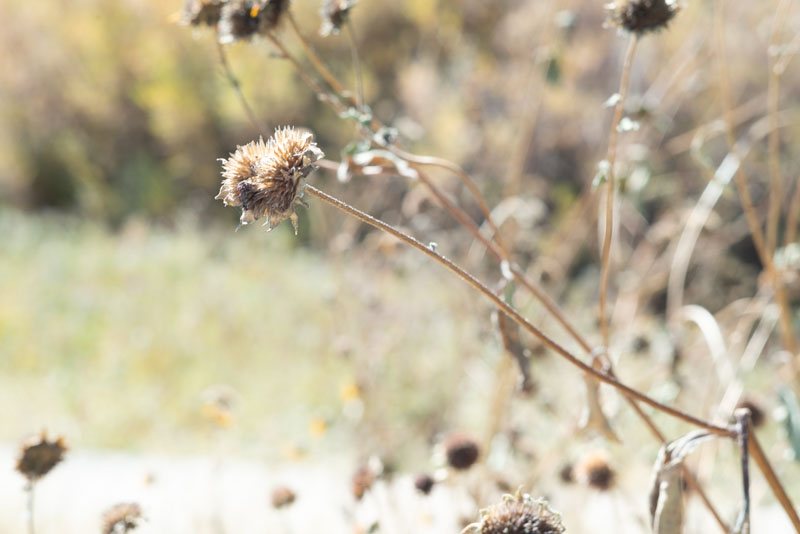
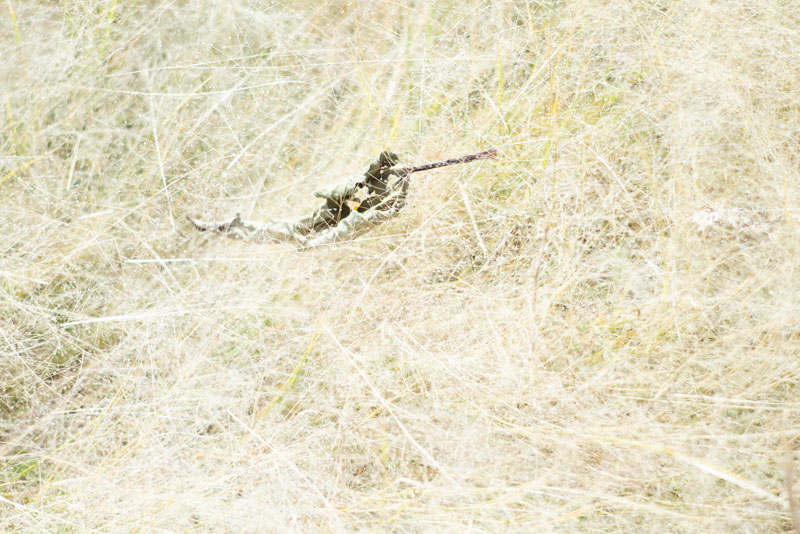
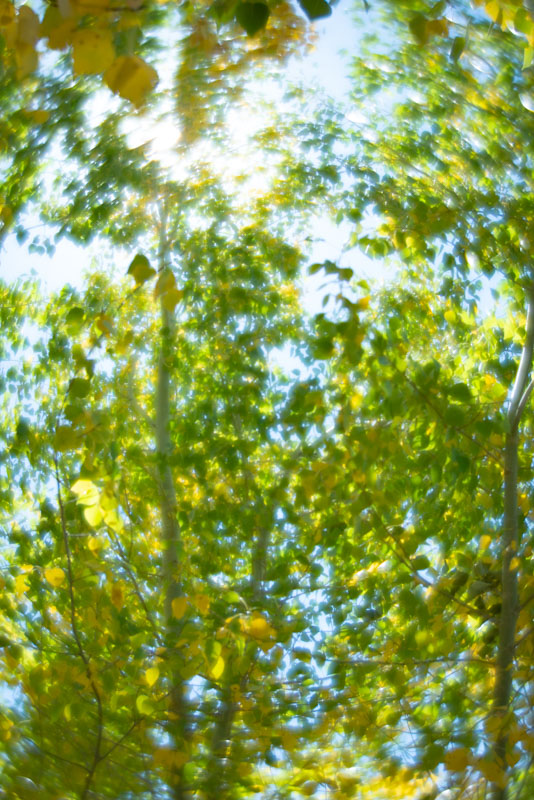
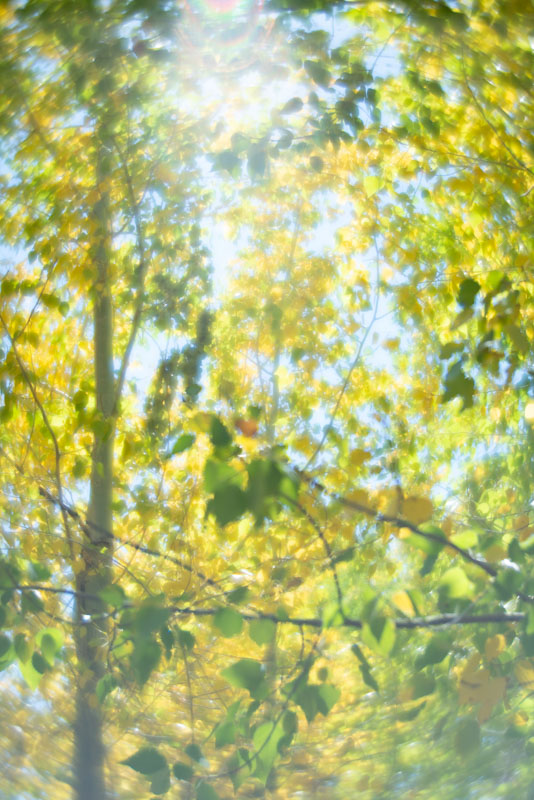
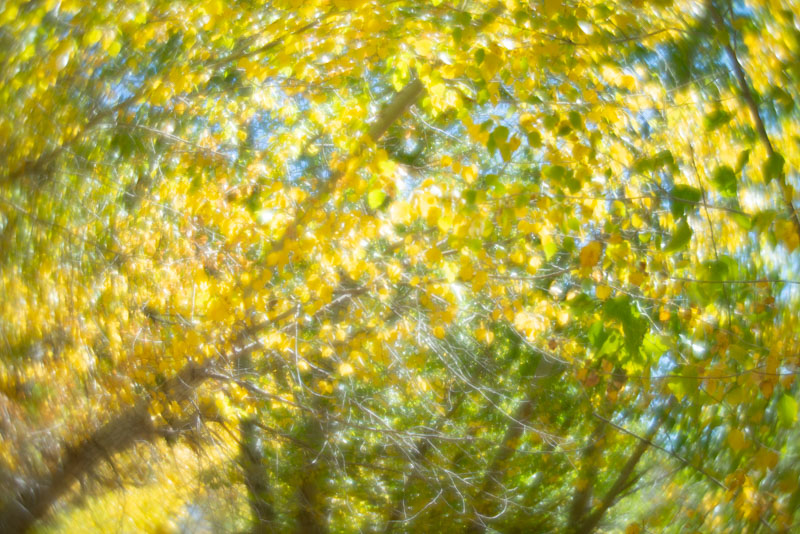
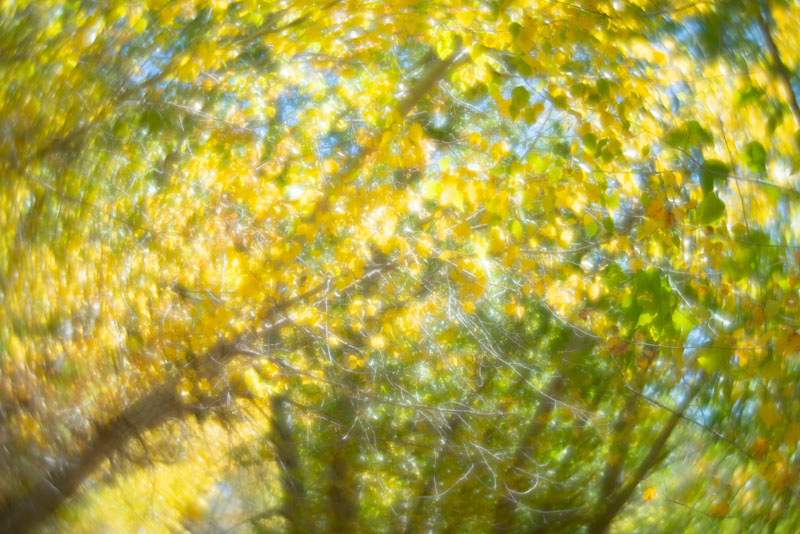
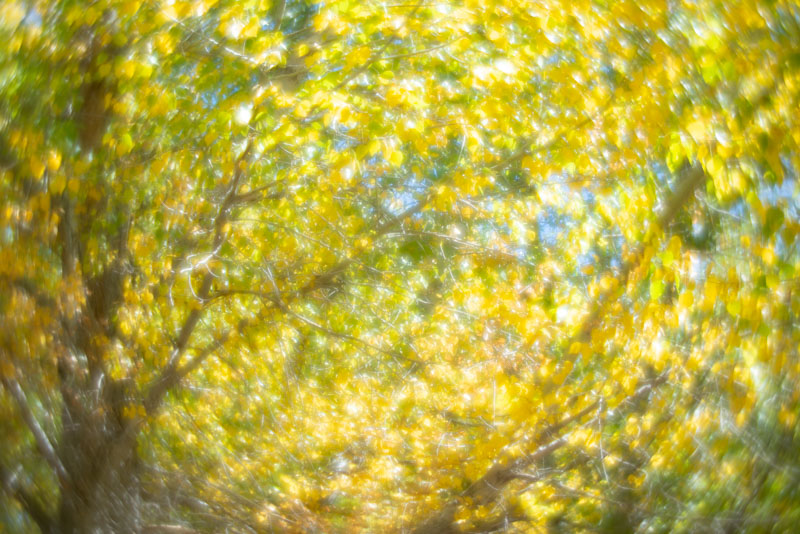
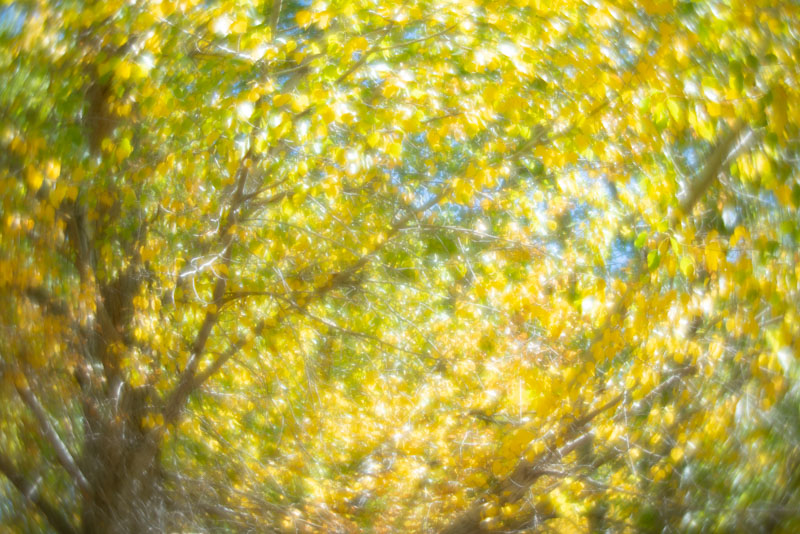
While I’m discuss getting my chops back with various cameras, I should mention the Brooks Veriwide/Graflex XLSW camera. Both cameras were designed for the 47mm f8 Schneider Super Angulon. The 47mm S.A. was designed as a super wide-angle lens for 6X9cm. I really enjoy working with wide angle lenses, just in case that wasn’t evident. The thing about this camera is that it’s quite simple, lens, with built in shutter; viewfinder; focusing helical; and Graflex roll film back. The result is a fairly small, reasonably light camera, with a huge angle of view. Really nice. Of course, it’s scale focusing, no rangefinder. I suppose I could use the Graflex ground glass back, but that would make the camera much slower to use. The other drawback is that the lens is f8, and doesn’t entirely hit its stride until f16, well no one is perfect.

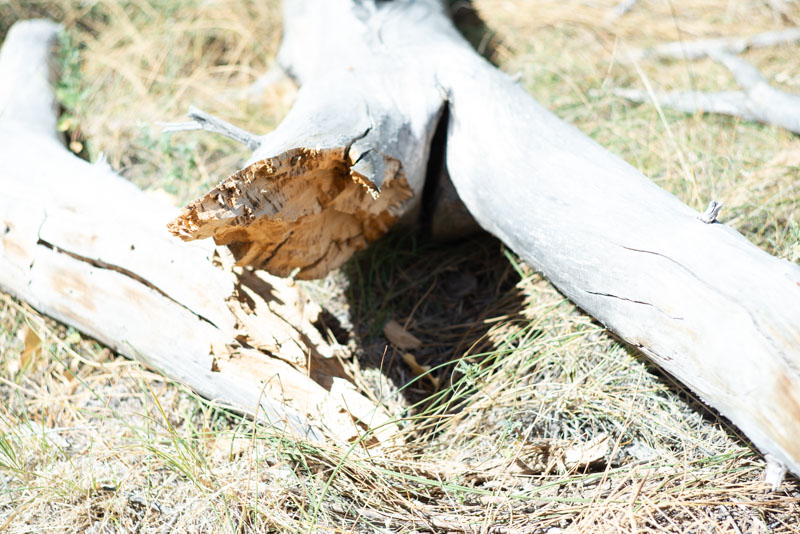
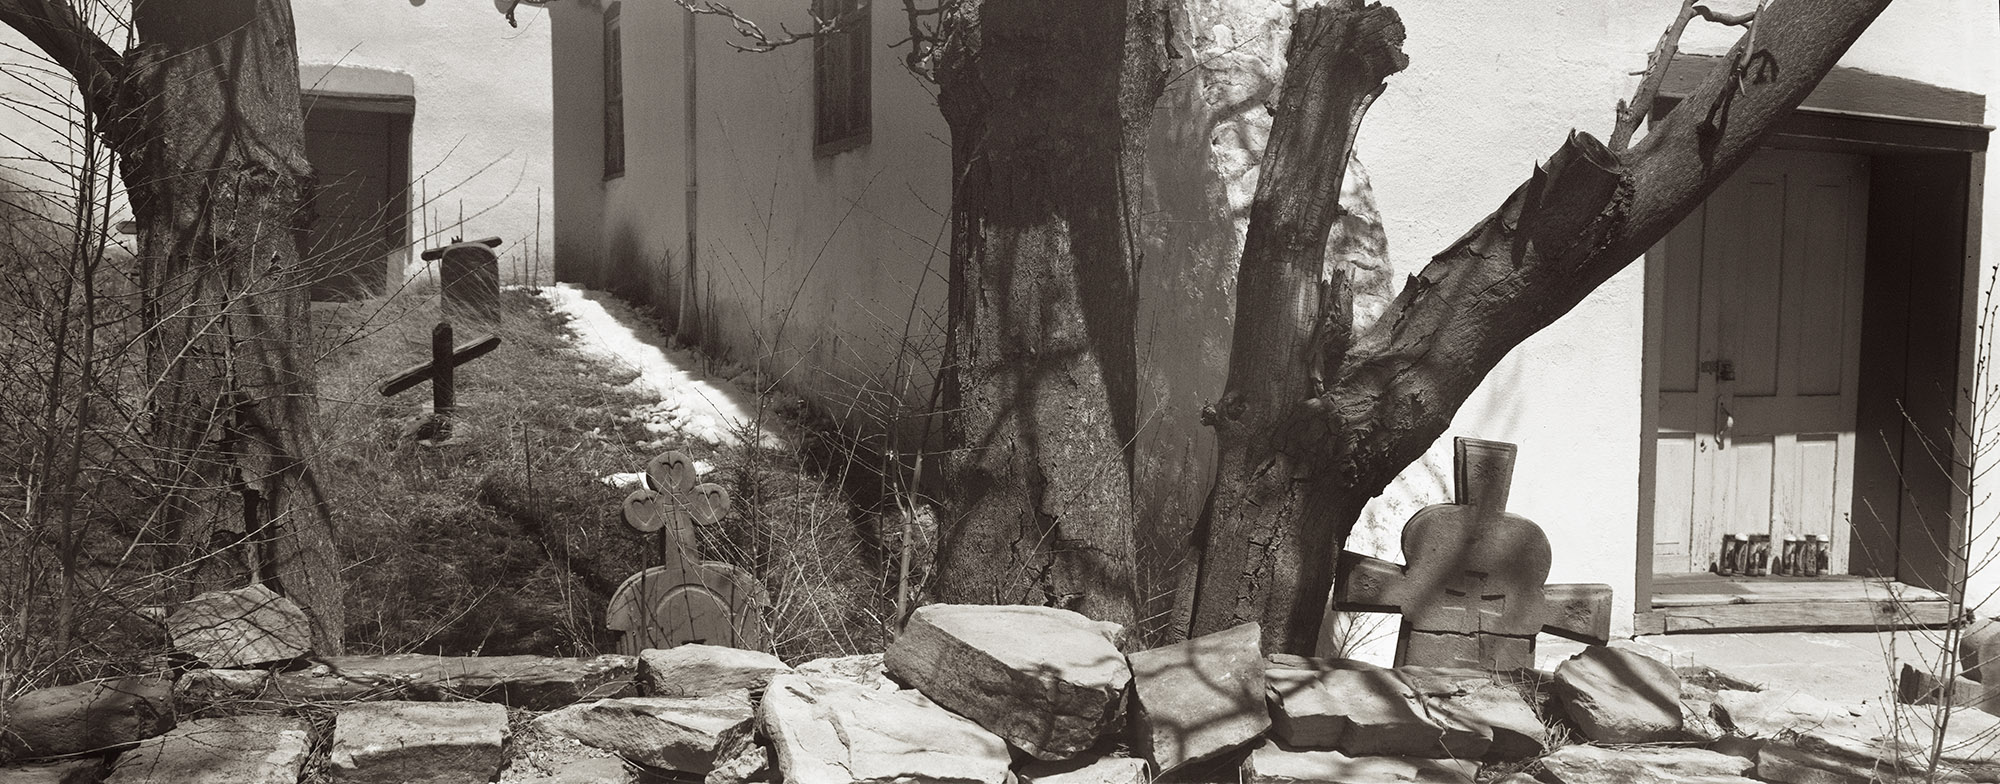
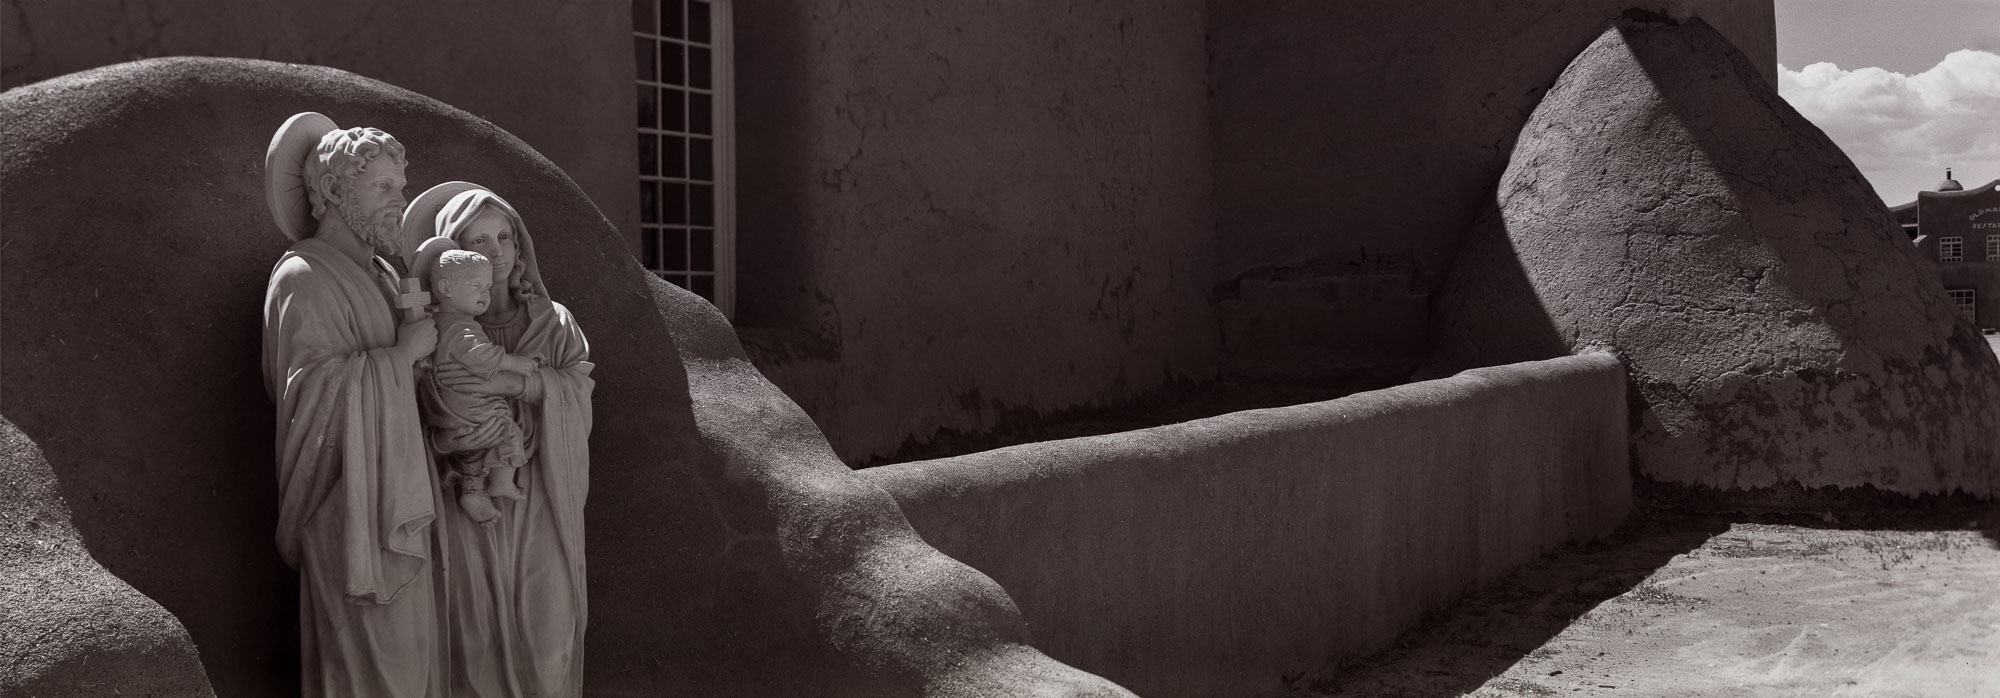
I have several other cameras that I still need to practice with. I’ve done almost no work with my Cyclops camera, which shoots 120 film with a moving lens. It makes very large panoramas. Speaking of very large panorama shots I have a Korona 8×20 camera that I need to drag out soon. I really should do a shot in the next few days so I can say I used it during August, after all the date is 8-20. I haven’t used the 11×14 camera since I closed the Courting Chaos project, but I did use it a lot for that project. If you’re counting my cameras there are a lot more… Keith Richards has three thousand guitars, so I have a way to go.

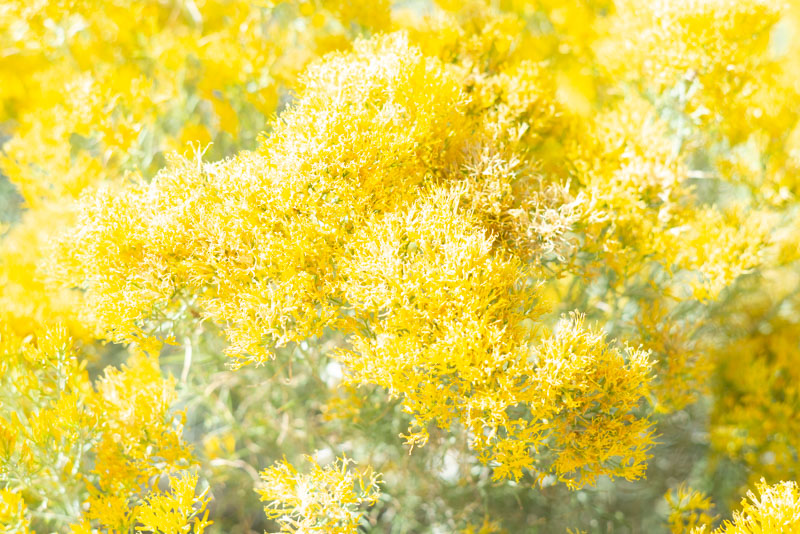
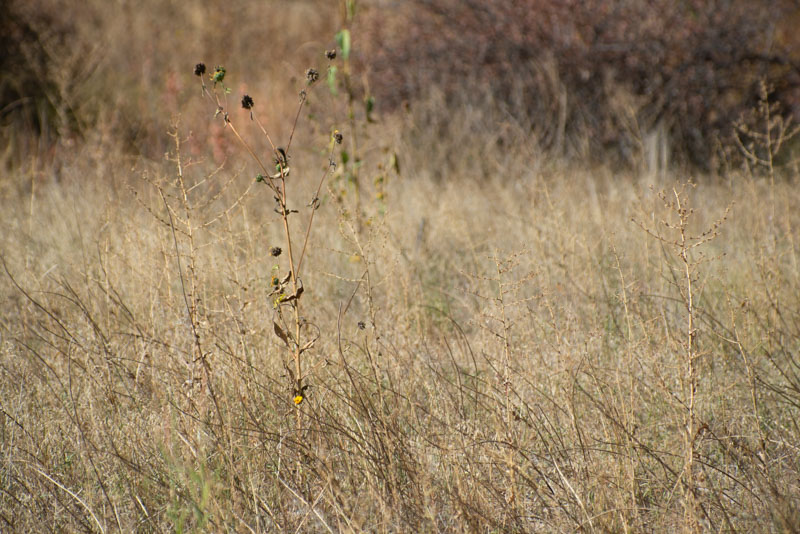
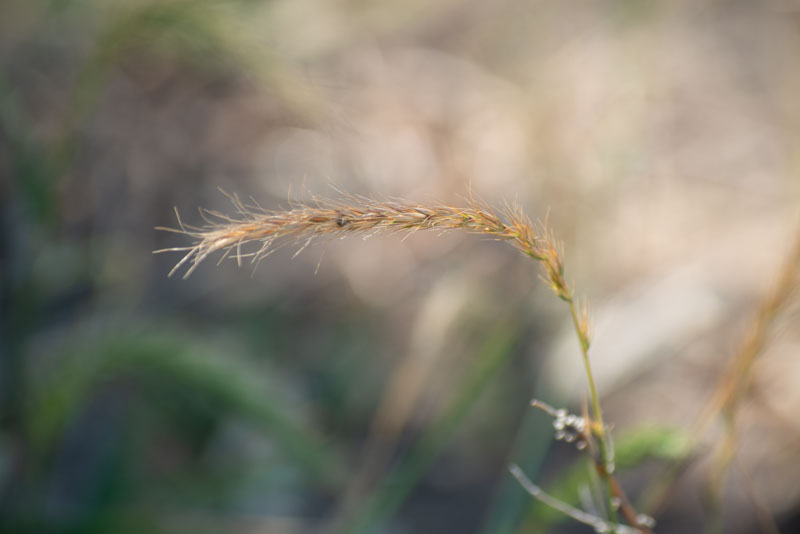
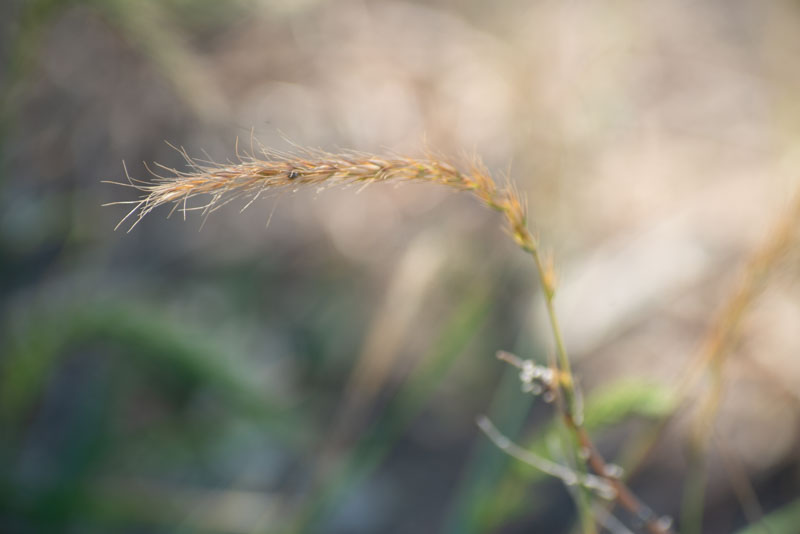
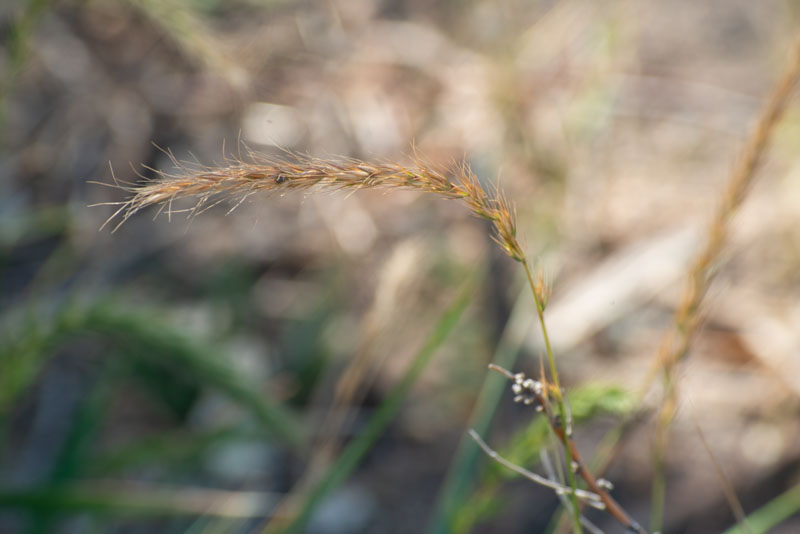
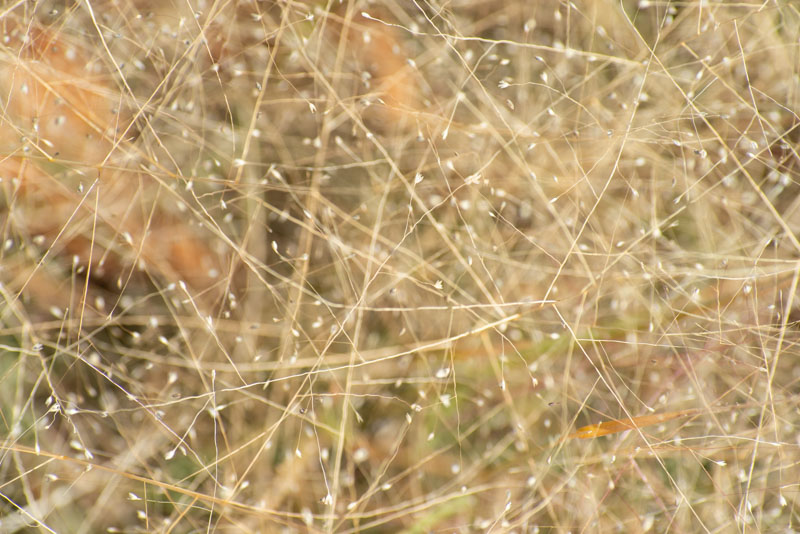
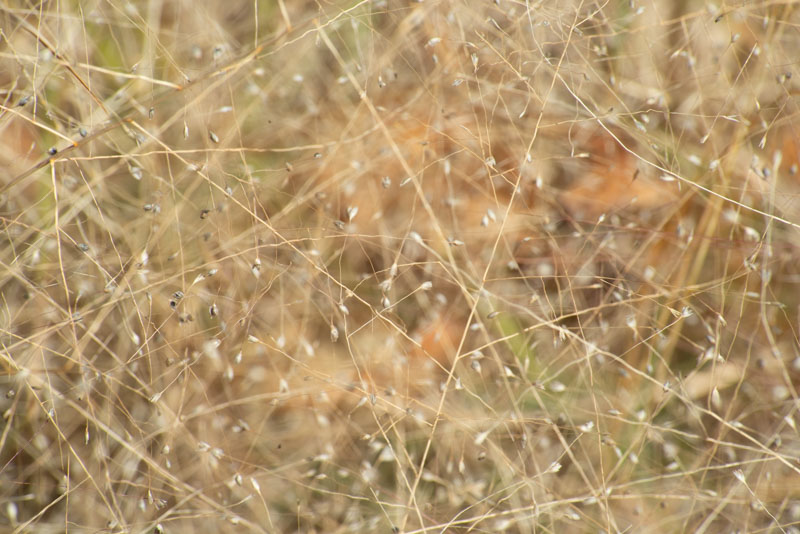
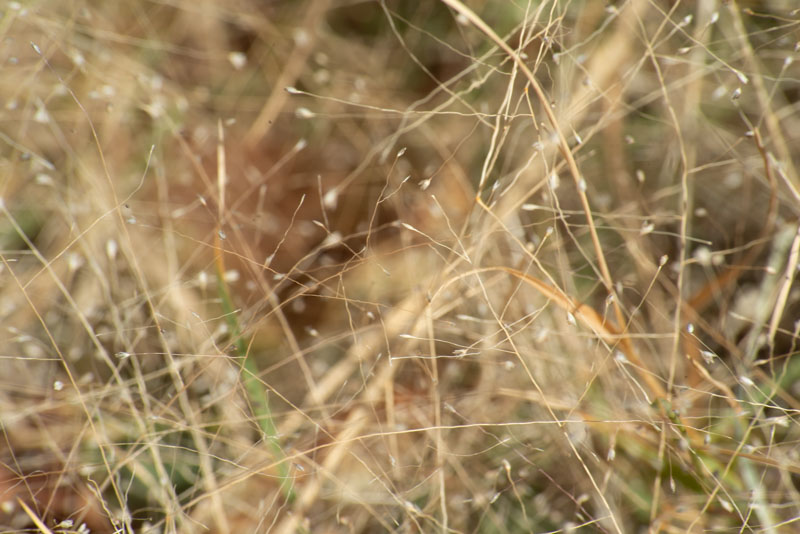
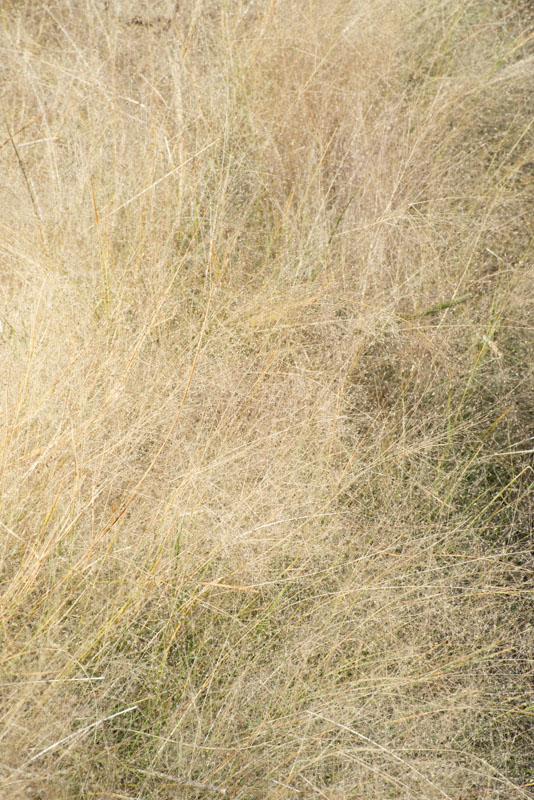
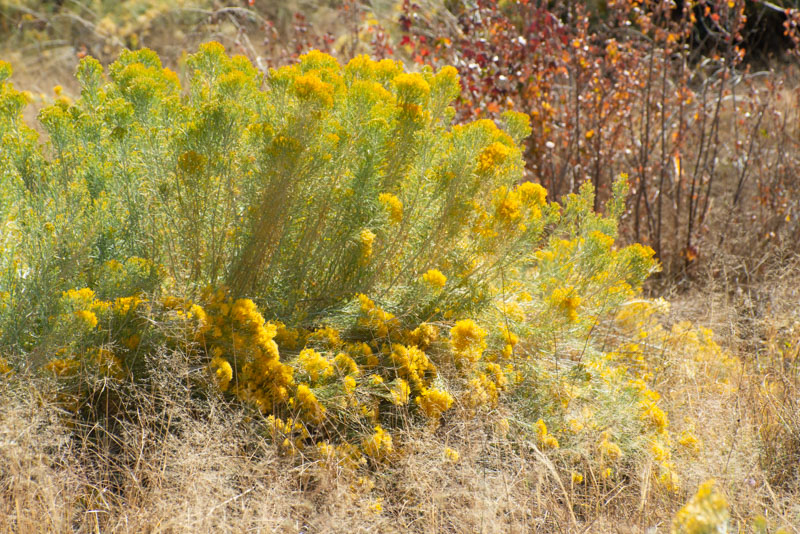
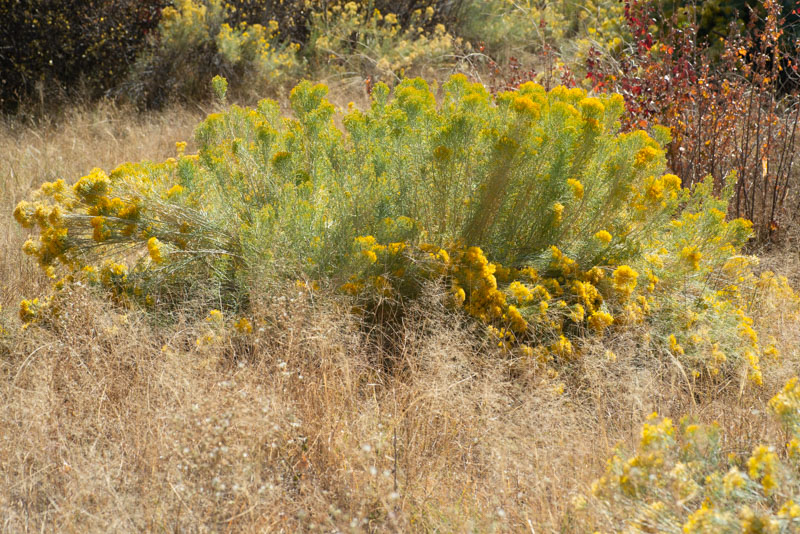
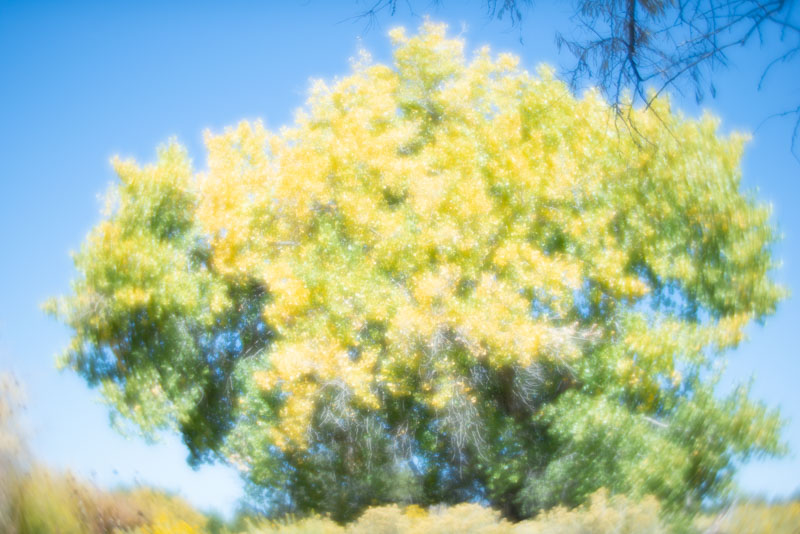
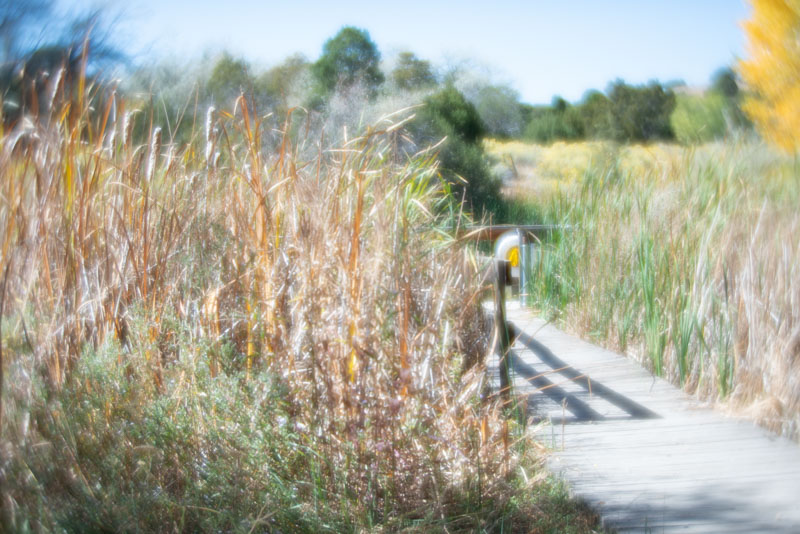
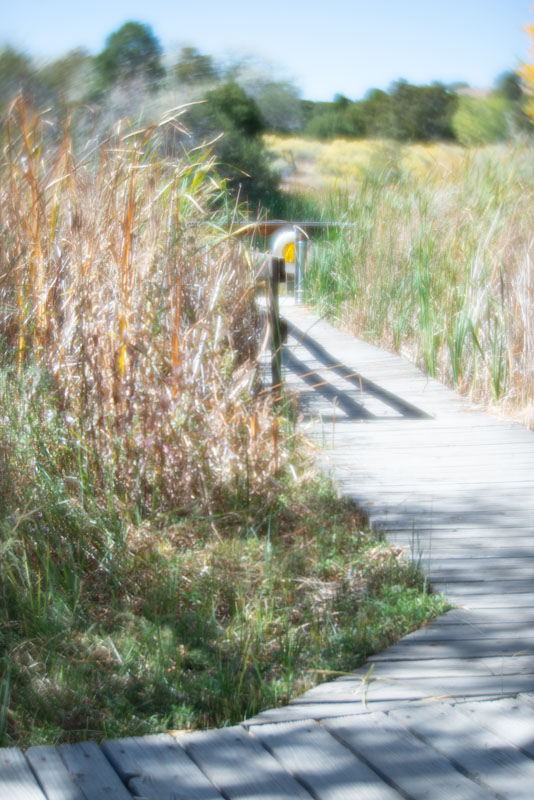
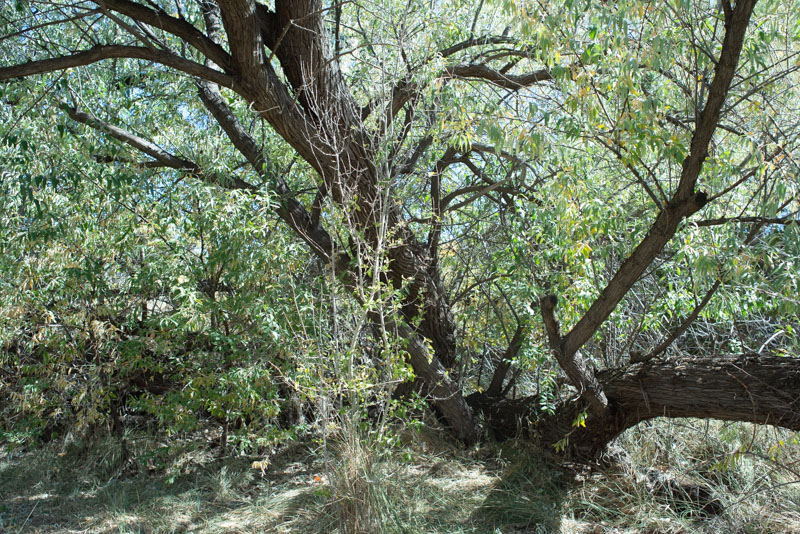
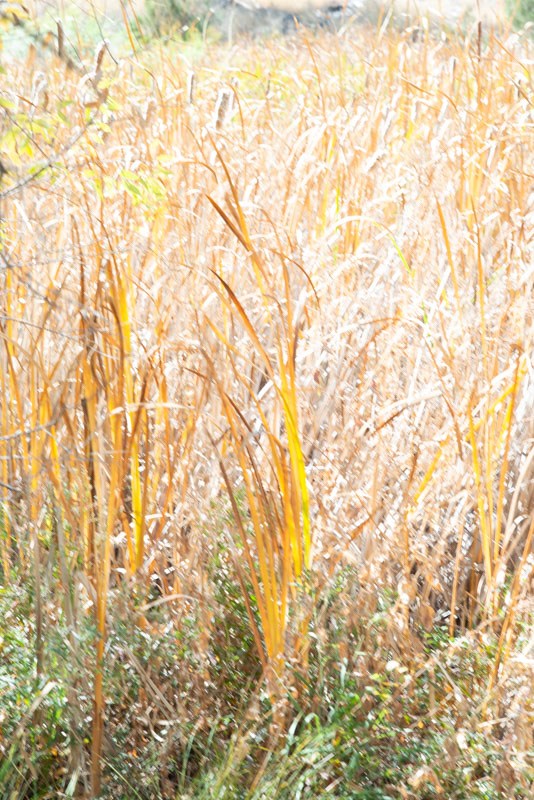
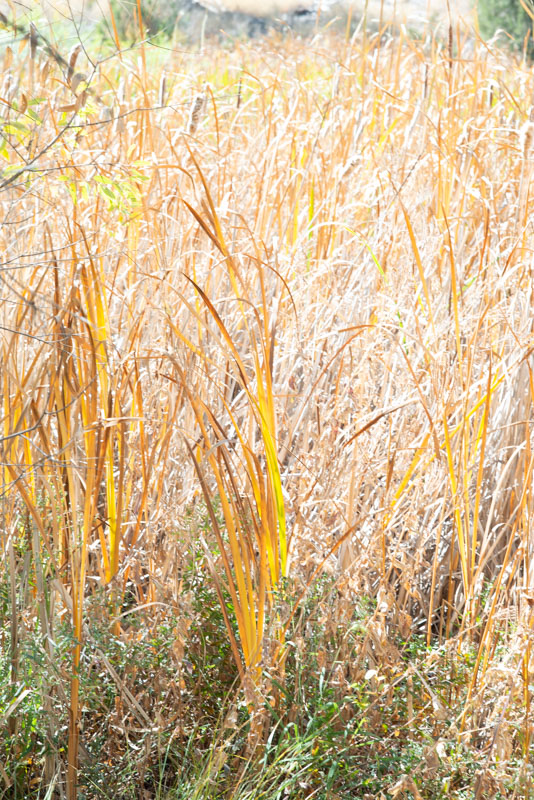
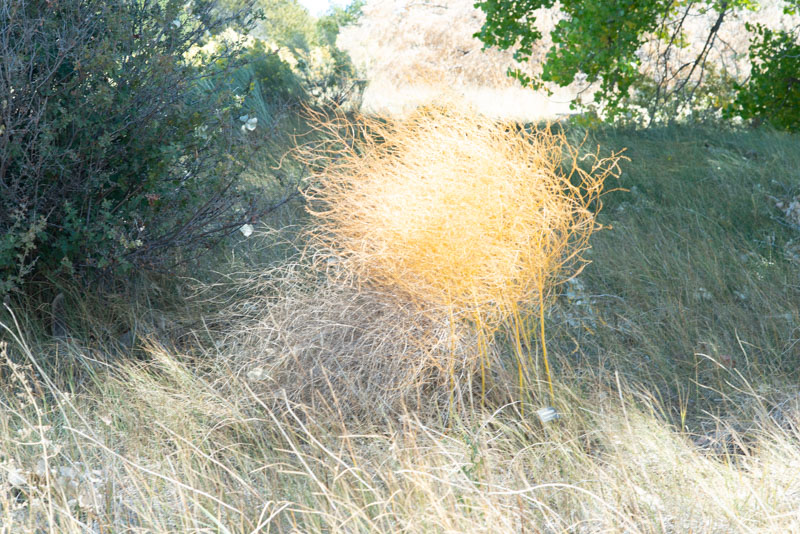
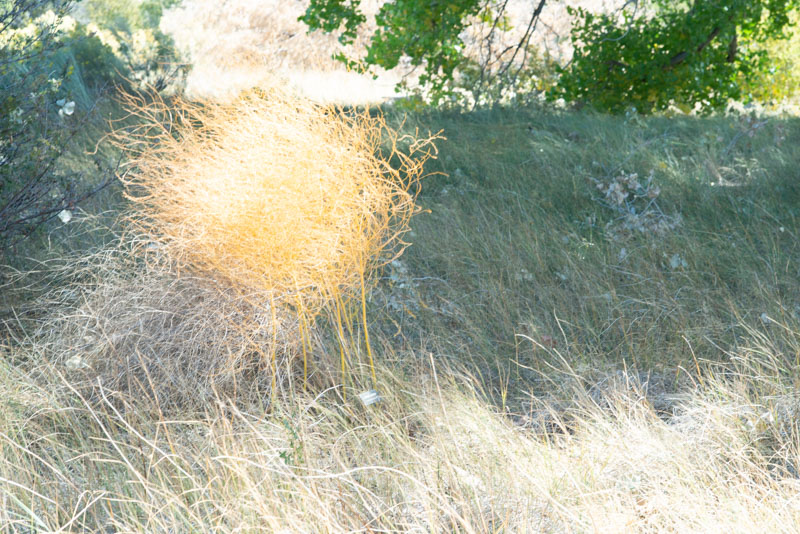
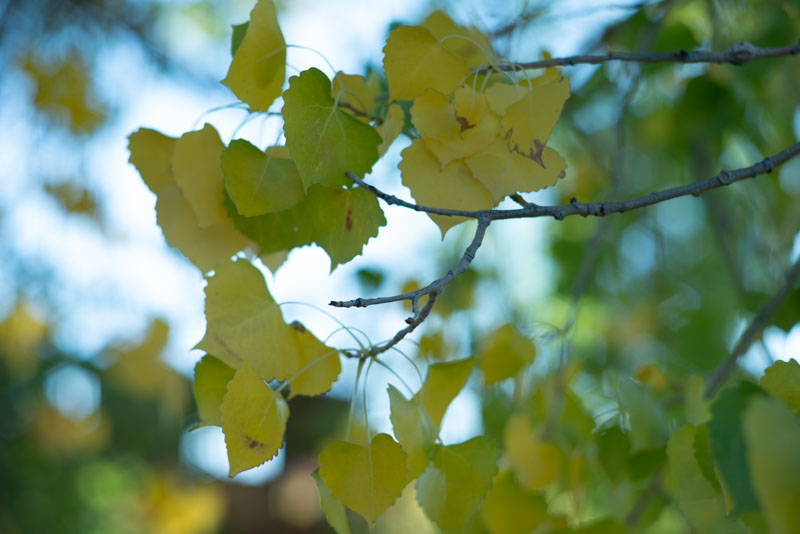
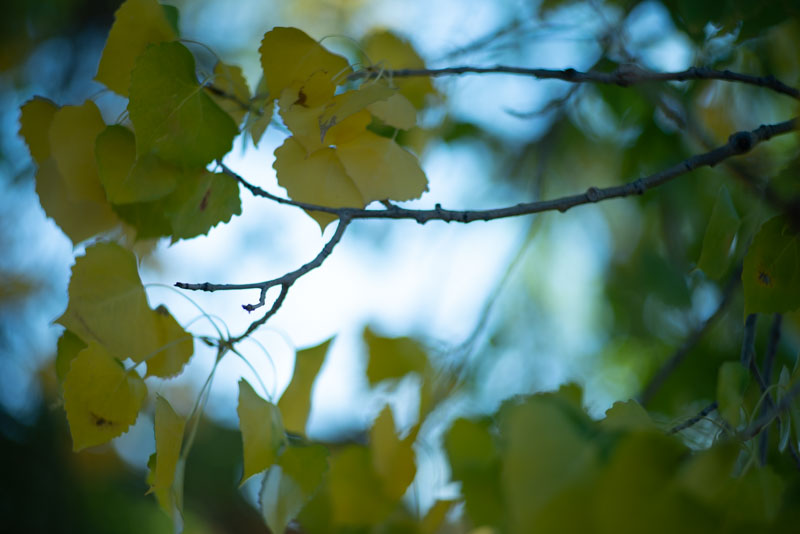
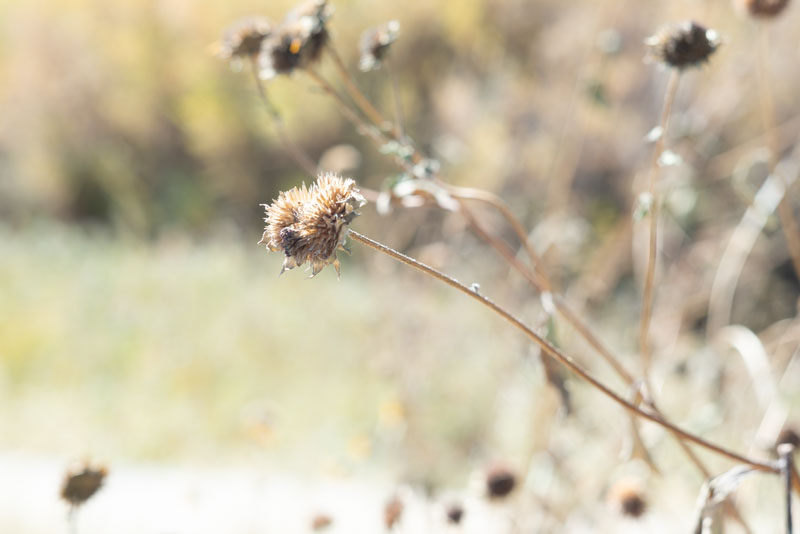
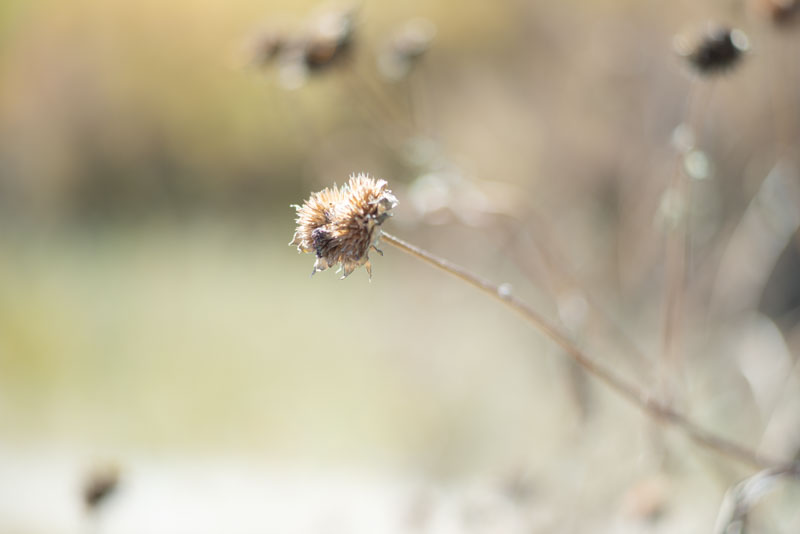
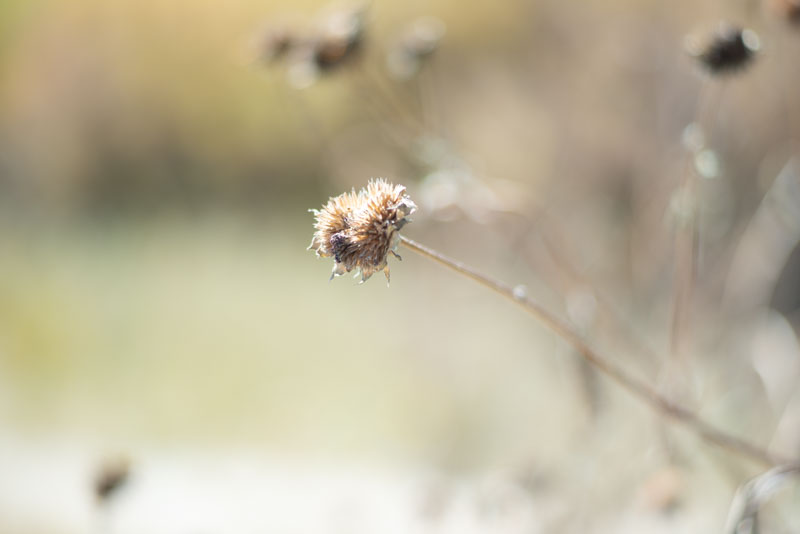
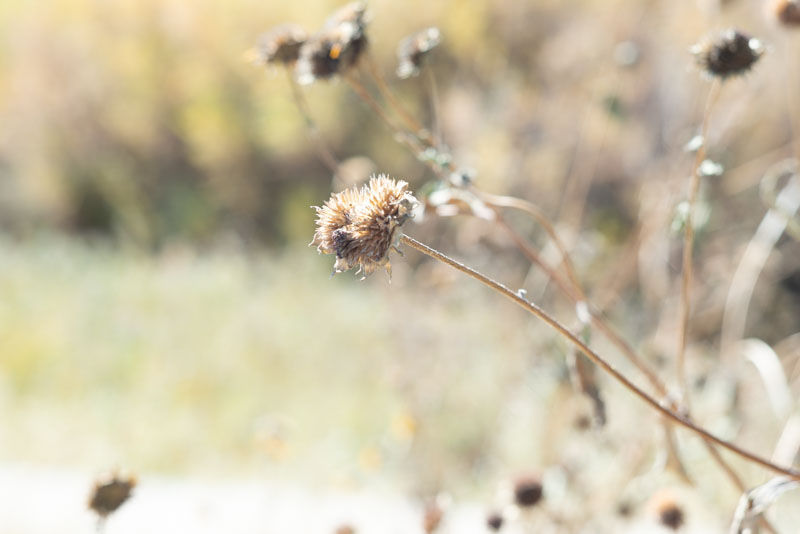
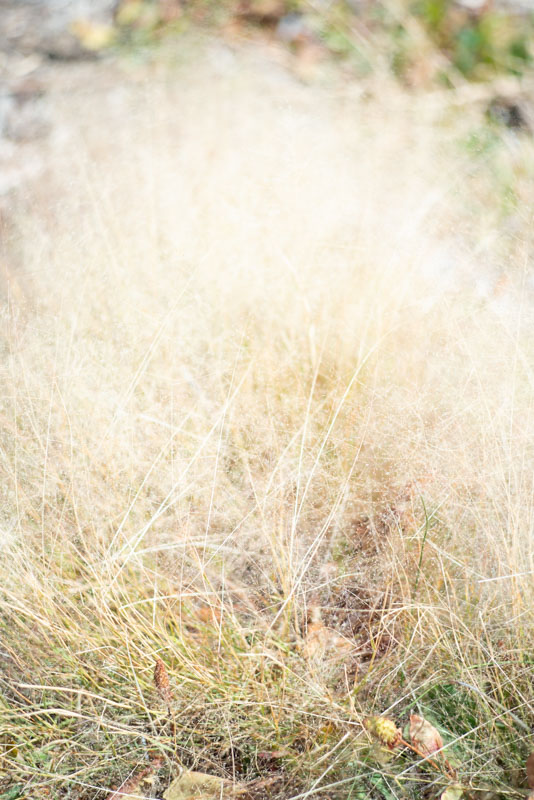
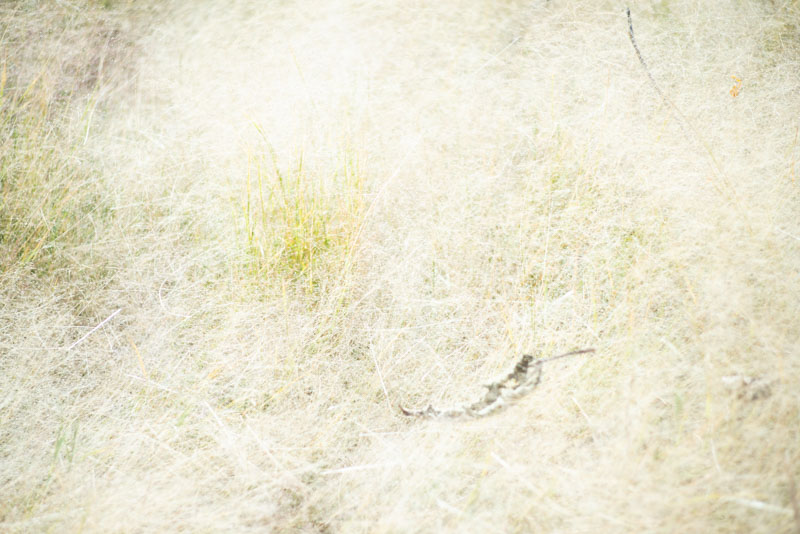
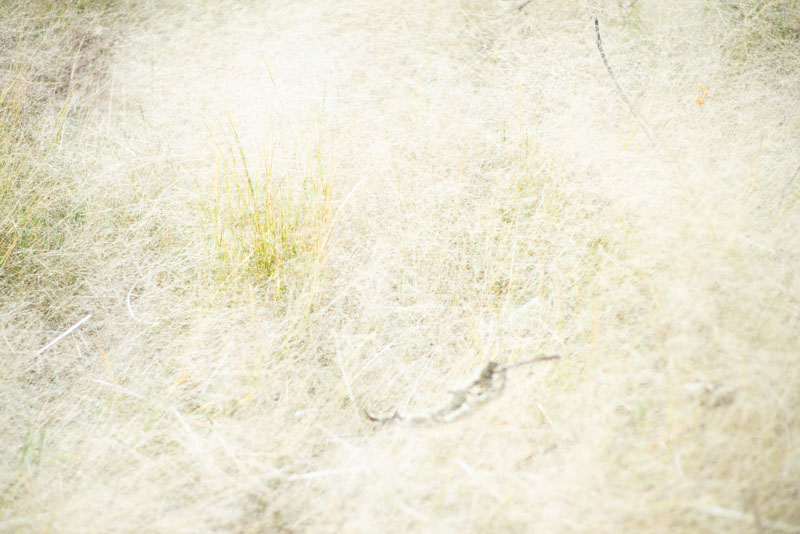
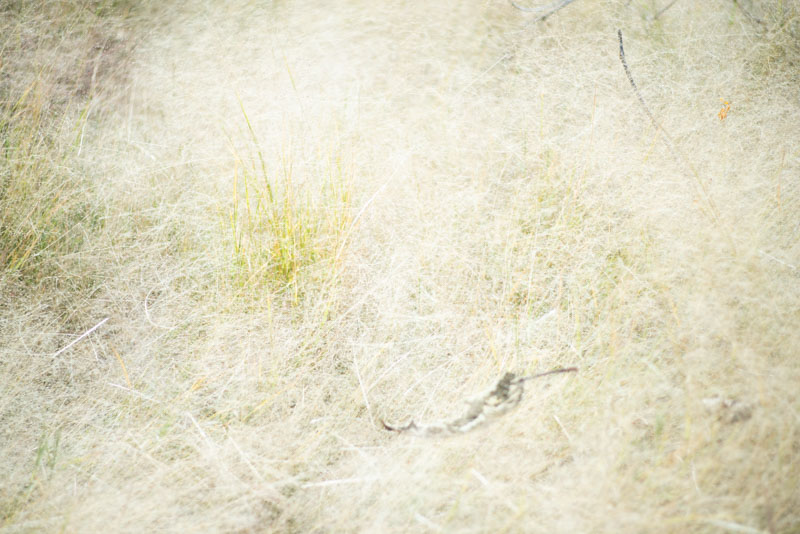
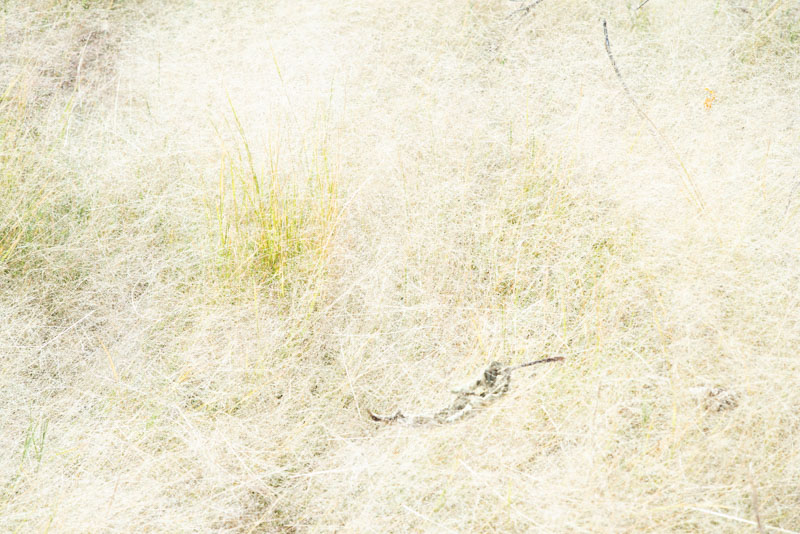
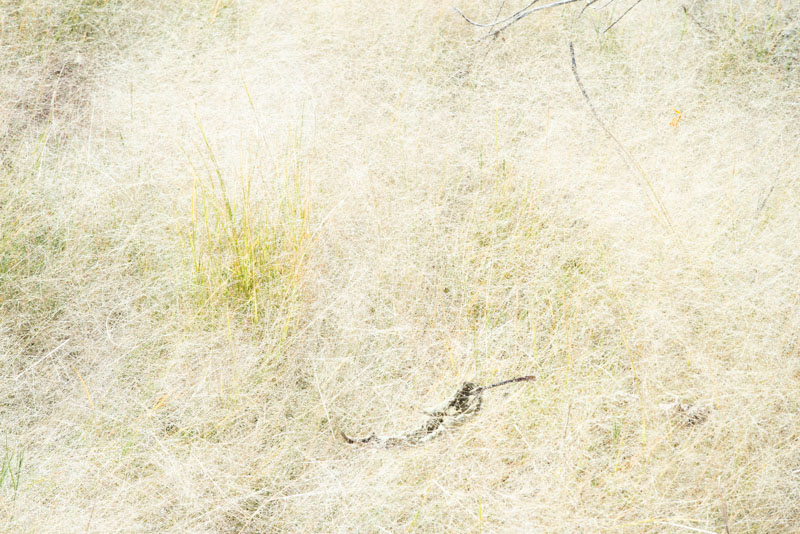
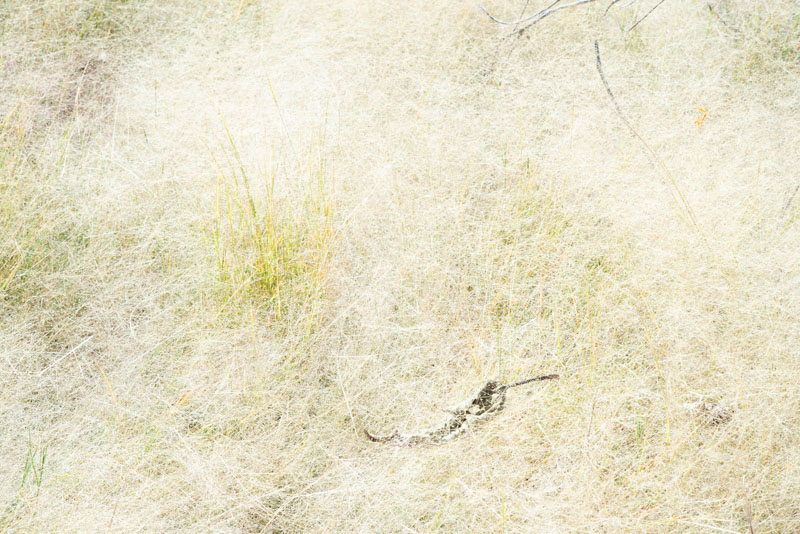
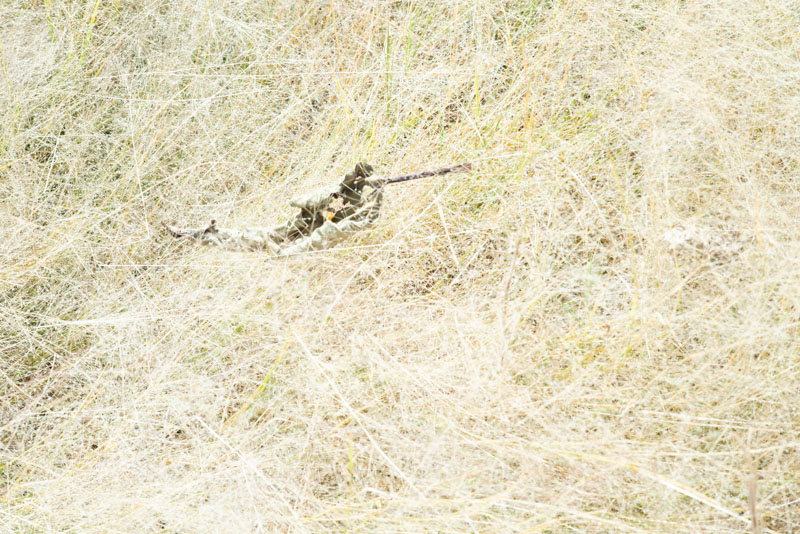
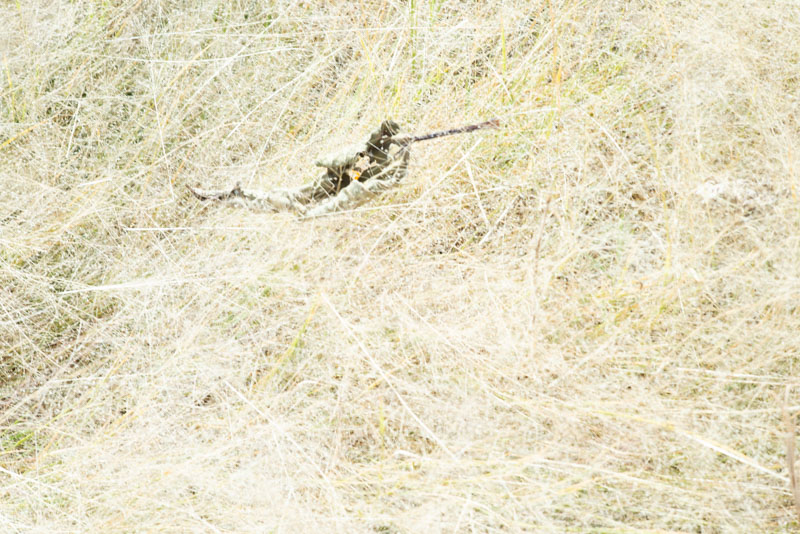
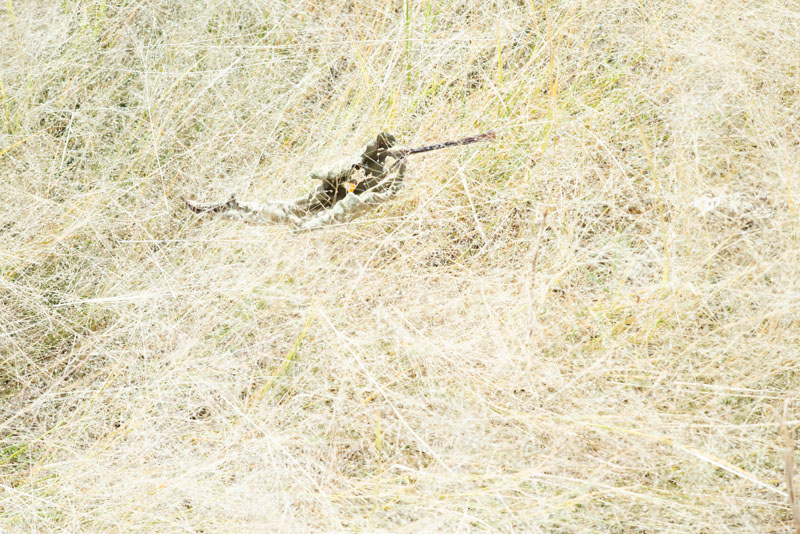
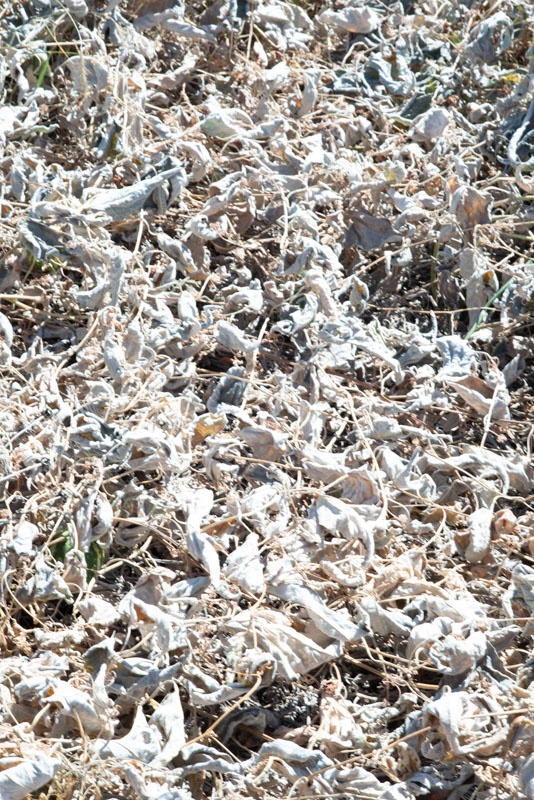
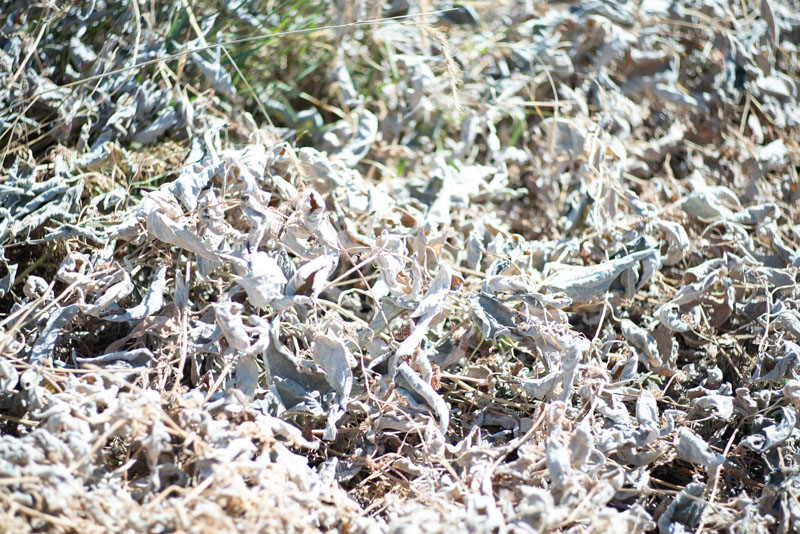
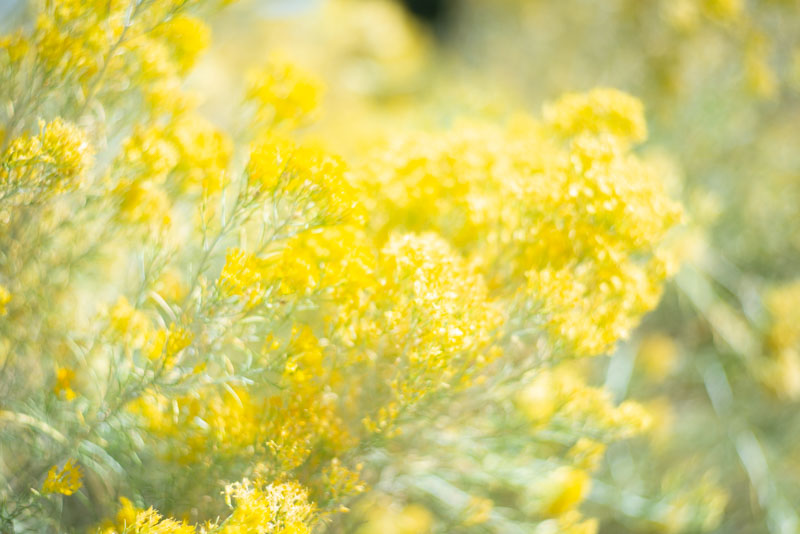
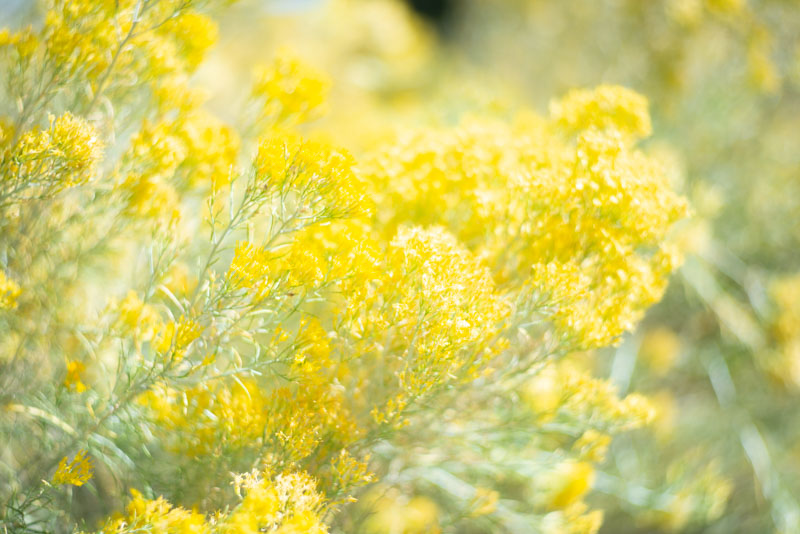
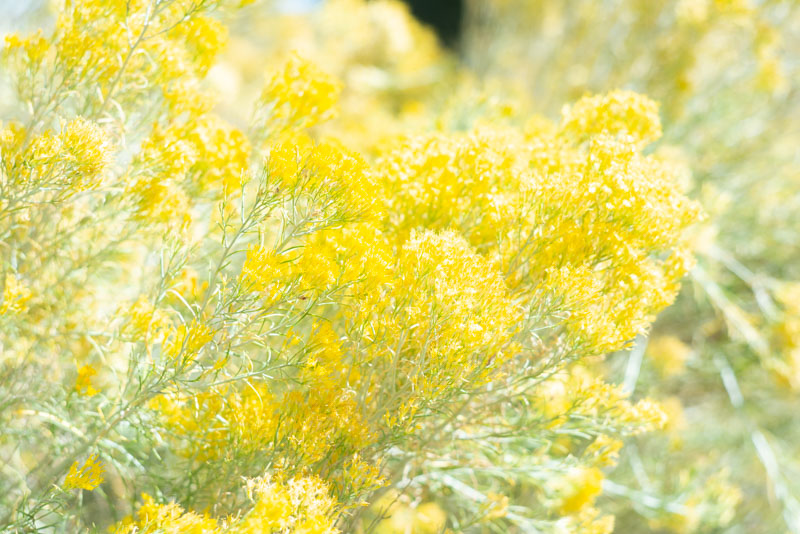
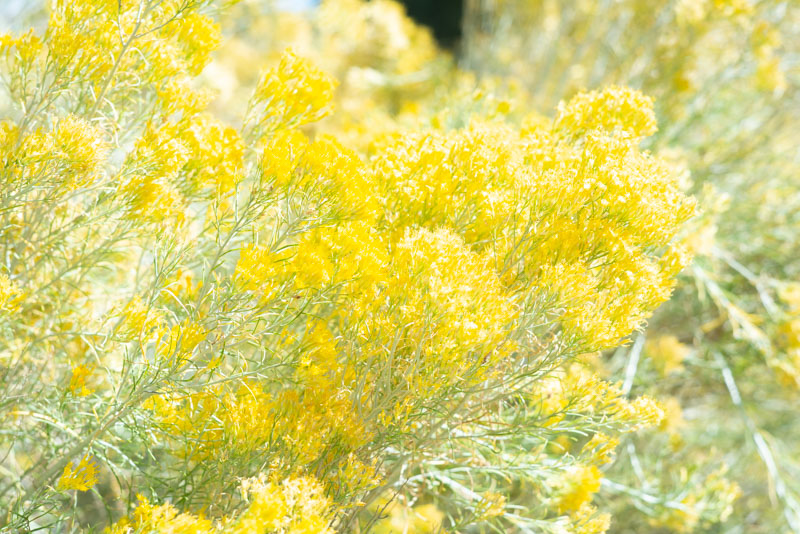
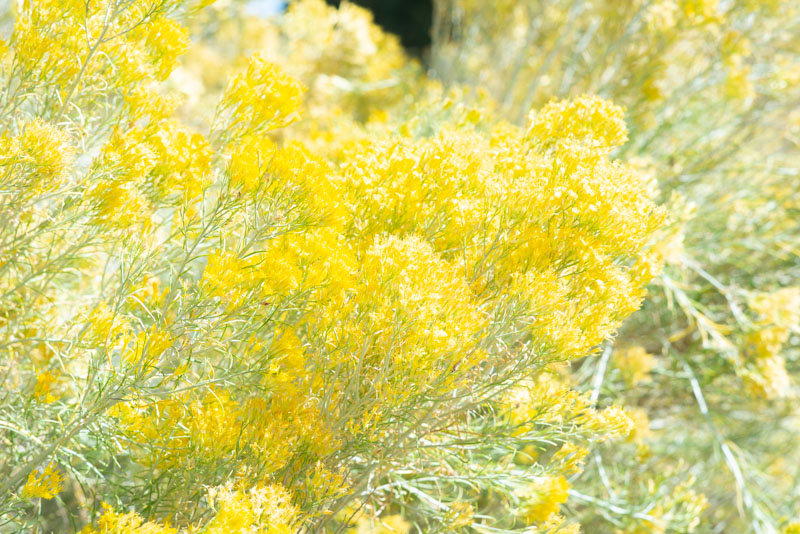
Now clearly all of this practice is well and good, but practice has its limits. The limits of practice are discovered by testing. Some testing is very easy to understand: all the lenses I’ve been using have leaf shutters, which are inaccurate. Leaf shutters are mounted in the middle of a lens rather than near the film. In addition all old leaf shutters are inaccurate to some degree, and all of mine are old, much like myself. There is actually a phone app that does a pretty good job of shutter testing, if you have old shutters you should find the app. I’ve know a lot of people who do obsessive processing testing. This used to be extremely important. Even as recently as the 1950s and 60s many film emulsions were thicker, which changed the way films recorded light a lot! This has a lot to do with why Ansel Adams and others developed the Zone system. Film recorded low light differently from middle grey and highlights blocked up. There are some films which will still react this way, if you want to experience greater frustration. Modern black & white films, like Kodak T-max and Ilford Delta will handle the highlights much better than say Super-XX; so exposure is easier to manage. In addition, most photo papers are multi-contrast which gives the printer much more control over the way the print looks. Alternatively, you can scan a negative and manipulate it in Photoshop, which gives you much more control over the outcome! You can make a new enlarged negative with a printer and make a variety of different kinds of prints, customizing your negative to fit the printing material. So my goal in testing film is to get a negative with a long scale, many tones between black and white. I’m also looking at the graininess of the film and it’s resolution. So far I like the Ilford Delta 400, but I do want to check more films. While I’m looking at film resolution I’m also examining the resolution of my lenses; all lenses are not created equal. At some time I need to do some writing about the way lenses affect pictures. Many people are fiends for “sharp” lenses, however many people interpret contrasty lenses as sharp because they make images that “pop”. Here’s the thing, if you do post processing of your shots with Photoshop it can be better to have lenses with resolution that you like and control contrast in post. I’ve found that I like Goerz lenses, and I have a bunch of them. More on lenses at another time.

There are some basic tests I shouldn’t ignore: is your camera light tight? Are your film holders light tight? Some of mine were not. It’s important to know where the weaknesses of your gear are. One more test: can you carry the damn camera bag and the tripod without too much suffering…

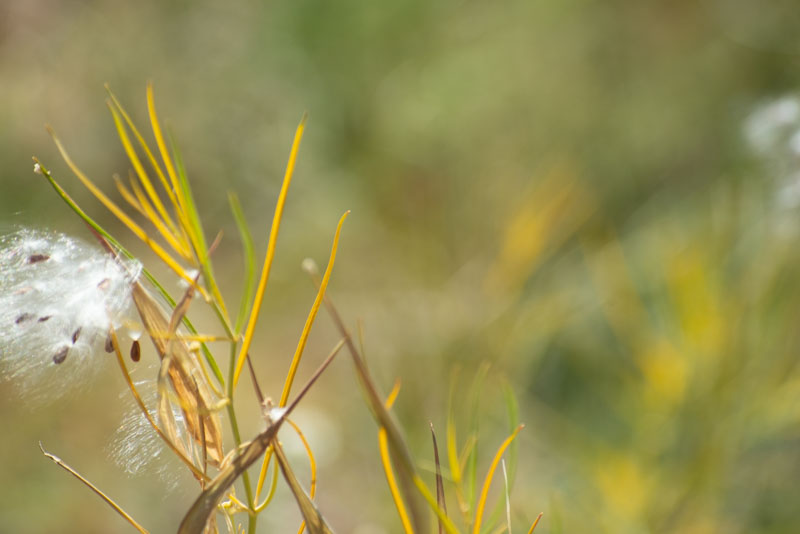
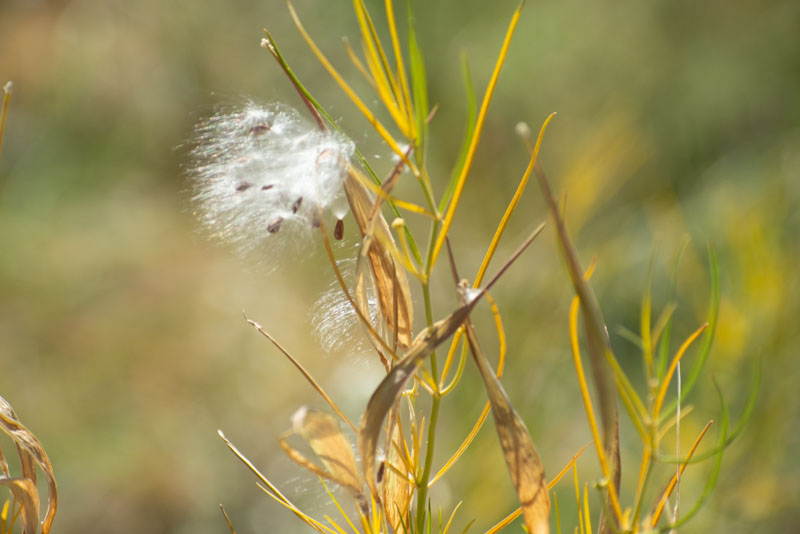
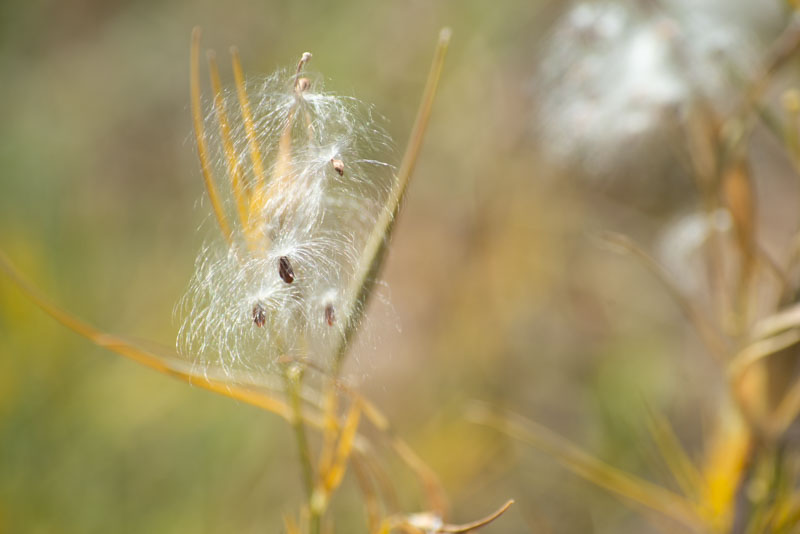
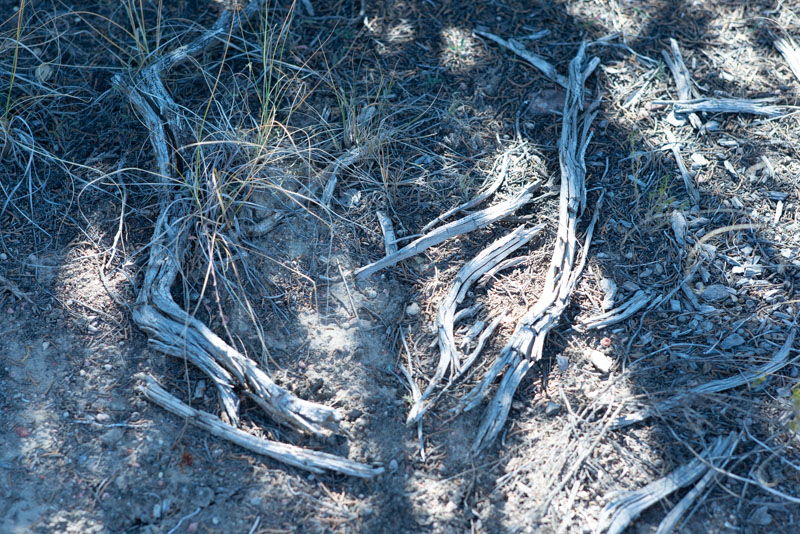
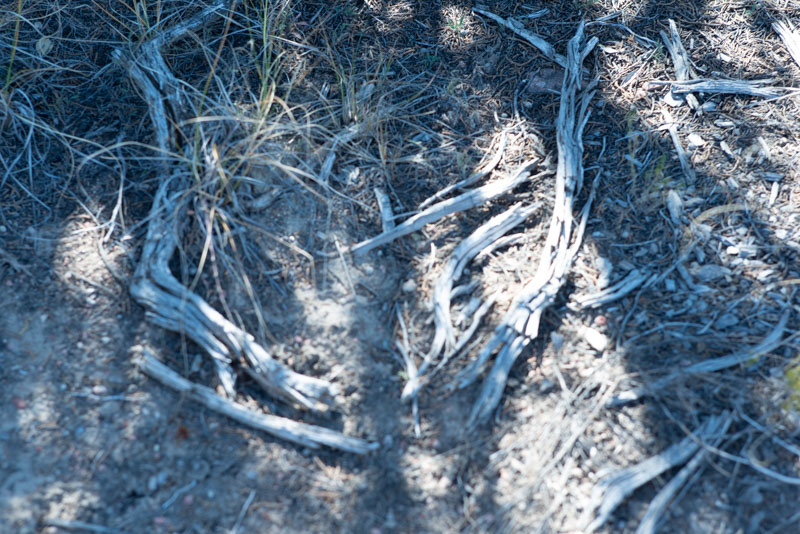
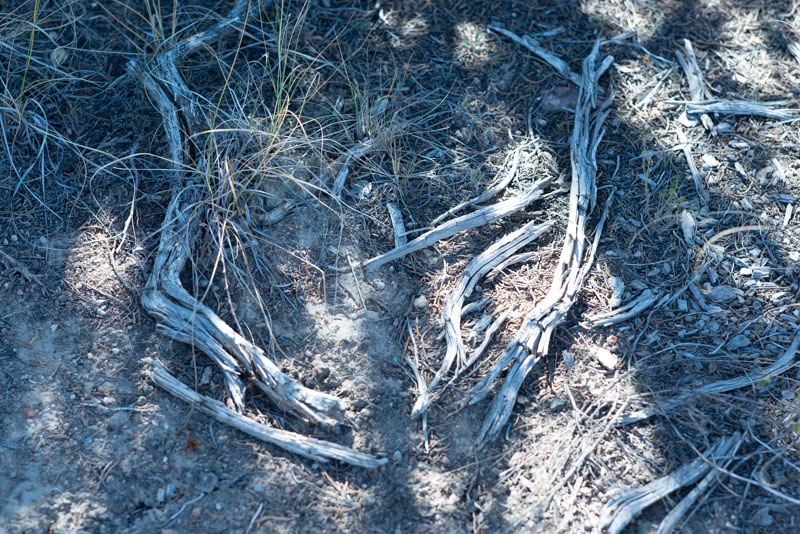
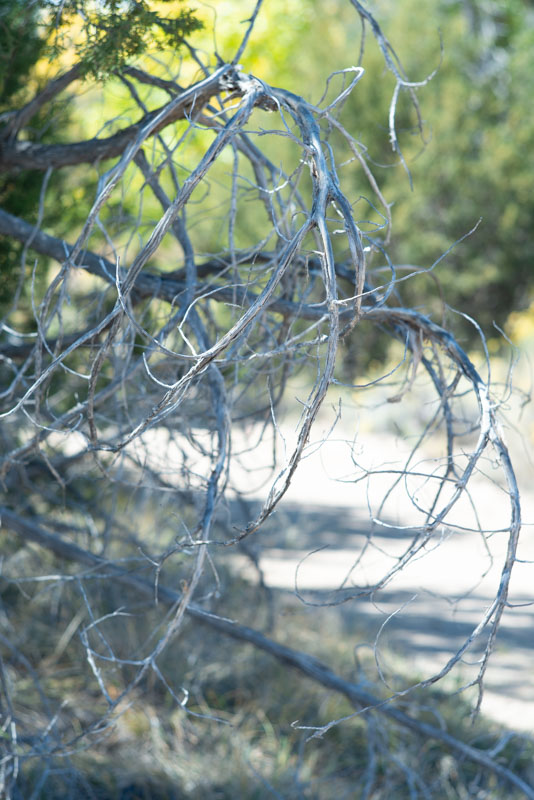
Here’s the thing, we do all this so that we can PLAY. If we get too caught up in technical details that we forget that photography is way of communicating and documenting. If we aren’t doing any shooting that all the gear and all the knowledge don’t matter. Play means both expressing technical skill, craft, and experimenting. If you don’t make mistakes; don’t walk outside your comfort zone you aren’t really doing anything new. If you don’t express yourself with good craft than people won’t be able to appreciate your images.

I hope you’ll also check out my books, use the links below:


One more thing, there are almost 14,000 people registered on this blog. Wow! Thanks everyone.

November 15, 2018

Courting Chaos-The show, Part 2-Cyanotype Prints

This post includes all the cyanotype images from my current show at Indiana Landmarks. The show is going to be on display until the end of November, so you still have a chance to see the real photographs. I say real photographs because looking at an online version of an image adds a sameness to all images. On your phone or monitor images always about the same size and the color is always affected by your monitor. If you care about photography its a really good idea to see actual photographs, not just digital versions. I used 3 types of prints in the show: silver gelatin prints, cyanotypes and a couple of Kodak color glossy prints. As I mentioned in the last post you can visit this previous post for more information about print types: https://siskinphoto.com/blog/?p=2243. The other images, the silver gelatin and the color glossy images are posted as parts 2 and 3 of the show. Kodak Color Glossy images are at https://siskinphoto.com/blog/?p=3633. The Silver Gelatin prints are at: https://siskinphoto.com/blog/?p=3571

The show has fourty-one images up on the walls, these are the twenty cyanotype images. Each time you make a cyanotype image it is different, even if made from the same negative. The images are for sale. The cyanotypes are matted to 16X20 inches and are priced at $500. The price includes shipping in the U.S. For this and all the other images please contact me directly at john@siskinphoto.com to arrange the purchase. Please contact me for more information about any of these images. These images are copyright by me and are NOT INTENDED to be shared. You are welcome to post the link to this blog, but do not re-post my images. Thanks for your respect.

Cyanotype Images

Wayne #12

Wayne #2

Rubella #5

Rubella #1

Rachel #7

Mindy #7

Jennifer #5

Jennifer #4

Dana #11

Dana #5

Curt #11

Curt #5

Cassie 2 #2

Cassie 1 #5

Cassie 1 #3

Andrea #2

Andrea #1

Alex #5

Alex #1

December 27, 2016

On Editing

Griffith Observatory

I have been a working professional photographer for several decades. I actually started taking pictures much earlier. In all that time I’ve never lost my love of actually making an exposure. There is a hopefulness about each exposure: maybe this one will be great or maybe this one will please the client. The actual moment of creation is special.

The thing is, taking a picture is a personal moment. Inevitably there is something left out of the frame. It might be the experience of getting to the shoot or something completely unrelated. If I had a great breakfast before the shoot that part of my experience will never be part of the picture. Perhaps this is obvious, put most people taking pictures seem to miss this fact. One of the signs that the experience is outside the frame of the picture is when the photographer needs to explain the shot. Since most people take pictures to make a sort of visual diary of there lives this is a natural part of picture taking. Most people take picture to capture a part of there experience: this is what my child looked like at three or this is where I stayed on my last vacation. I think that this has a lot to do with the popularity of selfies. Of course I occasionally take pictures to capture moments of my life, but such pictures are not my business.

I make a lot of photograph for clients and for art. When I make a photograph I am shooting to communicate with the viewer of the photograph rather than trying to save a personal experience. This means that I must understand the way a viewer will see my photograph. The viewer will never have the experience of pushing down the shutter button. He or she comes to the photograph with a whole different set of expectations and experience than I had when I made the image. First the viewer expects to be shown something interesting. When I make photographs I am always involved in a process of discovery. I am trying to find what is interesting, compelling or just effective in an image. The viewer expects to be shown what I found; they do not expect to make their own journey of discovery. While it might be interesting to create art that requires such a journey on the part of the viewer, effective photographs present the viewer with the discovered.

Editing is the process of choosing what to share with the viewer. What I choose to share depends on the viewer. If I am working for other creatives, for instance an ad agency or a graphic designer I might share everything. Such people expect to go on to do their own process of discovery in my images. However if the images are for other uses, whether for business or for art, I need to choose images that will communicate with the intended viewers. I need to see my images as other people will see them. It can be very difficult to see images in this way. I must pay attention to what is in the frame, and how others see that content, and just what a photograph can actually communicate. This is a difficult process. Many good photographers are unable to make the shift to editor. I’ve often been shown images that represent something very special to the photographer, but weren’t effective in communicating to any one else. I’ve done this myself: tried to explain what was great about an image I made, only to realize that my audience was only concerned with the actual image.

When I edit my first step is to get rid of all the images that are so technically flawed that nothing can be done with them. While I don’t actually destroy any digital files or negatives, I don’t keep such images in the folder I’m editing. If I’m working with digital files my next step is to do basic corrections for color and exposure on any images that will benefit. Usually I can do this in batches, so it doesn’t take very long. If I’m working with another creative, or a client that wants to see everything, I may present all these images. I only present images at this stage if the client wants to be part of the editing process. The client often has special information they want to display or special insights into how they present their images. I never know everything a client knows; they always have special expertise. It’s important to use that information. So it can be very important to engage the client in the editing process. If I’m working for a client that wants to see only choice images I need to start to see like the client, and I have to start making more difficult picks.

On another pass through the images I’ll pick out any image that is particularly effective. At this point I am always looking for what is good about an image. I’m still trying to be inclusive. So I might keep an image that has a particularly effective portion, even if part of the image is flawed. If I have several images that are redundant this is the point where I’ll let some of them go. I’ll also pick out images that are grouped for special handling, say a group of shots that were made for HDR or focus staking. No part of photography is divorced from the technology of image making, but this process of examining images is effective if I’m using a loupe and grease pencil on a proof sheet or Lightroom. In fact I usually use Adobe Bridge and Adobe Raw to handle digital images.

At this point I begin to edit the actual image rather than the editing the shoot. This is a very important transition. Of course I’m going to continue to throw out images, for technical and esthetic reasons, but the next step is to begin edition the individual images. At this point it’s even more important to look at the images as a viewer would. Remember that the viewer won’t recreate the moment of capturing the image. Just like a client you have special information, but it may not be possible to express that experience in your photograph. So it’s time to get rid of the stuff that doesn’t work in an image. This means crop your image. There was an idea among photographers that you should crop the image in camera; that the actual image captured in the camera was almost sacred. One of the reasons for this was that we shot a lot slides, which were used for projection. You couldn’t edit these images, without a great deal of special handling: what you shot was what you showed. With current digital cameras there is no technical reason to shoot this way. In fact there are good reasons to shoot a little extra around your image, for instance you may need to do perspective control or compensate for lens distortion. It is also possible that an image may work best in another shape. There is nothing special about the 2:3 ratio of most digital sensors, square images or different rectangles may work better. It’s even possible that a circle or oval might be the best choice for the image. It’s important to be guided by the image rather than by a frame size or print size. If I end up with a special size image I can always mat the image for a standard frame.

Cropping is so important. It tells the viewer what to look at and keeps the viewer’s eye engaged with the photograph. I have seen so many images that would benefit from a little judicious cropping. There are probably a number of technical things I’ll do to an image when I first open it in Adobe Raw, but nothing is more important to the finished image than cropping. I may crop as a multi-step process, doing a rough crop in Adobe Raw and doing my final cropping in Photoshop. Of course this two-step process is particularly important if I’m going to be doing a perspective crop.

I think that Photoshop has had a more significant and lasting affect on image making than digital cameras have. The previous technology: either wet darkroom or offset printing, didn’t allow for much image manipulation, at least not without extreme costs. Photoshop allows us to get into the image and perfect it. As photographers we should use these tools to create a better visual experience for the viewer. There are so many ways to do this that are beyond the scope of this essay. However it’s important to be open to utilizing this tool kit. Whether you choose to do become a Photoshop expert or to send out your retouching you need to have an idea of the possible. There are limits for photojournalistic images, but those limits don’t apply to personal work, however it’s still important to keeps the viewer’s experience in your mind. Keeping a sense of the real is important to engaging a viewer.

If you’re still reading this you may want to share it. That’s ok with me, but please attribute it to me, for good or ill. If you have another opinion I’d like to hear it. You can e-mail me at john@siskinphoto.com.

My home page is at

http://www.siskinphoto.com/index.php

If you’re interested in more information from me you can find my workshops at:

http://www.siskinphoto.com/workshop.php

There are a couple of free classes that I used to offer through BetterPhoto, on the page as well.

You can read my magazine articles at:

http://www.siskinphoto.com/magazinearticles.php

There are a couple of dozen of them at that link, all free.

You can also find my books at Amazon, of course you’ll have to pay for them:

Understanding and Controlling Strobe Lighting: A Guide for Digital Photographers

Photographing Architecture

My blog is at

https://siskinphoto.com/blog/

and I’ve posted this essay at the blog.

And just for fun here’s a link to my do it yourself page

http://www.siskinphoto.com/cameraeqp.php


December 10, 2015

Union Station, Los Angeles #1

Union Station, Los Angeles #1

This is one of my favorite images. I love the look of the print. I have it above the desk in my office. Sometimes the experience of making an image is transformative: making this image changed the way I make pictures. I learned to take risks, even if the shot might not work. While this might seem natural with digital photography, it’s different with film. I shot this image on 4X5 film. Each sheet of film is individually loaded into a film holder. Five film holders, ten sheets of film, weighs more than a pound, and takes up a lot of room as well. Each exposure costs more than two dollars after processing. So on location each shot is precious. I made this shot with my speed graphic, which weighs almost seven pounds (I got out the scale to do this blog). This isn’t usually important, but Union Station, Los Angeles, won’t let anyone shoot with a tripod unless they have a permit. I made the shot with a Schneider 65mm f8 Super Angulon lens. I’d never made a really sharp image with this lens. So I hand held the camera at an exposure of 1/15 sec at almost f16. The light was beautiful, but I didn’t know if I could hold the camera still for the exposure.

There’s something that I didn’t know about using the Super Angulon lens, or any wide-angle lens on a large format camera. If you focus the camera on infinity and stop down the lens only the center of your shot will be sharp. In order to get a sharp image with this class of lenses you have to focus closer if you stop down the lens. So if you want to have the whole shot sharp, and you’re going to shoot at f16, you should focus at about eight feet from the camera. When I took this shot I was very careful, because I knew I needed to get as much depth of field as I could. So I focused closer, using the rule of thumb that depth of field extend a third in front of your focus point and two-thirds behind that point. To my surprise and delight the whole image is sharp edge to edge. I’ve posted a lot more about aperture and depth of field in these posts: https://siskinphoto.com/blog/?p=50, https://siskinphoto.com/blog/?p=56 and https://siskinphoto.com/blog/?p=68. Of course the fact that the image is sharp also means I held the camera steady at 1/15th of a second. Pretty good for a large format camera!

My Speed Graphic camera with the 135mm lens, not the 65mm Super Angulon.

My Speed Graphic camera with the 135mm lens, not the 65mm Super Angulon.

It’s always exciting to see your film images after processing, because, unlike digital, you don’t know you’ve got the shot until it’s processed. When I saw this negative, before I even made a print, I knew it was great. I still remember that moment. Regardless of how you make a photograph it’s exciting when you realize you’ve made something special. By the way, since this image is titled Union Station, Los Angeles #1, you can assume that there are more images of this fabulous site to come.

I hope that when I get the website updated I’ll be offering silver gelatin prints of this image in various sizes. Right now I’m offering archival digital prints of this image at a special price just $95, mounted and matted on cotton rag board, and shipped in the United States. The image will be about 11X13 inches and matted to 16X20.


This image, and many others, is also available in my book B-Four. You can look at the book at this link, and order it as well. I hope you’ll take a look at the book.

You can buy one of my other books by clicking on the titles below:

I’m going to be using my blog to add information about images to the fine art pages of my site. This part of the site isn’t functioning yet, but it will be. These posts will enable me to put up information about the shot and to add details about buying prints. I think it’s very useful to talk about the details of creating specific images. I hope to hear from you about this-use my e-mail to let me know: john@siskinphoto.com. Of course I hope you’ll also want to buy some prints. I’ll be offering more types of prints in the future.

December 7, 2015

What?

Filed under: Looking at Photographs,Photographic Education,Portraits — John Siskin @ 3:48 pm
What?

What?

This is the most successful image I’ve ever made. It’s been published several times, including in the New Yorker Magazine. I’ve sold more prints of this shot than any other. And I almost missed it. Of course we often miss shots because we recognize a moment too late, or because something goes wrong, but this shot had a different problem. I made this shot, and made a proof sheet, and put it in a file without noticing how effective this single frame was. I don’t know why I missed it, maybe I just didn’t have time to print, but it ended up in the files. Fortunately I like to go through the old files, because I sometimes find good things. Sometimes you just need fresh eyes to see how effective an image is. Anyway I did notice the image, and it’s been an important part of my portfolio ever since.

Photographing animals in the studio is similar to making studio photographs of children: you need to be ready before the subject steps onto the set. You’ll probably only get the right look one time, so you don’t want to waste that on a set-up shot. In this case the dog came into the shoot after I finished shooting his owner, so everything was ready. I shot the image on Kodak TMAX film with a Mamiya C-330. I used the 250mm lens for the shot. It’s just about the only time I ever used this lens. I liked the Mamiya C-330 cameras because I could afford to have just about everything in the system. I did a lot of good commercial and personal work with these cameras. I still have one C-330 body and the 180 Super lens, a great combination.

If you’d like to buy a digital print of this image, mounted and matted on archival cotton rag board, please use the PayPal link below. The image will be about 13 inches wide mounted on 16X20 board. The price includes shipping in the United States, for other countries please ask first.

This image, and many others, is also available in my book B-Four. You can look at the book at this link, and order it as well. I hope you’ll take a look at the book.

You can buy one of my other books by clicking on the titles below:

I’m going to be using my blog to add information about images to the fine art pages of my site. This part of the site isn’t functioning yet, but it will be. These posts will enable me to put up information about the shot and to add details about buying prints. I think it’s very useful to talk about the details of creating specific images. I hope to hear from you about this-use my e-mail to let me know: john@siskinphoto.com. Of course I hope you’ll also want to buy some prints. I’ll be offering more types of prints in the future.

December 6, 2015

Indiana World War Memorial & Museum-Stairs, 2015

Filed under: Film Technique,Looking at Photographs,New Photographs — John Siskin @ 3:31 pm

Indiana World War Memorial & Museum-stairs, 2015

Except for dance and the human voice, art requires people to use tools. Of course tool use is so basic to human beings that we often differentiate ourselves from other animals because we use tools. I think that tools are important to artists, and I know that they’re important to me. Some cameras inspire me to take pictures: some lenses seem to bring images to life. I recently got a Graflex XL, and I’ve carried it with me ever since. The camera is nice, but the real star is the lens: a Zeiss Planar 80mm f2.8. This lens is also on the classic Hasselblad and Rolleiflex cameras.

I like the way that stone and concrete look in black and white images. The stone has a real presence in this image probably because of the way the lens capture texture. The precision of the stonework is evident in this shot. Indianapolis has some really amazing stonework throughout the city. I’ve made some fine images of buildings here, and I continue to work with these subjects. Indiana has been a source of limestone for many buildings in the U.S. and the stuff has a great monumental feel. I really like the brighter highlights on the columns in the middle of the image.

I’m still committed to film for many of my fine art images. One reason is a second moment of discovery: when you shoot in digital you see a picture immediately, with film you don’t see an image until the film is developed and printed. The separation between shoot and image gives me a chance to imagine how I will work with the image. The sense of seeing a good negative is very rewarding. Of course it is also rewarding to work with a craft I’ve been practicing for decades.

If you’d like to buy a digital print of this image, mounted and matted on archival cotton rag board, please use the PayPal link below. The image will be 14 inches long mounted on 16X20 board. The price includes shipping in the United States, for other countries please ask first.


You can buy one of my books at these links:

I’m going to be using my blog to add information about images to the fine art pages of my site. This part of the site isn’t functioning yet, but it will be. These posts will enable me to put up information about the shot and to add details about buying prints. I think it’s very useful to talk about the details of creating specific images. I hope to hear from you about this-use my e-mail to let me know: john@siskinphoto.com. Of course I hope you’ll also want to buy some prints. I’ll be offering more types of prints in the future.

January 17, 2015

On Contests

My books and my classes give me a reason to keep doing this blog. If you’re in Indiana I hope you’ll consider taking my Portfolio Workshop. You can see a little more information about this workshop if you check out this blog post. Thanks so much for your attention.

I seem to be judging photo contests more often. I would guess this is because I’m getting a more extensive network here in Indiana. Judging is always interesting, and occasionally inspiring. I’m usually asked to make some remarks about judging, as well as talking about the images. What follows are some of the things I think about photo contests.

pr07

First judging is capricious. Any individual judge has his/her particular experience as well as taste. So any contest that has multiple judges is likely to have more even standards than a contest judged by one person. I know that some organizations have standards for judging, but I think that the personality of the judge will still affect her/his choices.

11

Photography is not inherently a competitive endeavor; like ice dancing the results are much more open to interpretation than a 100 meter run. A photograph can be extremely personal and deeply evocative with out being a contest winner. I have images that look good to me, for personal reasons, that I don’t want to share. Photographs are a form of communication. Some photographs are able to communicate with almost anyone, while some images are only for a personal journal.

pr15

When I choose to enter a contest there is usually some reward besides winning. For instance the images might be published in a magazine or part of a show. I’ve also entered some contests to get my work in front of a particular judge. Usually I’m looking for an opportunity to promote my images or meet people. In addition I often enter contests that have an entry fee. When there is a fee people only enter their best images. I can understand that people only want the opportunity to share images with friends, but I’m not sure that a contest is the best way to do this. The whole business of winning and losing is not as important as communicating ideas, vision and feelings.

pr02

When I’m judging a contest I look at how much the interpretation or manipulation the photographer brought to the image. While there are may fabulous images that are technically just f8 and be there, I enjoy seeing images that the photographer worked for. I always want to see the photographer’s interpretation and expression in an image. Frankly I think it would be interesting to see a competition where everyone worked in the same location and had a choice of when to visit the location. Here’s the thing: many people take pictures, fewer people make pictures. I’ve included a couple of made pictures with this post.

disney 2 copy (1)

An image for a contest needs to be pretty strong. In most cases a judge won’t have time to become deeply involved with a very subtle image. You need to do a good job presenting your images matting and framing them. If you don’t present your images well it’s unlikely a judge will fully appreciate them. It’s my opinion that a neutral color mat: white gray or black is better for competition because you can’t control what will appear next to your shot. If I’m showing a more graphic image I might use a smaller mat to make the image space larger, but many images need extra space around them to isolate them from the surroundings. If two images are equally good, if such a thing is possible, that the image with better presentation will win. A good image, well presented, may often do better than a better image poorly presented. I usually use black metal frames for my images because are durable and separate my images from the surroundings.

jennifer solarization

One more thing, and this is a personal opinion. I don’t like canvas mounted photographs. I think that putting a photograph on canvas is a way of making a fake painting. My photographs are supposed to be photographs not paintings. If you would rather have paintings than photographs, or you think that paintings are better than photographs, perhaps you should learn to paint. If your clients will pay more for a photograph mounted on canvas then, by all means get canvas mounted photographs. Having said this, I think gallery wraps, where the image continues around the edges of the canvas frame can look good in some rooms, but I don’t think they are good for a competition. They are too easy to damage and they don’t separate from their surroundings.

pr12

If an image is good enough, and sufficiently better than the competition, than it can break any rule and still win. But good enough means pretty damn good. Things like the tonal separation in your print, sharpness and color are critical. It’s possible to have a good image on your computer and get a poor print. Before you enter a print in a competition make sure that print presents your image as well as possible.

knife   pepper

If you’re in Indiana you might be interested in my Portfolio Workshop. We discuss many of these issues and others. There’s more information about the workshop at this link. Also I’m putting some of my BetterPhoto lessons on my site. Please check them out at this link. If you’re interested in a One on One Workshop or private consultation please get in touch.

Older Posts »

Powered by WordPress