To start I just want to remind you about the classes: An Introduction to Photographic Lighting, Portrait Lighting on Location and in the Studio and Getting Started in Commercial Photography and the books:
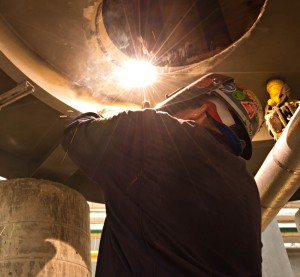
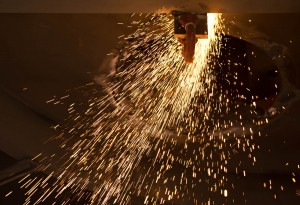
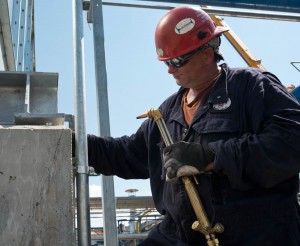
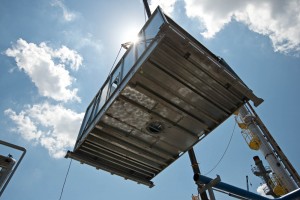
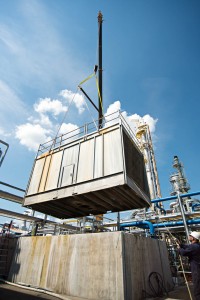
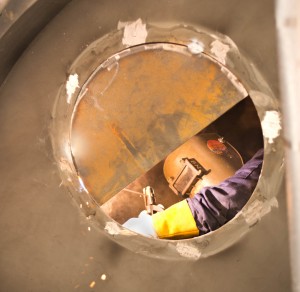
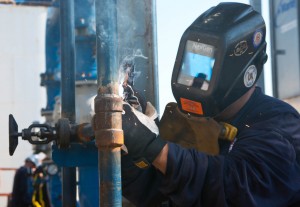
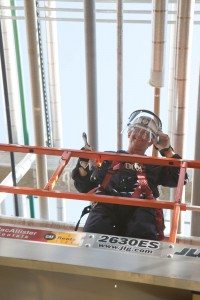
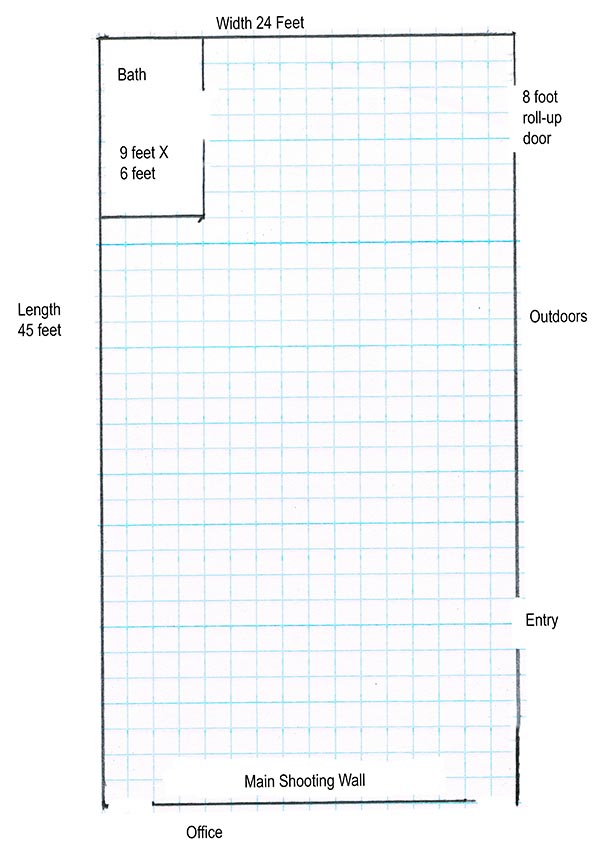
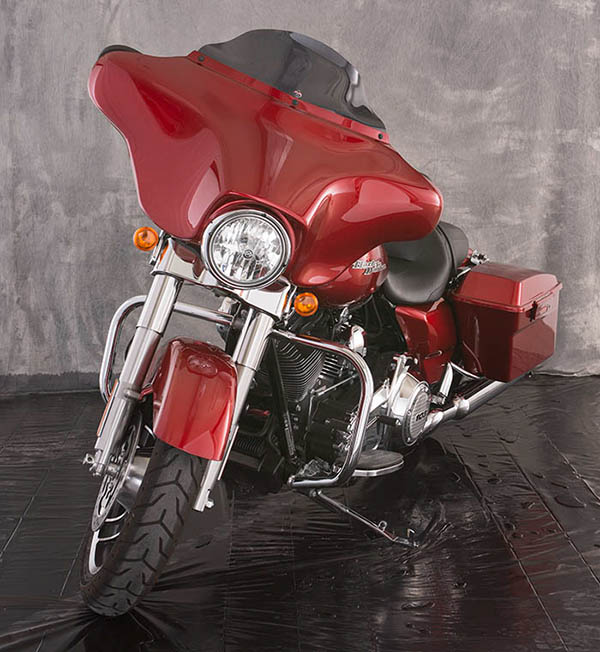
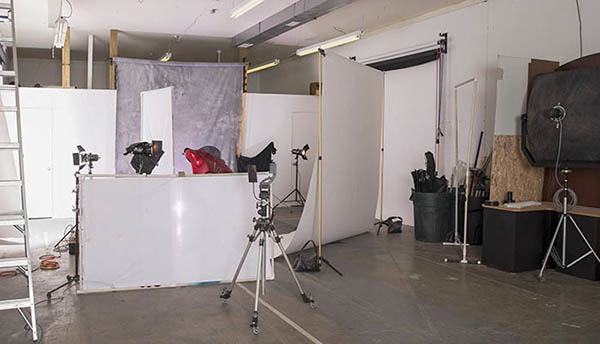
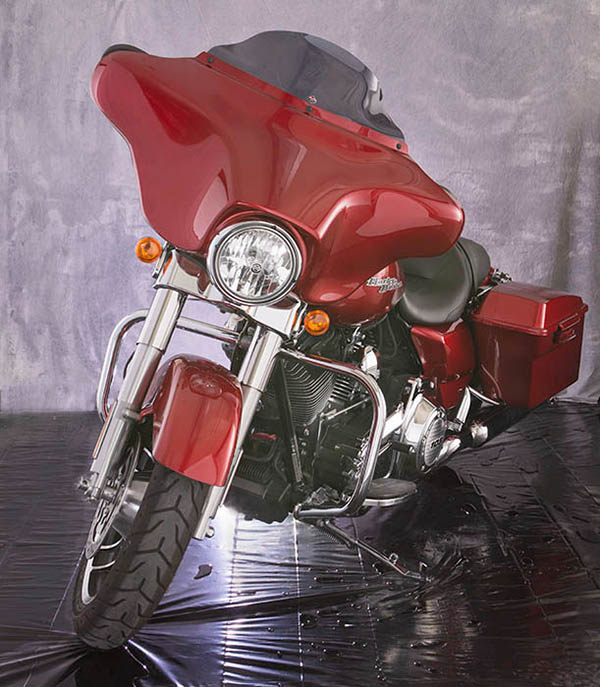
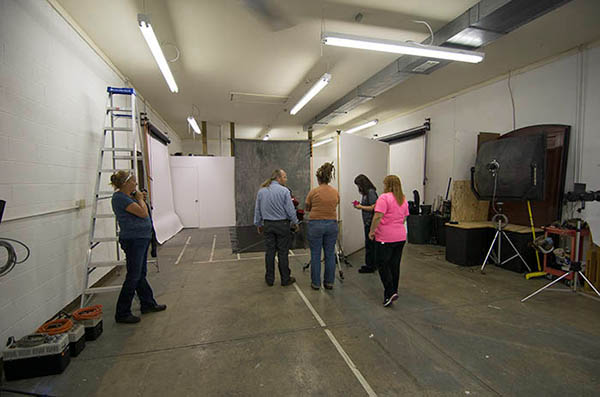
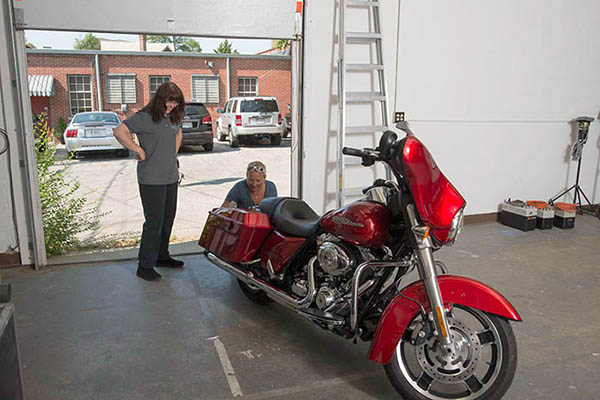
I’m going to be having an opening for my studio on Friday November 1. The address is 971 North Delaware Street, Suite B, here in Indianapolis. Please come by if you can. I’ll be showing photographs of buildings in my studio and at the building in front: Re/Max Metro. The text for this blog entry is from recent correspondence and the photos are from a job for BMW Contractors. Thanks for your attention!
A couple of things about rim light, first most of your shots won’t work. Positioning the light is very critical, and even when you have an assistant, most of the time the light or the model won’t be in the right place. I much prefer the snoot as a tool for rim light. Norman has a wider “stovepipe” snoot that I prefer to the smaller ones like the Alien Bee. What I do most of the time to get rim light is put a bare bulb strobe, no reflector at all behind directly behind the subject. This works more often. This will put light on the background so sometimes I put a gel on the back of the light to change the color of the background. The position and power of the light both affect the outcome, so you have to experiment. I like to avoid discussing things in terms or ratios for several reasons: the most important is that ratios stop people from paying attention to the results. I set up my shots with a tethered computer so that I can evaluate the shot better. The bare bulb allows for more movement in the subject, but you have to keep the subject between you and the light. You can also use a large reflector on the side to bring some of the light to the front.
I really like to use at least one very large light modifier, usually a light panel, for a portrait. It creates a very soft gradation.
I don’t like the term “natural light.” It is a value term, and it often gives the idea that ambient or found light is generally or always better than light you design and create. This isn’t true. Many people have no idea how to make good light, but that is no reason to think that found light must be better. Photography comes from the Greek and means “write with light” if you can’t design good light are you writing with light or copying light?
You need to look at several things when you examine light. The first is the color. Often people don’t notice how warm or cool a light source is. The color of a subject will shift with the light, but because our eyes compensate for color, we don’t always notice.
The transition from light to shadow is a function of the size of a light source. So if you have light from the sky coming into a room you get a large light source, very long transition from light to dark. You need a big light source, at least as big as a window, to reproduce this light. Hard light makes very short transitions, which look like sunlight especially if you add warm filtration to the light.
Watch a person’s eyes in prints or when you are shooting. You can often see the reflection of the light source there. A small reflection come from a hard light, a bigger reflection is a large light source. The large reflection won’t be as bright. The eyes can also tell you about the placement and direction of light sources.
Balancing light is the essential trick with strobes, to evaluate and change our images by searching for the right levels on our lights and our exposures. With the histogram and the proof image on camera or in the computer we have better tools for creating the right exposure than any meter could give us, but it does take repeated testing. If you use a hand-held meter you will get an answer, but very often it will be profoundly wrong.
In addition to the new image stabilization equipment, there are some standard suggestions about holding the camera more effectively. Cradle the lens in your left hand, thumb pointing away from your body. The left hand supports the lens and the camera. The right hand guides the camera and controls the camera. Relax your body and breath out half way when you shoot. Lean against a tree or a wall. You might also consider a mono-pod or a chainpod to help stabilize your camera.
I hope people are interested in these posts, but I really don’t know. If you want to leave a comment you have to log in. I’m sorry about that, but I was getting a huge amount of spam posts, so I had to change to registration. If you’d like you can send me an e-mail with your comments, john@siskinphoto.com. Also please remember the classes and the books!
An Introduction to Photographic Lighting
Portrait Lighting on Location and in the Studio
Getting Started in Commercial Photography.


