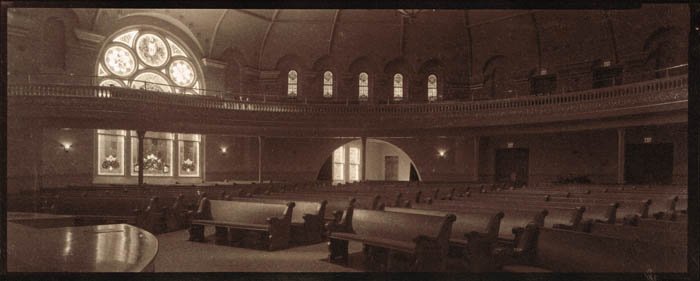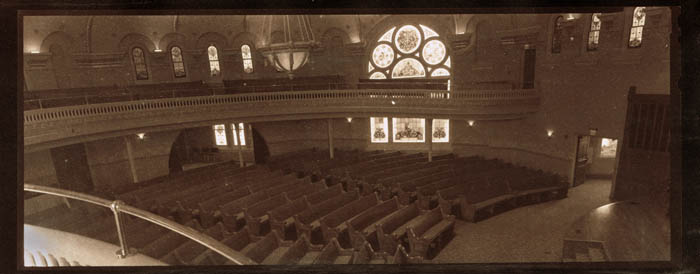
Most people buy strobes twice. I’ve said this before. They buy a cheap kit first, and unfortunately most kits aren’t really cheap. They can learn a couple of things from this kit. The first thing they learn, and this is an important thing to learn, is whether or not they enjoy controlling the light in their pictures. What most people want to do with a camera is to capture a scene, to keep it as a memory, or to share with others. A few people want to make a photograph, control the light subject and background to make an image that wouldn’t exist without the photographer stepping in. For instance few families stand in order of height around the holiday decorations, unless someone is making a picture. Since I’ve been teaching lighting for more than twenty years, the people who want to control the light, make good light, in their pictures, are the people I’m working with. As people who read this blog know, I often write about light and I’ve written a couple of books about light Understanding and Controlling Strobe Lighting: A Guide for Digital Photographers and Photographing Architecture: Lighting, Composition, Postproduction and Marketing Techniques
. These books might make good gifts for other photographers. You might consider giving a photographer one of my classes: An Introduction to Photographic Lighting, Portrait Lighting on Location and in the Studio and Getting Started in Commercial Photography Or buying a class for yourself. By the way, all the images this week are strobe image, and most of them are from my books.
 In addition to teaching you about whether or not you want to make good light, that first lighting kit often teaches you about what you want when you buy lights again. Of course you learn this by being frustrated by the problems with your first lights. Many inexpensive kits use fluorescent bulbs for light. These can only be used effectively in rooms without other light sources, and they have little or no control over the relative power of the lights. These and other continuous light sources might be good for cheap video lights, but they aren’t much use for still shooting, because
  you won’t have good depth of field and a short shutter speed. Strobes, or flash if you prefer, are much better lights for still cameras. They give you more light, better color balanced light, and they stop action. Unfortunately there are many strobe kits that have too little light power to do any of this. In my An Introduction to Photographic Lighting class at BetterPhoto.com I ask students to work with a couple of very cheap clamp lights. You can learn the important first lessons from $15 worth of lights as well as from a $300 kit. Plus you can use the clamp lights in the garage when you’re through doing photography with them.
Here’s the way I think about power on a strobe, or even on a continuous light: I might want to  shoot in a room that had direct sunlight, and in that case I would want my lights to be much brighter than the sunlight or whatever other light there might be. If my light isn’t much brighter than the existing light than the existing light will define the kinds of pictures I can make. Of course the size and color of the room will have a lot to do with how much power I’ll need. The other big consideration is the way I modify light. If I was using hard light, direct from the strobe, I’d need much less strobe power than if I was using a large light modifier, like a soft box, umbrella or a light panel. Since I often use an umbrella and a light panel together, and the combination is inefficient, I need a lot of power. I find, based on extensive experience, that I need at least 600 watt-seconds to be able to overcome
 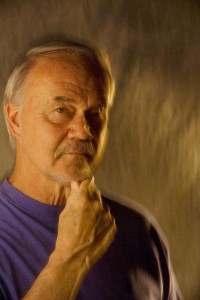 ambient light in most situations. I have and use many lights with less power, but in most situations I have at least one strobe with 600 watt-second to set the tone of my shot. Keep in mind that raising the ISO will raise the sensitivity of ambient light as quickly as the sensitivity to light from the strobes, so a higher ISO won’t always reduce your need for powerful strobes. In my classes I often recommend the Alien Bee B1600. I like this unit because of both the power and the quality.
If I were doing location work, where portability was critical, I would compromise on this. I might also accept longer recycling times, but in most location situations I would really want to 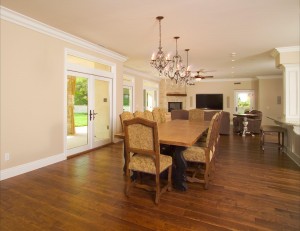 have quick recycling. Keep in mind that one common location situation is shooting an event, and picture opportunities can happen very quickly. The first choice for a location strobe will probably be a powerful dedicated strobe from your camera manufacturer: perhaps a Canon 580 IIEX or a Nikon SB900. Many will get additional dedicated units from the manufacturer when they want to do more complex lighting. I can see that a second dedicated unit might be
 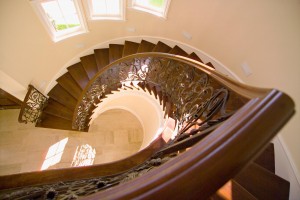 useful for shooting events, but only if you have an assistant to position the light, but for most situations a manual unit would do as well, and it would save a lot of money. I particularly like the Lumopro unit.
Of course the type and quality of the accessories is really important to evaluating a kit. Much of the advantage in a kit is the discount you get on 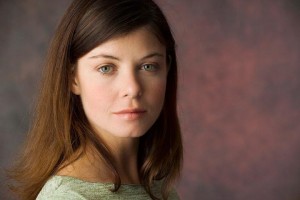 accessories. Unfortunately many kits include poor accessories. For instance I like to see umbrellas in a kit, as I think they are good tools. If the umbrellas don’t have a removable black back they are pretty much useless as light modifiers, because you can’t control the direction of the light. Many people selling kits save a couple of bucks and include only translucent umbrellas, which is too bad. Here’s a list of the
  tools I would like to have with one light: light stand, barn doors, bowl reflector, 45 inch umbrella with a black back, a light panel and a sync wire or a radio slave. Here’s an article about shooting with one light, there’s a lot you can do! Additional useful accessories include: a snoot or a grid spot, a small light stand and a large umbrella, maybe 60 inches. I already put a list of the basic kit I often recommend on this blog here
Happy holidays. I hope that you receive light for the holidays!


