Photo Notes A place to talk about making images.

October 10, 2015

Tool Kit

Of course I’m thinking about the workshop next weekend. There are only two spaces left, so you should SIGN UP NOW!

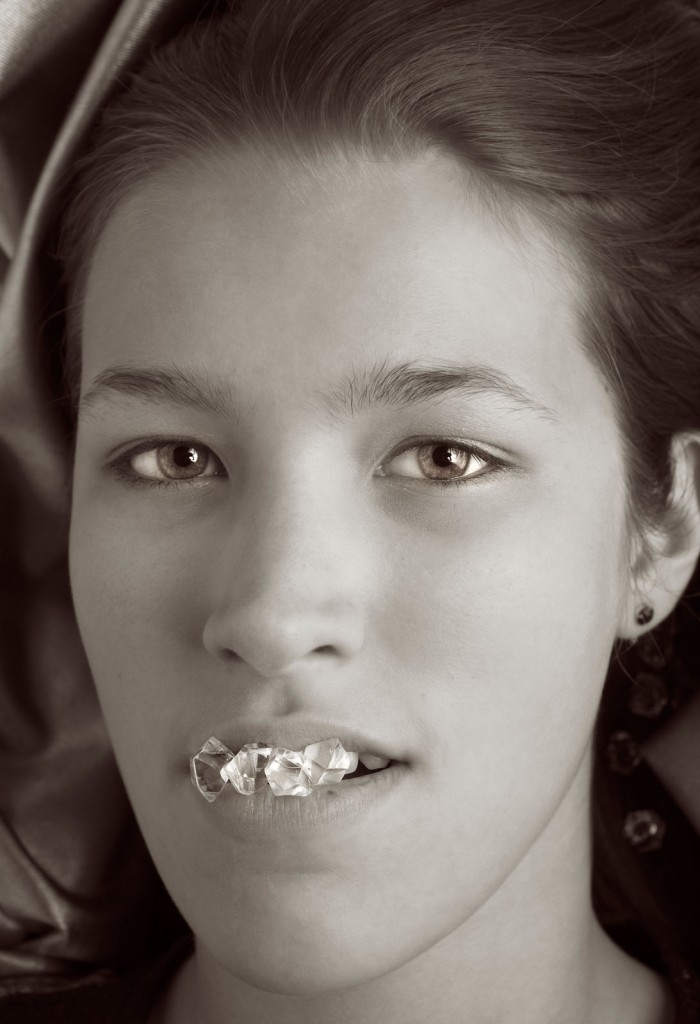
Samantha will be one of the models for Sunday October 18th.

Samantha will be one of the models for Sunday October 18th.

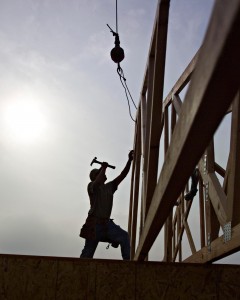
One of the things I want to examine at the workshop is the lighting tool kit for a photographer. The equipment manufacturers want us to buy everything; they’re not exactly on our side. Many of the available tools are of little use, or totally redundant. So I hope that this workshop will actually help you to save money by experimenting with the tools. I’ve seen a lot of people who work with hammers: carpenters, roofers and neurologists. The all use different kinds of hammers; purpose built for their applications. When we choose our tools we need to exercise the same care a carpenter does when he buys a hammer.

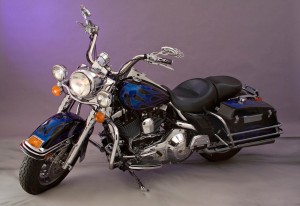
harley

The main tools we use as photographers are designed to work for a large variety of applications. So my Nikon D800 is a terrific camera to fit onto a microscope or use for architectural photography or even an auto race. While the camera will work well in all those applications, I’ll need to use different lenses for each situation. This is one of the great strengths of camera design: a good camera can be adapted to different situations. Can you imagine buying a whole new camera everything you needed a lens or even a filter? Strobe lights are the same way: a basic strobe can be used for a lot of applications, if you have the light modifiers for the job. This is one of the good aspects of strobe lights over movie lights, which are purpose built. Over the years I’ve worked with many light modifiers for strobes, everything from large soft boxes to fiber optics. These modifiers are designed to make the lights useful in all kinds of applications. Some of modifiers have been good, some bad; some work in a lot of situations and some are only good for one kind of job. I hope one of the things you’ll receive from the workshop is a better way to choose your tools.

The first step in adding a tool to your kit is identifying the reason you need or want that tool. So I may choose a new light because I didn’t have the lights I felt I could use at my last job, but I may also choose a tool because it inspires me. I think this second reason is really important. I often get tools because they make me want to work, or because they open up new ideas for shots. I also get tools because they replace or upgrade or back up the tools that I have. Of course one problem is that I now have too many tools to take on location.

When i shoot a motorcycle i need to use large light modifiers to build good light.

When I shoot a motorcycle I need to use large light modifiers to build good light.

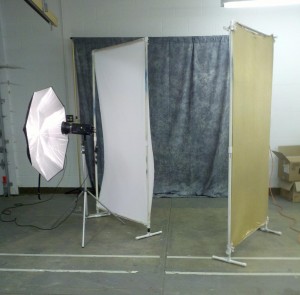
I’ve got a large studio so I have some tools that are only useful in a full time studio. One of the best is my Broncolor Hazylight. I picked up the frame in a studio sale, and adapted a Norman head to fit the frame. Then I put the whole thing on a camera stand, so it’s easy to position in my studio. Most photographers don’t have a space for a light modifier this big. If you’re going to use a smaller studio you might want to use light panels. The panels are cheap to make and incredibly adaptable.
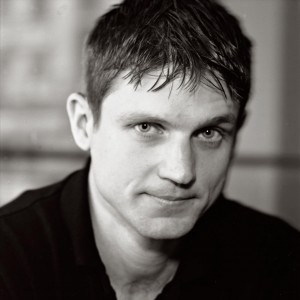
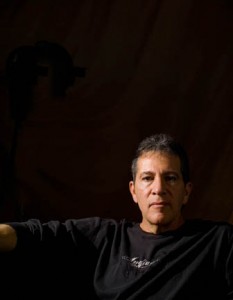
Here's a shot that mixes hard light, soft light and continuous light effectively.

Here’s a shot that mixes hard light, soft light and continuous light effectively. Effective catch lights as well.

One of the important aspects of a portrait is the catch light in the eyes. The catch light, which is really just a small reflection of you’re the light, can change the whole quality of a portrait. If you don’t see a catch light, or if you see an umbrella, or just a tiny pin prick of light, it can damage an image. There are all kinds of light sources for portraits shooting that address this problem. I’ve used quite a few: portrait dish, soft box, octabox, umbrella and so on. One of the things that makes better catch lights is a large circular light source, which will make a round catch light in the subject’s eyes. For this reason I’ve got a cover with a circular cut out for my Hazylight. I would build a similar cover for a soft box, if I were using one. I also use a light panel and a snoot to make a circular light source. I can use the snoot to put a circle of light onto the panel. I can use these tools to make other shapes and control the direction of the light. This gives me a round catch light, or I can change the angle of the snoot and get many different shapes on the light panel. So both the snoot and the light panels are at the top of my list for light modifiers. I also use the snoot as a hard light source in my shots. I’ve found that the snoot is an incredibly fun tool to have in my lighting kit.

Just a guy using thee right tool for the job!

Just a guy using thee right tool for the job!

I also like using a set of barn doors with my light for illuminating the light panels. The barn doors can even crate a strip with the light panel. I also like the barn doors for shooting architecture. I can control a bounce off a ceiling or other surface, to keep the light out of my image. Of course the barn doors can help to place a highlight in a subject, say a hair light or a rim light. Both the snoot and the barn doors are small light sources, so the position of the light is important, but if you use the snoot or the barn doors with a modifier like the light panel you can make a large light source.

It really doesn’t matter whether you make light with a mono-light or a dedicated strobe. What matters is controlling just a few things: the color of the light, the power of the light, the size and shape of the light source and the position of the light. The color and power of the light really only matter relative to other light sources in your shot. So if you were using just one light you could change the ISO or the aperture to control the amount of light, but if you have two lights they have to be balanced. Not necessarily the same power, but a balance that suits your vision for the shot. Similarly you might want all the lights in a shot to have the same color balance, but you might also want one light to be warmer. A warmer light might give the effect of sunlight coming into your shot. You can control the color of one light in your camera, but the camera won’t make one light warm and another cool. Controlling power and color are tools that you use to build your shot. The size of the light source, relative to your subject, affects the quality of the light: hard or soft. The larger your light source is the less that the position of the light matters; consider how the light comes from the whole sky on an overcast day, no shadows and no direction.

F2359911

The image should start in your mind. If you have an idea of how to position a model, or how to light a face, or a room, or a product, then you can start to build that shot. If you start with the same light each time, or only use existing light, then you have much less control over your shot. So it’s important to understand how each tool works, how you can use the tools together, to build the images you want to make. One of my heroes is Felix the Cat, because whenever he gets in a fix, he reaches into his bag of tricks. As photographers we need a big bag of tricks. Here are a couple of things I have in my bag of tricks whenever I go on location: umbrellas (white, silver, gold all with black covers) gaffers tape, magic arm and super clamp, small tripod, large tripod, lighting filters (Rosco gels) light stands, maybe even a reflector or two. Of course I’ve also got some interesting strobes on location, mine work with both ac and dc power. The heads are small enough to fit almost anywhere. I’ve been doing this for more than forty years, which means a couple of things: I’ve got multiple kits for different location work. I can grab just one box if I’m shooting an executive portrait, but I’ll add a couple of boxes to this, if I’m making room shots. The time I’ve spent shooting also means that the way I use the tools, and the tricks I use, have evolved over the years. Part of being a creative photographer is learning to see what could be, not just what is. I want to help you to build the images that could be.

This is shot made with just a snoot.

This is shot made with just a snoot.

Of course I want to see you at the lighting workshop on October 17 & 18. You can sign up here. You can also see another post about the workshop here. There are only two spaces left for the shoot on Sunday. You can also sign up for just Saturday, which will be demonstrations and explanations. Of course if you just can’t make it to the workshop, you can still get my books.
October 1, 2013

Bike Shot in the Studio

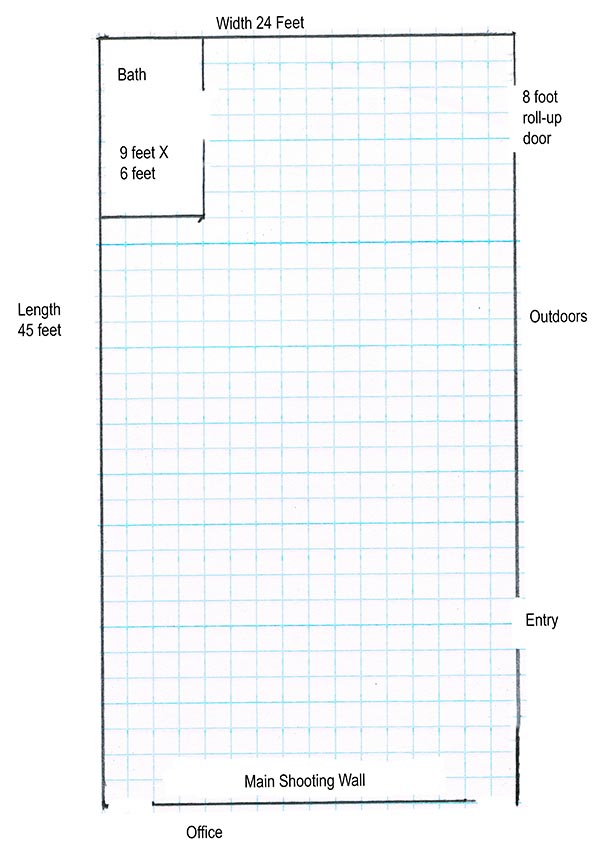
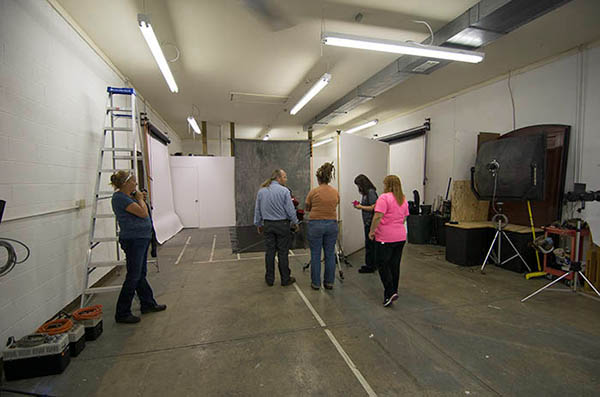
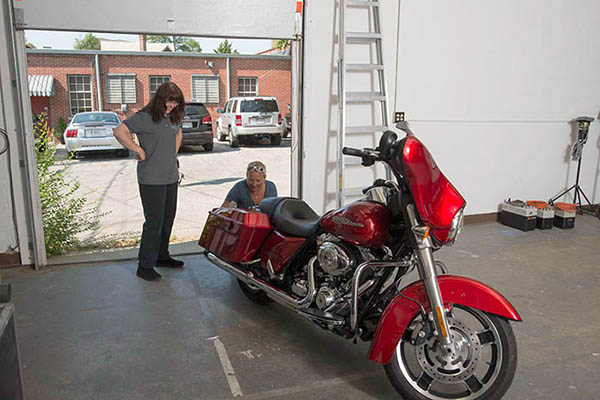
I’ve been working on the studio, no surprise there. I’m finally happy with the current situation, while there’s more to do, it doesn’t have to be done now. I’ve moved in the lights: 20 or so strobes, another half-dozen quartz lights and an armful of projectors. I think I have 10 tripods, not sure how that happened. Booms and light stands, umbrellas, soft boxes and light panels, and all the things that come from a life spent in photography. Of course the important thing now is to get the studio busy. That means shooting, and I just got a couple of new customers! I also want to rent out the studio and offer classes here. What I want to do in this blog is to show you the studio at work, shooting and teaching. Ginny Taylor-Rosner brought a few of her advanced student from Ivy Tech in for a motorcycle shoot. This entry has a lot of large shots; I hope you will follow it to the end. Here’s the studio plan:

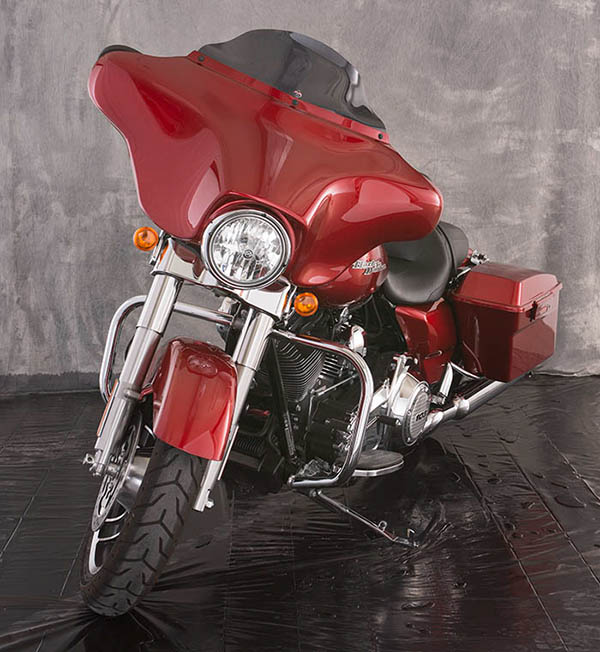
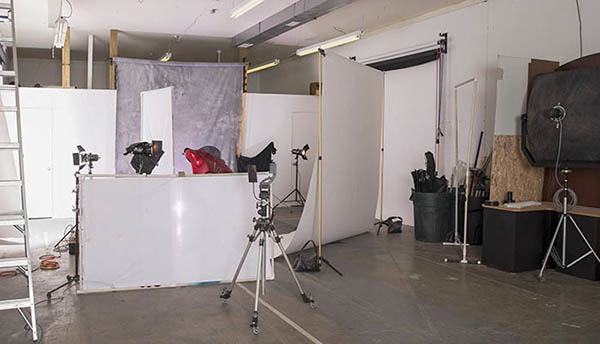
It’s easy to get large subjects into this studio, as you can see. I used a gray muslin on the back wall and black plastic muslin on the floor, so the set was really inexpensive.

The first thing I did was pull down white seamless along the side walls. I installed seamless holders on the side walls so that I could use them for very large reflectors with white paper, and so I could pull down black paper to reduce bounce light. It worked really well in this shot. In the shot marked Side Lights I only have the lights that are on the side seamless on, not the light on the front seamless. The light on camera left was placed at the front of the seamless to rake across the paper. This creates a very big light source. On camera right I place a light set at 750 watt-second at the back of the seamless. It spread across the side seamless and onto the diagonal seamless.

I put another roll of seamless on a pair of seamless stands on a diagonal in front of the bike. Once again I used a strobe raking across the seamless to give me a big light source. This light was set at only 400 watt-seconds. You can see what this light added in the image marked Front Light. This image has the all three of the large light sources. It’s important to have barn doors on the lights when you are bouncing light off seamless paper. The barn doors keep the light from spilling directly onto the bike and the background. I had to use cine-foil, black aluminum foil, in addition to the barn doors, for the front light because of spill light.

Only the light on the diagonal seamless.

I made some small changes in the position of the lights that rake across the paper. It’s much easier to move the lights than it is to move the bike or the paper. We also moved in a gobo (large black light panel) at the back of the bike to make the light on the saddlebag more even. Then I put a bare bulb light set at 200 watt-seconds, covered with a pale lavender gel, behind the bike. This added the highlight below the bike and put a little color into the background. If I’d used a darker background we could have added more drama with this light. This shot is marked Last Light.

Added a small strobe behind the bike. Bare bulb with a gel.

In this shot, Final Set-Up, you can see the position of most lights in the set. I added the light panel in front of the bile late in the shoot. It helps to open up the tire and to even some of the reflection on the front of the bike.

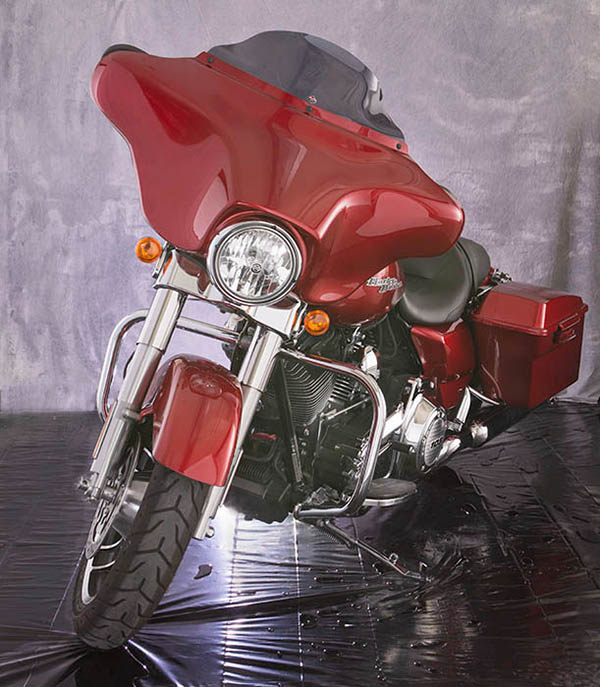
I was a little concerned about the density of the engine and the high light from the light behind the bike, so I made a couple of bracketed exposures. I used these captures to give me a little more control over these areas by using them as layers in Photoshop. I did a few other quick touch-up to make my Final Image.

Thanks for visiting the studio here in the blog. If you’re in Indianapolis give me a call and come by 317.473.0406. If you need to rent a studio I’m ready. Special price for October: $275 for the day! I hope to have classes available in the next few weeks. If you need a private session let me know as well. The Portfolio Class is meeting on TUESDAY OCTOBER 15. This class will help you present your work. There’s more information, and a sign-up link here. I hope to see you soon!


Here are a couple more images from the shoot!

Shot by Terry Pitman

Don’t forget about the classes at BetterPhoto and my books!
: An Introduction to Photographic Lighting
Portrait Lighting on Location and in the Studio
Getting Started in Commercial Photography


September 3, 2013

The Studio is Open!

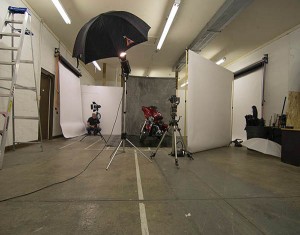
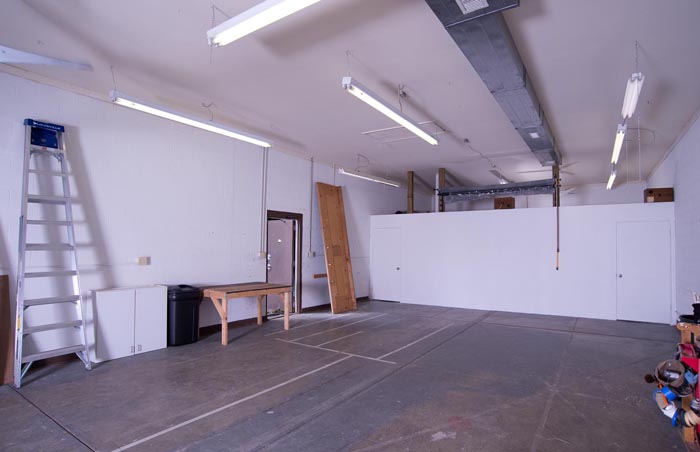
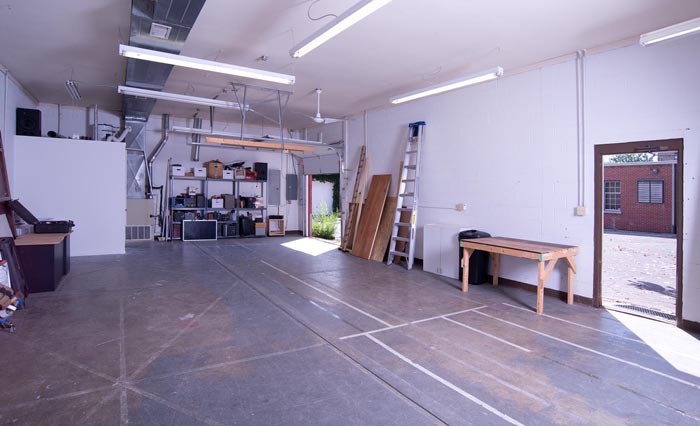
I’m going to keep thins simple in this entry: just a bunch of pictures of the new studio. It’s possible to shoot here, but not everything is put in the right place yet. The shooting space is about 42X24 feet, pretty damn large. The background holders are up. I’m going to put some more holders on the sides so that I can pull down white or black to add or subtract bounce fill. I need a little help to finish, some things are to big to lift. If you’re local maybe you could help me out, or help with a shoot. I’m trying to set up a shot of a Mini-Cooper, maybe for this weekend. You can also arrange to drop by and have a look. Thanks for your attention! I’ll just remind you about the BetterPhoto classes: An Introduction to Photographic Lighting, Portrait Lighting on Location and in the Studio and Getting Started in Commercial Photography and the books:


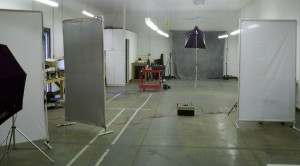
The shooting wall. You can see the background holders above the wall.

Another view of the shooting wall.

The back of the studio. You can see the cargo door.

This is the outside. It's a separate building. There is parking, particularly on evenings and weekends.

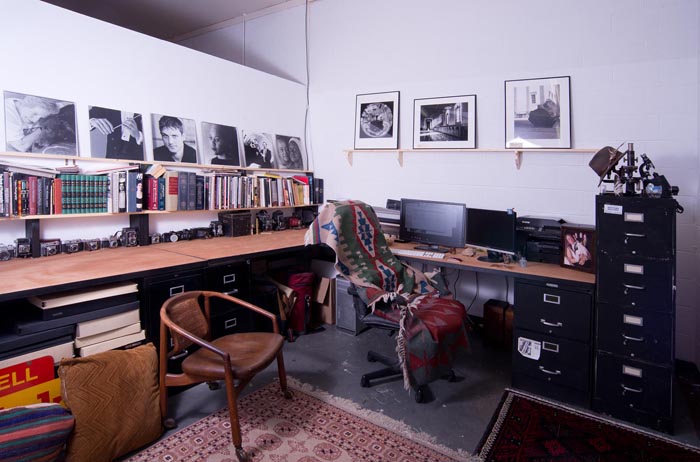
My office. I'm very happy about the way it turned out.

August 4, 2013

Using the Studio!

Filed under: Indianapolis,Lighting Technique,New Studio! — John Siskin @ 1:00 pm

I’m back a little quicker this time around. I’ll just remind you about the classes: An Introduction to Photographic Lighting, Portrait Lighting on Location and in the Studio and Getting Started in Commercial Photography and the books:


Three different one light set ups in the new studio. Taken with my phone.

Things at the studio are progressing nicely. I had a group over from the Irvington Photo Club. I gave them a chance to play with a couple one light set-ups. I’ve included a couple of shots of the set-ups I took with the phone. I also did some consulting with a couple of other students that wanted to work with portrait set-ups. So a couple of people have seen what’s going on at the North Delaware Studio. I am still taking suggestions for studio names.


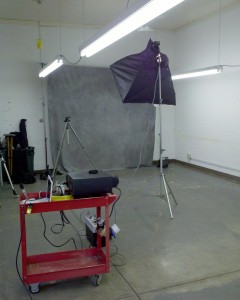
One soft box 3X3 foot. Positioned above and in front of the subject.

I can’t say anything is finished. The bathroom is going to be rebuilt, which is a really great thing. I’m going to be building a couple of offices at one end of the space, another nice up grade. I brought in some industrial shelves and put them at the back of the studio. I’ll enclose them in a few days. This will give me a place for lights and cameras. I’ll store the light stands in trashcans, probably at the back of the studio.


The goal is to have a large empty space. The whole studio is about 24X60 feet. When I’ve finished the shooting space should be 24X40, or close to that. There’s a roll up garage door at one end of the studio, which is really useful.


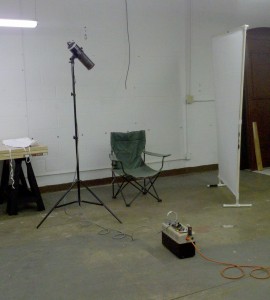
A set-up with a snoot.

I did three set-ups for the Irvington Photo club. The first one is a 3X3 foot soft box placed in front and above the subject. This is an easy light to set up. It gives you soft shadows under the nose and chin, which gives some shape to the face. The second one was a hard light set-up using just a snoot. This gives dramatic light, but the position of the light is really important. Finally I did a set-up with three light panels. This is a set-up I use frequently because it provides such nice soft light. I wrote about this light design in this article: www.siskinphoto.com/magazine/zpdf/Portrait.pdf.


I used the light panels the next day, with two

I did a one light set-up with two light panels.

students, and I added a bare bulb light behind the subject. In this case the bare bulb light, as well as the light from the umbrella, bounces off the reflector. In addition you get rim light and hair light from the bare bulb. So both lights are doing a lot of work in this set-up. One more thing: the bare bulb light puts light on the background. I put a warm gel (Rosco full CTO) over the back of the bare bulb light, so the light going forward had a daylight balance, but the light on the background was a tungsten balance.


I hope people are interested in these posts, but

With the light panels and the bare bulb

I really don’t know. If you want to leave a comment you have to log in. I’m sorry about that, but I was getting a huge amount of spam posts, so I had to change to registration. If you’d like you can send me an e-mail with your comments, john@siskinphoto.com. Also please remember the classes and the books!
An Introduction to Photographic Lighting

Portrait Lighting on Location and in the Studio
Getting Started in Commercial Photography.


Powered by WordPress