I hope you’ll check out my books: Photographing Architecture and Understanding and Controlling Strobe Lighting
. I hope you’ll get copies, if you haven’t already. Of course you know that one reason for this blog is introduce the books and get you to consider one of my classes at BetterPhoto.com: An Introduction to Photographic Lighting, Portrait Lighting on Location and in the Studio, Getting Started in Commercial Photography
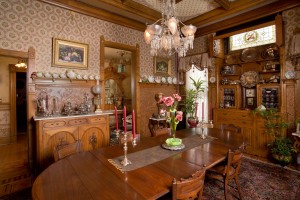
This week I shot another home for the Candle Light Tour of Indianapolis’ Old North Side. This is also a fabulous home, but why would anybody put a home on a tour that wasn’t fabulous? The interior of this home is very different from the last home, more of an Italian flare, and less of a period piece.
I knew that there would be less time to do this shoot, which reduces what can be done. It’s hard to set up to light a room, do the shot and clean up in two hours, which was all the time I had. In this case I did one very difficult shot that included several rooms and a simple shot of the kitchen. And I did leave the house in the required two hours.
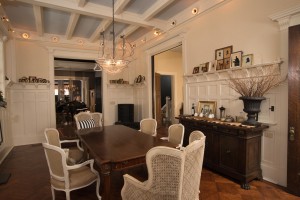
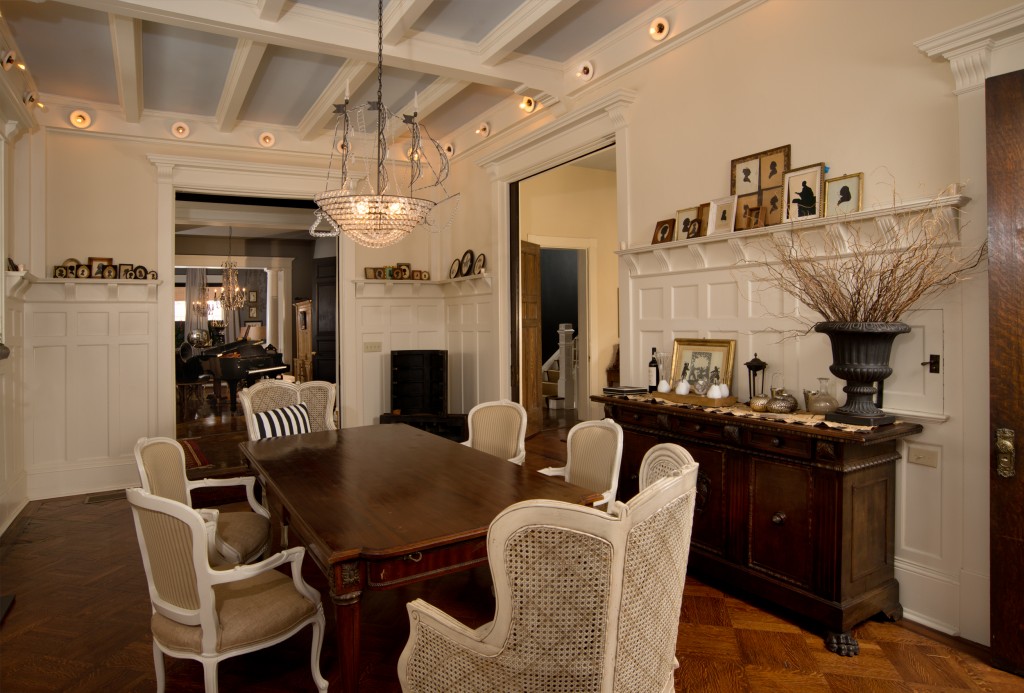 This is the final version of the dining room shot. The exposure was 1/30th of a second at f11
and an ISO of 400. Six strobes were used.
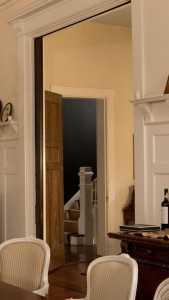
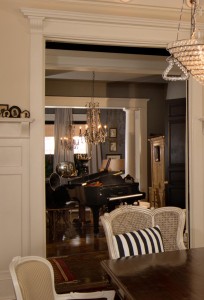
This is the first shot. As you can see the dining room opens onto two other rooms, one with a piano and another room on the right. To add difficulty both these rooms open onto other rooms. The room on the right opens onto a stairway and the music room open onto a front parlor, at least that’s what I think it is. Because I knew I had very little time I brought less lighting gear, just three Norman LH2 heads, three power packs (the 200B units) and a pair of Sunpak 120J strobes. Of course I also brought the camera, and a bag of assorted stands, tripod and umbrellas.
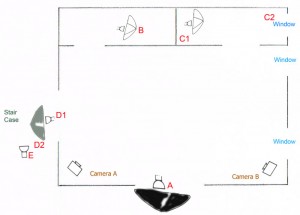
I set up the camera at the far end of the dining room, so that I could see into all the rooms I mentioned. The first light was a 200B placed at the opposite corner of the dining room. I used the 60-inch umbrella on this light to give a softer look to the light in the dining room. I also held a Sunpak 120J in my outstretched arm above the camera to help light the dining room. The Sunpak 120J strobes have about half the power of a Norman 200B, but they do have simple automation and can be set to much lower power settings then the 200B. One nice thing is that the two strobes use the same strobe tubes and can use the same accessories. I placed a shoe cover over this 120J; it was a quick way to modify the light.
In the room on the right I set up another Norman 200B. I used a 30-inch shoot through umbrella because it threw light in every direction. Even so my original placement of the light, to the left of the door, didn’t work because the light was visible in the shot. So I placed the light to the right of the door. Perhaps it would be easier to say nearer the camera? Anyway this hid the strobe. This light also gave enough light to show the stairway. The strobe was set to full power. I used a 1/4 CTO filter to give warmth to this light and add separation from the dining room.
Now the biggest problem is the room with the piano. At first I thought the slave wasn’t working because the room stayed so dark. The problem was that room was really dark. The walls are medium gray and the piano is black, so you can see this might be a challenge. I started bouncing light off a white satin umbrella, but wasn’t happy with the shot until I took the umbrella off and used light directly from the strobe onto the room. Even after this I had to lighten this area a little in post-production. By the way this light had a 1/8-CTO filter for the same reasons as I mentioned above.
So that brings us to the front parlor. If you’ve been keeping track you’ll know that the only light I have left is a Sunpak 120J. So I put that on a stand. I used it bare bulb, no reflector at all. I though it would help the separation between the front parlor and the music room. I think it did help. No filter on this light.
If I had more lights I would have used a second more powerful light in the music room, maybe my Calumet 750 Travelite. I would have had lights on either side of the music room. At the time I would have used two lights with umbrellas for the front parlor, but now I’m not sure it would be better. The bare bulb was good, and it didn’t show in the mirror. Did I mention the large mirror in the front parlor? I’m sorry there’s no diagram for this shot, but the diagram was becoming as complex as the shot.
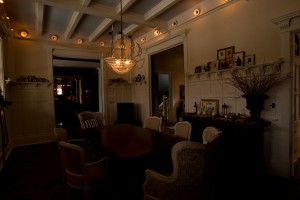
Here’s the shot with the lights turned off. I think lighting makes the picture. Most of the post-production was dodging and burning. I also adjusted the perspective a little and removed a few things at the edges. You can see the image without these fixes below.
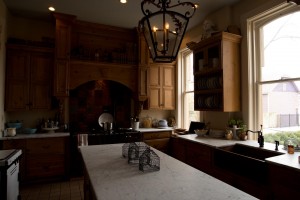
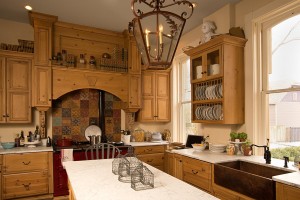
I had a few minutes left so I dragged the 60-inch umbrella into the kitchen. I liked this kitchen because it fit into the overall design of the house so well. As people who have taken my class: An Introduction to Photographic Lighting will certainly know kitchens can be a challenge to shoot.
The strobe, with the large umbrella is on the left side of the camera if you’re looking into the shot. I used the full 200 watt-seconds with this light and a 1/4-CTO filter to warm up this side of the shot. I used a shutter speed of 1/30th of a second to keep the windows bright. The view out the windows wasn’t very interesting. I had to adjust the angle of the chandelier in the picture several times to remove reflections. As before I did a little dodging and burning, as well as fixing the perspective. I also warmed up the shot a bit; I like warm kitchen shots. I think the lighting really helped the shot; below is a version without my light.
