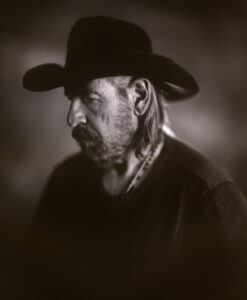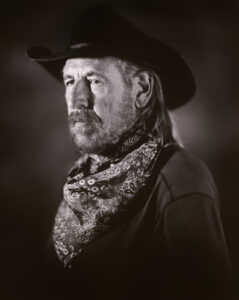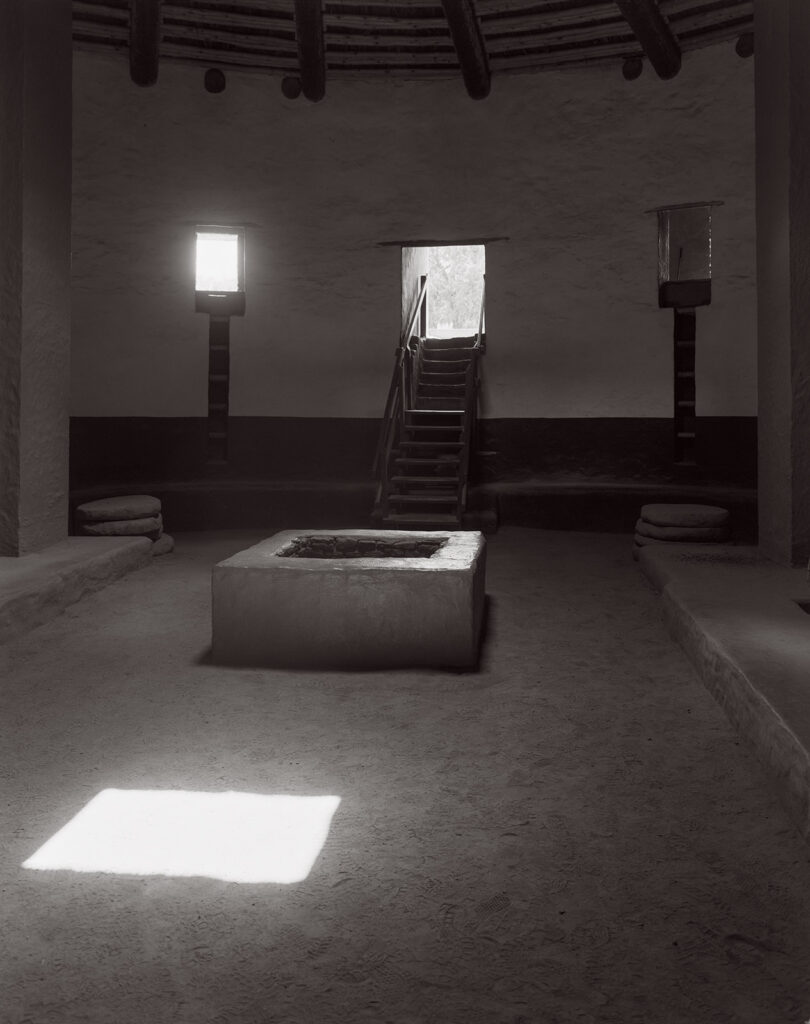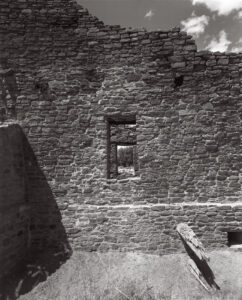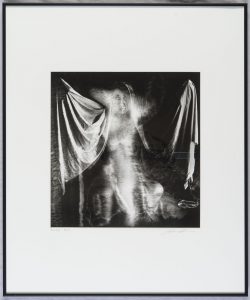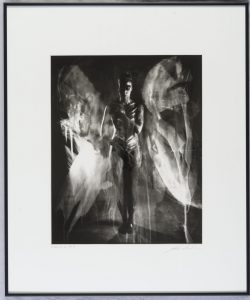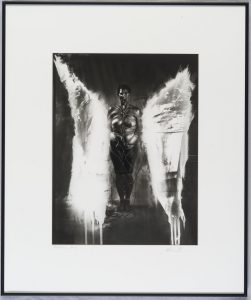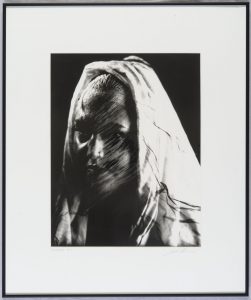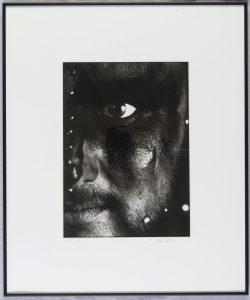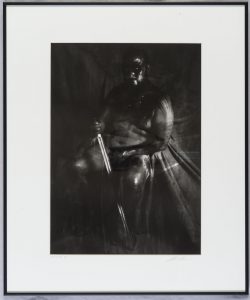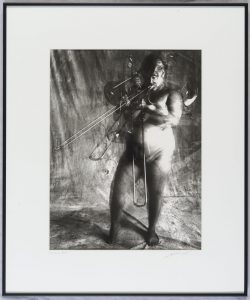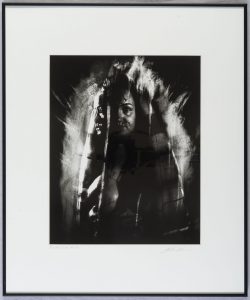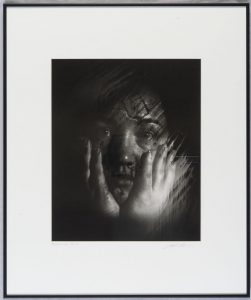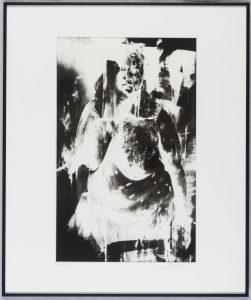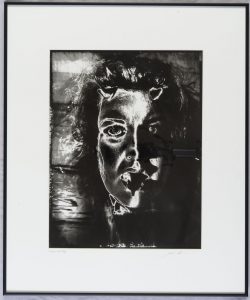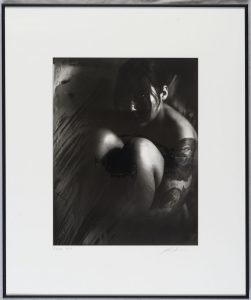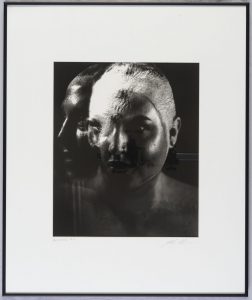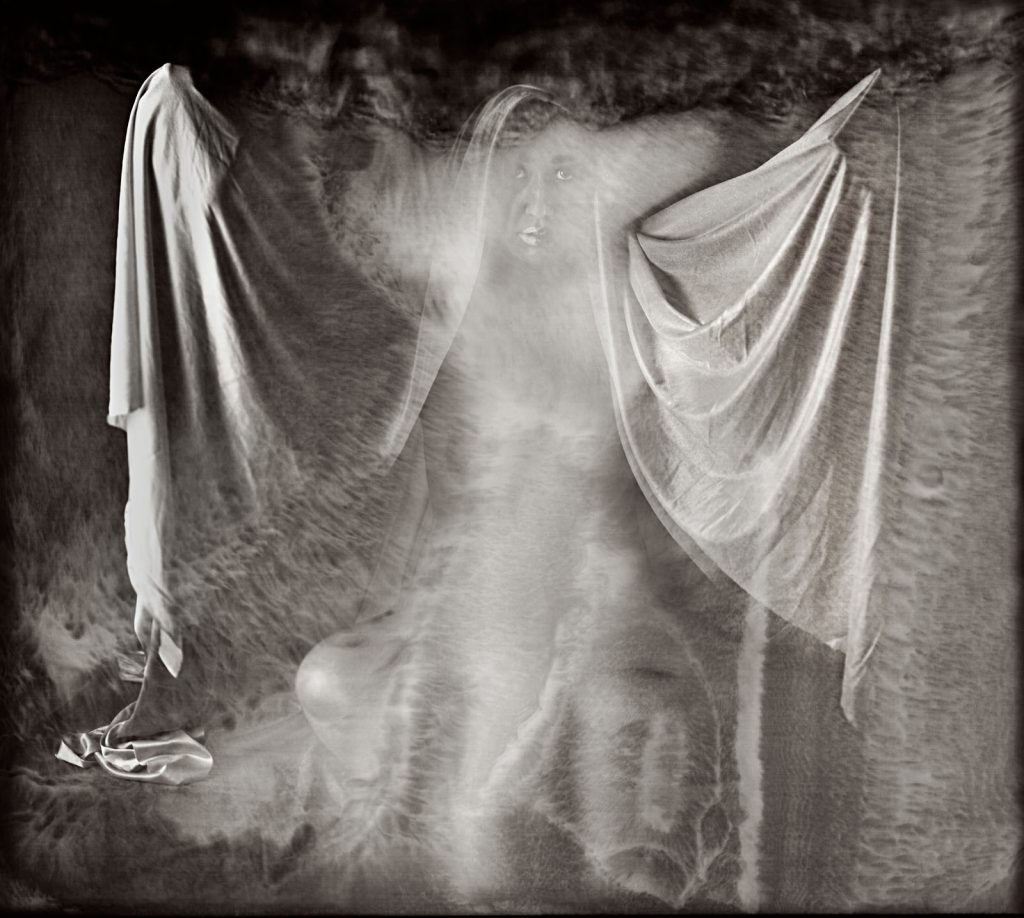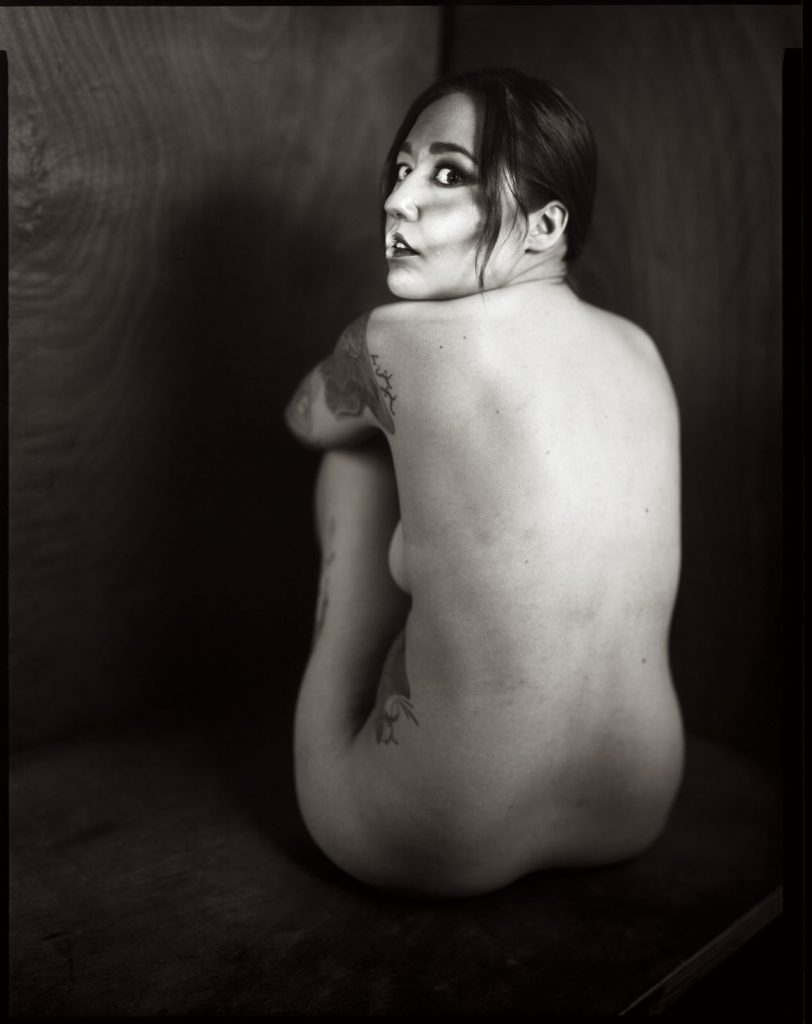
Photo Notes A place to talk about making images.

October 12, 2023

Paper Negatives

When I first posted this blog entry I wrote: One of these days I have to look in my files for paper negatives I made on Kodak Ad Type paper back in the 1980s on Sherman Way near my old studio: Fiat Lux. As I’ll probably be adding to this post, the old negatives might appear some time.

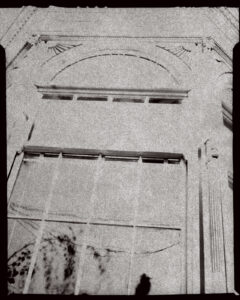
Well this is that day. I found a couple of the paper negatives I made back in the early 1980s, so this is from a 40 year old negative. I made this on Kodak Ad Type paper. This was such thin paper that you coule actually put it into an enlarger and make a regular print on silver bromide paper. Of course the exposures required very long exposures, generally a couple of minutes. As I remember the print, the enlarged paper texture was pretty interesting. Anyway this from a scan of the paper negative. The negative is much darker than I would make today, so it prints pretty flat. it does have that old time feel? Well I hope so.

I made this image with Kodak Ad Type Paper back in the 1980s. The first time I worked with paper negatives.

The first stable negatives were made by William Henry Fox Talbot in the late 1830s. There had been people who noticed and tried to use the fact that Silver Nitrate turns black to make images before this, but the effect would disappear in white light. Fox Talbot figured out a way to stabilize the reaction with salt. This method of making images was released to the public about the same time the Daguerreotype process was introduced. Daguerreotypes are direct positives, but because of this you can’t make a bunch of them from a single negative and Daguerreotypes made from other daguerreotypes degrade quickly. So, paper negatives have a long and storied history in photography.

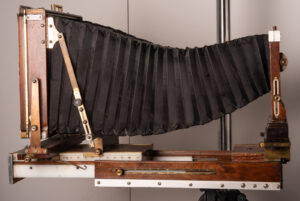
My original 11×14 Camera. The Perrin #001. I learned a lot from this camera.

About 8 years, maybe, ago I got an 11×14 camera. I really didn’t think about all the aspects of making pictures with this camera when I bought it. And, so it goes… I decided that the best way to actually work with this camera would be to use paper negatives. The material is much cheaper: one sheet of Ilford Multigrade in 11×14 is about $2.60, and 1 sheet of Ilford Delta 100 film is about $15.20. Paper is easier to process, the process is quicker and you can use safelight. There is a lot of information about the project with the 11X14 camera on my blog. Start with this link: https://siskinphoto.com/blog/?p=4397. The title of this project is Courting Chaos. Not all of this work is “work safe.”

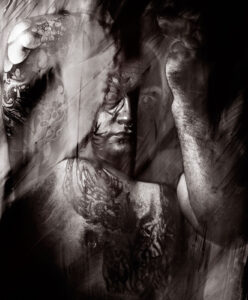
Curt #5. Part of the Courting Chaos Project. You can see the effects of Solarizartion in this image. The large negatives allow for considerable experimentation

As I have recently begun using paper negatives again, I’ve received a few technical questions about my experience with paper negatives. First, I most often use Ilford Multigrade, because it’s probably the easiest product to get. I have also used Arista from Freestyle, without noticing any big difference. I recently tested some very old Kodak Polycontrast III paper. Unfortunately, this paper was fogged, that is it’s so old that it acts like it’s partially exposed, even before I use it in the camera. Still, it has an interesting look, so I’ll probably play with it some. I use resin coated (RC) glossy paper. There are a couple of reasons for this: first it’s much easier and quicker to process than a fiber base paper. Second, because it dries flat it is really easy to scan. I feel it is much easier to scan than film negatives are.

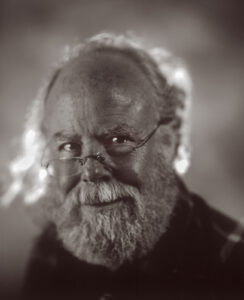
Jim I. This image was made with fresh Ilford Multigrade paper.

Jim I. This image was made on old Kodak Polycontrast paper. The fog affected the contrast and color of the paper. An interesting look.

I used Ilford Multigrade Paper Developer for most of the Courting Chaos, in part because Roberts Camera was a few blocks from my studio in Indianapolis, and Roberts had the Ilford product in stock. I now use Clayton P-20 Plus, because I like it better for regular printing. I haven’t noticed a significant difference between the developers when working with paper negatives. I did use some very concentrated versions of the Ilford developer when I re-exposed the negatives to light and painted on a second developer. This was part of the Solarization process I was using in the Courting Chaos project. So, you might want to look at the link above for more information on that part of the process.

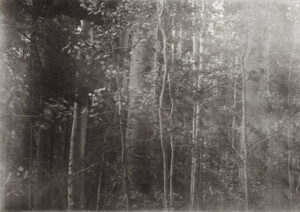
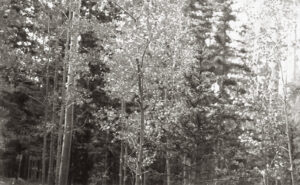
Aspen Trees at Ski Santa Fe. Shot with my 8×20 inch camera on Ilford Multigrade Paper. I had some fogging from the film holder, so this isn’t the whole negative

By far, and you’ll wonder why I didn’t lead with this, the most asked question is how light sensitive are your paper negatives. Either I get asked “what are you rating your negatives at?” or “how long are your exposures?” With respect the first question should be “how are you lighting your subjects?” The reason for this is that paper negatives respond very differently to different light sources. Film has this effect to a lesser degree: it’s referred to as reciprocity. We most often run into this when we expose film for very long times and/or when we use light with less blue to expose film. Paper is designed for very long exposures and for light with much less blue than we would use for film. Since I use strobe light to expose my paper negatives it might be expected that this very fast light and very blue light would cause the paper to become more sensitive to light than it would be for normal printing. This is exactly what I’ve found. When using strobes, in the studio, I find my paper has an ISO of about 80. This is about 8 times more sensitive than I’ve used for outdoor exposure in shadowed areas (ISO 10?) and for regular daylight I might get ISO 32 if the exposure is less than a second. As with regular film reciprocity, the longer the exposure is the less sensitive the film or paper is. Since our expectations of paper are usually based on very long exposures with a 100-watt bulb, we often find that the sensitivity of paper to strobe light is unexpectedly high.

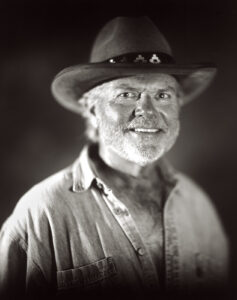
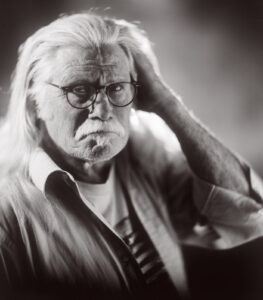
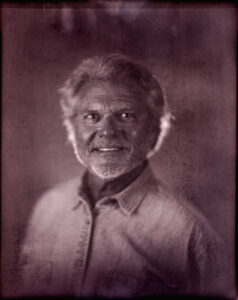
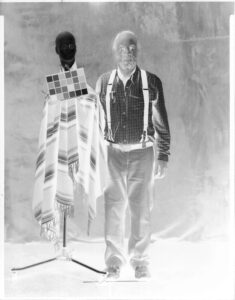
Myself. Photograph by my wife. Used the Bausch & Lomb Petzval lens and Ilford Multigrade paper. 8X10 negative

Several other points about how I work with paper negatives:

In the studio I have a sodium vapor safelight. This is just about the brightest safelight anyone ever made. It makes it much easier to shoot under just safelight illumination. I find this helpful because most of the lenses I’ve used with paper negatives don’t have shutters. I just leave the lens open and trigger the strobes to make my exposure. I do have a bright focusing light on a foot switch which makes it possible to focus accurately and frame the shot.

Wiggy & Me. This is an early test with the 11×14 camera with paper. I’m looking for information about contrast and color rendition. Wiggy & I have been through a lot together.

I usually end up using between 1200 and 4000 watt seconds (joules) of strobe light to make my exposures, depending on the camera lens and lighting design. This is a lot of strobe light. I am using a very large camera and some slow lenses, so this is to be expected. Also, there is a lot of bellows extension in what I do, which also eats up light. I use Norman strobes; I’ve used Norman gear since the 1980s.

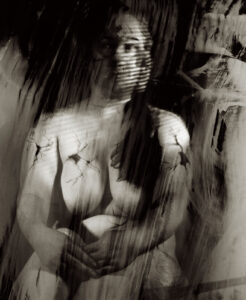
Rubella #10. From Courting Chaos Project. The open lens allows for considerable variation and experimentation with lighting. Here a double exposure offers a second view of the face

I have a processing line set up when I work with paper negatives in the studio. This enables me to see my exposure and light design, albeit in a negative way, as I am shooting. Since most of images I’ve made with paper negatives are portraits, I’ve also found that processing as I shoot really engages the subjects in the process. It’s somewhat like shooting very large Polaroid images.

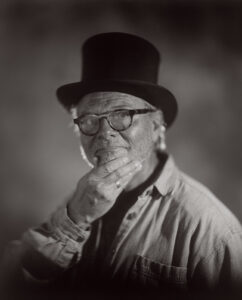
Woddy S. #5. I used 8×10 Ilford Multigrade. The lens is a Bausch & Lomb Petzval from the 19th century

I use several different ways to find a beginning exposure when starting with a new set up. I can use a digital camera to shoot the subject. If I shoot at about ISO 100 and f32, a somewhat over exposed digital capture might be a good indication of exposure, but this is affected by the lens I choose and bellows extension. A better way is to make a test strip, as you might do under an enlarger. I choose a low level of strobe, and pop multiple times while pulling the darkslide a little further from the holder with each strobe pop. Of course, I may just run a test exposure, based on what I did last time. I haven’t found that an actual light meter is much help.

Jim I. #5

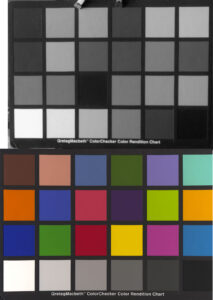
One more important point about shooting a paper negative, color effects exposure. Paper is not set up to record all colors in the same way. Because the paper has two emulsions, in order to allow you to change the contrast in a regular print, colors don’t always record in an intuitive way. In addition, since the paper is designed to NOT be exposed by the safelight, amber light has little effect on the negative. While this can take some getting used to, the effect is much less difficult to work with than the blue only sensitivity of wet plate negatives. I’m attaching some color samples I’ve made which might help to understand how color is recorded.

The top is the way Ilford Multigrade interprets the colors on the bottom. Note how dark the red is.

I really enjoy being able to learn by experimentation. With large format film cameras this can be very expensive, so working with paper negatives can be a real luxury. I hope you’ll take this post as an invitation to experiment!

Aspen Trees at Ski Santa Fe. Shot with my 8×20 inch camera on Ilford Multigrade Paper. I had some fogging from the film holder, so this isn’t the whole negative. You can see a little of the fogging on the edges. Used an ISO of about 12.


Here are a couple more images I’ve done recently with paper negatives. Thanks for your attention

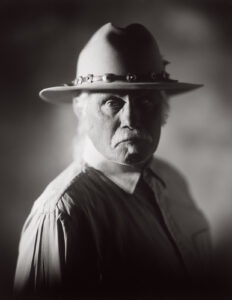
Woody S. Shot on 8×10 Ilford Multigrade paper

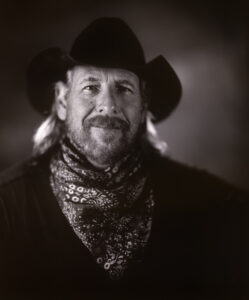
R J #2 shot on arista paper

R J #7 shot on arista paper

R J #4 shot on arista paper

A few links

Siskinphoto.Home

Introduction Page

Monument Valley

Taos Pueblo

Night Sky

Flowers

Monastery Road

Petroglyphs

Rock

Ice and Snow

Tsankawi

I did a large show when I was still in Indianapolis called Courting Chaos. The link will take you to the pages which describe the work and its evolution. These images are, well, chaotic and many of them are nudes. I hope you’ll find it interesting.

Links to my books, still available at Amazon!

September 9, 2023

Around Navajo Lake

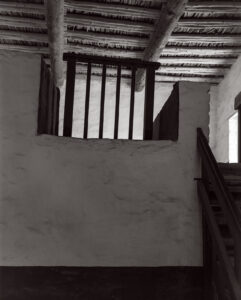
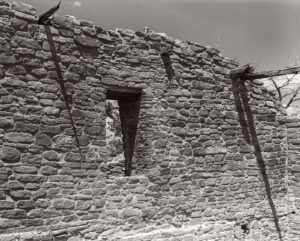
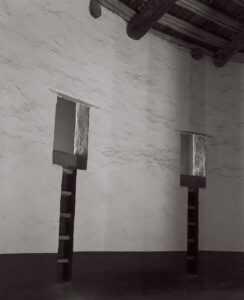
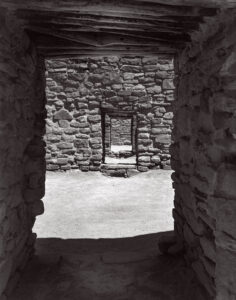
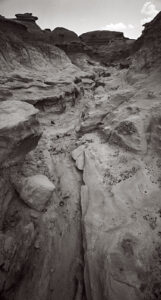
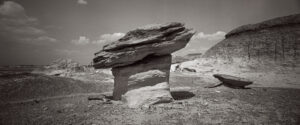
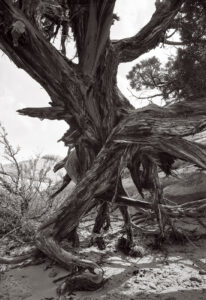
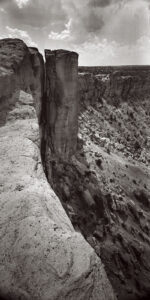
I thought I might start grouping some of the pictures from my trips here. Not a lot of organization here, but these are my favorites from my trip up to Navajo Lake. Didn’t actually see much off the lake, but I did get to Aztec Ruins, Bisti Badlands and Cottonwood Loop campground, so the shots grouped into these three areas. As Always, thanks for your attention

As you might imagine I’d prefer that these pages don’t get filled with a great deal of text. If you’d like information about a specific image, please e-mail me at john@siskinphoto.com and I’ll let you know what I know. Of course, if you have specific requests about an image you’d like to purchase please use the same address. If you’d like to go ahead and purchase an image, just contact me by e-mail.

Aztec Ruins. All of these shots were made with the 8×10 Toyo Field

Aztec 3

Aztec 5

Aztec 6

Aztec 7

Aztec 8

Aztec

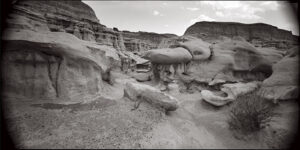
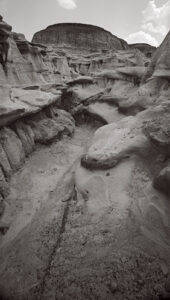
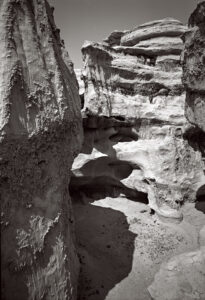
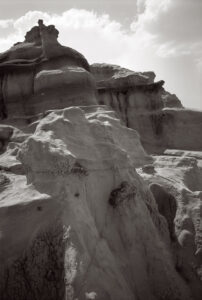
Bisti Bad Lands. These images wer made with my Mamiya Press camera and a panorama camera I built that uses Mamiya Lenses

Bisti 7

Bisiti 2

Bisti 24

Bisti 28

Bisti 4

Bisti 9

And a few more around the campground and traveling. Used the Nikon D-850 for the night time work

On HWY 25-1

On Hwy 25-2

Cottonwood Loop Night #1

Cottonwood Loop Night #2

Cottonwood Loop Night #3

Cottonwood Loop Night #4

Cottonwood Loop Night #5

Cottonwood Loop Night #6

Cottonwood Loop #15

Cottonwood Loop #16

Cottonwood Loop #18

Cottonwood Loop #19

Cottonwood Loop #20

A few links

Siskinphoto.Home

Introduction Page

Monument Valley

Taos Pueblo

Night Sky

Flowers

Monastery Road

Petroglyphs

Rock

Ice and Snow

Tsankawi

I did a large show when I was still in Indianapolis called Courting Chaos. The link will take you to the pages which describe the work and its evolution. These images are, well, chaotic and many of them are nudes. I hope you’ll find it interesting.

Links to my books, still available at Amazon!

September 13, 2020

Practice, Test & Play

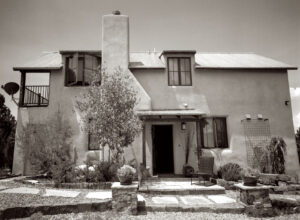
New house

I don’t suppose it’s news that I’ve retired, at least it’s not news to me. Also, I’ve moved to a place just outside of Santa Fe, New Mexico. I should say that life is very, very good out here. Anyway, that being said, I wanted to say a few things about what I’m doing photographically right now. As I’ve finished up the Courting Chaos project, closed the studio and stopped teaching, there are not a lot of things pushing me to do photography anymore, and, at the same time, I’m not trying to find any commercial work. That used to take a lot of time. What I am doing is working with black and white film and a few interesting cameras. I feel very good about doing this; it’s a kind of re-invention, or maybe, a return to my roots…
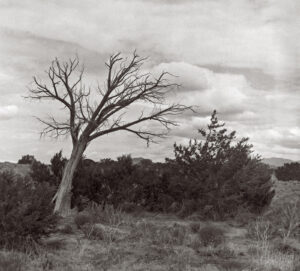
In order for me to get my film chops back, so to speak, I need to do the simple basic things that any photographer needs to do, especially when they aren’t being pushed form the outside: practice, play and test. I wanted to write a little about these things today. I think the first time I heard about photographers practicing was when I went to Nikon School. I was selling cameras in Santa Barbara at the time, if memory serves. What they suggested was focus practice. Back in the days of 35mm film SLR cameras focus practice was very important. I remember that they stressed learning to focus anywhere on the screen, not just using the split image. The fact was that they were right: focus practice does make you a better photographer. Of course, if you’re using an auto focus camera it’s different; you need to stay aware of the point or points the camera is focusing on, and how that fits your image. Also, modern digital cameras have so many menus and useful features that it helps to practice using any feature that you like that you don’t often use. One great thing about practicing with a digital camera is that you can take actual pictures to get feedback on your practice, practicing with actual film could get pretty expensive.
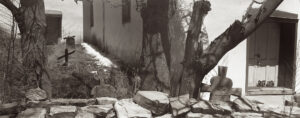
I’ve been working with a couple of cameras and with processing equipment, so I needed a lot of practice. It seems a little strange to me that the first camera I started to practice with was the Toyo 810M. Strange because this is one of the most difficult cameras to work that I’ve ever used. It’s an 8X10 metal field camera, so it weighs a LOT. As I mentioned above, working with film can get expensive, especially when each piece of film is 8X10 inches! I suppose I wanted to start with this beast because I knew that if I could work with that everything else would be easier. Then, of course, not only do you need to shoot this huge film; you need to process it! I’m using a Jobo processor. I got an 8X10 film reel that fits my tank and hold 3 pieces of 8×10 film. However just having this stuff doesn’t mean that you can actually load the reel in total darkness and get through a film run successfully. The processor makes it lot easier than running 35mm film in a metal tank: with inversion agitation every 30 seconds… However, it does help to have practice in running the processor. Also, there’s a lot of stuff you have to arrange to process film.  I had to build a darkroom and get plumbing to my sink! And, it’s important to know where you’re going to dry the film before you start! Every time you build a new darkroom, and I’ve built a few, there are a huge number of little details to be worked out.
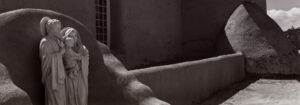
But there are more details than just processing to worry about. Just composing an 8×10 camera is a little tricky. You’re working on an image that is upside down and backwards. It’s often difficult to see the image, especially if wind is blowing your dark cloth around. Depending on the lens the image can be tough to see. Lenses with smaller stops, and wide-angle lenses are tougher to see. I did get a new fresnel lens for the camera, which is helping. It’s also good to practice getting the camera onto the tripod; not only is the camera heavy it’s very awkward. I’ve purchased a couple of lenses for the big camera recently, so I needed to understand how they see and how they work. Of course, you can look through a lens and know a lot about the way it sees, but you know a lot more if you shoot film with it.
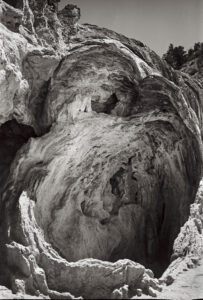
I’ve also practiced with a couple of medium format cameras. I’m trying to find a medium format camera that I want to stick with, but it’s tough to find something that meets my standards. First I’d prefer to work with the 6x9cm format. Obviously I like big negatives, but I also like that this format has the same ratio as 35mm full frame film. This cuts out a lot of popular cameras, like the Hasselblad (6x6cm), my beloved Mamiya C330 (6x6cm), the Mamiya RB and RZ (6x7cm) and the Bronica, Pentax and more. In fact, most of what it leaves you with are press cameras made in the late 1950s and 60s. Actually not such a bad thing, most have rangefinder focusing and they’re pretty cheap. I’ve tried out the Koni-Omega, the Horseman, the Graflex and the Mamiya Press. All of them have their advantages, but right now I’m using the Mamiya. There are a couple of reasons: first the Mamiya has the widest lens I can find for a medium format press camera, a 50mm f6.3. Second, some of the Mamiya Press cameras can use Graflex roll film backs. This is kind of rare, but I have one. I like this because I have a bunch of these backs, and they fit other things I own. Also, they are easier to find than most of the other roll film backs. The actual range of lenses is probably larger than most of the other cameras I mentioned, but the Horseman could take many view camera lenses. The Mamiya has some back movements, sort of like a perspective control lens for a digital camera or a standard view camera. The back also allows some macro work not available with the other cameras. In fact, one of the reasons I don’t like the Koni-Omega, is that it doesn’t have close focusing. Of course, you have to put on a ground glass to focus, but it’s great that the camera has this. Still, there are problems… These are all metal cameras, so they’re bulky and heavy. With 4 lenses my kit weighs almost 25 pounds. Second, these are old cameras and they often need maintenance. One of the things I’ve had to do is re-calibrate the rangefinder, a job which requires patience. You can’t just run to your local camera store and buy one, you’ll be searching for a while on eBay.
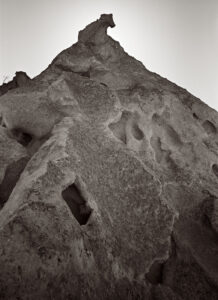
I’ve needed to practice with the Mamiya quite a bit. The rangefinder isn’t very contrasty, so you need to work with it to get the hang of it. The viewfinder is separate from the camera lens, so you need to learn about how the camera actually frames. In addition, the wide-angle lenses require auxiliary viewfinders, which is a little annoying, maybe a lot annoying… I needed to practice changing the lenses, too. If I forget to put the dark slide in, I’ve ruined a frame. One other thing that takes getting used to is that there isn’t any double exposure prevention. You need to decide if you’re going to wind the film before you shoot or after, and stick to it! Of course the upside is that you can change film holders in the middle of a roll. Perhaps it just that I’m a person who likes to d things the hard way. I believe there is evidence for that.
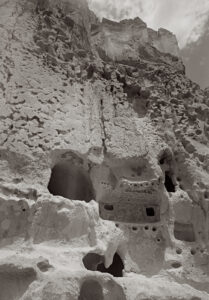
While I’m discuss getting my chops back with various cameras, I should mention the Brooks Veriwide/Graflex XLSW camera. Both cameras were designed for the 47mm f8 Schneider Super Angulon. The 47mm S.A. was designed as a super wide-angle lens for 6X9cm. I really enjoy working with wide angle lenses, just in case that wasn’t evident. The thing about this camera is that it’s quite simple, lens, with built in shutter; viewfinder; focusing helical; and Graflex roll film back. The result is a fairly small, reasonably light camera, with a huge angle of view. Really nice. Of course, it’s scale focusing, no rangefinder. I suppose I could use the Graflex ground glass back, but that would make the camera much slower to use. The other drawback is that the lens is f8, and doesn’t entirely hit its stride until f16, well no one is perfect.
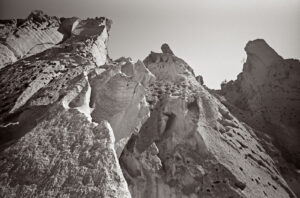
I have several other cameras that I still need to practice with. I’ve done almost no work with my Cyclops camera, which shoots 120 film with a moving lens. It makes very large panoramas. Speaking of very large panorama shots I have a Korona 8×20 camera that I need to drag out soon. I really should do a shot in the next few days so I can say I used it during August, after all the date is 8-20. I haven’t used the 11×14 camera since I closed the Courting Chaos project, but I did use it a lot for that project. If you’re counting my cameras there are a lot more… Keith Richards has three thousand guitars, so I have a way to go.
Now clearly all of this practice is well and good, but practice has its limits. The limits of practice are discovered by testing. Some testing is very easy to understand: all the lenses I’ve been using have leaf shutters, which are inaccurate. Leaf shutters are mounted in the middle of a lens rather than near the film. In addition all old leaf shutters are inaccurate to some degree, and all of mine are old, much like myself. There is actually a phone app that does a pretty good job of shutter testing, if you have old shutters you should find the app. I’ve know a lot of people who do obsessive processing testing. This used to be extremely important. Even as recently as the 1950s and 60s many film emulsions were thicker, which changed the way films recorded light a lot! This has a lot to do with why Ansel Adams and others developed the Zone system. Film recorded low light differently from middle grey and highlights blocked up. There are some films which will still react this way, if you want to experience greater frustration. Modern black & white films, like Kodak T-max and Ilford Delta will handle the highlights much better than say Super-XX; so exposure is easier to manage. In addition, most photo papers are multi-contrast which gives the printer much more control over the way the print looks. Alternatively, you can scan a negative and manipulate it in Photoshop, which gives you much more control over the outcome! You can make a new enlarged negative with a printer and make a variety of different kinds of prints, customizing your negative to fit the printing material. So my goal in testing film is to get a negative with a long scale, many tones between black and white. I’m also looking at the graininess of the film and it’s resolution. So far I like the Ilford Delta 400, but I do want to check more films. While I’m looking at film resolution I’m also examining the resolution of my lenses; all lenses are not created equal. At some time I need to do some writing about the way lenses affect pictures. Many people are fiends for “sharp” lenses, however many people interpret contrasty lenses as sharp because they make images that “pop”. Here’s the thing, if you do post processing of your shots with Photoshop it can be better to have lenses with resolution that you like and control contrast in post. I’ve found that I like Goerz lenses, and I have a bunch of them. More on lenses at another time.
There are some basic tests I shouldn’t ignore: is your camera light tight? Are your film holders light tight? Some of mine were not. It’s important to know where the weaknesses of your gear are. One more test: can you carry the damn camera bag and the tripod without too much suffering…

Here’s the thing, we do all this so that we can PLAY. If we get too caught up in technical details that we forget that photography is way of communicating and documenting. If we aren’t doing any shooting that all the gear and all the knowledge don’t matter. Play means both expressing technical skill, craft, and experimenting. If you don’t make mistakes; don’t walk outside your comfort zone you aren’t really doing anything new. If you don’t express yourself with good craft than people won’t be able to appreciate your images.

I hope you’ll also check out my books, use the links below:


One more thing, there are almost 14,000 people registered on this blog. Wow! Thanks everyone.

May 16, 2020

Shutter Hacks 2

So it’s been a long time since I last updated this blog. I’ve done a lot of personal projects since I updated this blog. The biggest one has been moving to New Mexico. I’ve also done a number of equipment related photographic projects in the last year, which I am going to add to this blog as time goes by. This is the first one of those, and in some ways it’s just an extension of the last blog post I did. You may remember, or you can check below, it was about shutters and lens boards for large cameras.

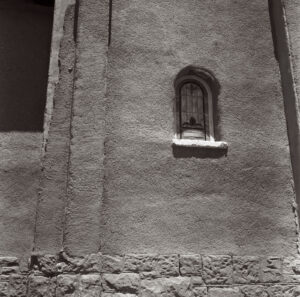
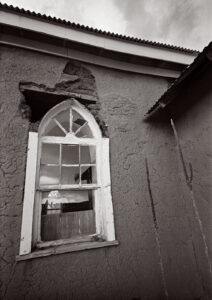
New Photography from Taos San Francisco de Asís Mission Church #1. Made with the Toyo 810M and 6 ½ inch W.A. Dagor.

The two elements that have the most do with how your final images are captured, are first, the lens that makes the image, and second the way in which you record the image. Many lenses are designed to have as little character and to be as sharp and contrasty as possible, but that’s not true of all lenses. Some lenses are designed for soft focus, some lenses are designed primarily to bring the image closer or to give you a wider angle. Many lenses have lower contrast and more flare. Modern lens design is often more concerned with contrast than with sharpness. The human will often see contrast and saturation as more graphic than actual detail. Also, some lenses are just not very good. Many older lenses, while they may have flare or other defects, can make very compelling images. Some modern lenses have been designed for digital cameras that exhibit these properties: check out Lomography.com for examples. The lens you use may have more effect if you’re working with a large format film camera; and you’ll have more lens choices.


Regarding recording the image, if you’re recording it in digital then the simple thing is how much resolution do you have? But if you’re recording it in film, the size of the film and the characteristics of the film will have a huge effect on your final image. The resolution of the film, whether the film is color or positive transparency, or black and white negative film, all these things have a tremendous amount to do with your final capture.

In order for the lens and film (or sensor) to function well, you need a number of controls on your camera. You need to control how much light finds the final capture area, whether it’s film or digital, and that’s done by blocking some of the light in the lens with a diaphragm (aperture) and by using a shutter (shutter speed). You’ll need to focus the lens by changing the distance between the lens and the film and of course, you need to keep everything dark between the lens and the capture area.

So a camera may be quite simple: just a film holder and focus. With large format cameras the shutter is usually mounted in the lens, as is the diaphragm. Many large format cameras are little more than a platform for the assemblage of parts. Many cameras are much more complex, particularly digital cameras, which will have the sensor and shutter and meter and viewfinder and electronics built into the camera. One advantage of a large format camera, not only can you change the focus of the lens, but you can change the geometry of the camera: the camera allows you to change whether the film plane and the lens plane are parallel to each other as well as the distance between the two. Sometimes simplicity offers more control than complexity.
All of this means that you can modify large format cameras. You can create or customize cameras that give you special abilities or enable you to use special lenses or enable your lenses to do things they might not otherwise have done. You can put different sizes of film on behind lenses that were designed for something else. And all of this can be very creative, and it can be fun! It can enable you to make images you couldn’t otherwise make.

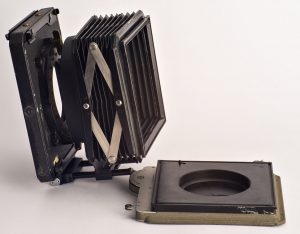
The Sinar shutter mounted onto a Toyo Bellows lens hood. You can sell all the shutter speeds on the side. It’s mounted sideways to keep the shutter control away from the rails of the bellows lens hood.

In the last blog post I talked about changing lens boards and mounting different lenses onto multiple large format cameras. I showed how I made a make lens board converter to enable me to fit a Toyo lens board on my old 8X20 Korona view camera. I also showed how to mount an external shutter, called a Packard shutter, on to a bellows lens shade. This puts the shutter in front of the lens. Packard shutters are air-driven shutters and they’re incredibly useful, but they have only limited control. In this post I’m demonstrating two more shutter adaptations: one is using a shutter from a Sinar camera and the second one with a Packard shutter.

A side view of the bellows lens hood and the shutter. The adapter from the lens hood is glued to the lens hood. The original purpose of the lens hood and the barn doors is similar.

Sinar are made wonderful view cameras, very complex, with very precise levels of control. Very fine Swiss workmanship. They were some of the finest view cameras you could buy, but they were also some of the most expensive view cameras you could buy. They made some really, really interesting accessories. One of the things they made was a shutter designed to fit into the camera. This shutter was way better than your average Packard shutter because this shutter what had accurate shutter speeds from 1/60 to 30 seconds. As time went by their shutters evolved into electronic devices that could only work with Sinar cameras. The shutter I adapted was designed to work with the older Sinar Norma cameras. It is a completely mechanical shutter.

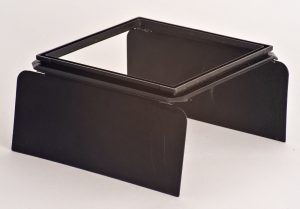
The Sinar barn doors, before disassembly.

Rather than use the magnetic strip I used to hold a Packard shutter to my bellows lens shade, I used the mount from a Sinar barn door attachment, which I put on the front of a Toyo bellows lens shade. Now it works with any of the cameras that I’ve already adapted to take the Toyo bellows lens shade: my 8X20 Korona camera, my 11X14 camera, my Toyo 810M and Toyo 45C. Not only will it fit a lot of cameras, it will fit a lot of lenses. You can see how this comes together in the pictures associated with this particular post. The Sinar shutter requires a cable release with an extremely long throw, much longer than a regular cable release. This is because the cable cocks the shutter as well as triggering the shutter. I’ve found that the only cables that work are the ones Sinar built for the shutter.

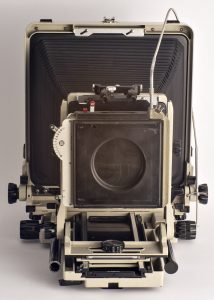
The whole assembly mounted onto my Toyo 810M. Note the Sinar cable release.

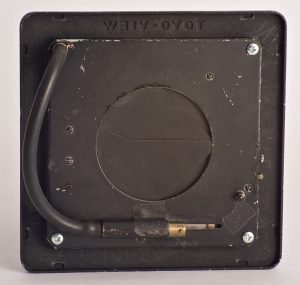
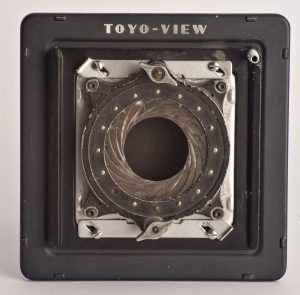
Another project that I want to share here is a shutter I attached to a Toyo board that was originally made to fit adapt the Speed Graphic lens boards onto the Toyo cameras. Many of my lenses are mounted on the speed graphic lens boards since the boards are common, inexpensive and small.  The Packard shutter mounts directly behind the Toyo board. You can see this in the pictures. This is a smaller Packard shutter. There’s a pipe which attaches the air hose through the shutter. It’s a very handy item.

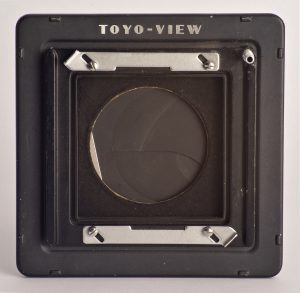
The front of the Toyo/Packard board. The tube in the upper right is for the air hose.

The back of the Toyo/Packard lens board. You’ll notice the tube from the front is attached with rubber air hose to the piston.

Both projects are also shown with the diaphragm adapters that allow you to hold lenses that aren’t mounted onto boards and don’t have retaining rings. This all makes for very, very flexible lens mounting system. You can put practically any lens on the front of your view camera, even lenses that were never designed for cameras.

The Toyo/Packard board with a lens attached. I’ve used an old diaphragm holder to attach the lens.

I’ll be describing several more projects in upcoming posts, including a tour of my new darkroom. Also, I will be selling a number of items that I no longer need. So, if you watch this blog you may find those items listed; and they will cost a little less money here than on eBay.

So if there’s anything that you’re particularly looking for you might let me know send an email to John@Siskinphoto.com, thank you very much for your attention.

I hope you’ll also check out my books, use the links below:


One more thing, there are more than 13,000 people registered on this blog. Wow! Thanks everyone.

November 15, 2018

Courting Chaos-The show, Part 3-Kodak Color Glossy prints

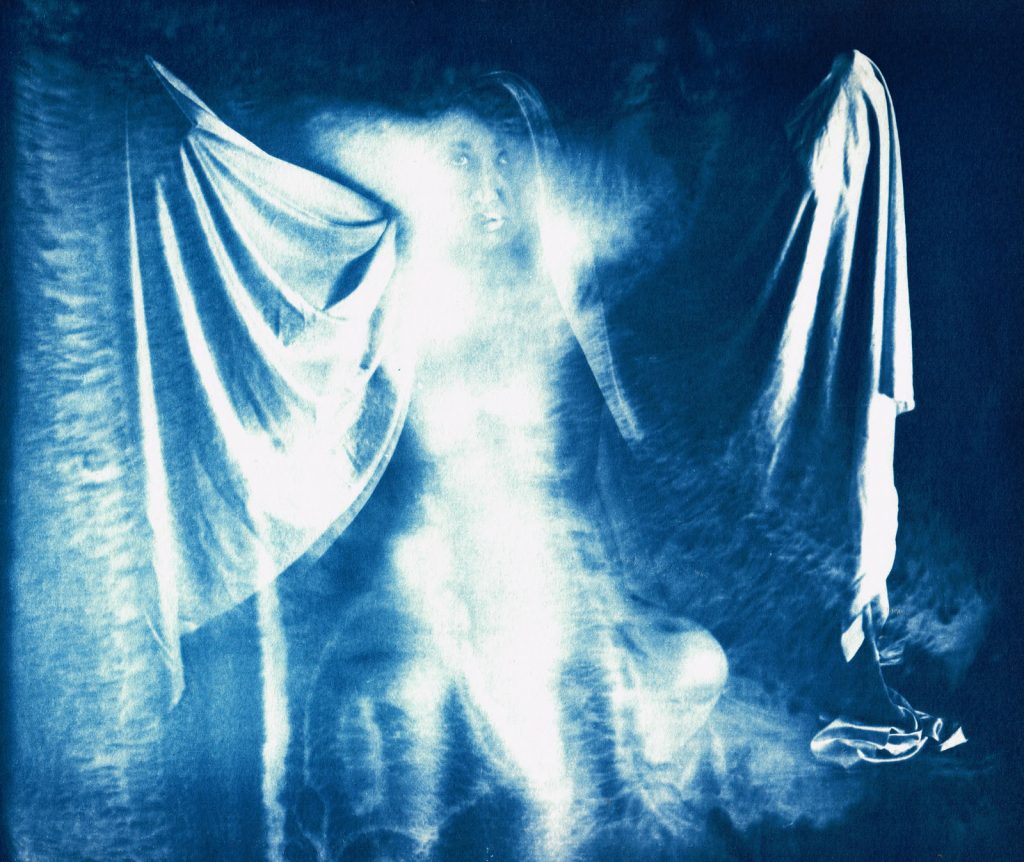
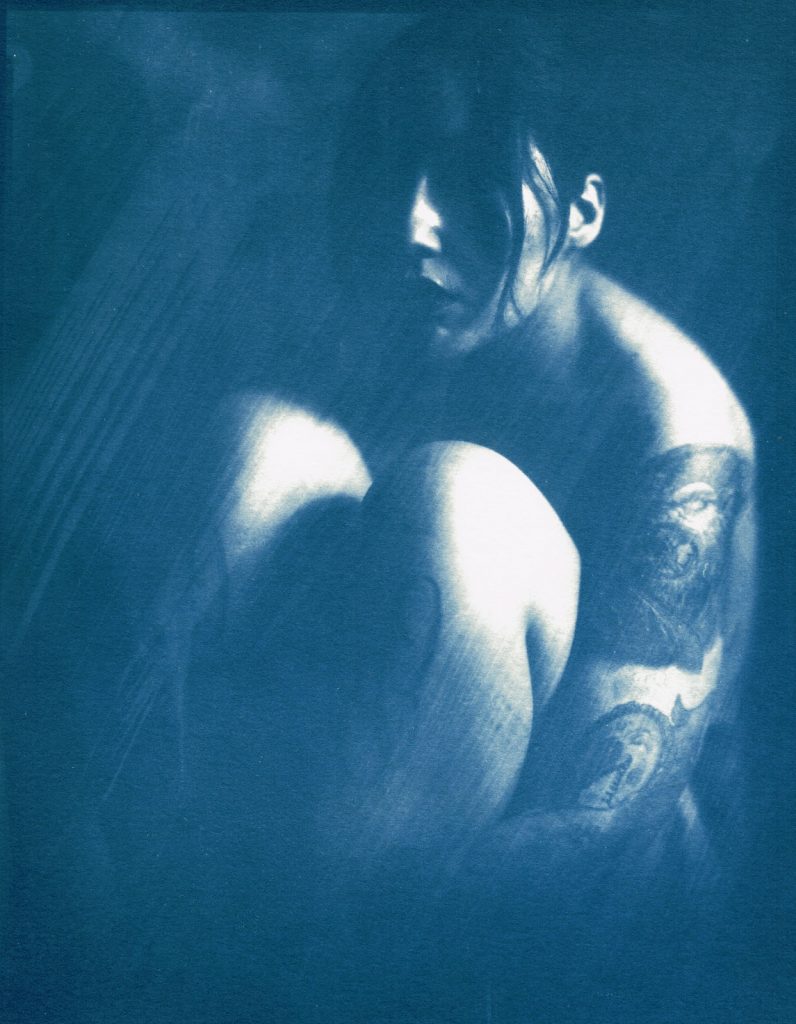
This post includes the two Kodak color glossy prints from my current show at Indiana Landmarks. The color begins in the original process, but it is modified and enhanced in these images. The show is going to be on display until the end of November, so you still have a chance to see the real photographs. I say real photographs because looking at an online version of an image adds a sameness to all images. On your phone or monitor images always about the same size and the color is always affected by your monitor. These two images are BIG, 30 inches wide and about 40 inches tall. If you care about photography its a really good idea to see actual photographs, not just digital versions. I used 3 types of prints in the show: silver gelatin prints, cyanotypes and a couple of Kodak color glossy prints. As I mentioned in the last post you can visit this previous post for more information about print types: https://siskinphoto.com/blog/?p=2243. The other images, the silver gelatin and the color glossy images are posted as parts 2 and 3 of the show. The Silver Gelatin prints are at: https://siskinphoto.com/blog/?p=3571. The cyanotype images are at: https://siskinphoto.com/blog/?p=3630


The show has 41 images up on the walls; these are the two Kodak Color Glossy images. These are machine made images. I could print a hundred of them, all exactly the same, by pushing a button. The images are for sale. The images are about 30×40 inches and mounted on Gator board. The price is $350. The price includes shipping in the U.S. For this and all the other images please contact me directly at john@siskinphoto.com to arrange the purchase. Please contact me for more information about any of these images. These images are copyright by me and are NOT INTENDED to be shared. You are welcome to post the link to this blog, but do not re-post my images. Thanks for your respect.

Kodak Color Glossy Images

Curt #2

Leslie #6

Courting Chaos-The show, Part 1-Silver Gelatin Prints

This post includes all twenty silver gelatin images from my current show at Indiana Landmarks. The show is going to be on display until the end of November, so you still have a chance to see the real photographs. I say real photographs because looking at an online version of images adds a sameness to all images. On line images are always about the same size and the color is always affected by your monitor. If you care about photography its a really good idea to see actual photographs, not just digital versions. I used 3 types of prints in the show: silver gelatin prints, cyanotypes and a couple of Kodak color glossy prints. As I mentioned in the last post you can visit this previous post for more information about print types: https://siskinphoto.com/blog/?p=2243. The other images, the cyanotypes and the color glossy images are posted as parts 2 and 3 of the show. The Cyanotypes are at: https://siskinphoto.com/blog/?p=3630 and the Kodak color glossy images are at: https://siskinphoto.com/blog/?p=3633

The show has 41 images up on the walls, these are the 20 traditional silver gelatin prints also called fiber base prints. The images are for sale. The silver gelatin prints, the first group below, are $550. They are matted to 20X24 inches. The price includes shipping in the U.S. For this and all the other images please contact me directly at john@siskinphoto.com to arrange the purchase. These are all hand made prints, done by me in my darkroom. Please contact me for more information about any of these images. These images are copyright by me and are NOT INTENDED to be shared. You are welcome to post the link to this blog, but do not re-post my images. Thanks for your respect.

Silver Gelatin Images

Bree #12

Cassie 2 #14

Leslie #14

Rachel #11

Andrea #5

Wayne #2 V3

Wayne #1

Tyler #12

Rubella #14

Rubella #4

Mindy #7

Wayne #13

Leslie #6

Jennifer #1

Shelby #2

Cassie 2 #7

Bunny #9

Rachel #10

Bree #4

Andrea #9

March 23, 2017

New Work With The 11X14 Camera!

Bree 12a v-8 The numbers are only a working title.

Bree 12a v-8
The numbers are only a working title.

I think this is the sixth time I’ve taken the 11X14 camera out for a spin. I’m extremely gratified with the results of this shoot. I worked with a model named Bree Widener and a make up artist Julie Powers; both are excellent. Of course I also worked with my current assistant David Kidwell. Really I don’t think I could manage the camera without his help. As you may imagine the camera is a beast. I’ve written before about the process. You can review the early blog posts if you’d like, at these links: blog-3207 and blog-2871

Bree 7 v-2 There is less process manipulation in this image.

Bree 7 v-2
There is less process manipulation in this image.

I think the business of coming to grips with the ultra large format camera and working out an accessible process is quite interesting. A lot of skull sweat has gone into figuring out this method of shooting the big camera. I’m using 11X14 Ilford Multigrade RC paper in the camera. This gives me an 11X14 negative, but it’s on paper rather than film. This works out well because I have an oversized scanner that enables me to scan the paper negatives. This means that the basic process is analog-digital rather than the strictly analog process you would get with a film negative and direct printing to silver gelatin printing.

Bree 9 v-5 The color is added in post processing. The analog/digital process allows for considerable creative input.

Bree 9 v-5
The color is added in post processing. The analog/digital process allows for considerable creative input.

The process allows me to introduce chaos into the images in ways that I can only do with a wet darkroom process. In fact this method is probably better for creating these chaotic images than working with film or any other method. There are of course many ways of working, both with digital capture and with film, where the goal is to gain control over image making. I would be shocked and dismayed if an architectural or product image I made suddenly displayed totally random results, but that doesn’t mean that I don‘t want chaotic results in some circumstances. Many people are shooting film just to court random results, and they sometimes achieve results so random that it’s hard to see any original intent in the final image. I just can’t go that far, though some of my results have been totally out of control. The primary way that I crate chaos in these images is to re-expose the paper to light as I process it and to process the paper in unusual ways.

Bree 1 v-2 The first test image of the day! Off to a good start.

Bree 1 v-2
The first test image of the day! Off to a good start.

Part of what makes this whole process exciting is that I develop and solarize, the negative while the shoot goes on. The whole studio is lit by a sodium vapor safelight, so we can load, handle and develop the paper while the shoot continues. The people involved in the shoot, make up, talent and assistants are always amazed to see the image develop right in front of them. Often I can finish scanning the first good negative from the shoot and make a print before the shooting day is finished. Of course it takes a while to dry and scan each image, so finishing the post processing may take weeks after the shoot ends.

Bree 5 v-2 This image shows the brush work that is done during processing.

Bree 5 v-2
This image shows the brush work that is done during processing.

Since this is an analog digital process all the control and interpretation that Photoshop offers is available after the scans are made. I do a lot with layers and curves to manage the contrast. In addition there are usually defects, dust and other problems, that have to be fixed. Unless you’ve done print spotting, you have no idea how much easier it is to spot an image in Photoshop than it is on a print. I usually add a slight warm tint to my images, just as I would have done by printing on a warm paper, like Agfa Portriga Rapid, in a darkroom. I may also add false color to the image, if the spirit moves me.

Bree 4 v-2

Bree 4 v-2

I tested another piece of the process with these images. I made a new negative on a transparent film with my digital printer. I had always hoped to be able to take these images back into a wet darkroom and make various kinds of prints: silver gelatin and alternative process. I was able to make a couple of Cyanotypes from the new digital negatives. They really look great! My test prints are 8X10 but of course I could make a really enormous negative make enormous prints with it.

Bree 12a-cyanotype Of course the scan of the Cyanotype isn't like seeing the original.

Bree 12a-cyanotype
Of course the scan of the Cyanotype isn’t like seeing the original.

Since the original negatives are 11×14 inches and the scans are 1200dpi the final files are just huge. I could make a print that is about 5 feet tall at 300 dpi without any problems. Psd files are about 600mgs. which can make them a little difficult to deal with in Photoshop.

Bree 5-cyanotype

Bree 5-cyanotype

I’m not offering prints of these images at this time. If you’ve been watching this blog you know that prints of a lot of my images are available through the blog. I really hope you’ll buy some. These images will be available, but I hope to create a show with them first. I will do a few more people shoots before I start working on that. I’m looking for models, of course for figure studies, but I’d also like to work with people with facial tattoos and who knows what else?

I hope you’ll also check out my books, use the links below:

One more thing, there are now almost 6000 people registered on this blog. Wow! Thanks everyone.

June 8, 2016

Roberts Park Church #6

Roberts Park Church #6

Roberts Park Church #6

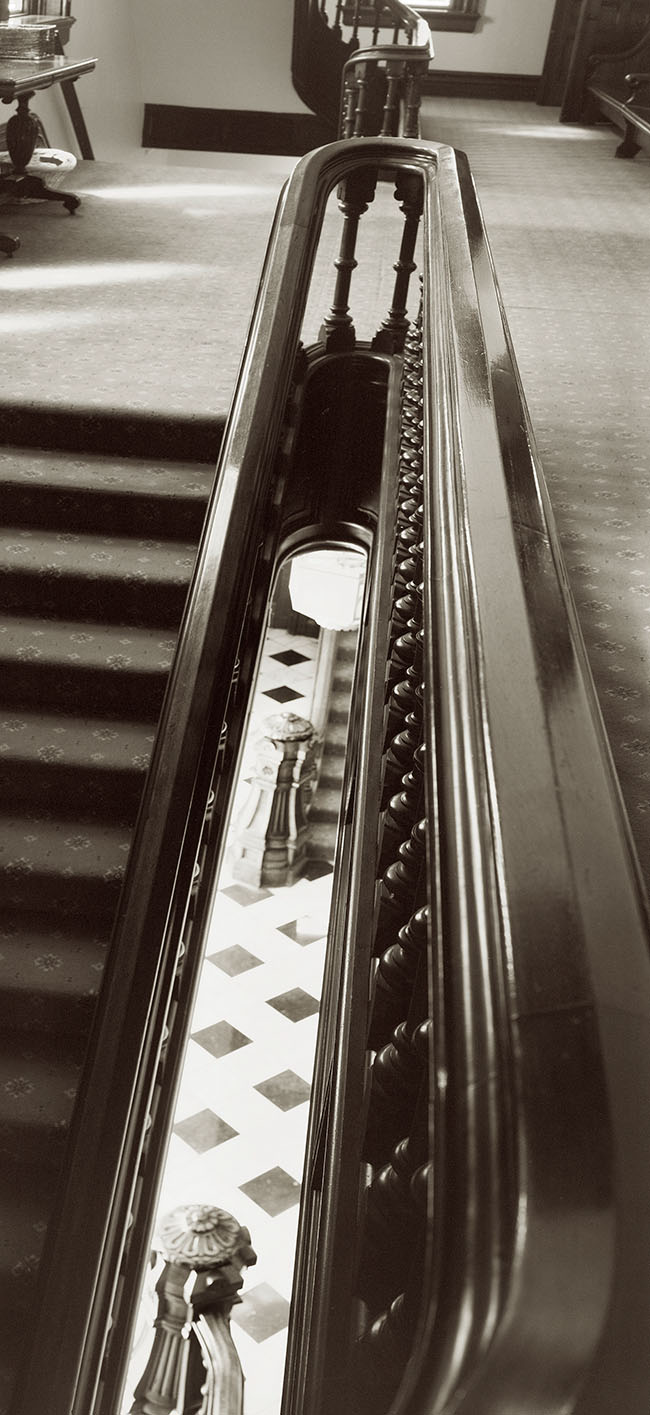
Another stair case form Roberts Park Church. I already mentioned that I like pictures of staircases. I did a shoot a Roberts Park Church a few weeks ago. I was there with the 8X10 camera. Used Ilford HP-5 in case anybody is checking. This was the last shot of the day. I know it was taken with the 8.25 inch Gold Barrel Dagor, you can see the lens. Sweet lens. Shot between f32 and f45. There is an inherent composition in a staircase. A good one combines form, function and a sense of time.

set-up #6

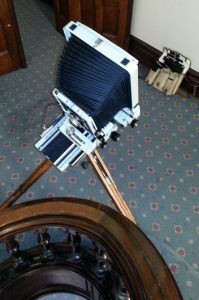
I actually remembered to shoot a set-up shot with the phone. I should do this more often. You can see that the shift is used, pretty much all the shift on the camera. Of course this is because I’m only shooting one side of the holder. You can’t really see that the lens is tilted down, which allows the depth of field to follow the bannister. You can see the top of the Ries Tripod, great tripod. My Leica bag with all the accessories, and thither holders is in the background. Oh, the camera is the Toyo 810M. I think I got the camera back in about 1985? Lot of great stories with that camera and these accessories.

I’ve shot a lot of staircases on commercial jobs. I even did work for a client in Los Angeles that specialized in making custom staircases. You can check out a few of the shots: http://www.siskinphoto.com/architecture1q.php, http://www.siskinphoto.com/architecture1s.php and http://www.siskinphoto.com/architecture1u.php.

If you’d like print of this image, I’d like to send you one. The image will be about 14 inches tall and mounted on cotton rag board (the good stuff). If you use the PayPal link below I’ll even include shipping in the U.S. I appreciate your support.


Also don’t forget my workshops: http://www.siskinphoto.com/workshop.php.

I hope you’ll also check out my books, use the links below:


Now over 5000 registered users at this blog!!

May 27, 2016

Shooting the 11X14 Camera Again!

This is another blog entry that will be part of my Fine Art pages, whenever they get finished. However I’m also going to add information about my evolving work with the 11X14 camera, which I hope will also interest you. I wrote about my first tests with the camera before: check out this entry: https://siskinphoto.com/blog/?p=2871.

The camera shoots an image area of 11X14 inches! Think about that as about 100 times more sensor area than my full frame Nikon D800. One of my goals for this camera is just working with an ultra large format camera. If you’ve never worked with a big film camera you probably won’t understand just how satisfying it is to successfully create with a camera like this. There is a joy that comes from making a photograph with this craft that I don’t get from just pressing a button. I’ve spent a large part of my life perfecting this work, and I just don’t want to stop.

Of course there is more than just being some sort of curmudgeon. There are a few things that you can’t do with a small digital camera. A lot of these involve inviting chaos into your images. I suppose this is why some people have returned to film photography, they don’t want instantaneous images so much as discovered images. My goal for this camera is to mix a high degree of craft and image quality with a process that allows chaotic intervention. So far I’ve been pleased with the results.
In this image you can see that the flowers are surrounded by a glow. This glow doesn’t continue around the shells and leaves the background largely black.

Shells #C v-1

Shells #C v-1


In this alternative version there is only a single flower and the glow is mostly confined to the background.

Shells #H v-1

Shells #H v-1


As I mentioned in the earlier blog, I am shooting Ilford Multigrade paper. I am processing the paper in the studio as I shoot. The exciting part, for me anyway, is that I am re-exposing the paper to light during processing. This process is usually caller solarization (sometimes the Sabatier effect). Usually it’s done on the print, which makes the light areas of the print dark or black creating an overall dark image. The original mid tones of the image preserve some or all of their tone, creating an image that is partially reversed. The image below is a traditional solarization.

Bonnie-Hand Solarization

Bonnie-Hand Solarization. This is a print solarization

By solarizing the negative I’m able to add light rather than black. Because I’m working on such a large negative I’m able to control where I put the additional light. Since I’m processing as I shoot make the negatives I’m able to see how the re-exposure and my image interact.

At this point I’m only offering 11X14 digital prints. The prints are mounted and matted, and the price includes shipping in the United States. Please support the work by purchasing a print! I am experimenting with creating transparent negatives that will enable me to create various kinds of prints in the wet darkroom. I hope to make some of these analog prints available soon.

One more thing I wanted to mention: I’m offering individual workshops at my studio in Indianapolis. I’m calling these One on One Workshops. You can choose the subject and the time. I’m hope you’ll sign up soon. How about a day spent working on lighting, or even large format photograph? I hope you’ll check out the workshop at https://siskinphoto.com/blog/?p=2818. You can see other upcoming workshops on my site: http://www.siskinphoto.com/workshop.php.

I hope you’ll also check out my books, use the links below:


Now over 5000 registered users at this blog!!

December 6, 2015

Indiana World War Memorial & Museum-Stairs, 2015

Filed under: Film Technique,Looking at Photographs,New Photographs — John Siskin @ 3:31 pm

Indiana World War Memorial & Museum-stairs, 2015

Except for dance and the human voice, art requires people to use tools. Of course tool use is so basic to human beings that we often differentiate ourselves from other animals because we use tools. I think that tools are important to artists, and I know that they’re important to me. Some cameras inspire me to take pictures: some lenses seem to bring images to life. I recently got a Graflex XL, and I’ve carried it with me ever since. The camera is nice, but the real star is the lens: a Zeiss Planar 80mm f2.8. This lens is also on the classic Hasselblad and Rolleiflex cameras.

I like the way that stone and concrete look in black and white images. The stone has a real presence in this image probably because of the way the lens capture texture. The precision of the stonework is evident in this shot. Indianapolis has some really amazing stonework throughout the city. I’ve made some fine images of buildings here, and I continue to work with these subjects. Indiana has been a source of limestone for many buildings in the U.S. and the stuff has a great monumental feel. I really like the brighter highlights on the columns in the middle of the image.
I’m still committed to film for many of my fine art images. One reason is a second moment of discovery: when you shoot in digital you see a picture immediately, with film you don’t see an image until the film is developed and printed. The separation between shoot and image gives me a chance to imagine how I will work with the image. The sense of seeing a good negative is very rewarding. Of course it is also rewarding to work with a craft I’ve been practicing for decades.
If you’d like to buy a digital print of this image, mounted and matted on archival cotton rag board, please use the PayPal link below. The image will be 14 inches long mounted on 16X20 board. The price includes shipping in the United States, for other countries please ask first.


You can buy one of my books at these links:

I’m going to be using my blog to add information about images to the fine art pages of my site. This part of the site isn’t functioning yet, but it will be. These posts will enable me to put up information about the shot and to add details about buying prints. I think it’s very useful to talk about the details of creating specific images. I hope to hear from you about this-use my e-mail to let me know: john@siskinphoto.com. Of course I hope you’ll also want to buy some prints. I’ll be offering more types of prints in the future.
Older Posts »

Powered by WordPress