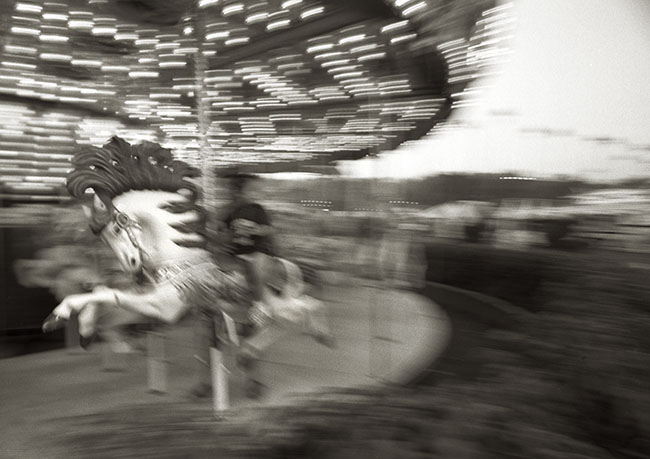
Carousel #1
First off I’d like to thank everyone who’s registered at this blog, NOW AT 4000 REGISTER USERS! Wow!
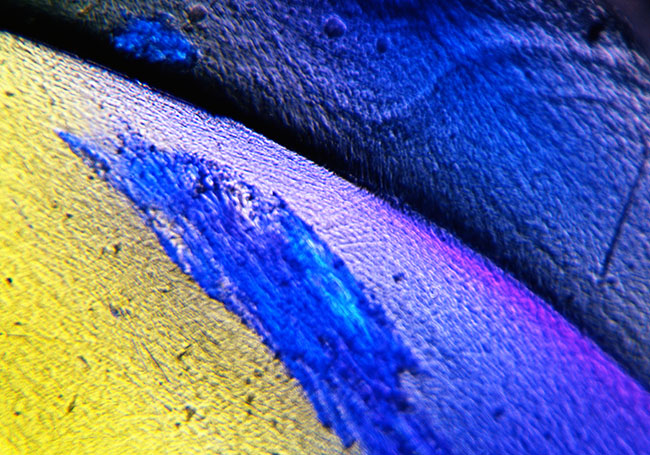
This is one of my all time favorite photographs. I like it so much I’ve posted the shot on the blog before.
https://siskinphoto.com/blog/?p=39
https://siskinphoto.com/blog/?p=85
https://siskinphoto.com/blog/?p=249
I don’t know that I’m adding anything new here, but I am adding a PayPal link so you can buy this image, and it’s also in my book B-Four.
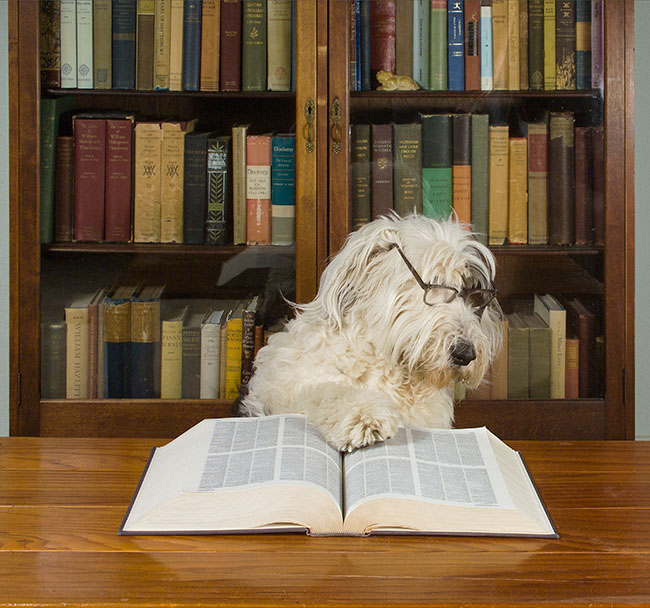
I like this image because I think it captures the excitement of a boy ridding a carousel. It has a real sense of movement, and the horse almost looks alive! Of course it means more to me because of the experience of making the image. I’ve often talked to people about how making an image affects my perception of the image. So in order to make this image I had to make a unique camera.
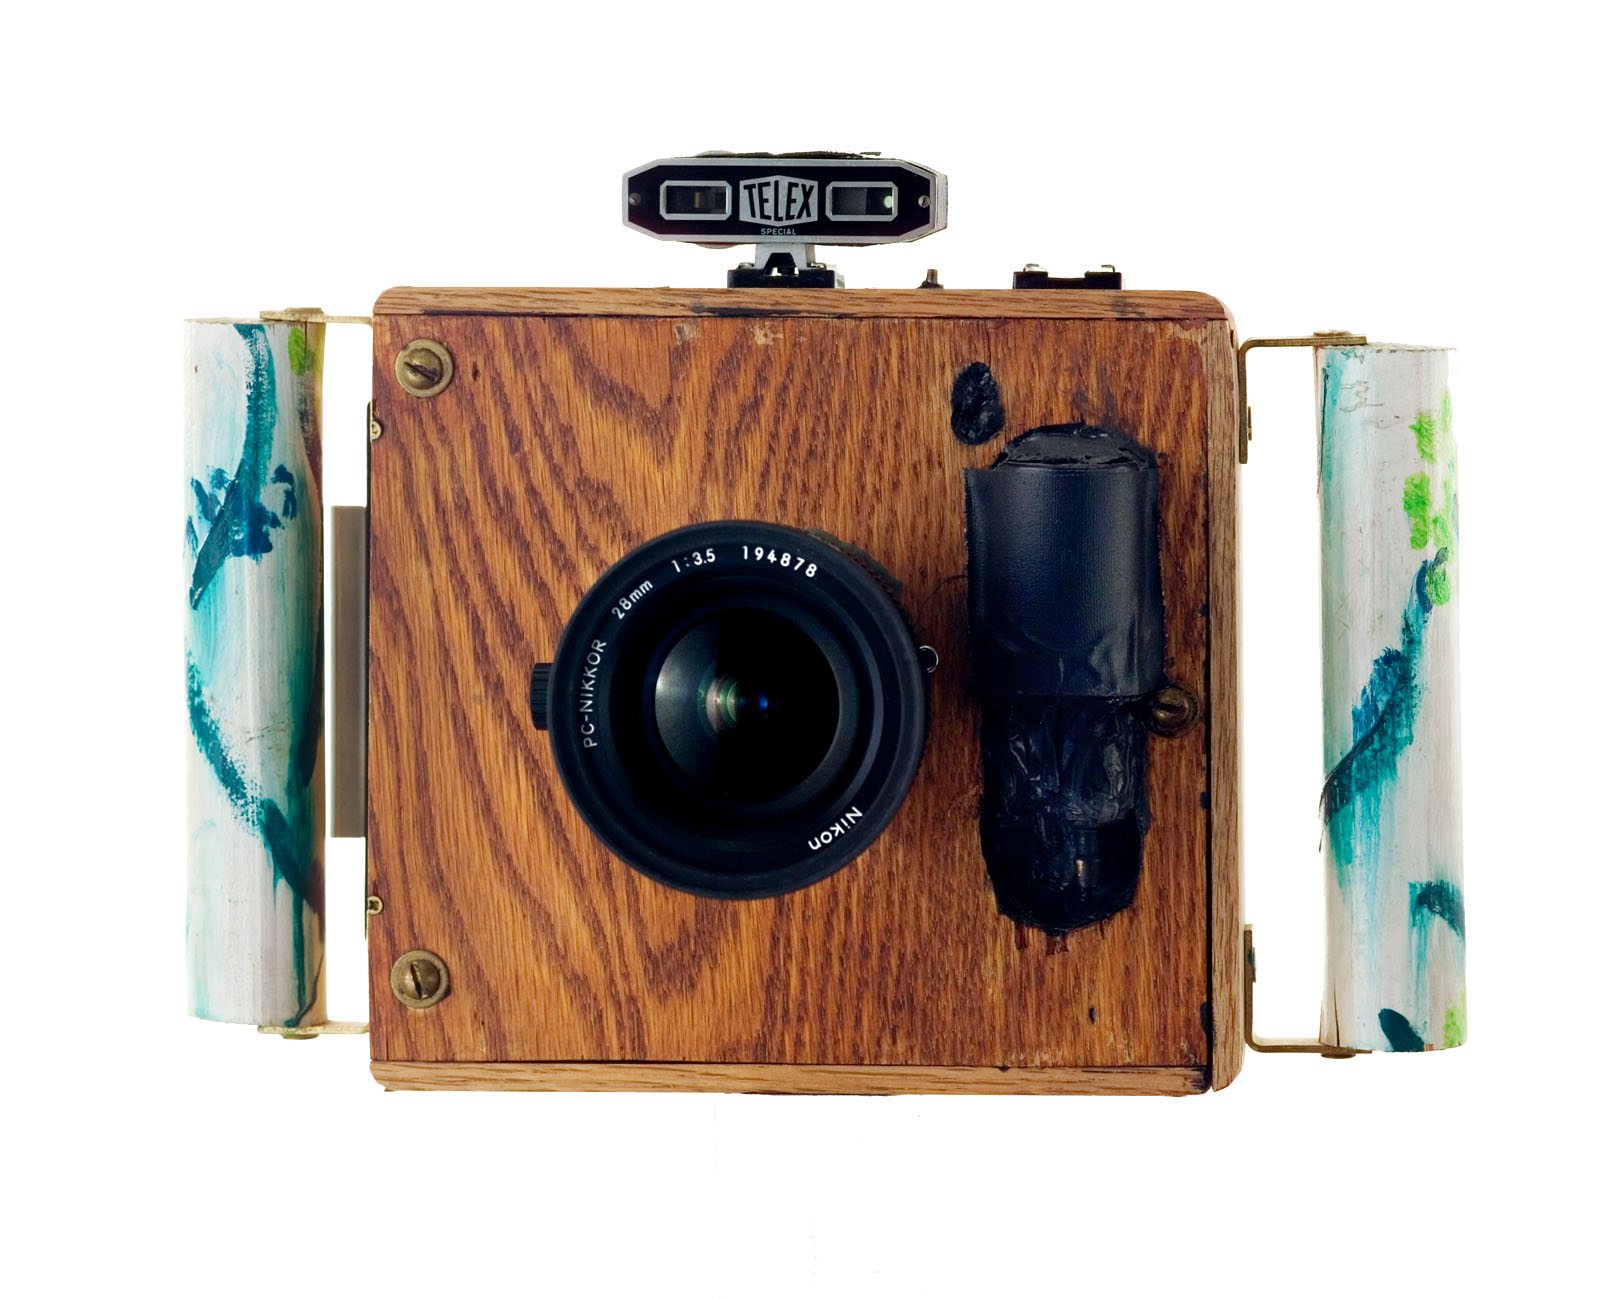
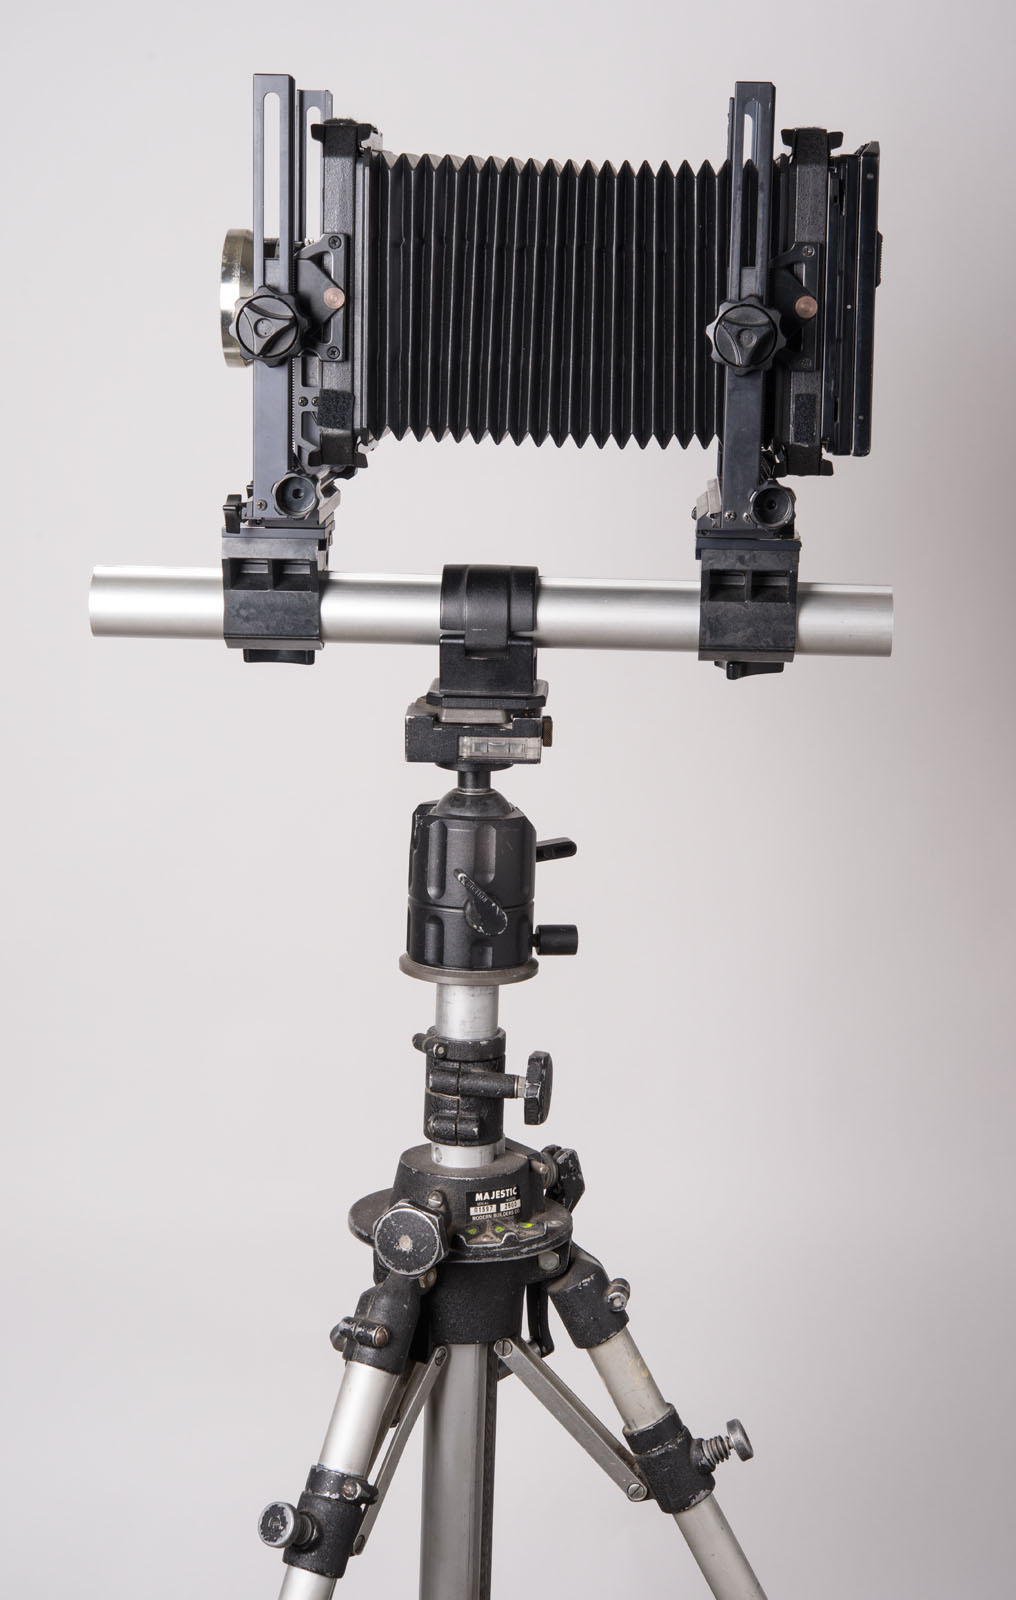
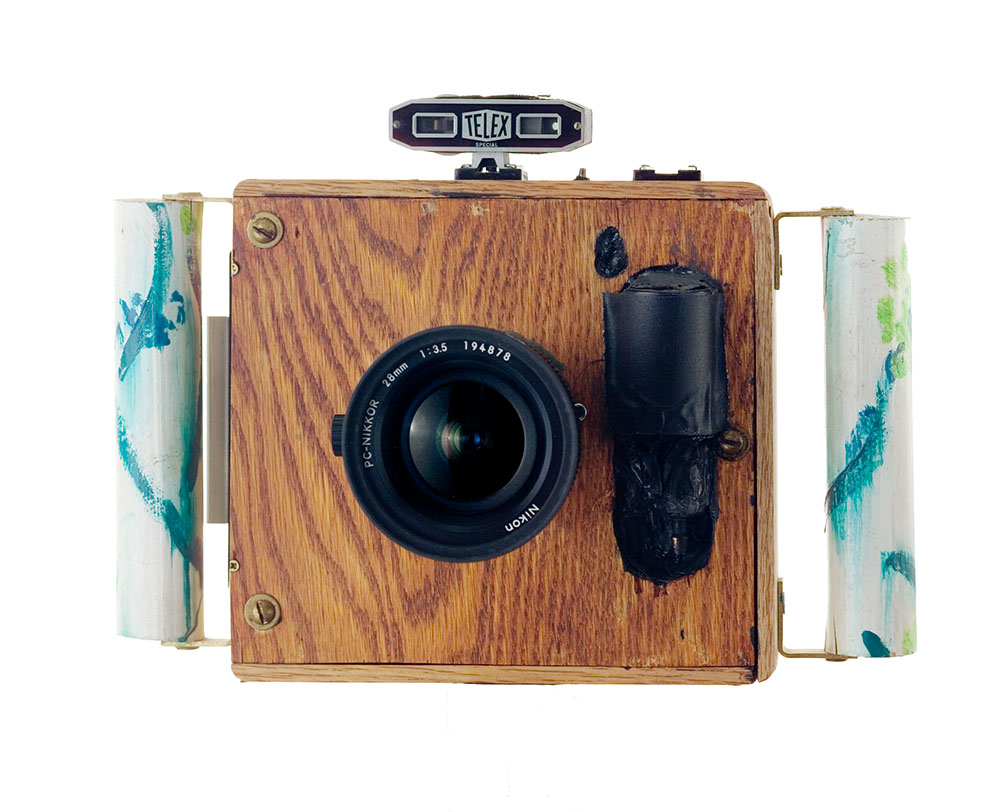
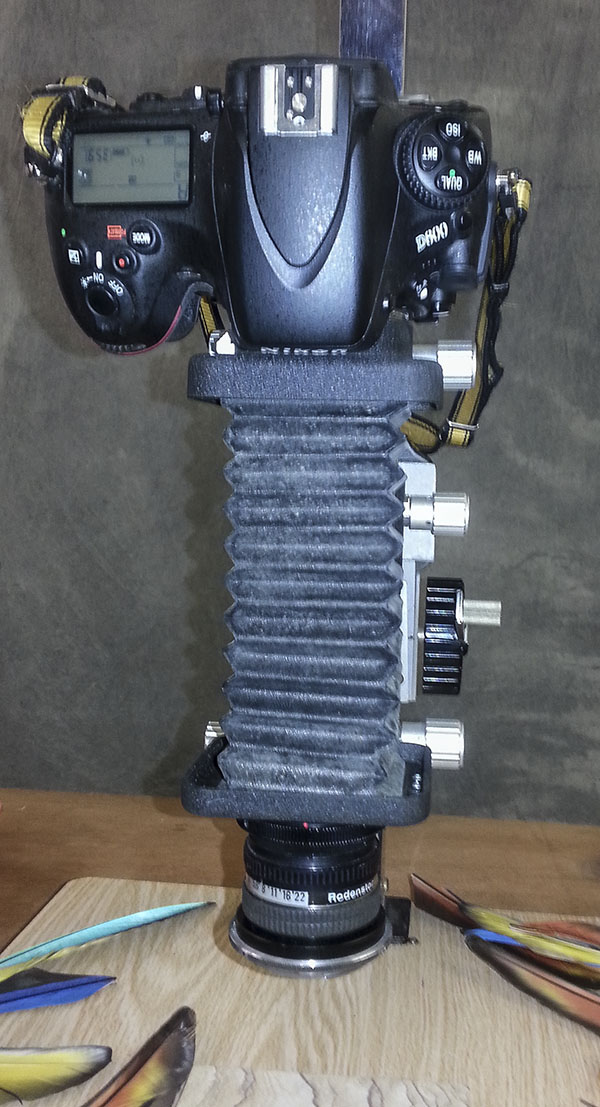
Super Wide Camera
This camera started as a tool to shoot Polaroid materials with 35mm lenses. Before digital the only way to preview your lighting and exposure was to shoot Polaroid instant shots before you committed the image to film. This was pretty easy with a large format camera because you could exchange the film back for a Polaroid back, but it was a real problem for 35mm cameras. It was possible to get a Polaroid back that was built to fit on a 35mm camera, but since you couldn’t exchange the back in the middle of a roll of film you needed an extra camera body. A dedicated camera with the custom Polaroid back was a pretty big expense. I designed this camera to use a Polaroid back built for my large format camera and to shoot Nikon lenses. That the thing worked at all was pretty amazing, but it turned out to be pretty useful. As you can probably tell I’m not the world’s best craftsman.
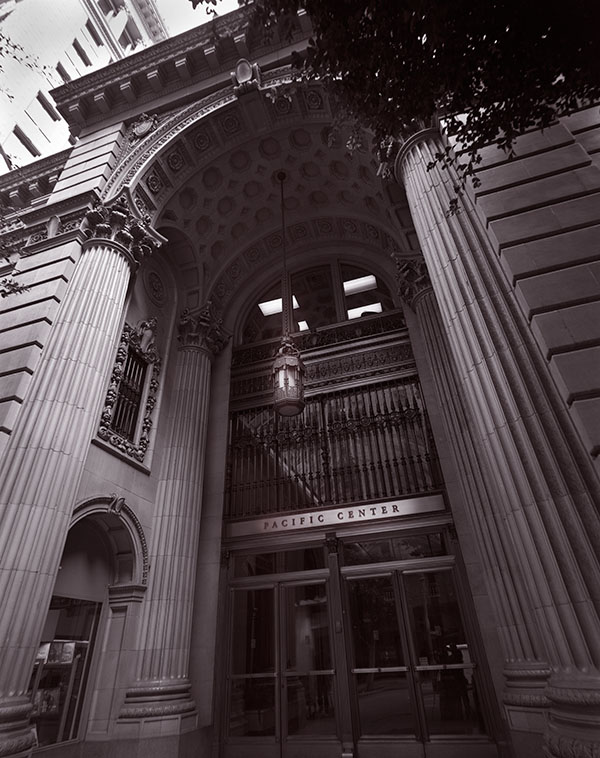
When I finished the camera I realized I could attach a film back as well as the Polaroid back. With most lenses the really wouldn’t mean much, but Nikon builds a few lenses that provide a unique point of view with this camera. These lenses capture a much larger angle of view than a 35mm camera can shoot. They are designed this way so that they can be used to shoot architecture and maintain perspective. This camera is able to capture more of the image from these lenses, which gives you a well corrected extreme wide-angle view. With this camera the lens has about a 110º angle of view, similar to a 17mm lens on a full frame digital camera.
The shutter on the camera is a pneumatic Packard shutter, activated by a bulb you hold in your hand. The shutter speed is about 1/30 of a second, really pretty slow. So in order for the horse to stay sharp I had to move the camera with the horse as I activated the shutter. This is actually a pretty neat trick; it’s called panning. Panning works pretty well with a 35mm camera, but frankly I didn’t expect it to work here because the camera is so awkward. I was amazed and pleased that the pan worked.

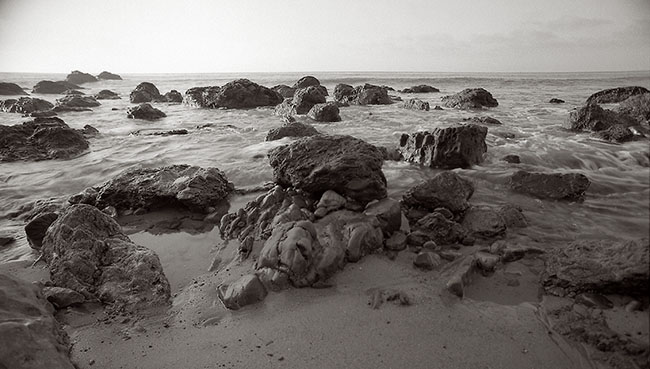
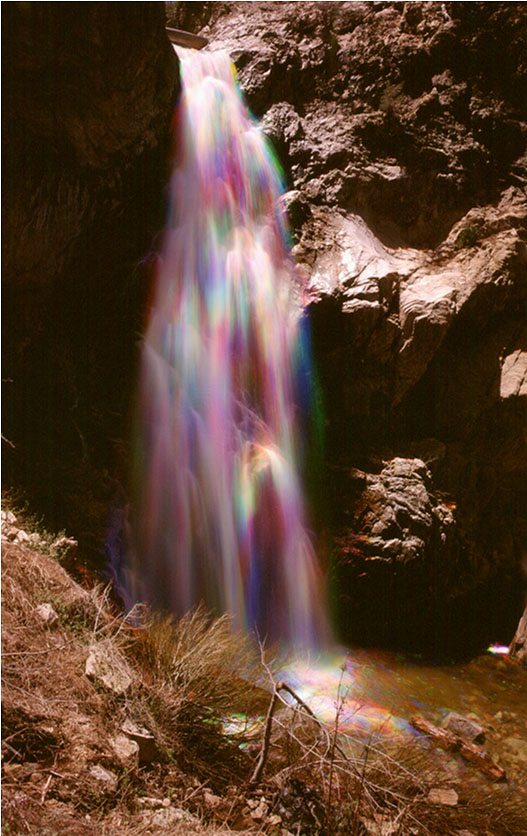
Scan of the negative
One or two of the earlier posts was about editing, which is so important to any photographer. I’m including an un-retouched scan of the negative (does un-retouched mean touched, probably not). I’ve used a lot of the image in the final presentation. I hope you’ll like it and want to buy a print. The link below will let you order a print of Carousel #1 mounted and matted. The image will be about 13 inches wide, and about the same height. I hope you’ll consider ordering one, the price is just $125, which includes shipping in the United States. If you’d like me to send a print somewhere else let me know at john@siskinphoto.com, I’m sure we can work something out.
You can buy one of my other books by clicking on the titles below:

![]()