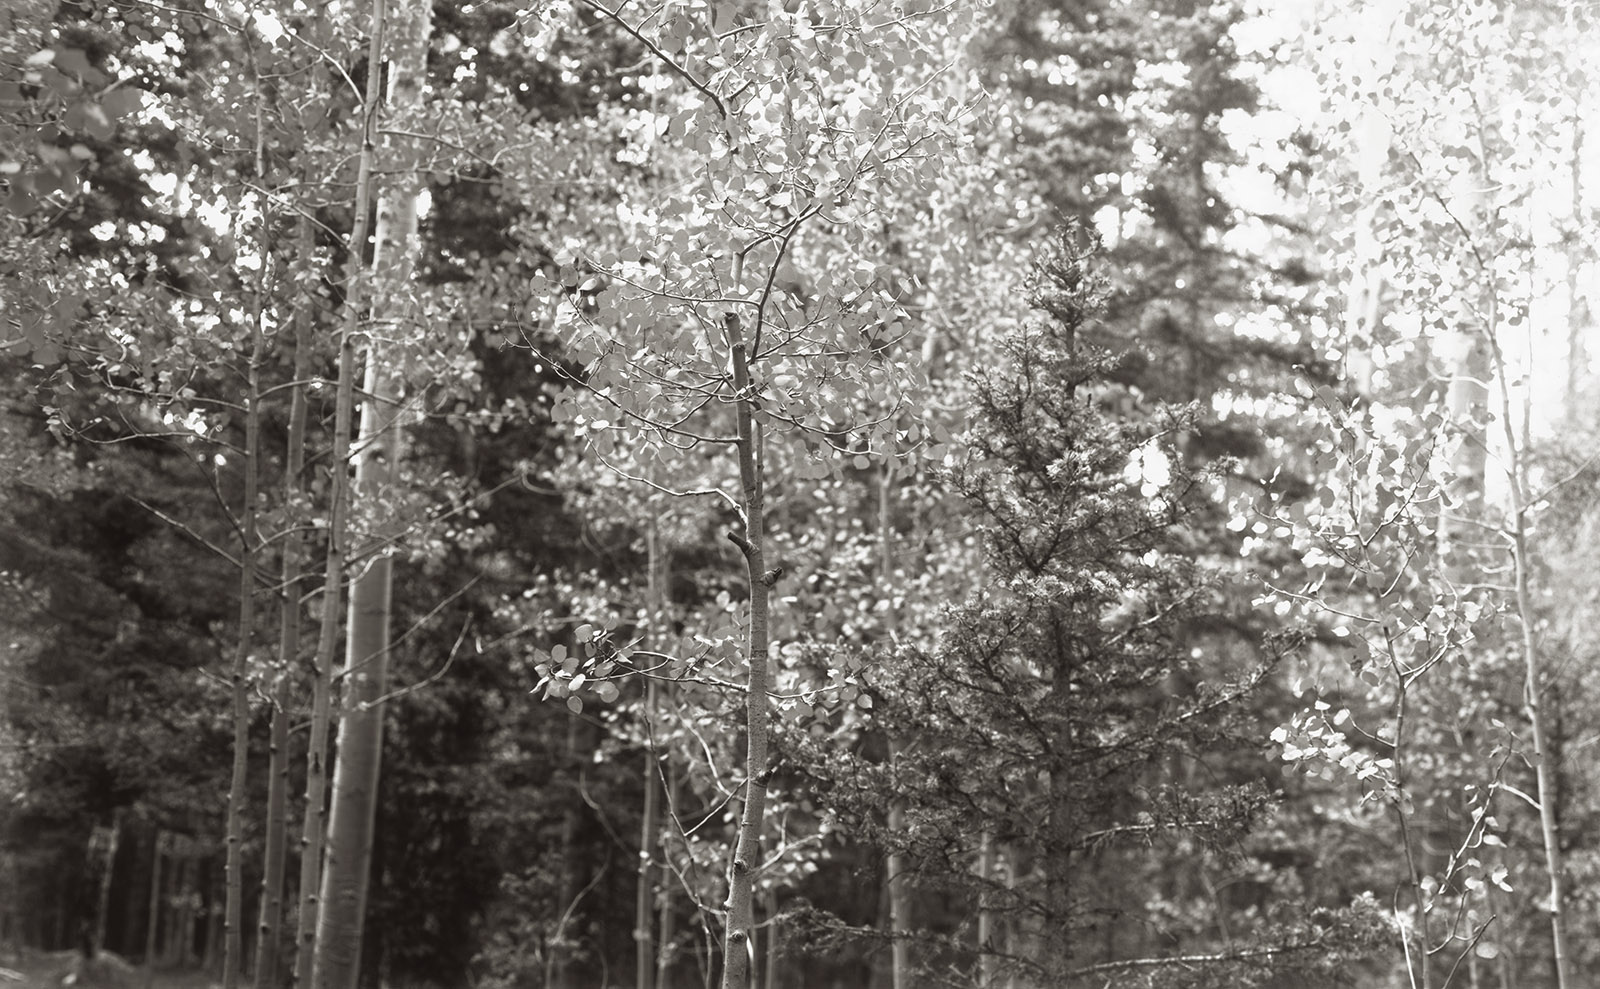
In most cases the inspiration for my photography comes from the external world. So, in the old days a client might contact me and request that I make pictures of spark plugs or concrete or whatever. As I am now retired most of my images begin with a spark of recognition from something outside myself. The challenge is to recognize the spark and to interpret the spark. For me a photograph is an invitation to interpret reality rather than to record reality. The entire process of making, rather than taking, a photograph is about interpretation.
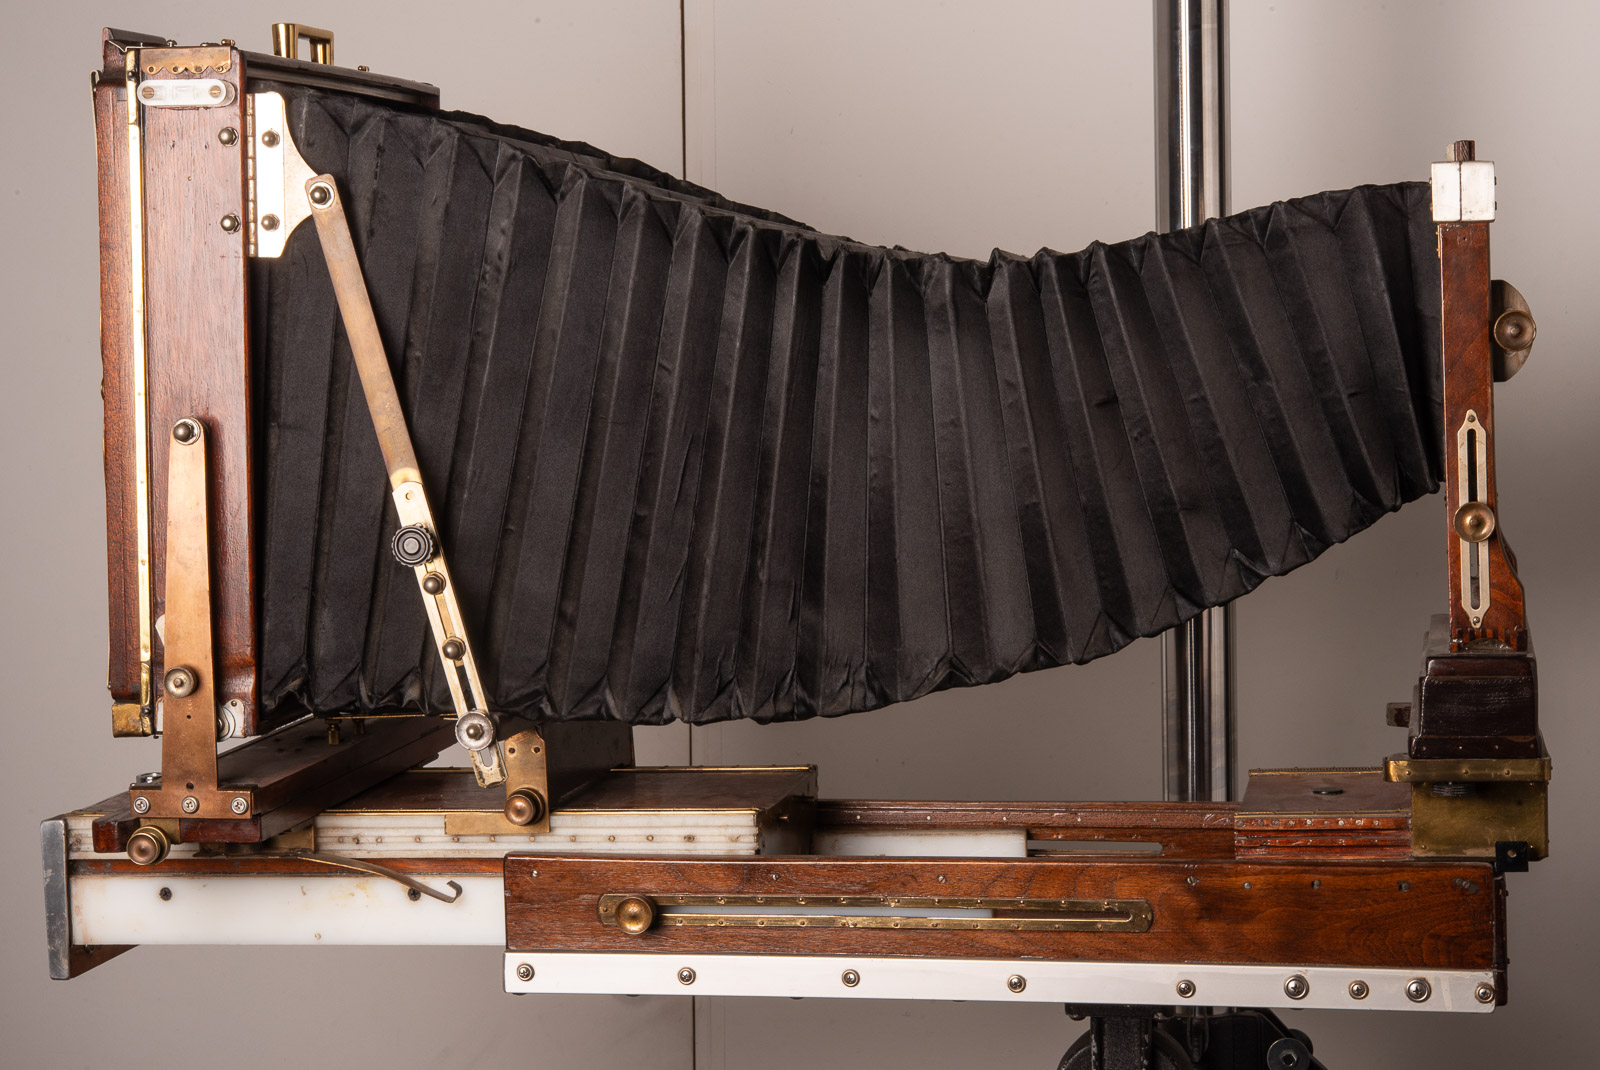
One of the tools of interpretation that interests me most is the lens. Most current lenses are built with a bias toward accurate reproduction and high saturation and high contrast. Certainly, there is nothing wrong with this, but, for me, it lacks inspiration. First, I would rather have lower contrast because it’s easy to increase contrast in Photoshop, and saturation as well. But since I have many lenses, and whose counting, I also value lenses which have a very different way of interpreting the world. The lens is like a paint brush: some are good for fine detail and others spread a wash of color.
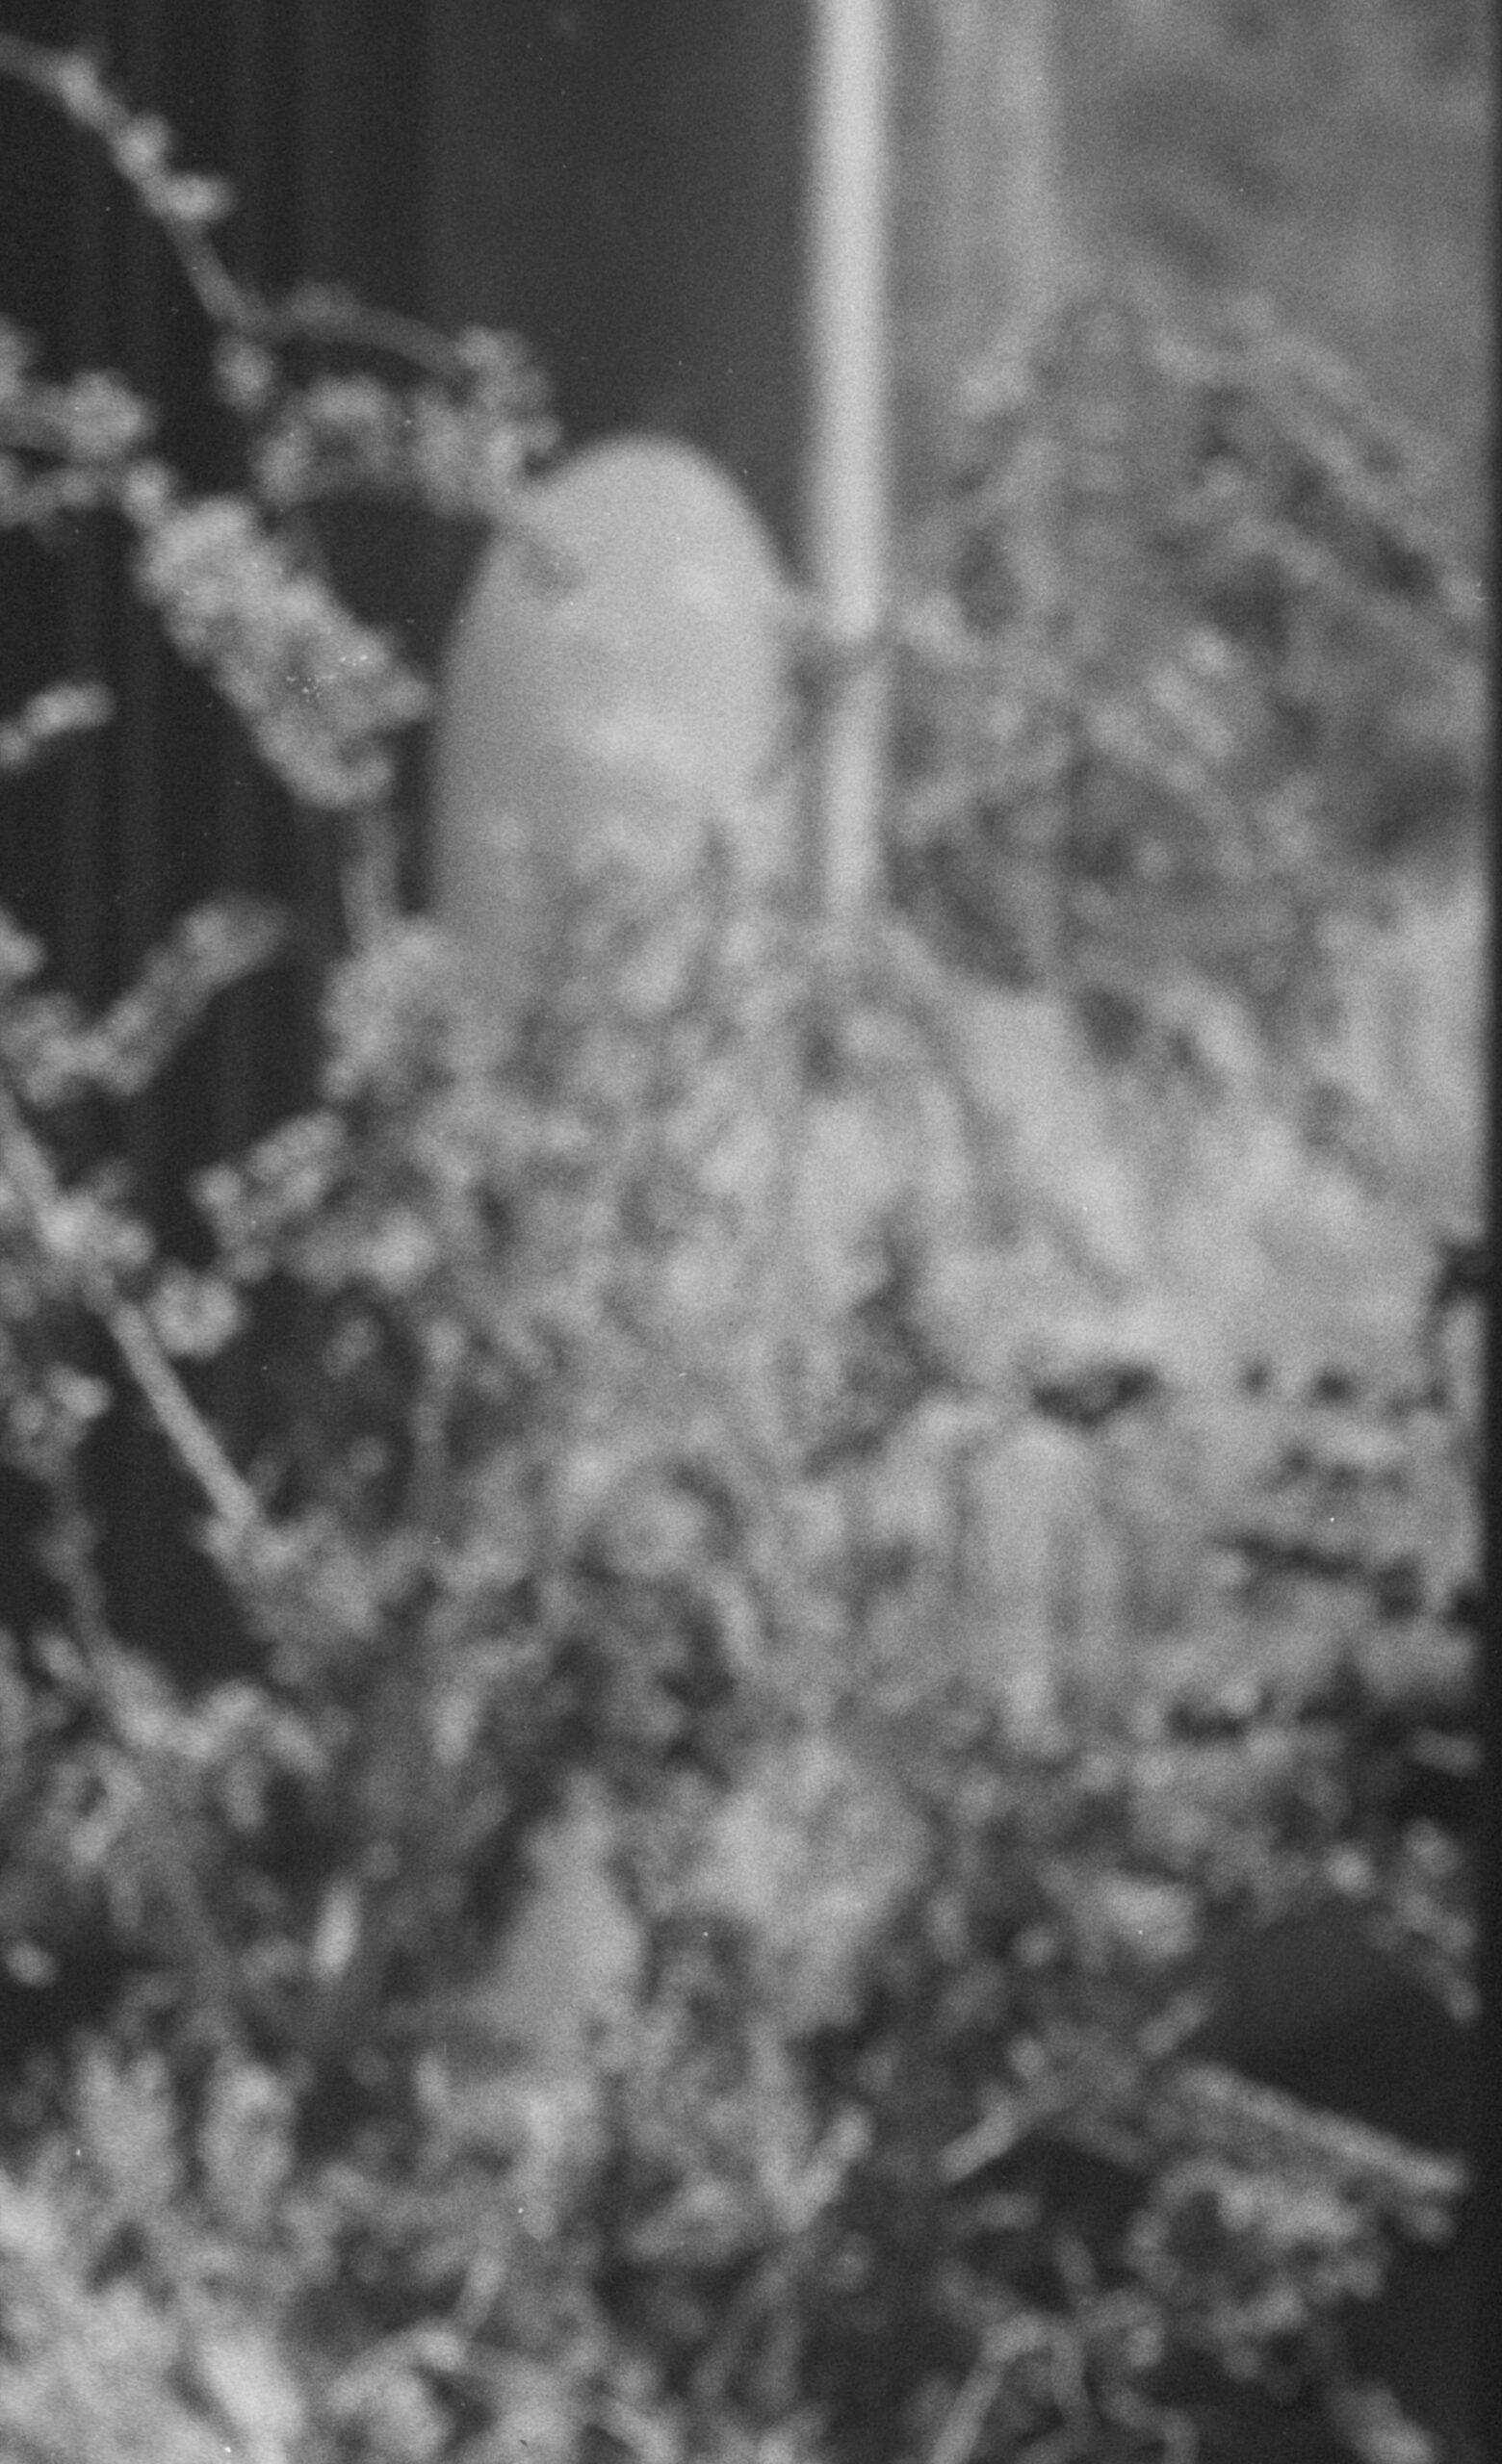
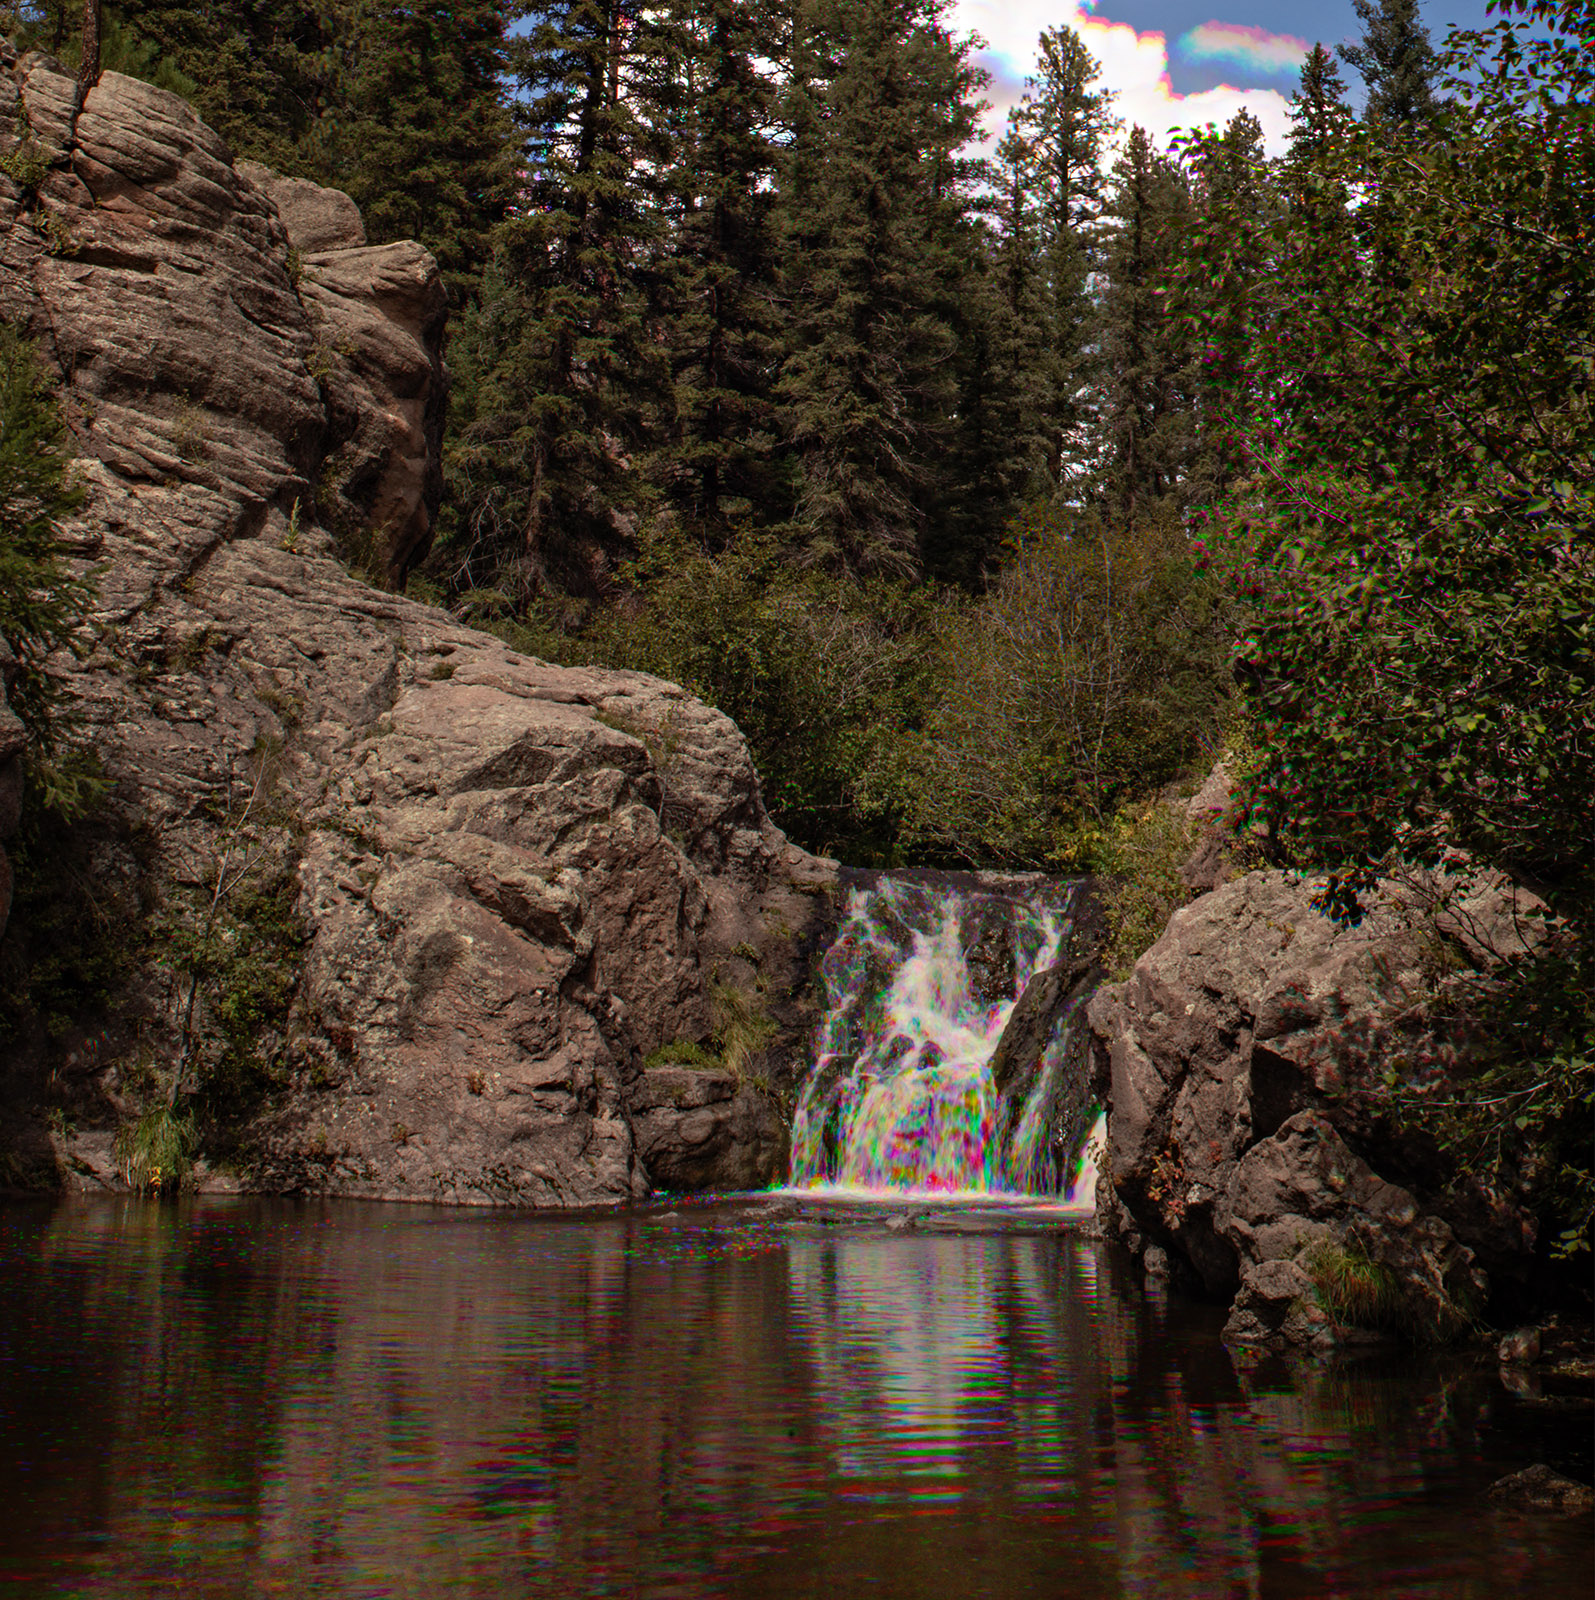
What I wanted to do with this group of images was to present different interpretations of cherry blossoms inspired by the use of different lenses. 15 different lenses. If nothing else, this will show that the lens matters, it changes how a photograph is seen. Please understand that there is nothing really straight about these images. They have all been interpreted in photoshop, some just by adjusting exposure and cropping, and some in more aggressive ways. The lens is only part of interpretation, but, since it is the first step in interpretation, it can open and close doors for your final image.
There will be some who will say “I can do all of this with Photoshop, so I don’t need these lenses.” While that might be true with many of these images, would you be inspired to create these images if you only saw a sharp image with high contrast and saturation? Probably not. So, I hope that all of these shots cause you to want to see in new ways.
The Sharp Group
These lenses are designed, in one way or another, for macro and micro work. I used a Godox 685 flash with all these shots so I could stop the lens way down to increase depth of field. The lenses have different ranges and abilities, but all are quite sharp.
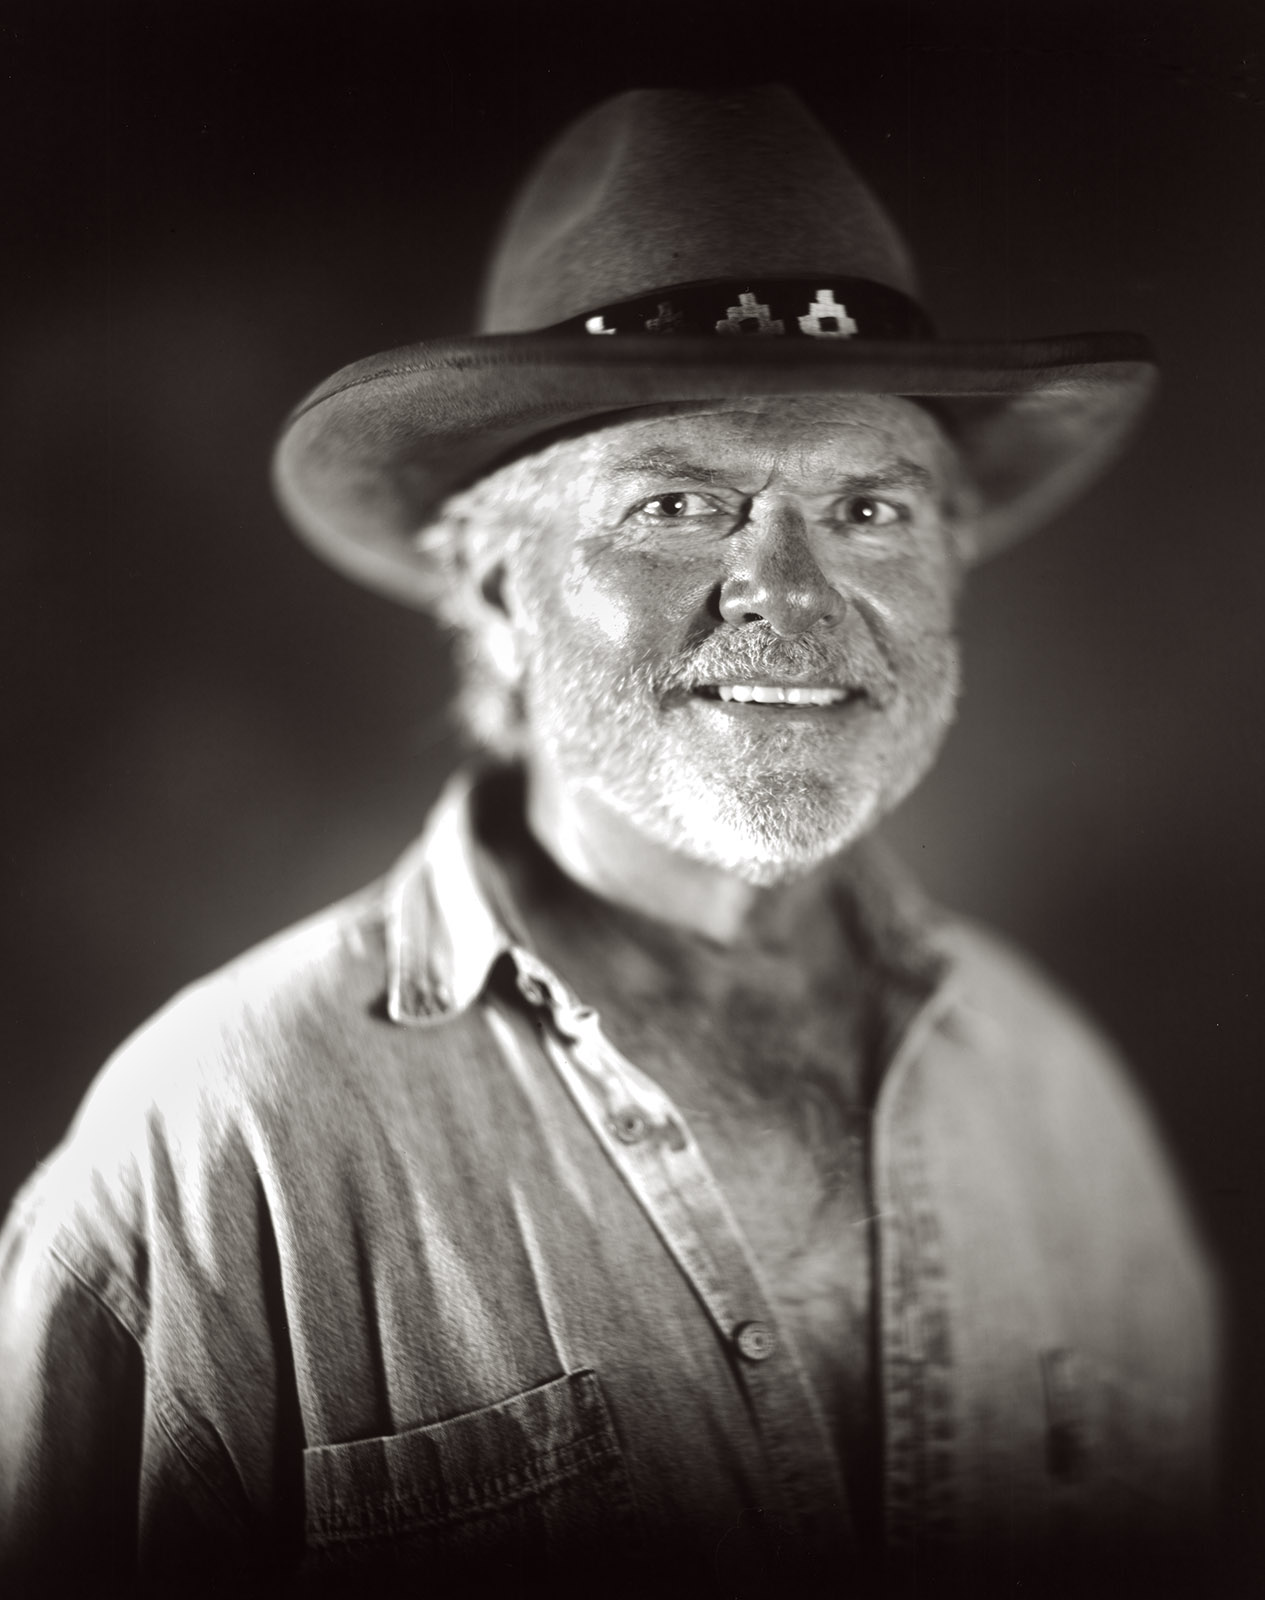
Nikkor 60mm f2.8 Micro at f22
I want to start with this lens because it’s a modern Nikkor lens. Has all the bells and whistles: auto focus, modern coatings and so on. I used it at about f22 for theses shots to give some depth of field. I used a Godox 685 flash with these shots, and all the others that are set to a small stop. The flash also allows me to hand hold the camera for these shots.


Nikkor 55 f2.8 Micro at f16
This is a lens that is probably about 30 years old. Manual focus, but otherwise quite modern. As with the 60mm Micro, this lens is really designed for this kind of work. Once again, used the Godox flash.


Medical Nikkor at f22
This is a special purpose lens from Nikon. Designed for shooting surgery. I think mine was made around 1980. The lens does not focus, instead you change out the front elements of the lens to get the reproduction ratio you want, then move in and out to get the image sharp. In this case I used the life size element so that the flowers were actual size on the sensor. Larger here of course. While the lens has a built-in ring light, I find it much easier to use the Godox. This lens is weird, but it’s fun.


Vivitar 90-180 Series 1 Flat Field Zoom at f22 (180mm)
One of my favorite lenses. Designed for Vivitar back in the 1970s when they wanted to make high quality lenses. Really designed to be a technical lens, for copy work, product work, macro work and even surgery. Heavy and a little awkward, but very sharp. Since it focuses to infinity and has zoom for the focal length this lens is often in my camera bag. Used the Godox flash again.


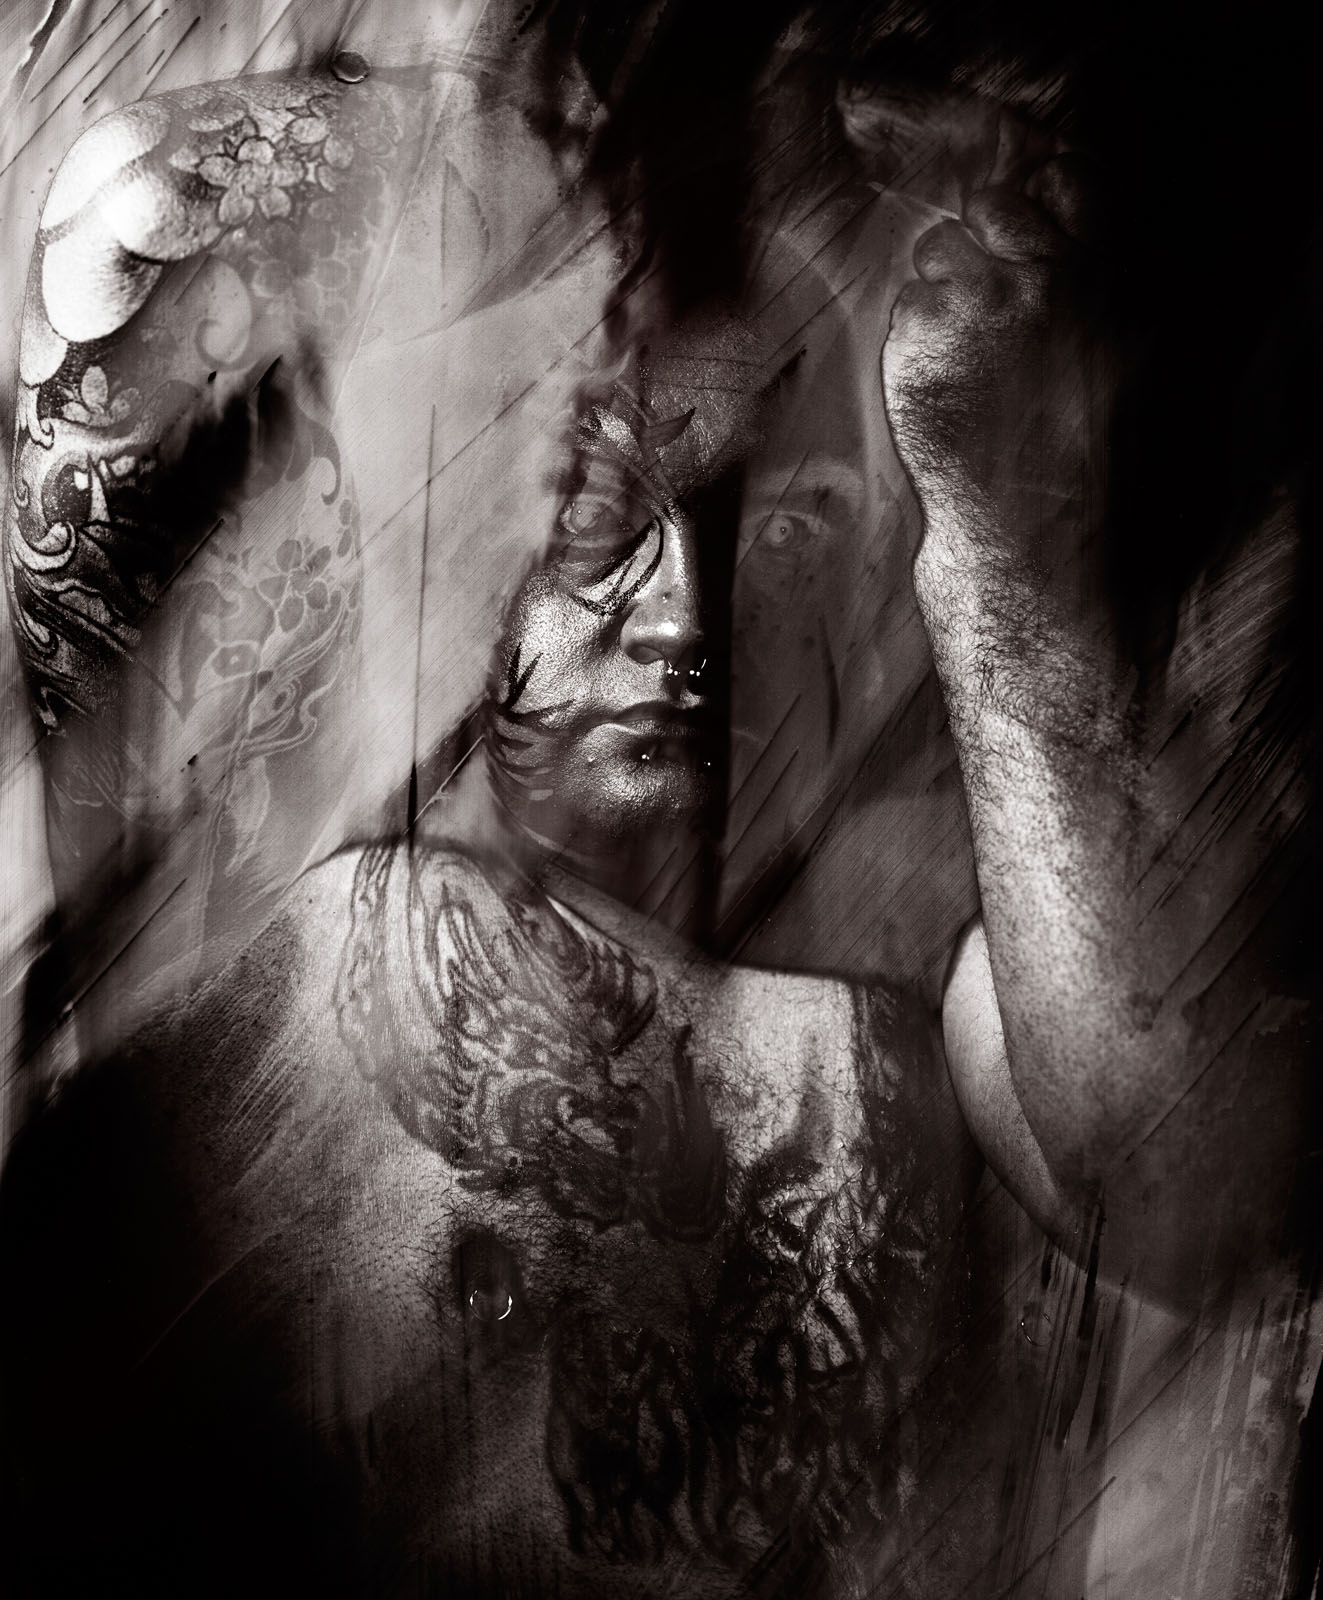
Zeiss Luminar 63mm at T2 and T4
T2 and T4 are aperture settings, like f-stops, but used in micro work. In this case depth of field is practically non-existent. This is basically a microscope lens deigned for large format photography. So, it’s a little weird. This, and the next lens, also a Luminar, are the closest things I used for this project. I mounted the lens with Nikon K-rings to give me enough distance between the lens and the sensor. There is no way to use this lens at infinity. It has no internal focusing. There are ways to mount regular microscope lenses onto your camera, but they don’t have a diaphragm. This lens is difficult to work with.


Zeiss Luminar 25mm at T2
Similar to the 63mm Luminar, but closer and even more difficult to work with. Even with the Godox flash, which stops movement, this is a really difficult lens to use hand held. Both this and the 63 were used with the K rings, numbers 2, 3, 4 & 5. The picture shows the K rings.


The In-Betweeners?
These lenses aren’t intentionally macro lenses, but they can see close up in a special way. All shots here are made with daylight. I’ve added the 500mm macro Soligor to this group, just because…
Nikkor 55 f1.2
This lens is designed to be let in a lot of light. It’s designed to have NO depth of field. It isn’t designed for macro work. Since this particular lens has some optical problems, including a little fungus, it has a really nice glow in these shots. Used the Nikon K rings to get close.


Nikkor 85 f1.8
I really like this lens. For portrait and street shooting it’s hard to beat. The very wide aperture helps to isolate a subject. And, given a couple of K rings it has a nice look when doing macro work. A good reason to have a couple of the K ring extension tubes in the camera case.


Vivitar 70-150 f3.8
I bought one of these back in the 1970s. I liked the size and weight and functionality. I really liked the price. It’s not great, but it’s not terrible. Like a lot of lenses from that time it had a macro setting, not great but a good feature. One reason I put it here is to contrast it with the 90-180 flat field zoom from above. This only has a very limited macro setting, not the continuous focusing of the 90-180. It doesn’t get as close either. It’s just not nearly as good.


500mm Soligor Macro Lens F8
I paid $18 for this lens. I’ve done a bit of work with it. My all-time favorite lens for shooting rattle snakes and other venomous creatures. I’ve also done some nice hummingbirds with it. It’s not perfectly sharp, but it does things at a distance that other lenses won’t. This is a mirror lens, so it’s pretty small and light weight. It is interesting in this case because it flattens out the flowers as a result of being so far away.


The Fuzzy and Fuzzy-Wuzzy Group
All these were done with daylight. I used these lenses wide open to enhance the soft interpretation of these lenses. On some I had to use a higher ISO to enable me to hand hold the camera effectively
Sima SF Lens f2
If you can get this lens cheap, say less than $20. It’s worth buying. It’s all plastic. It mounts on most Dslr cameras using a T-mount adapter. It focuses by pulling the barrel in and out. It is a soft-focus lens; that’s all it’s good for. 100mm focal length and f2, which is a nice choice for portrait. The close-up function didn’t make it more difficult to build, so it will focus very close. Nice for flowers, and also nice for very soft portraits.


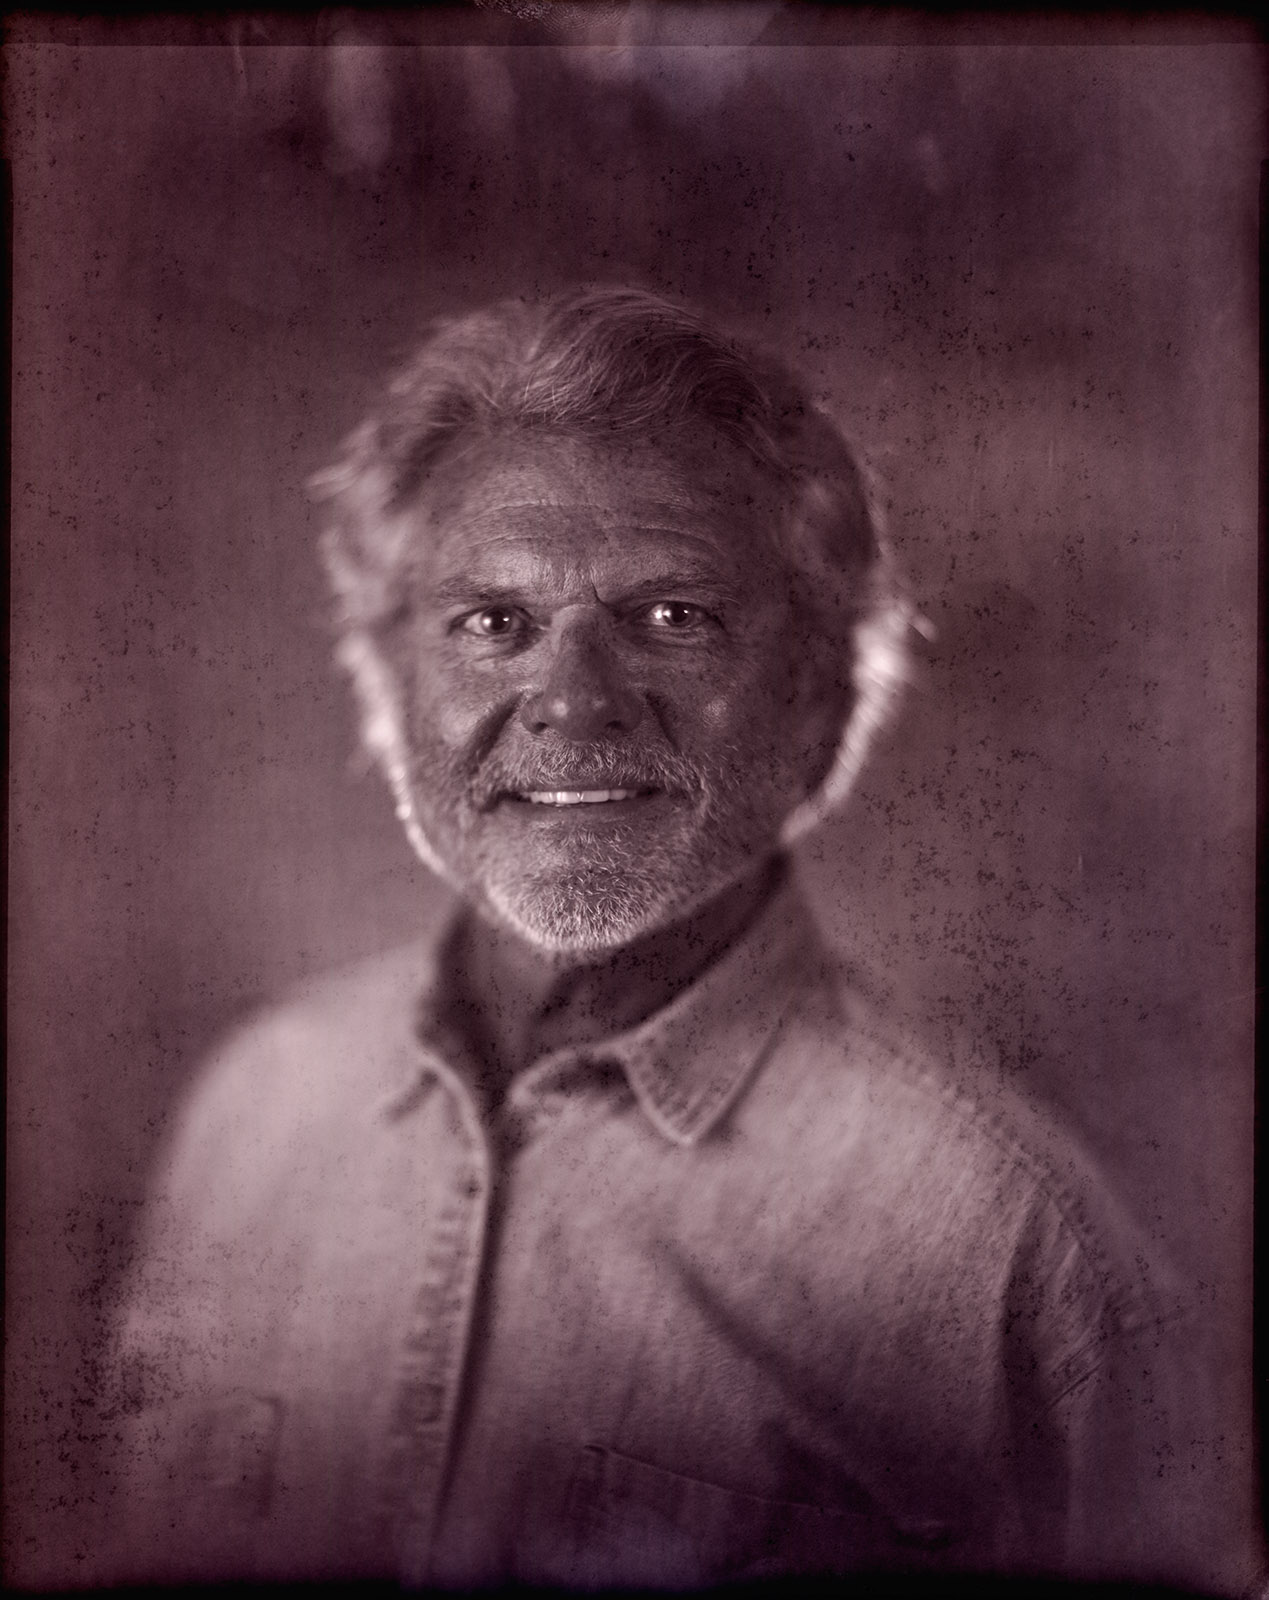
Lomography Achromat 64mm f2.9
This is the only gold-plated lens I own. Hey, it’s made in Russia, so who knows. The lens is designed after the very early lenses used by Daguerreotypists. It does have a very nice soft look. I used it with a couple of K rings to get close. I’ve also used it with a 1.4 teleconverter, which I think makes it a better portrait lens. It creates a nice glow in these shots. It comes with some Waterhouse stops which allow you to adjust the effect. I used it wide open here, which is f2.9.


Lensbaby 3G f2
I really admire the idea of this lens. A decent 50mm optic mounted on a flexible shaft so that a photographer can adjust the geometry of a shot as well as the focus. By using tilt and swing you can follow the focus of a subject or isolate the subject by throwing the rest of the image way out of focus. It’s a little tricky to use. My own technique with it would benefit from some practice. This lens also has Waterhouse stops you can use to control the effect.


Close up lenses
These are simple single element meniscus lenses used like reading glasses to allow a lens to focus closer. They were very popular when I was a young photographer. Used less now. In this case I used two of the #4 of the close-up lenses to build a lens that worked on its own, without a regular camera lens. I need to do a whole blog post on this, but I did do a magazine article a few years about using these lenses with a view camera. Check it out here: www.siskinphoto.com/magazine/zpdf/LensAssembly.pdf
Diopter Lens on bellows wide open
This has a focal length of about 125mm assembled with two +4 diopter lenses. The group mounts on a Nikon bellows unit so that you can focus it. Fun!


Diopter Lens on Bellows with custom stop
Same lens as above but I used a stop with several hole in it in front of the lens. This gives a little depth of filed and a glow like a soft-focus lens. At least I think so. I’ve included a picture of the lens with the custom stop mounted on a bellows unit.


If you got this far, THANKS FOR YOUR ATTENTION. If you’d like to let me know what you think please e-mail me at john@siskinphoto.com
A few links
Siskinphoto.Home
Introduction Page
Monument Valley
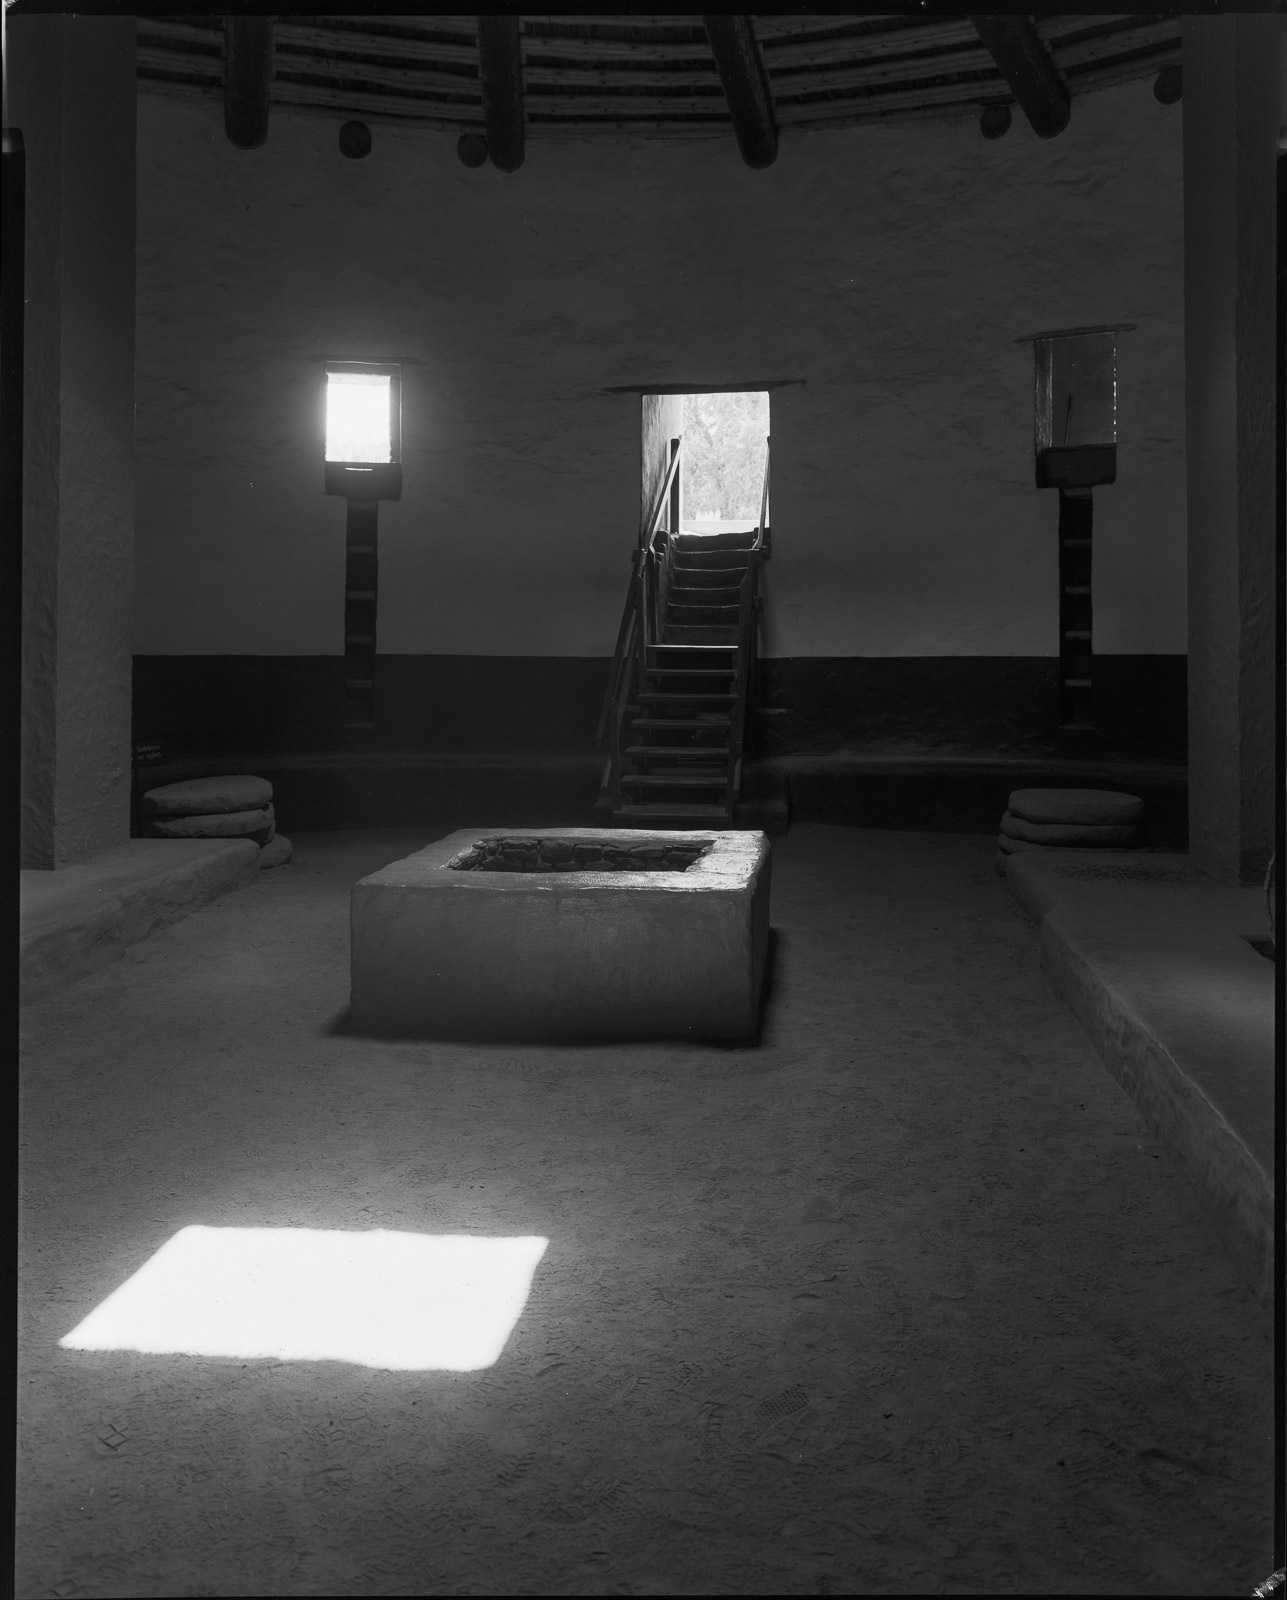
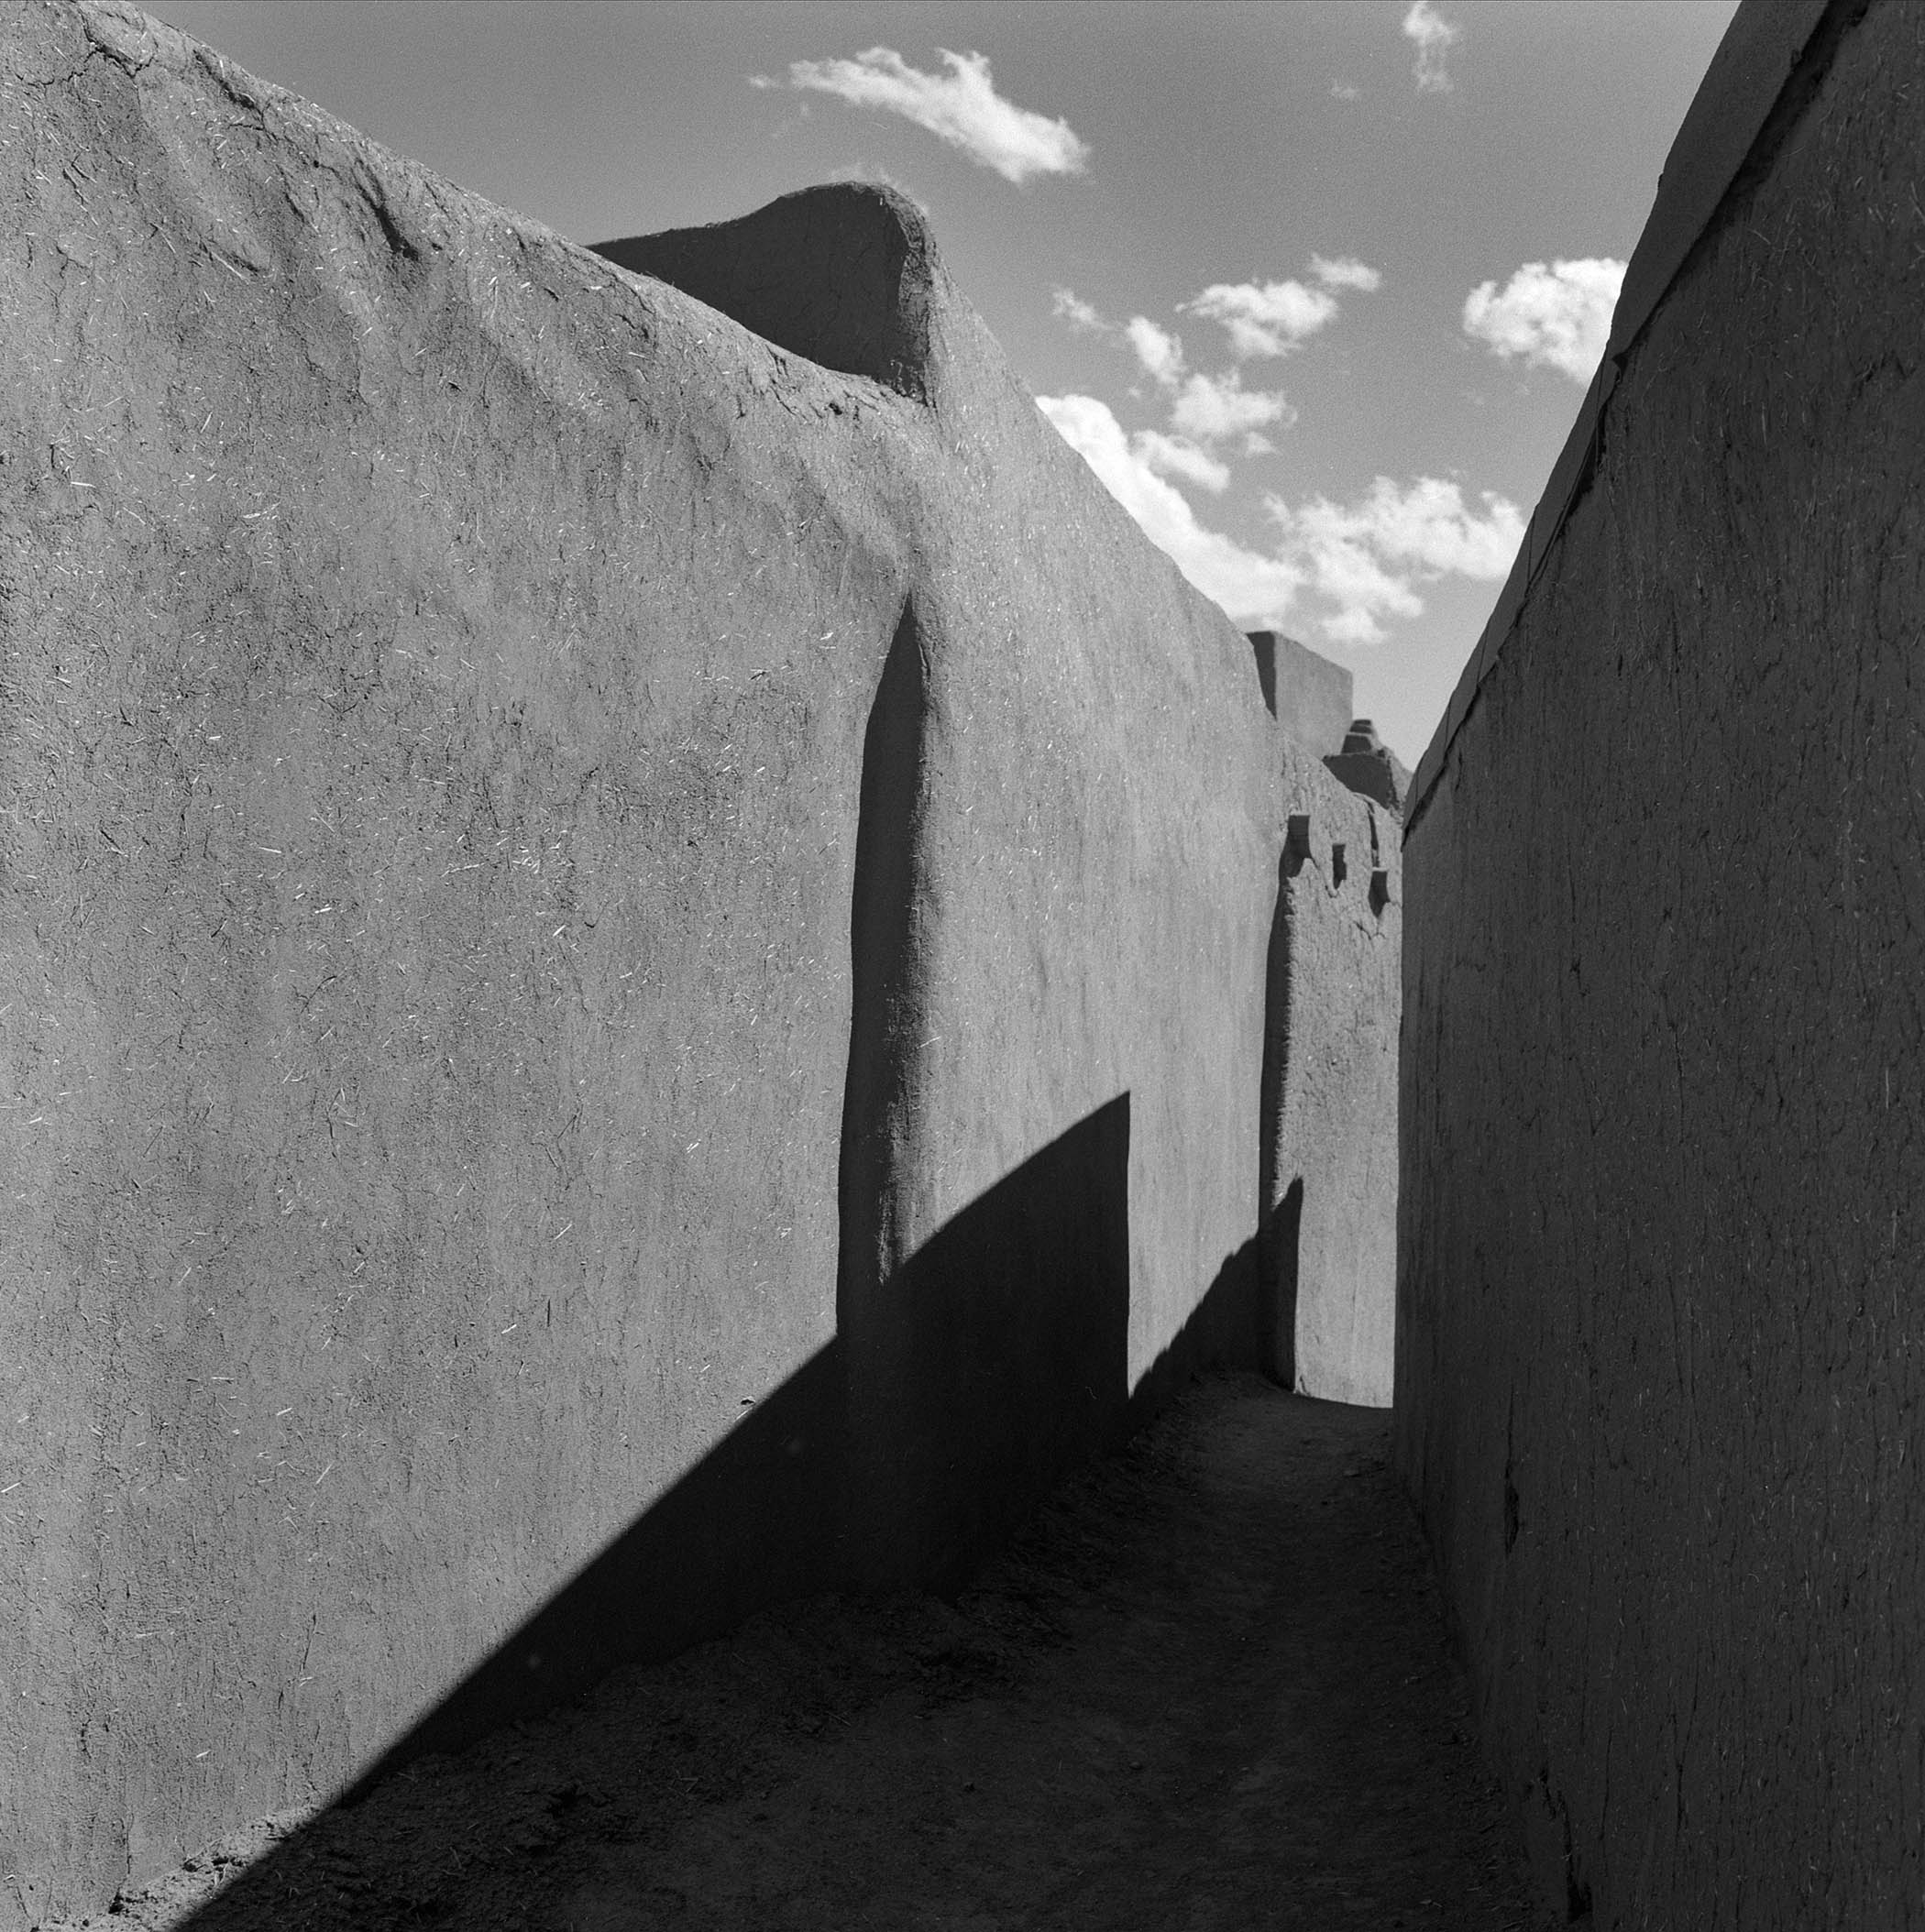
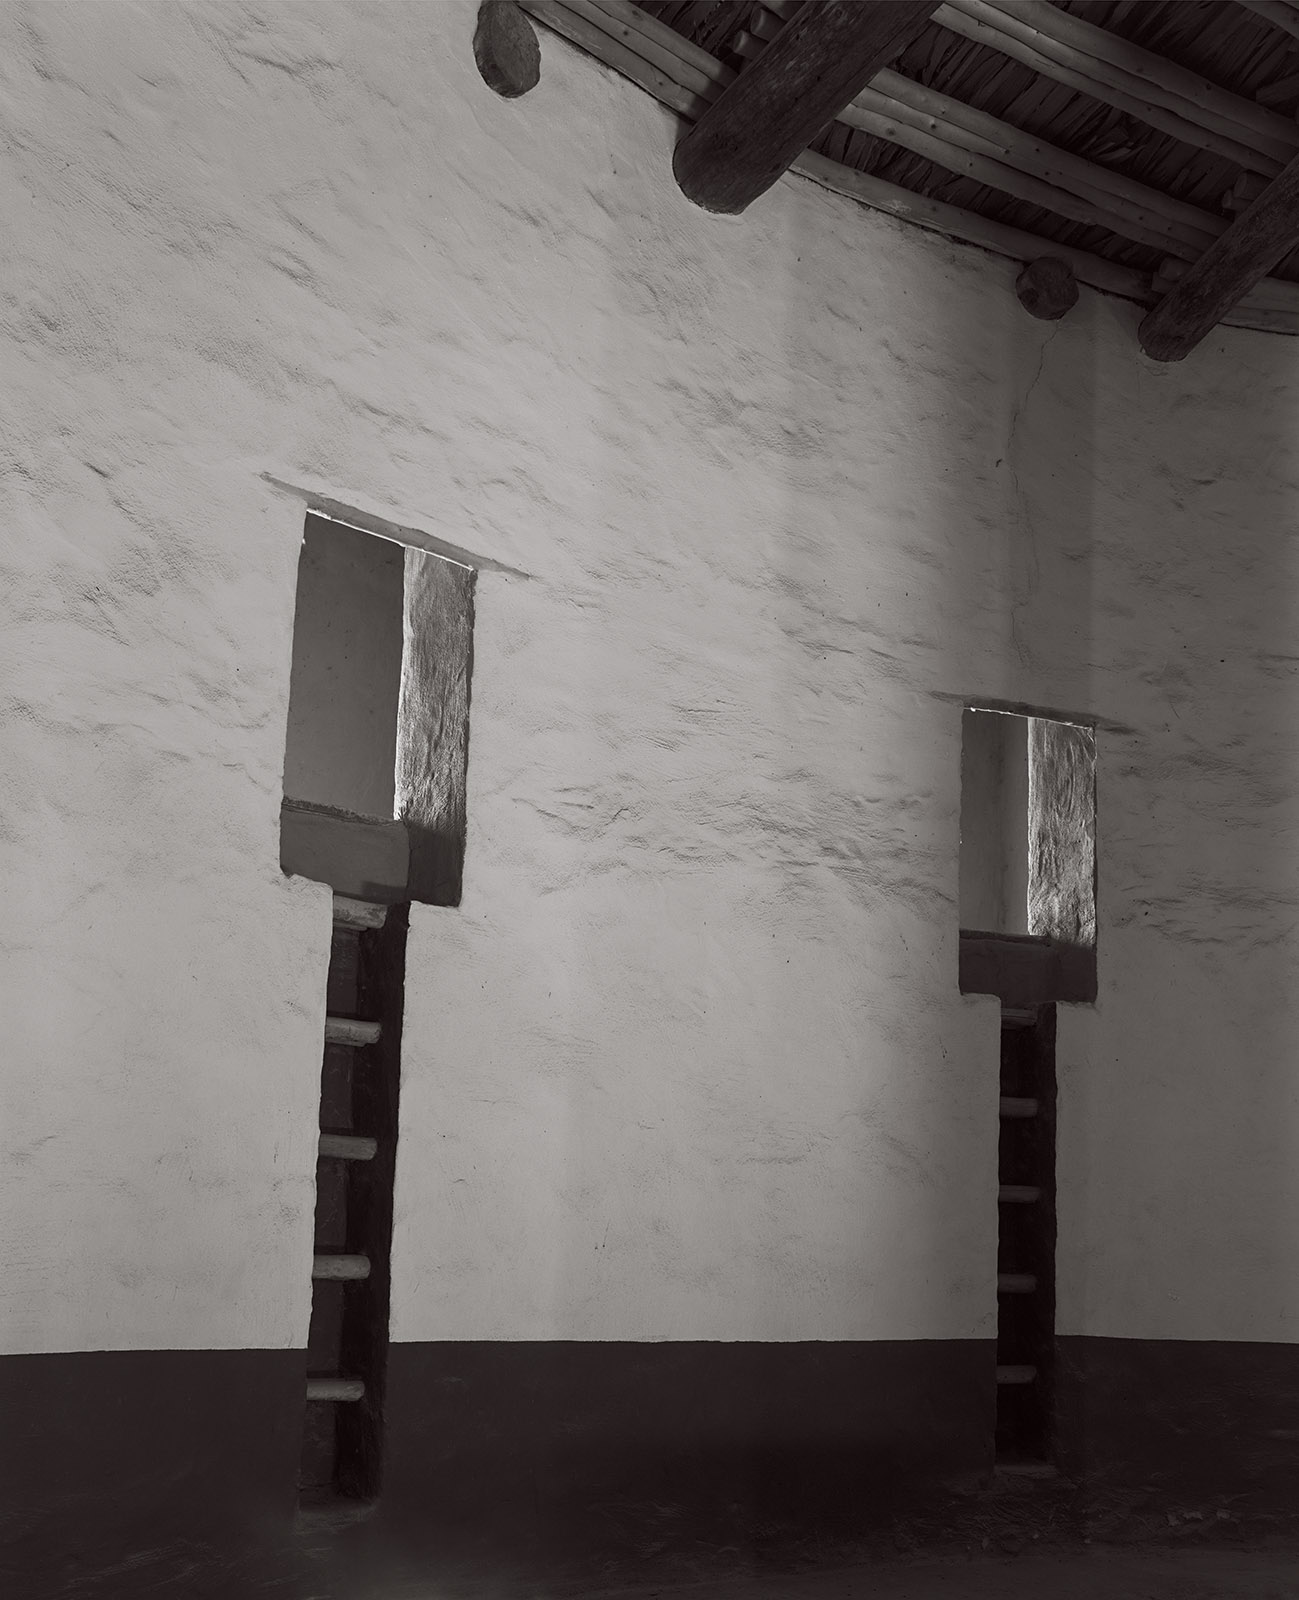
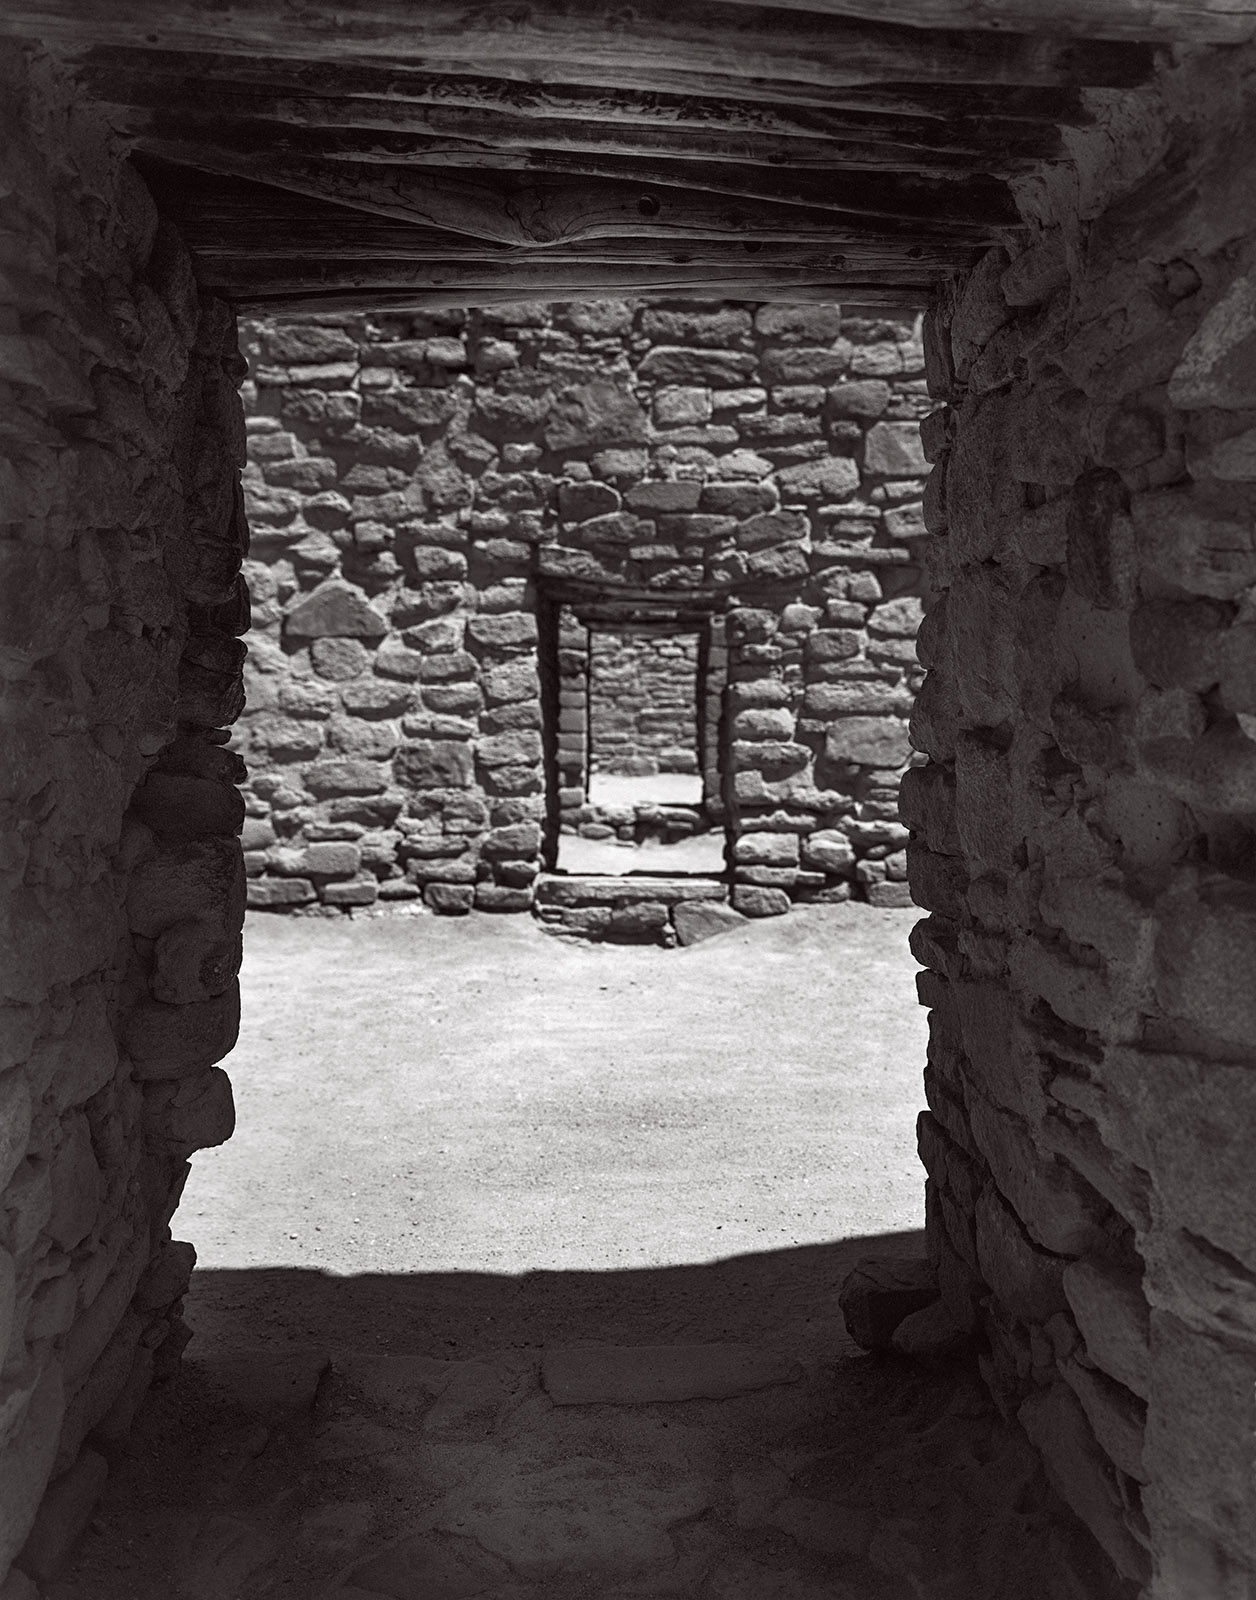
Taos Pueblo
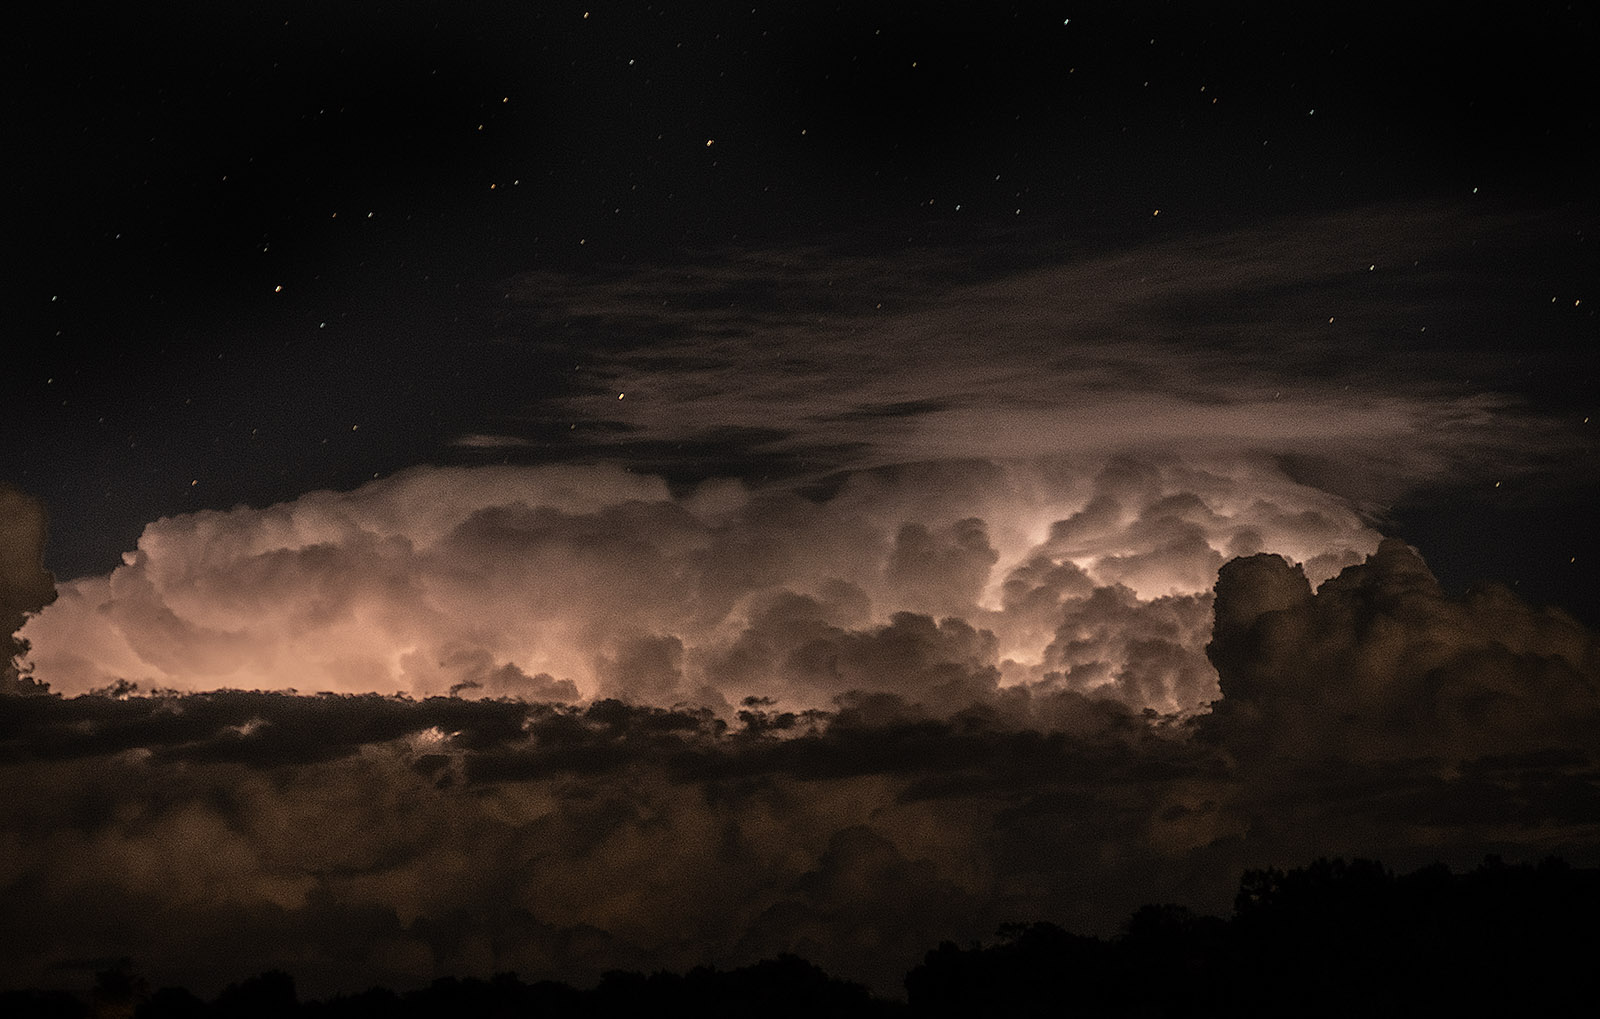
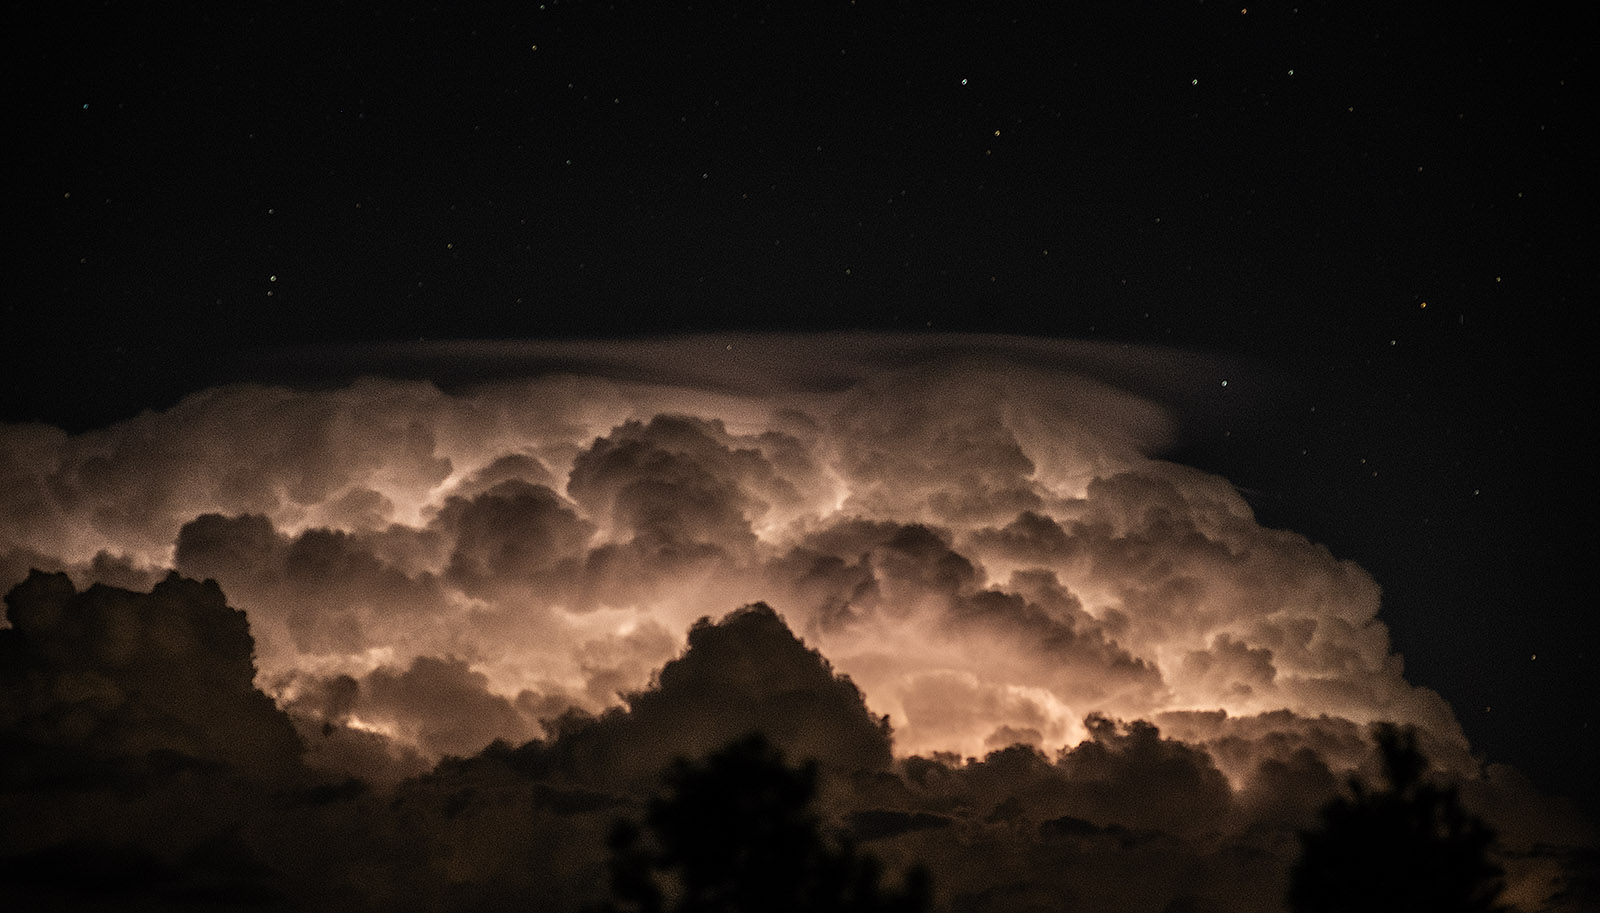
Night Sky
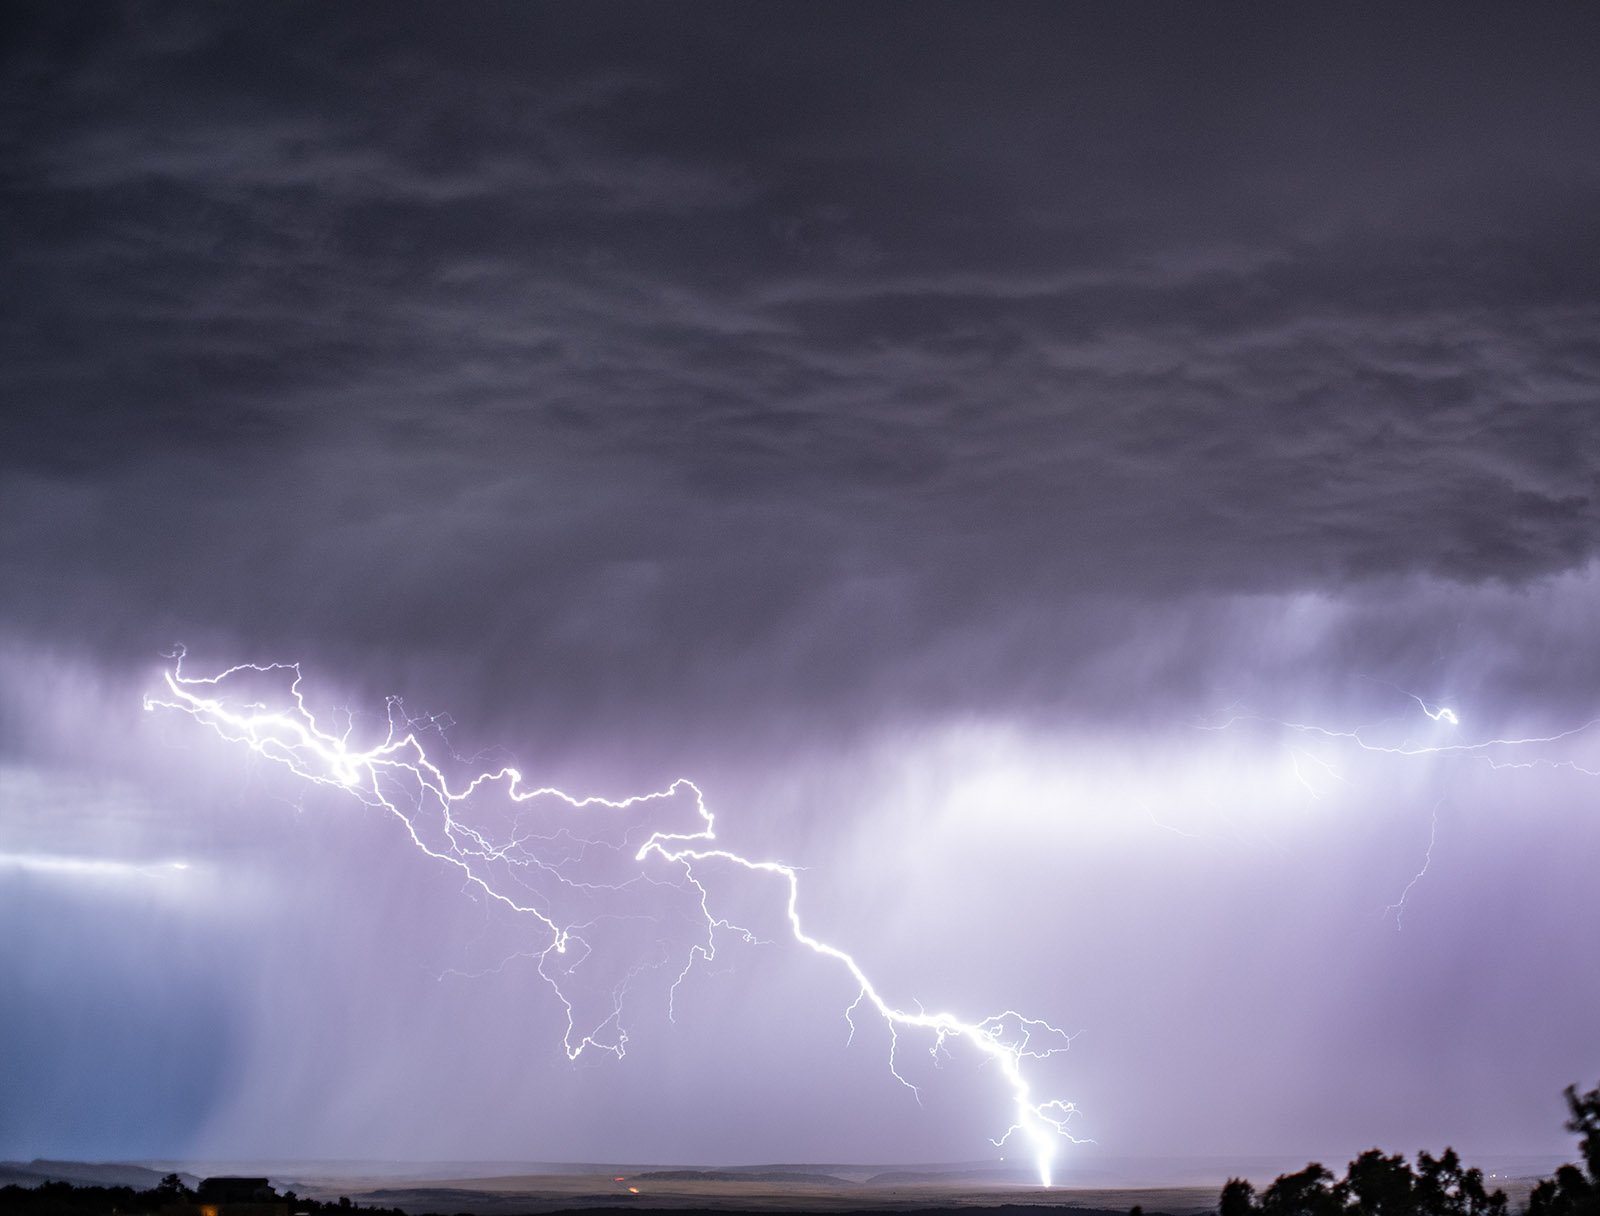
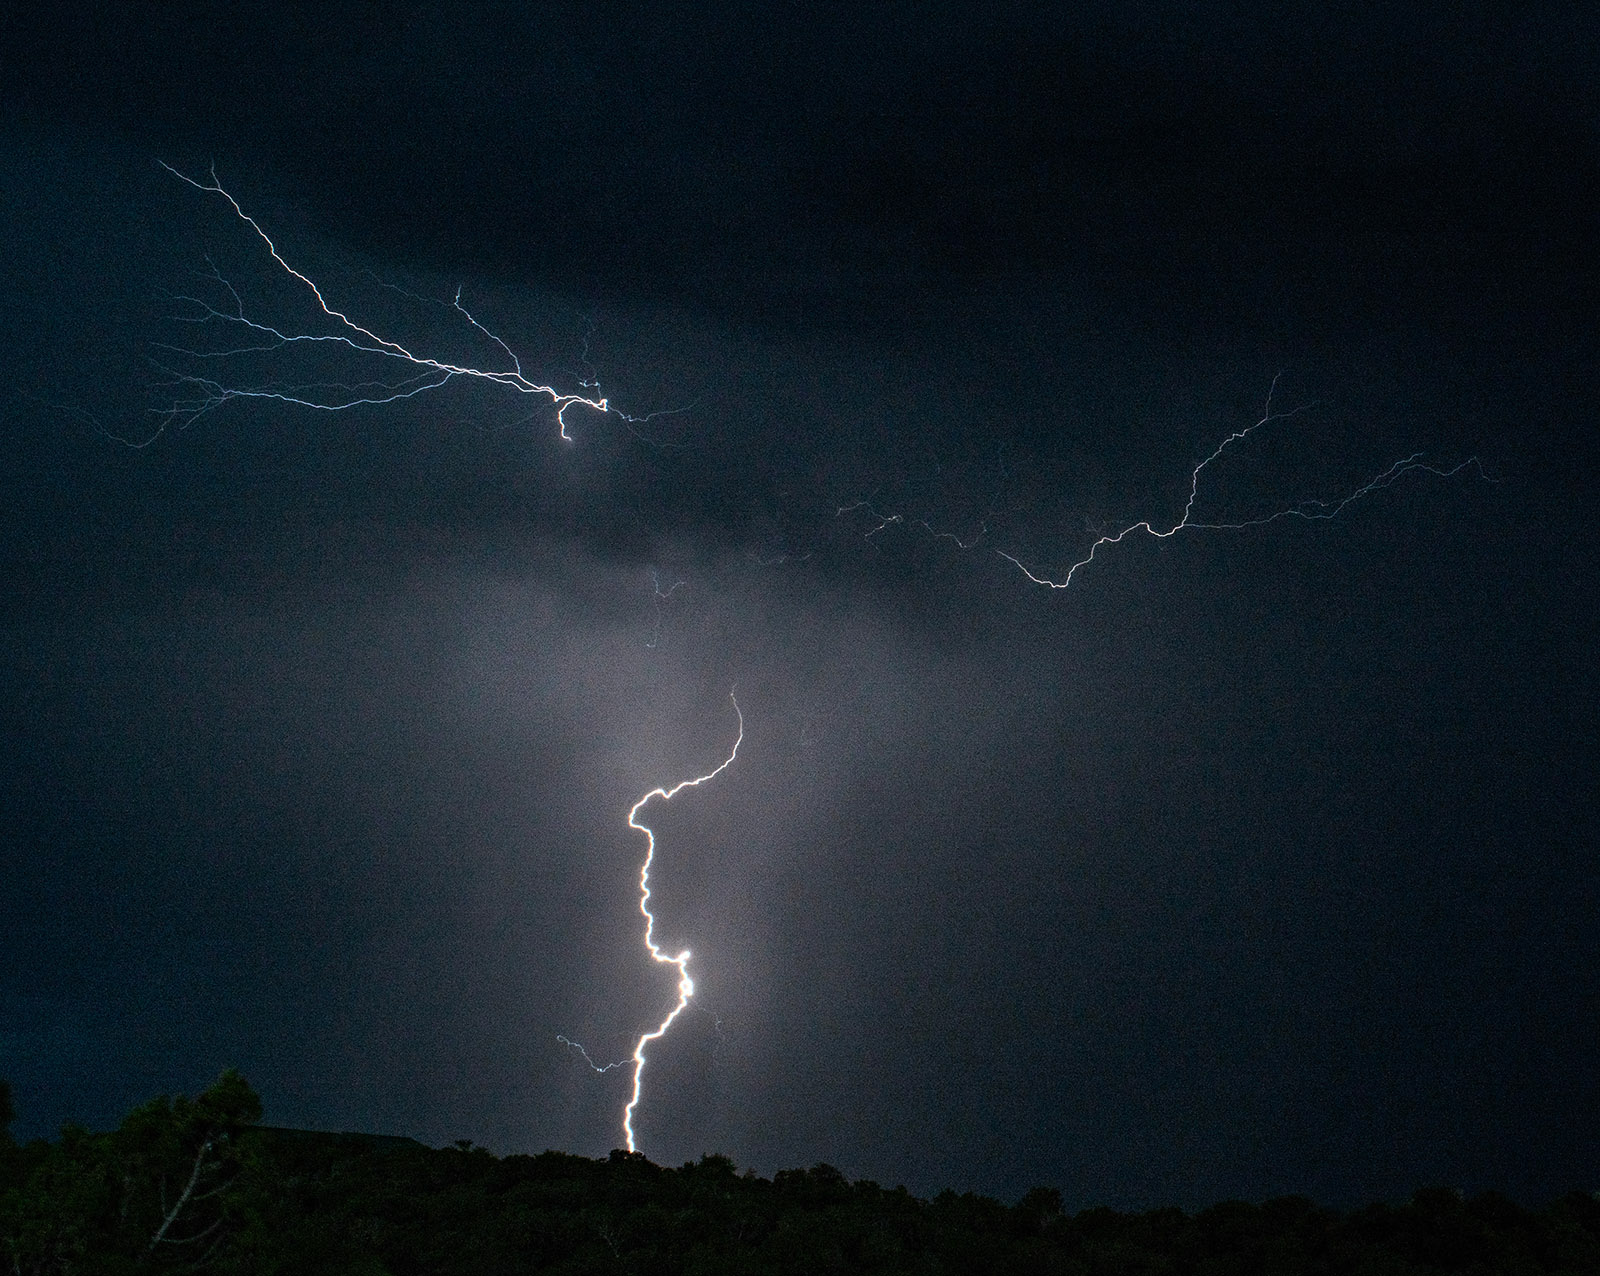
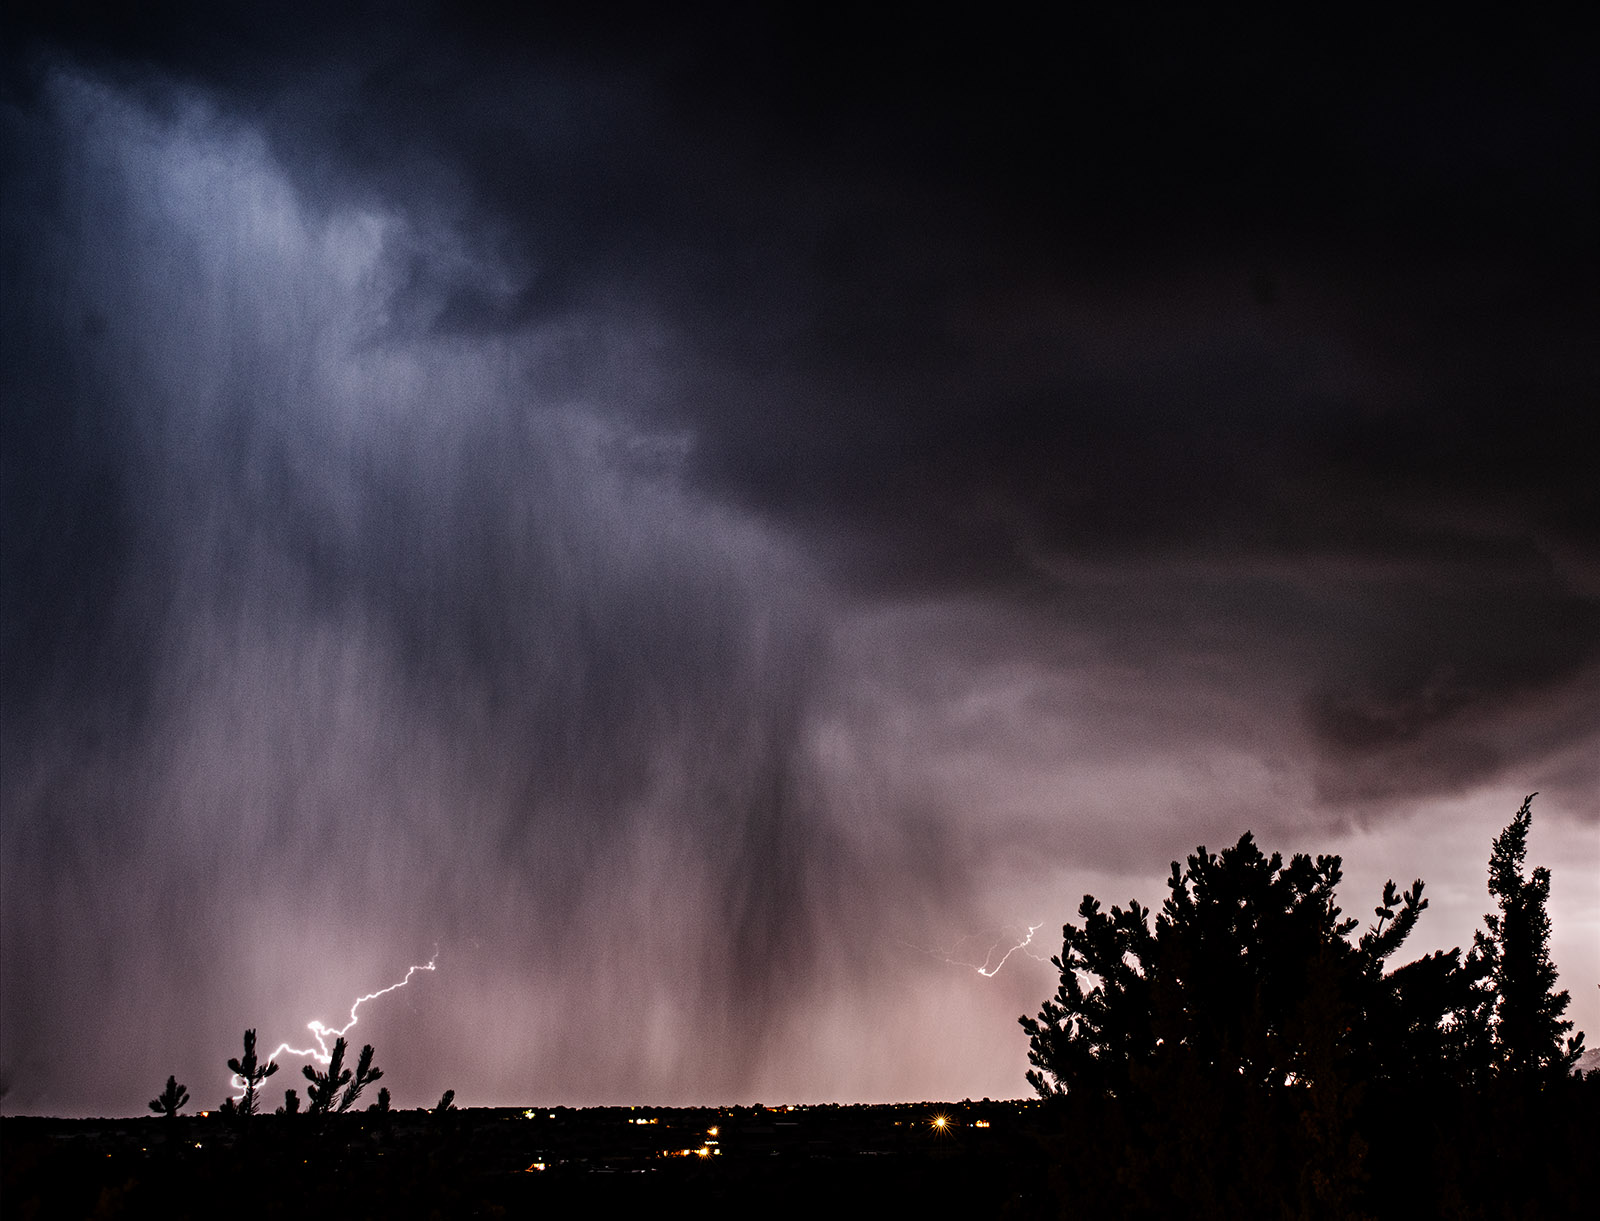
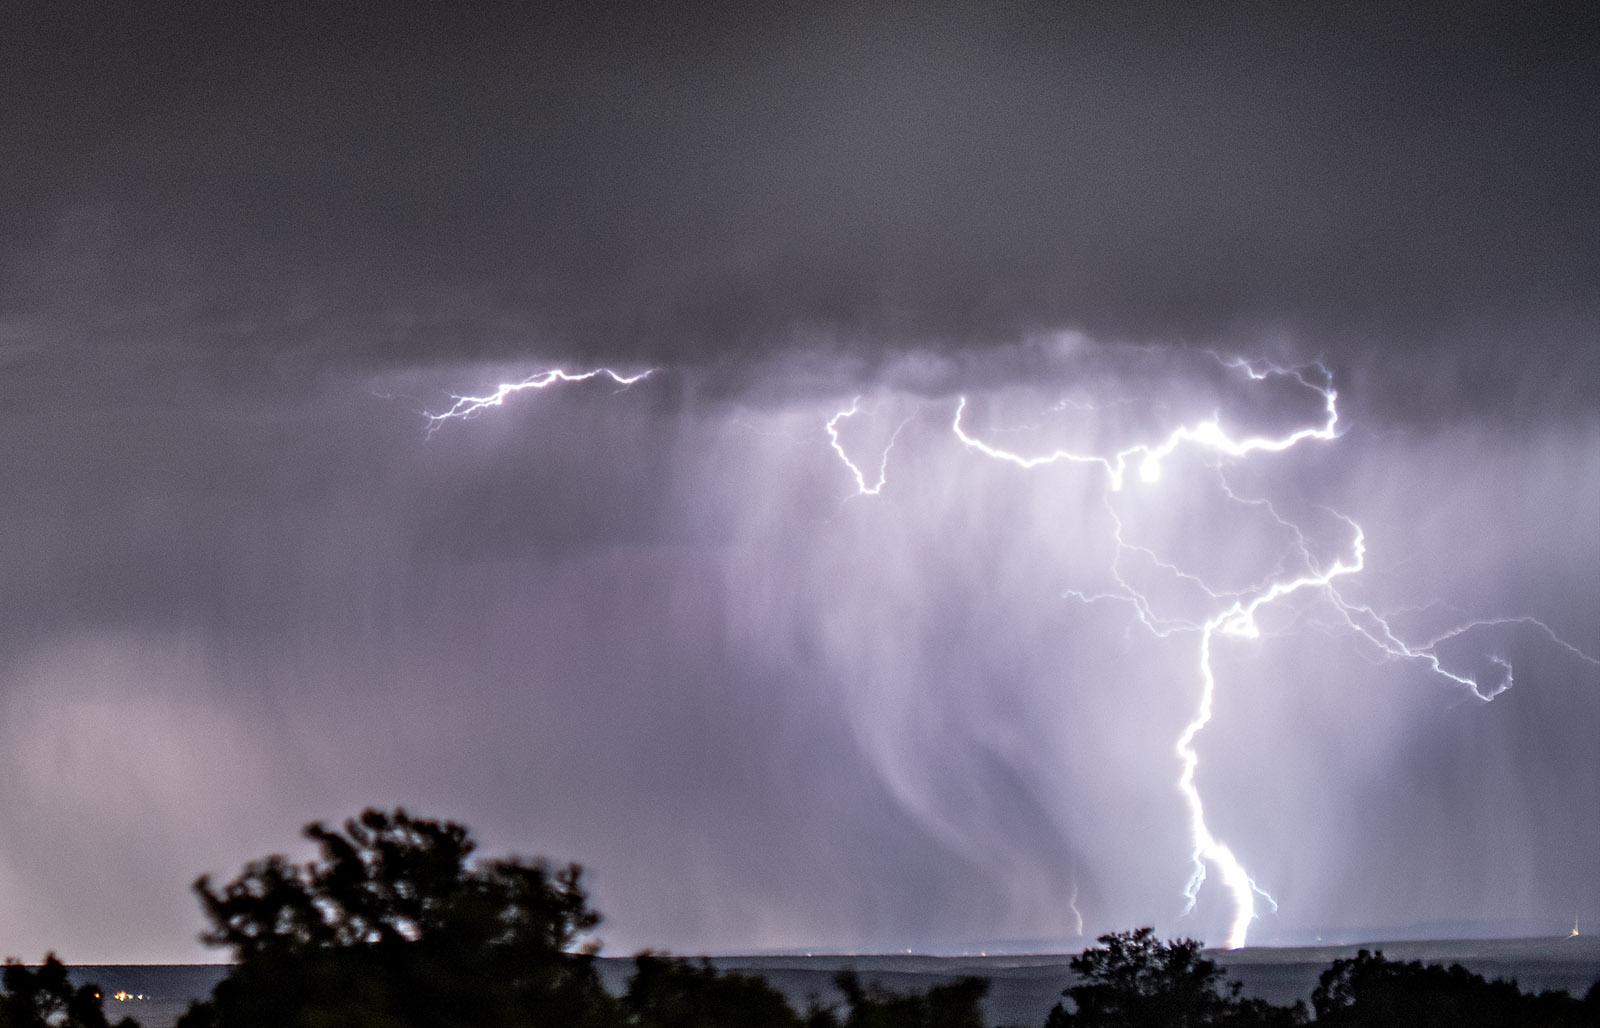
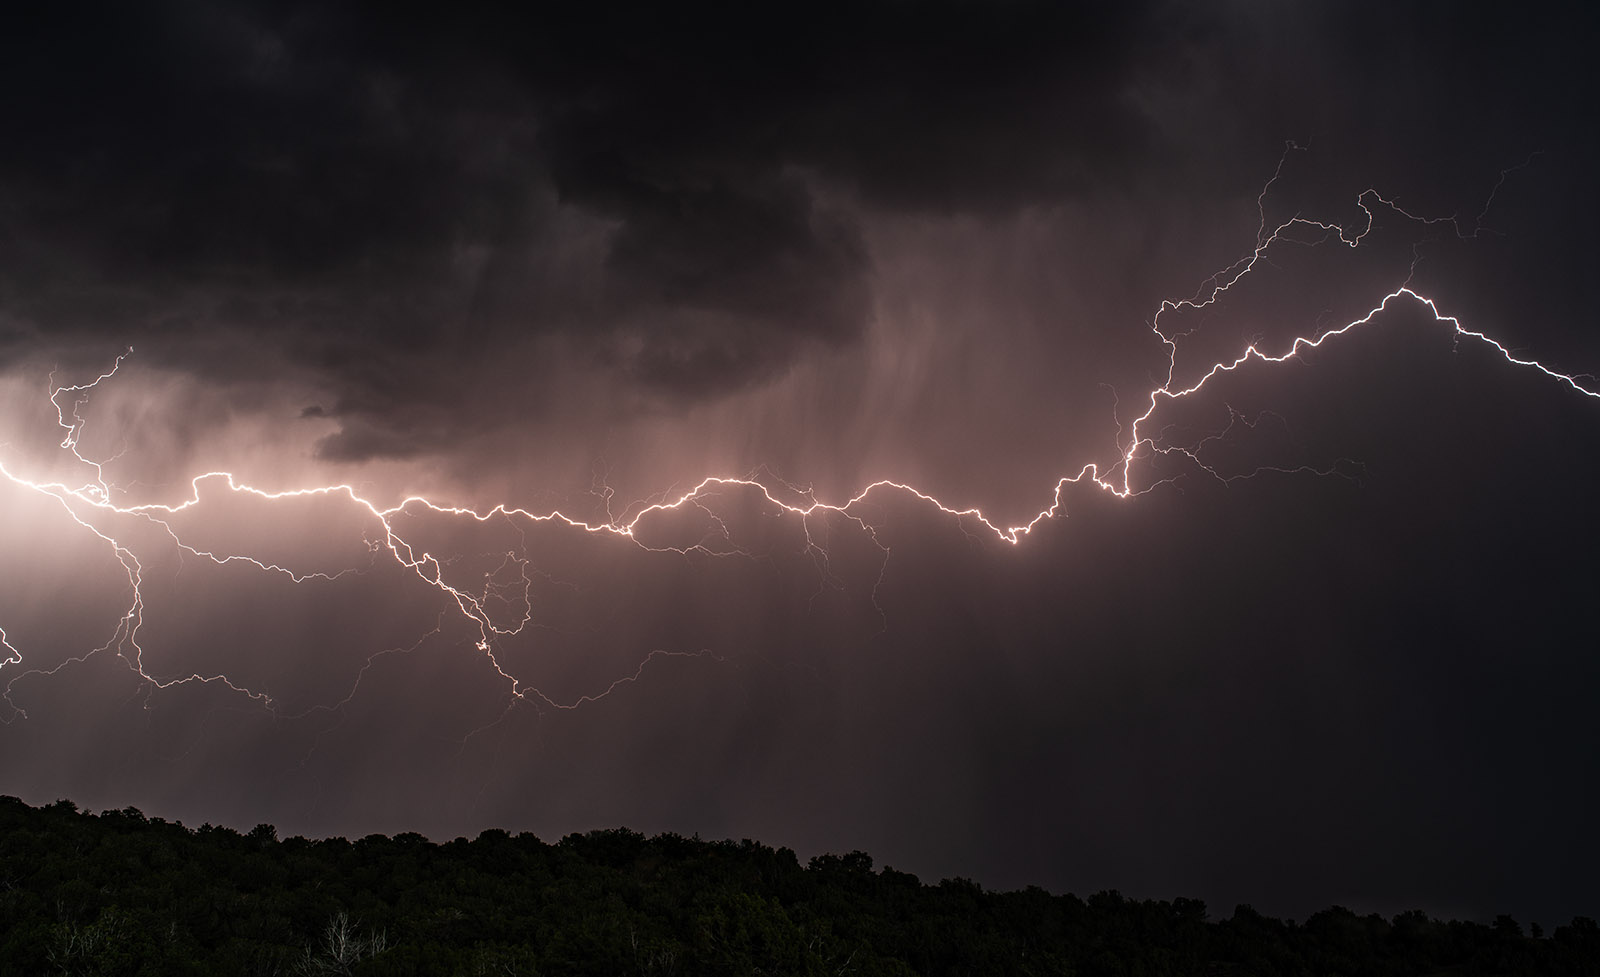
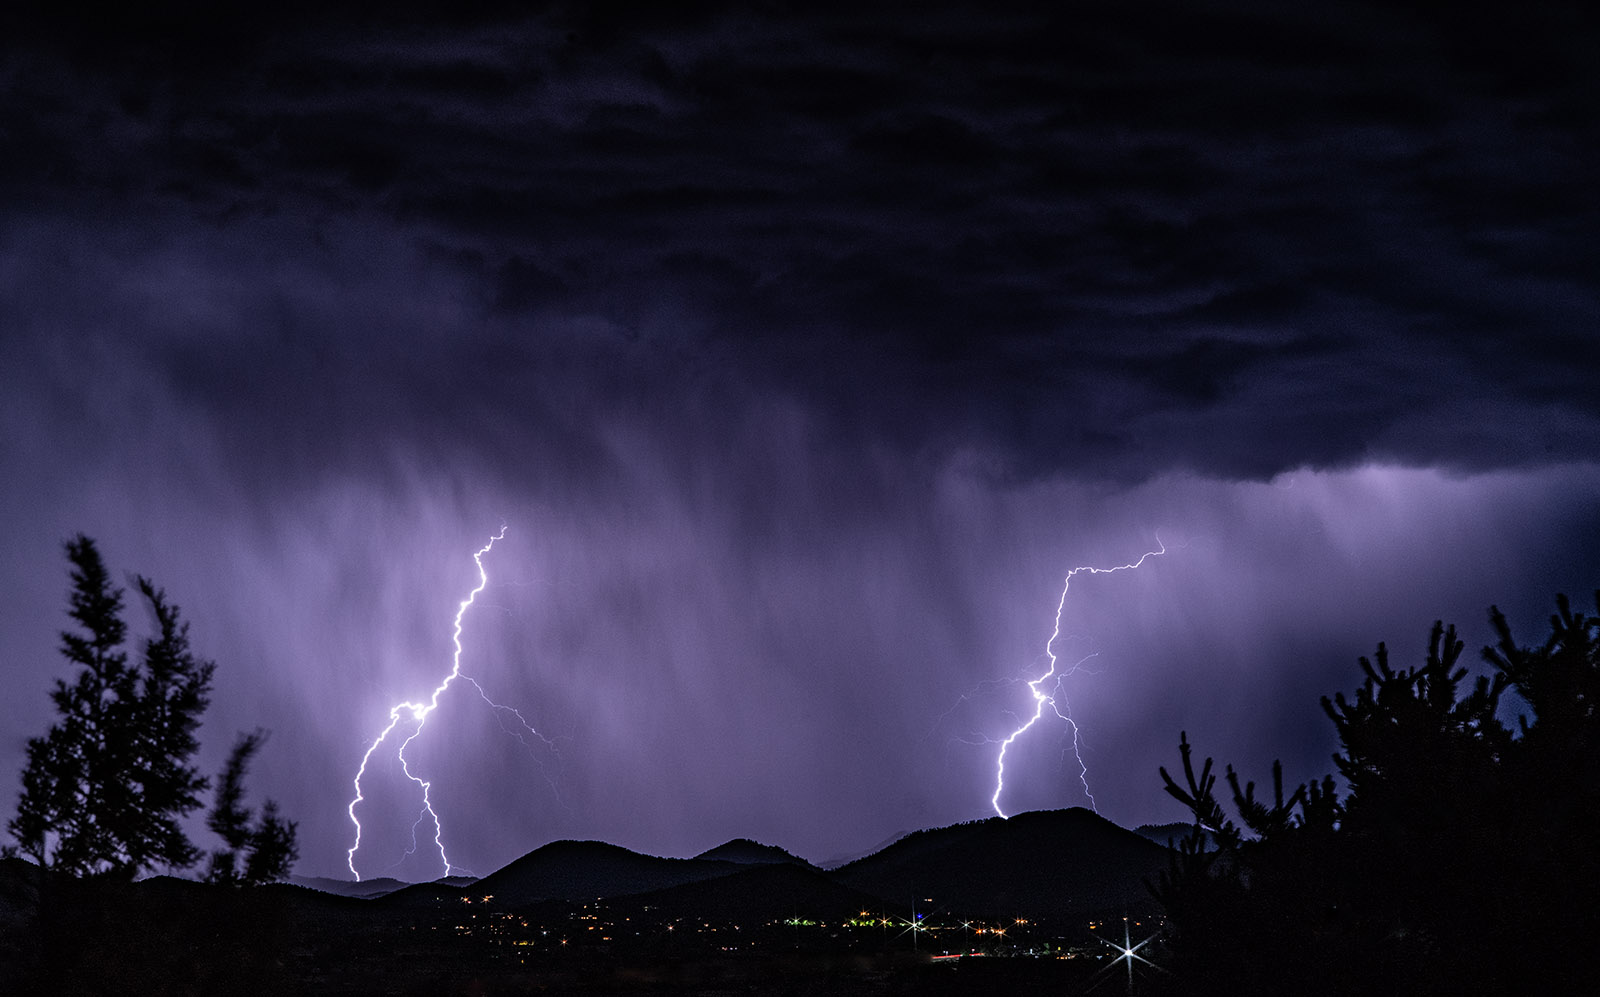
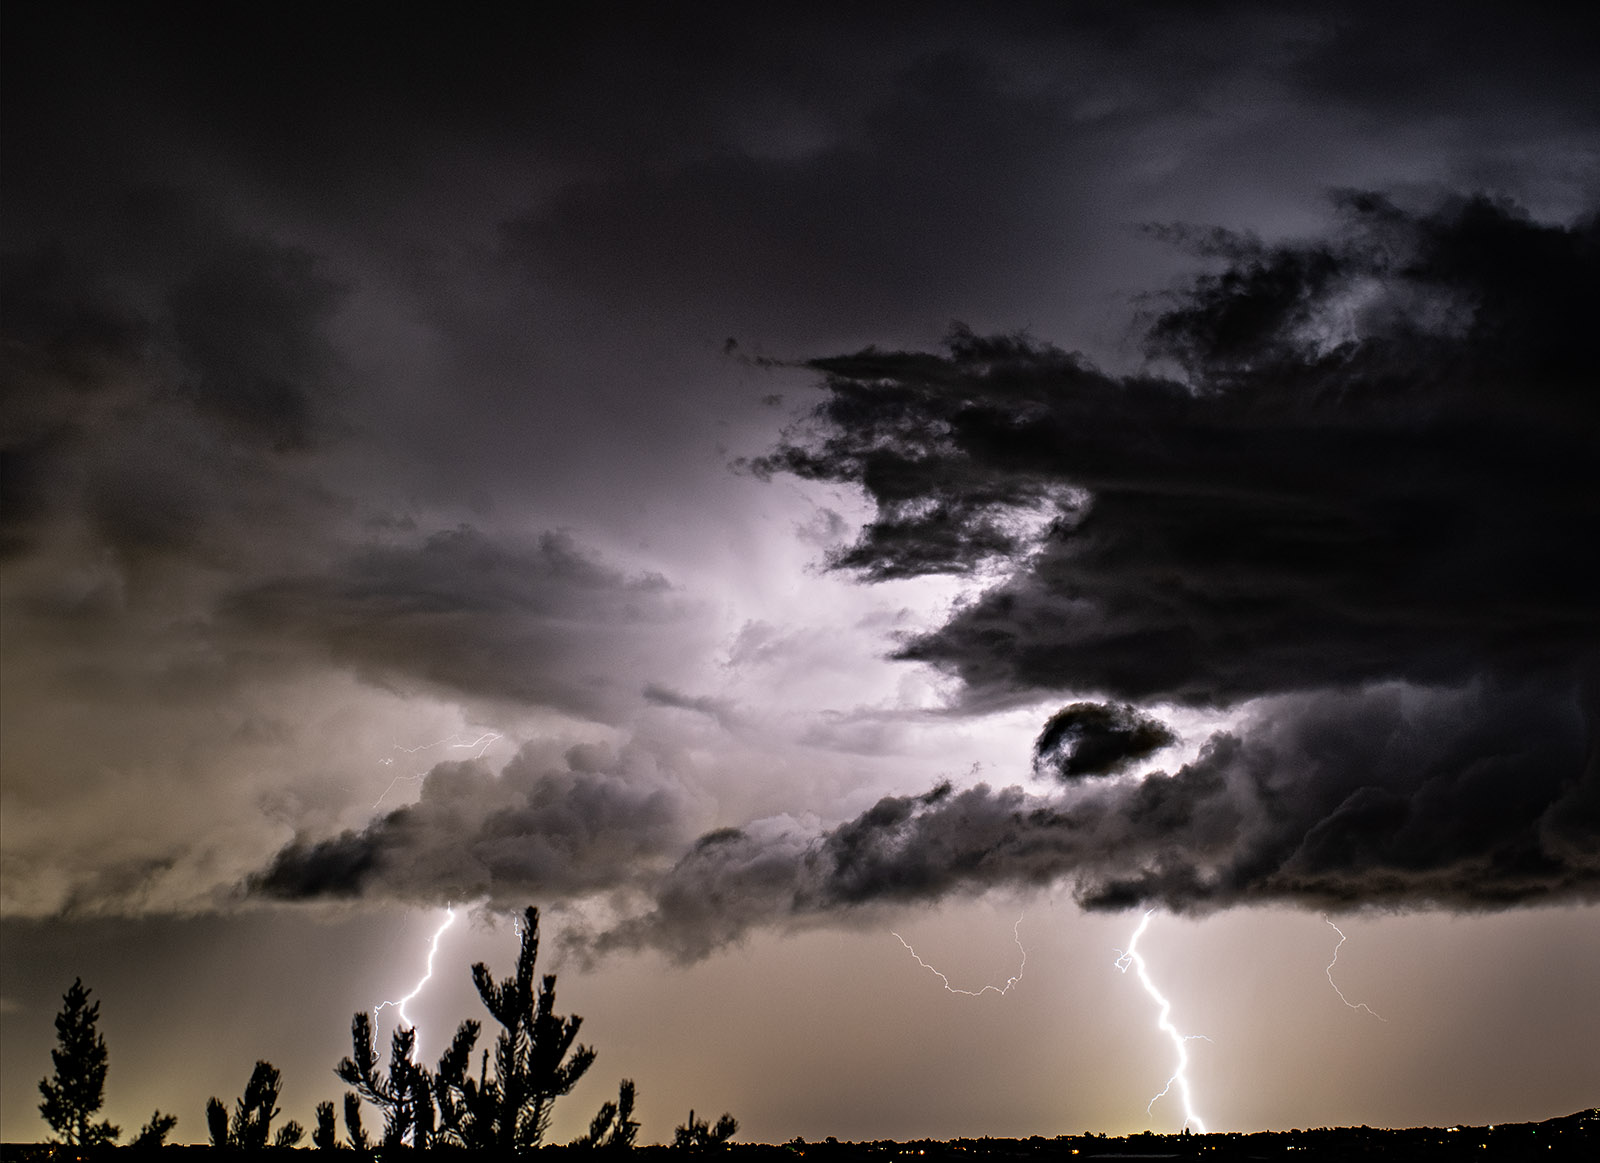
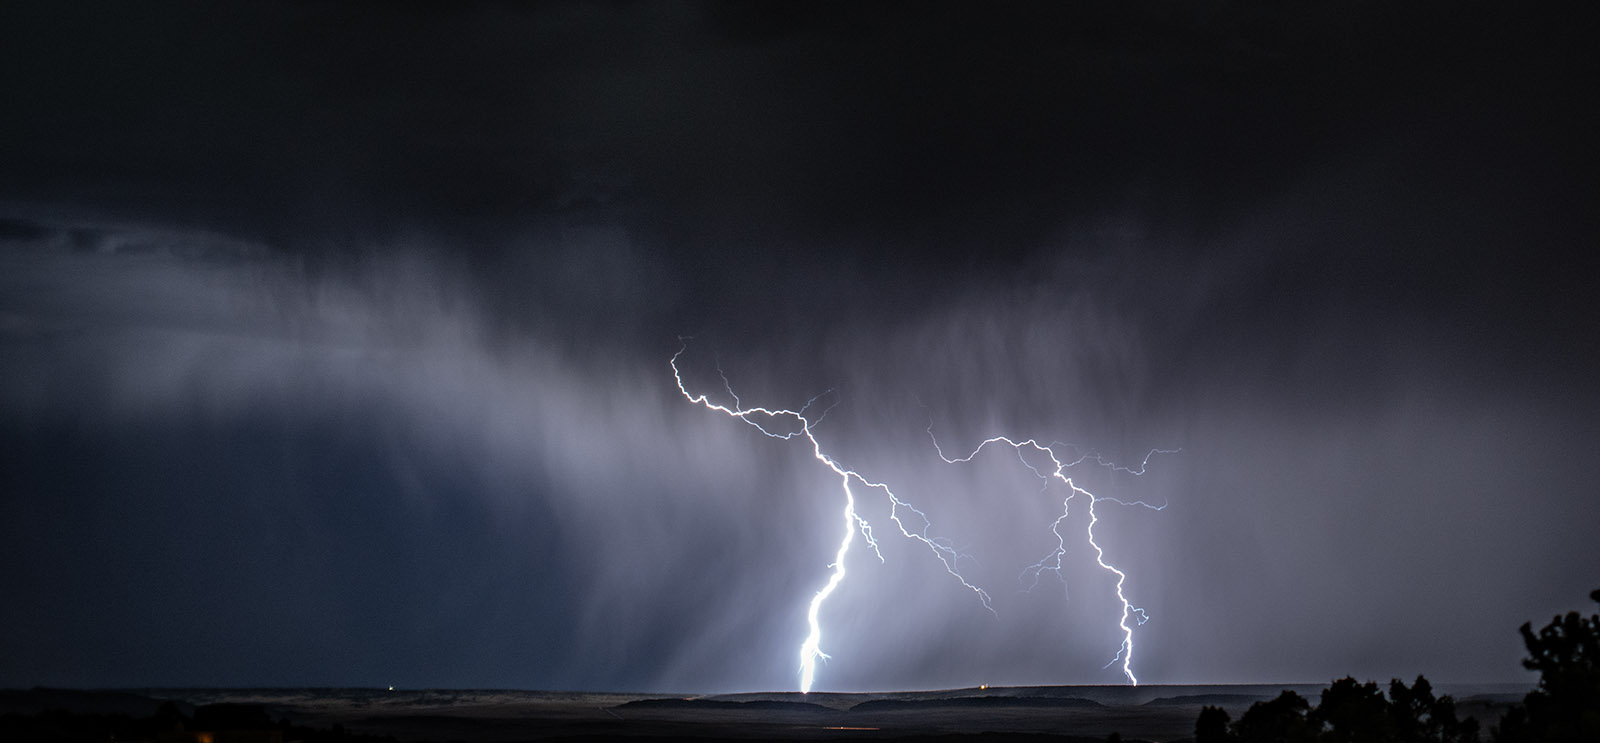
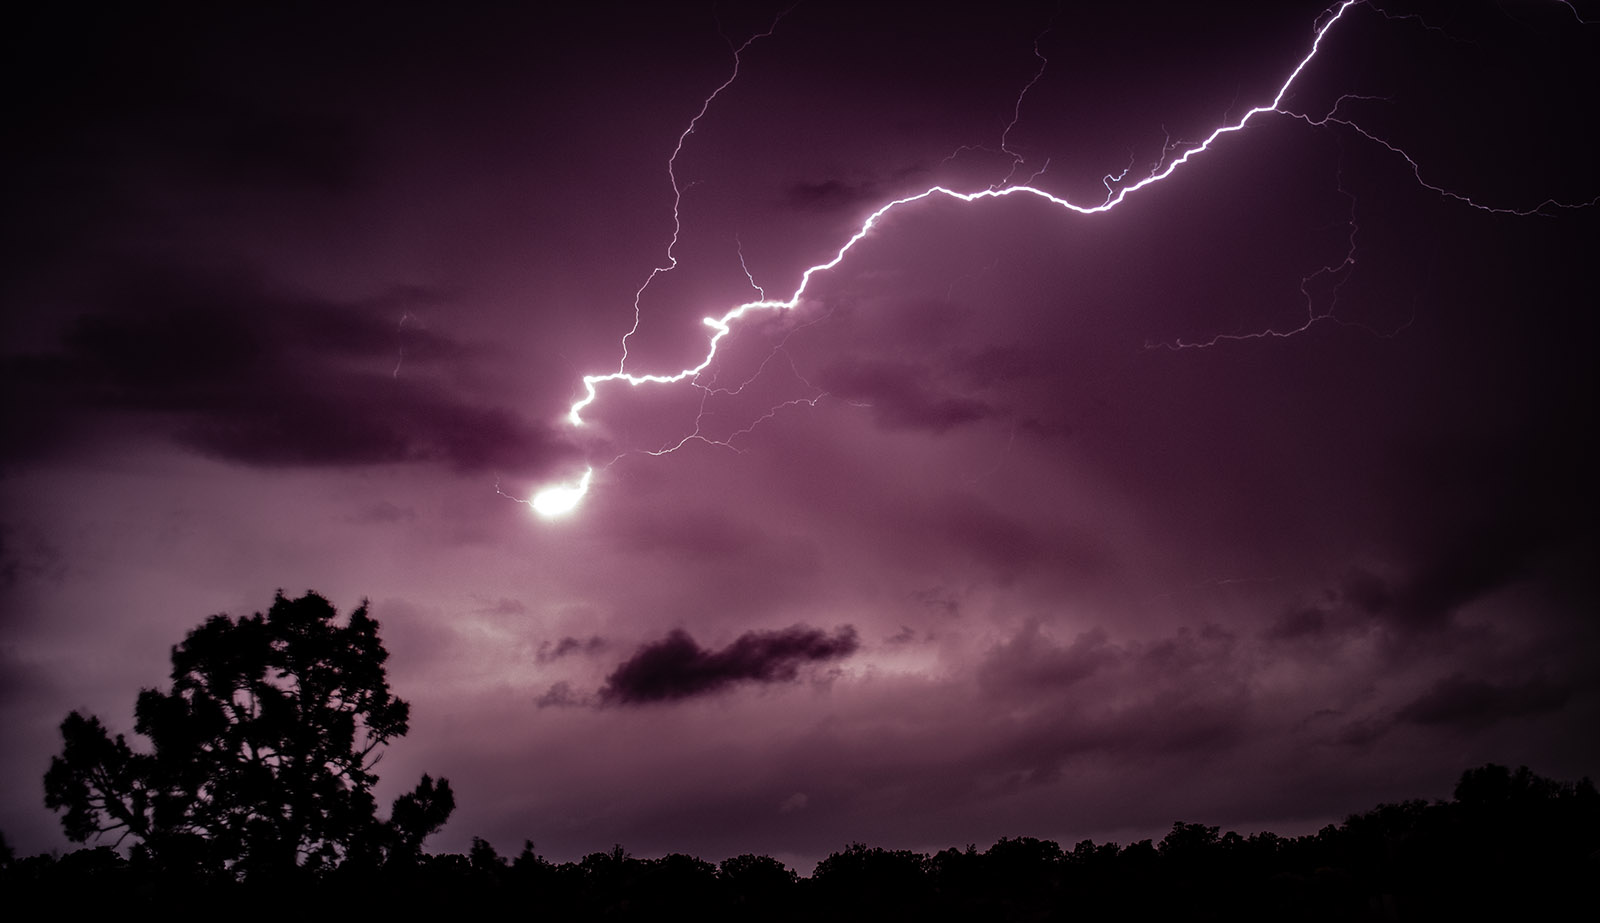
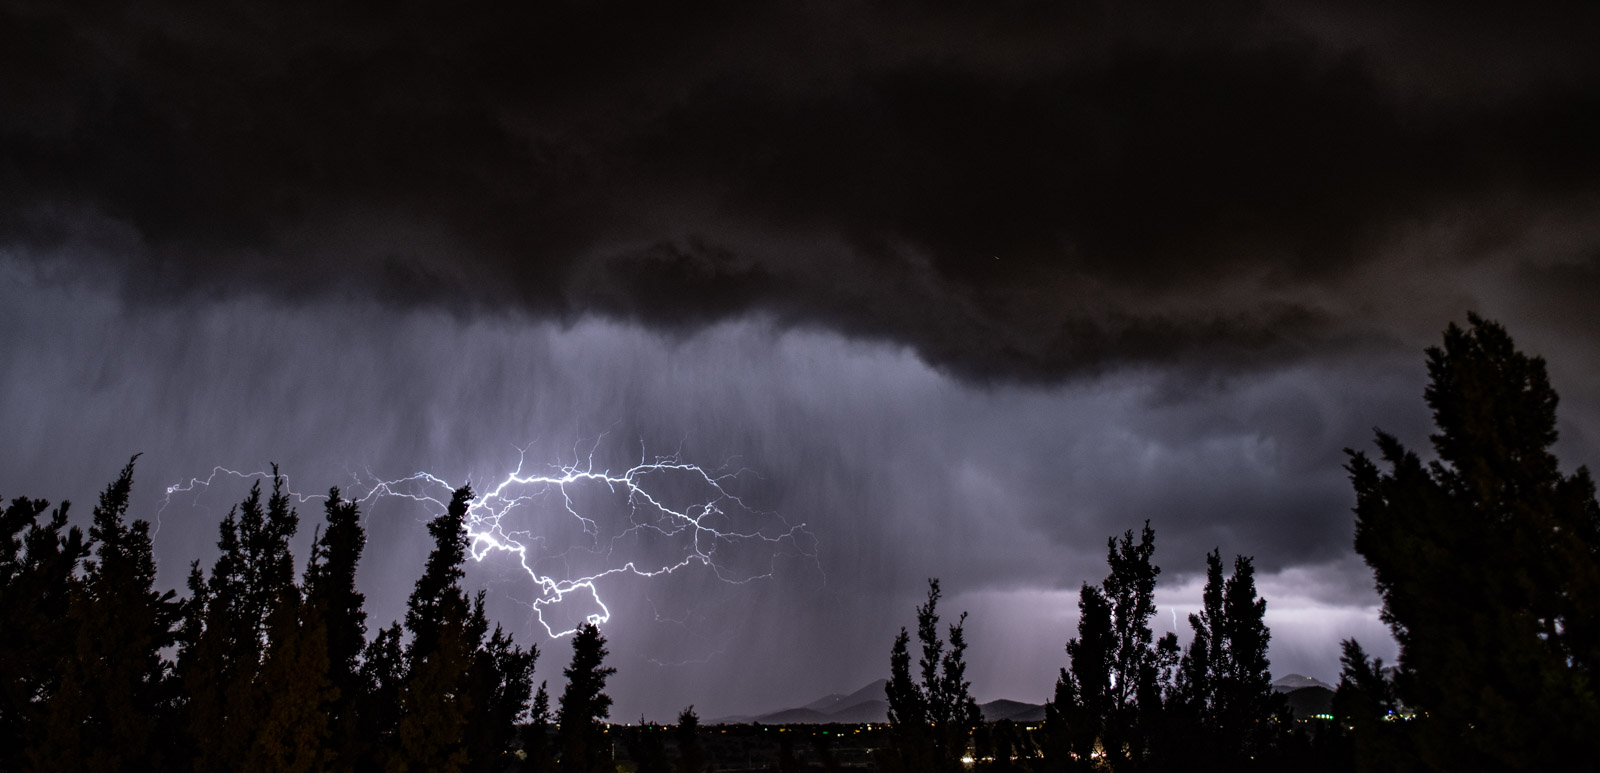
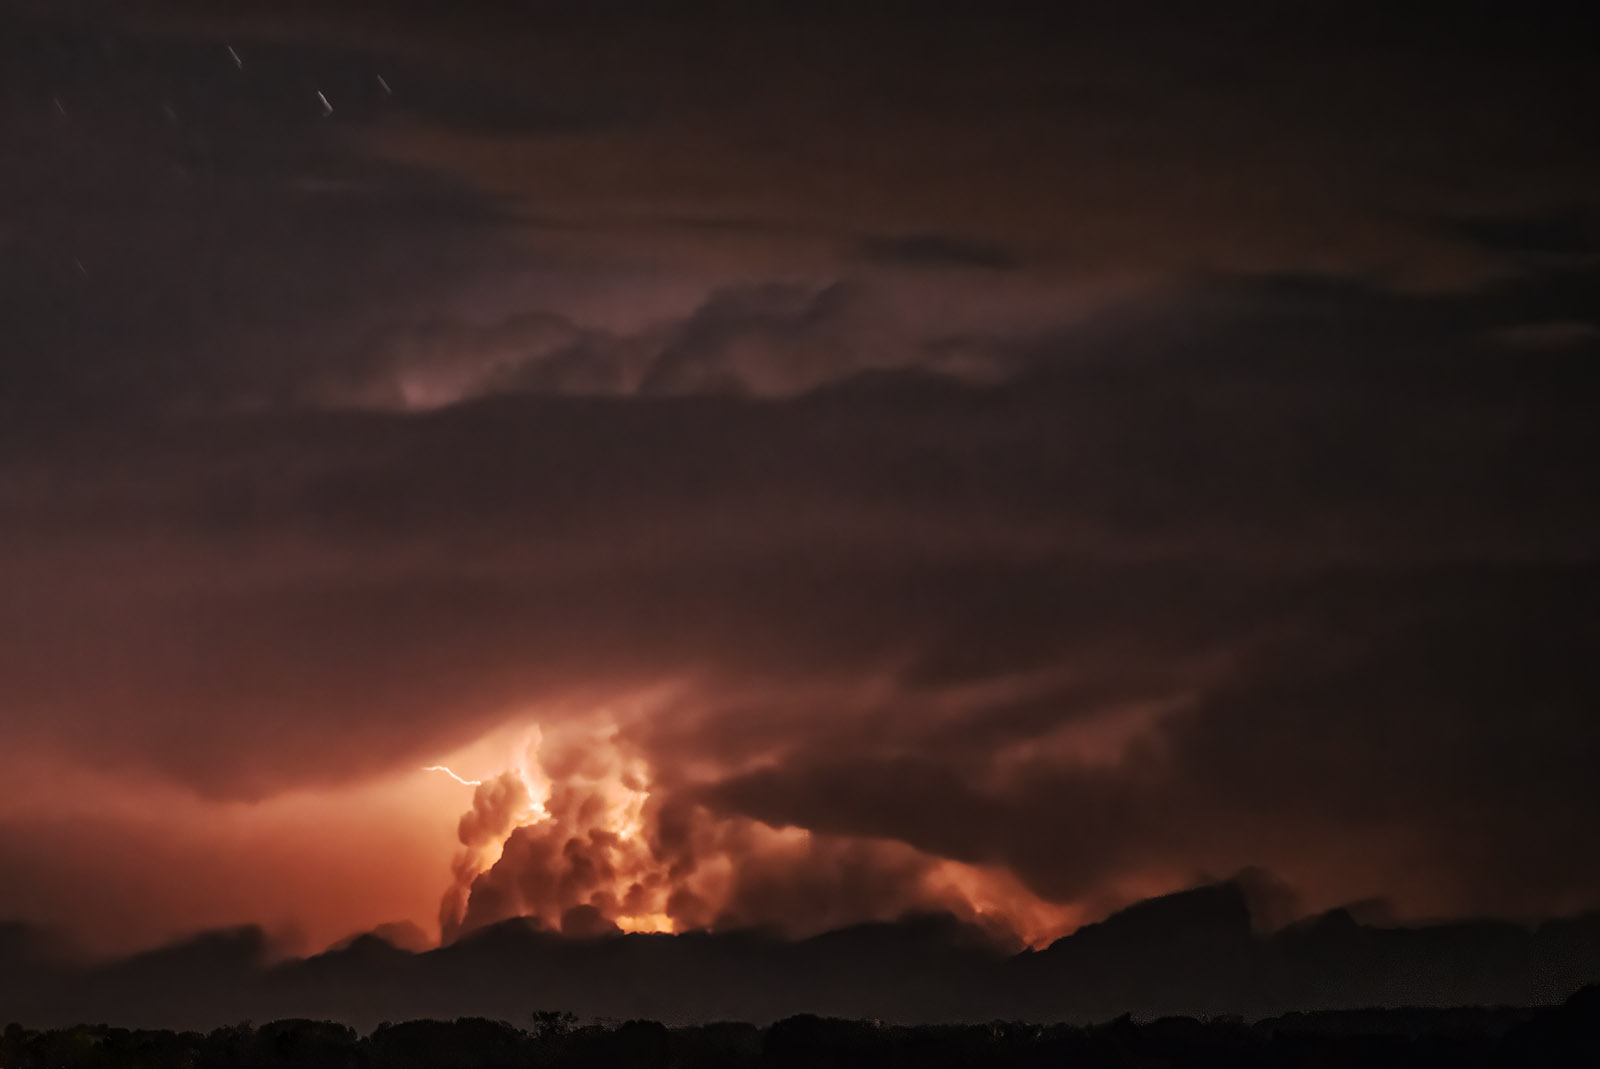
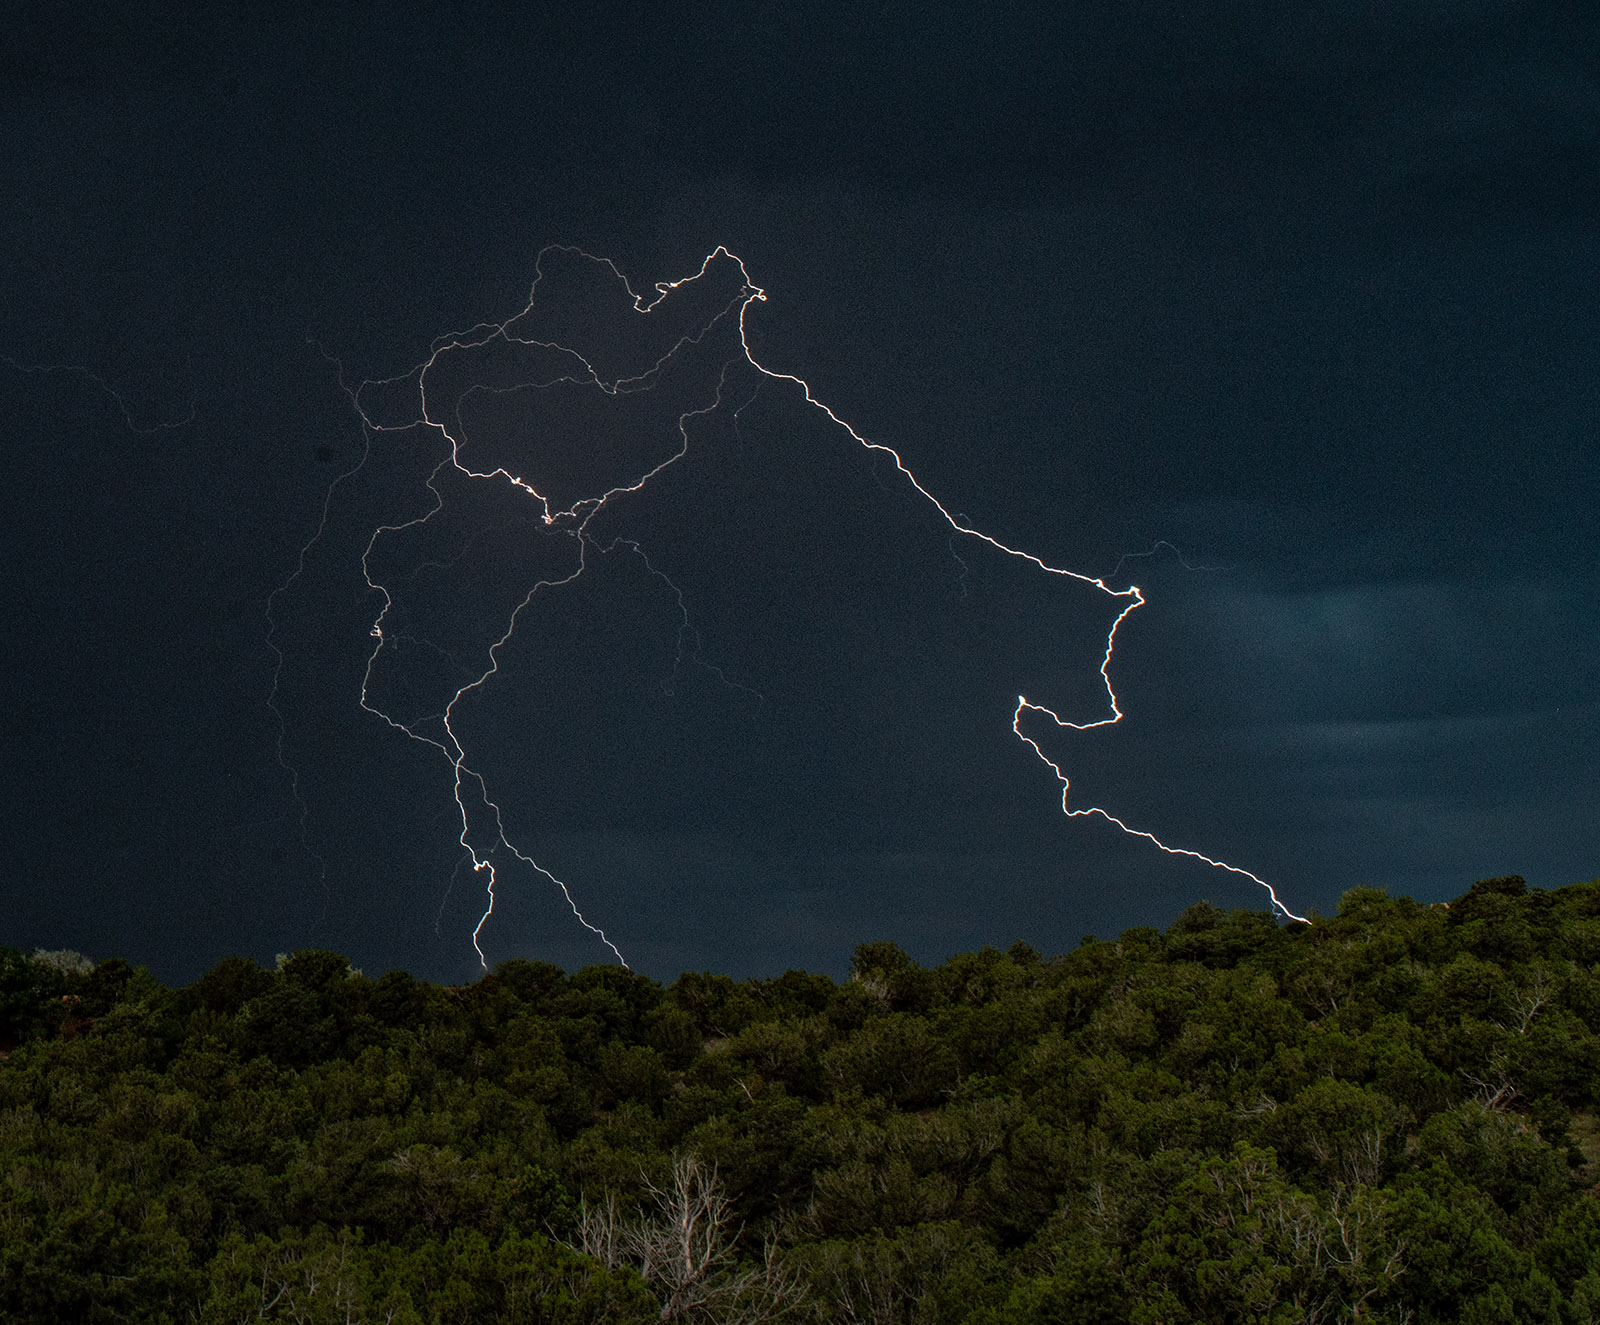
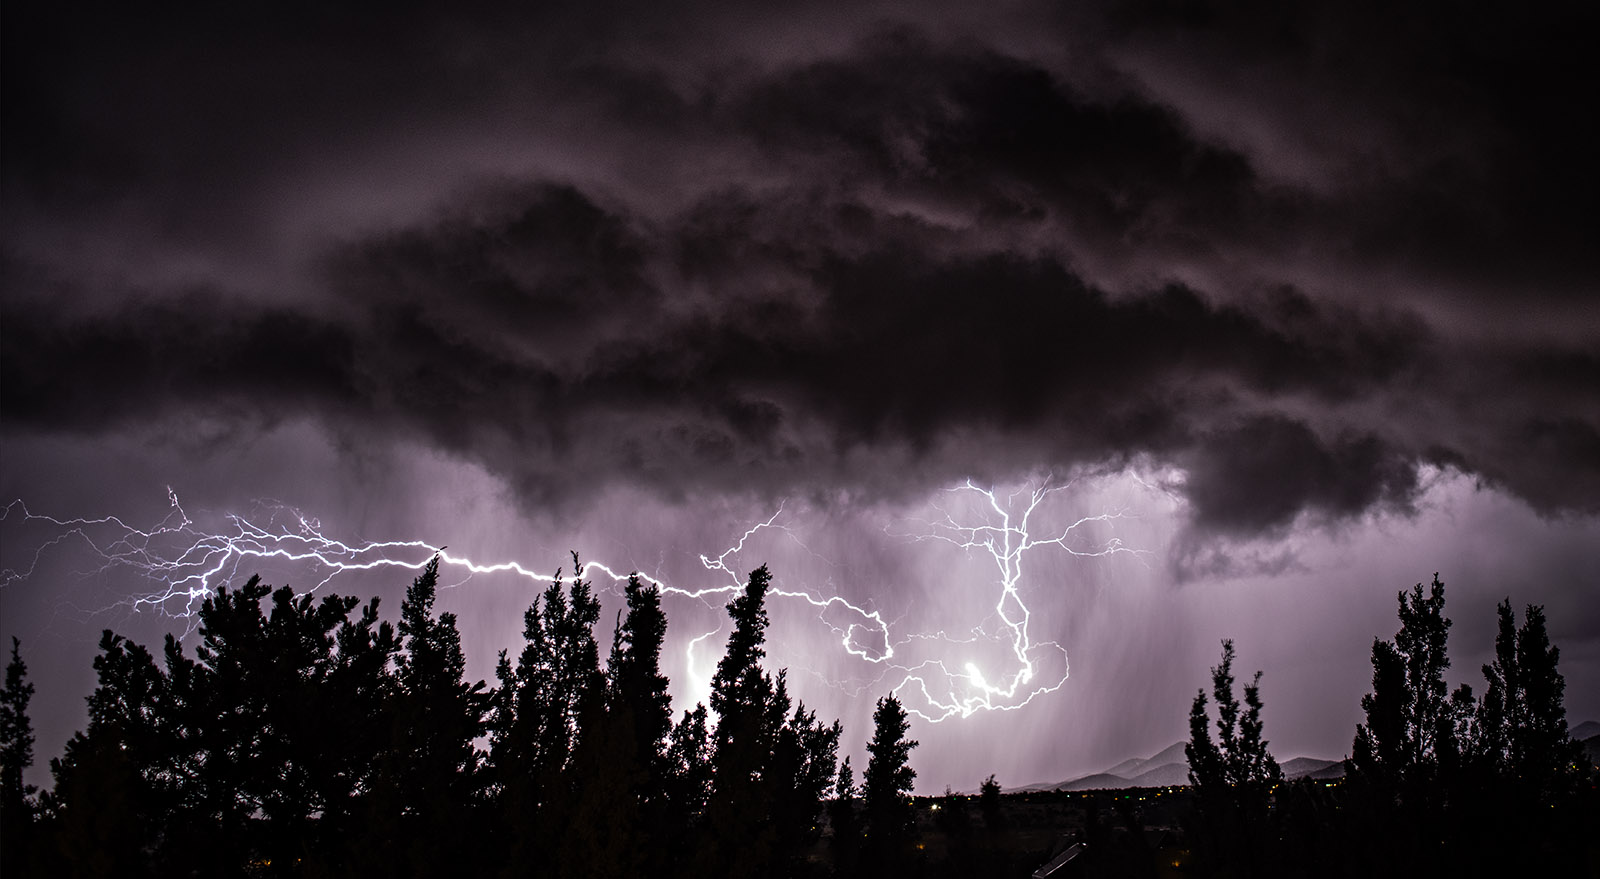
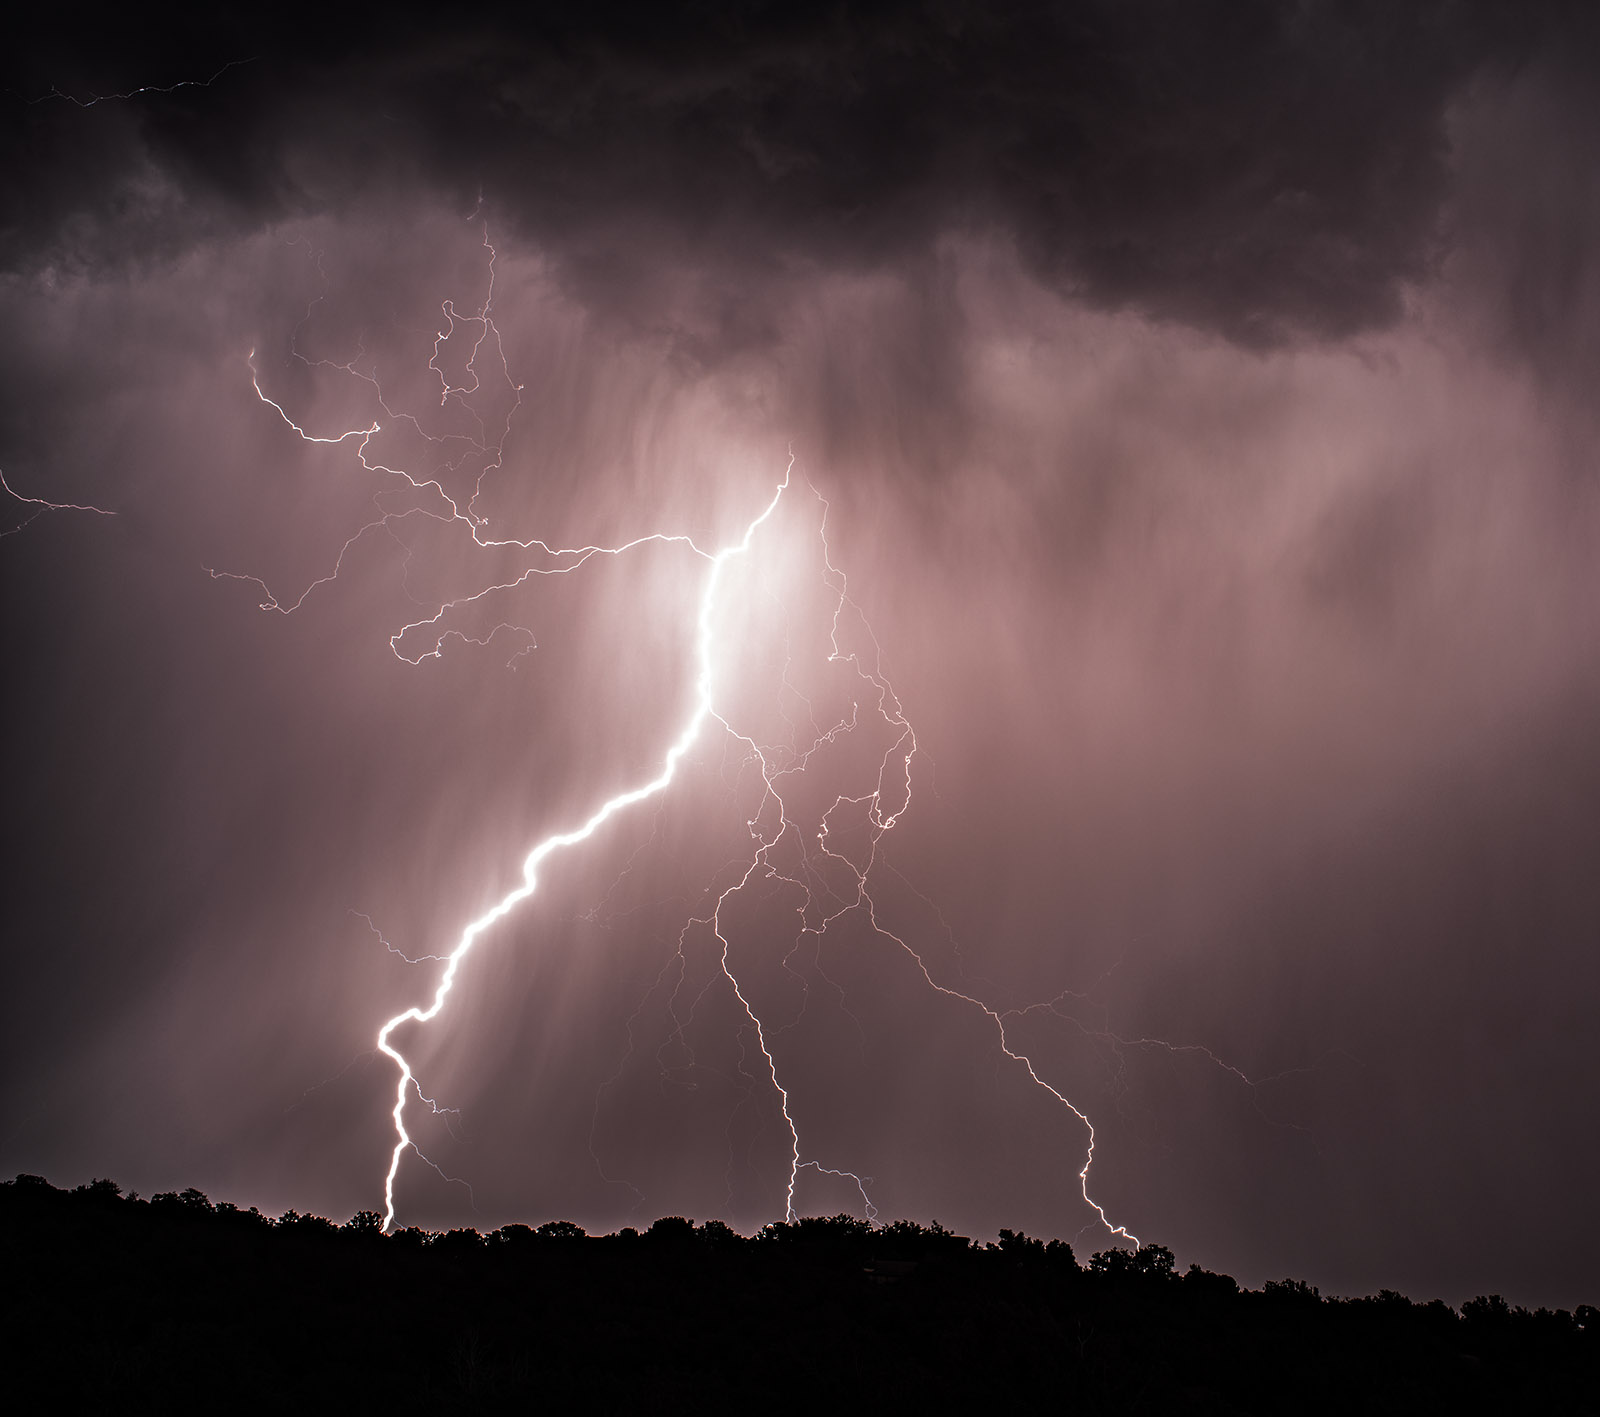
Lightning
Flowers
Monastery Road
Petroglyphs
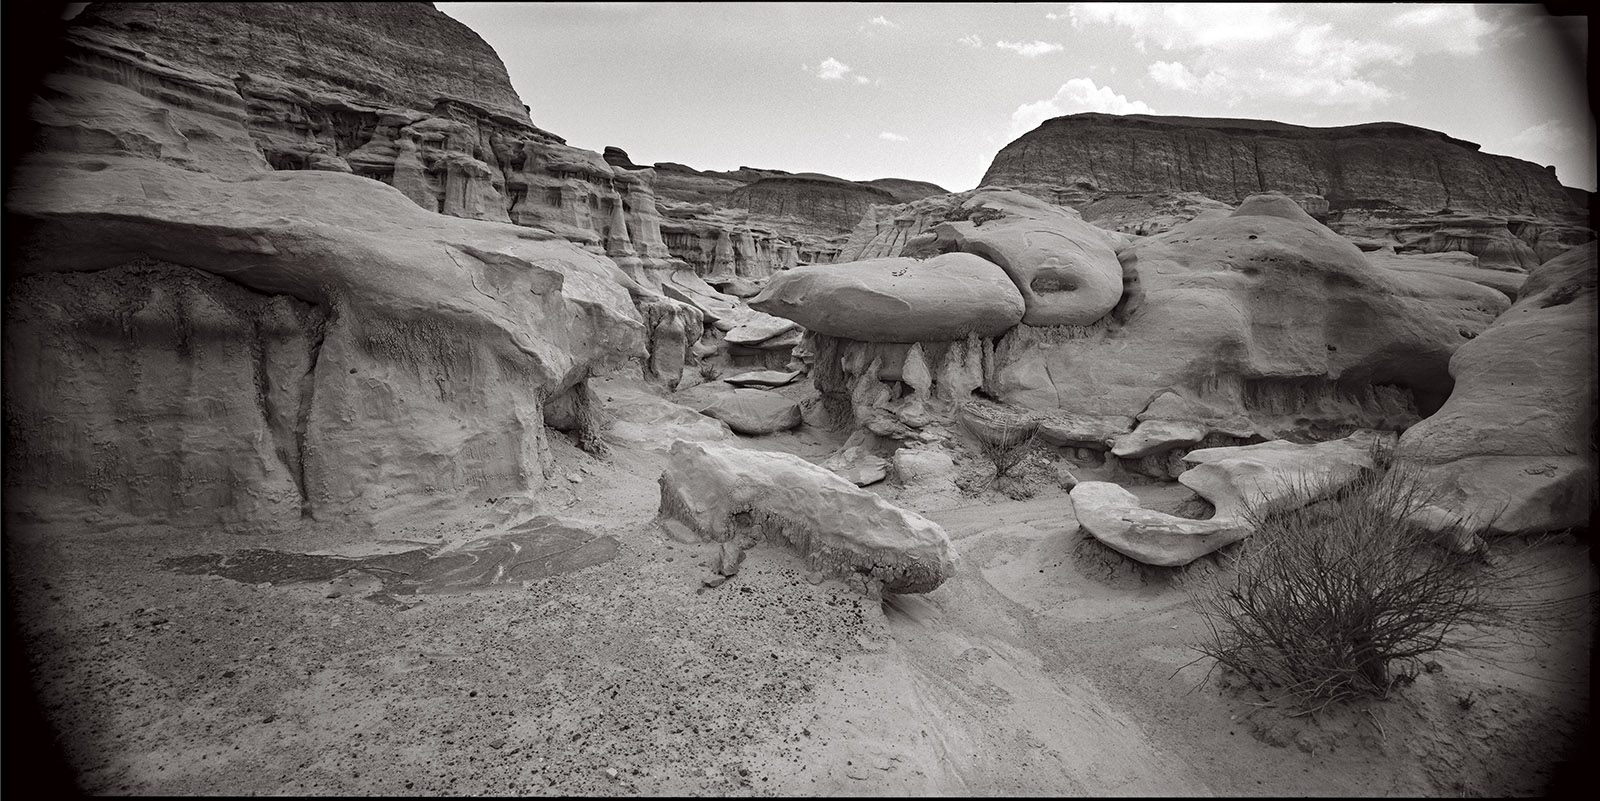
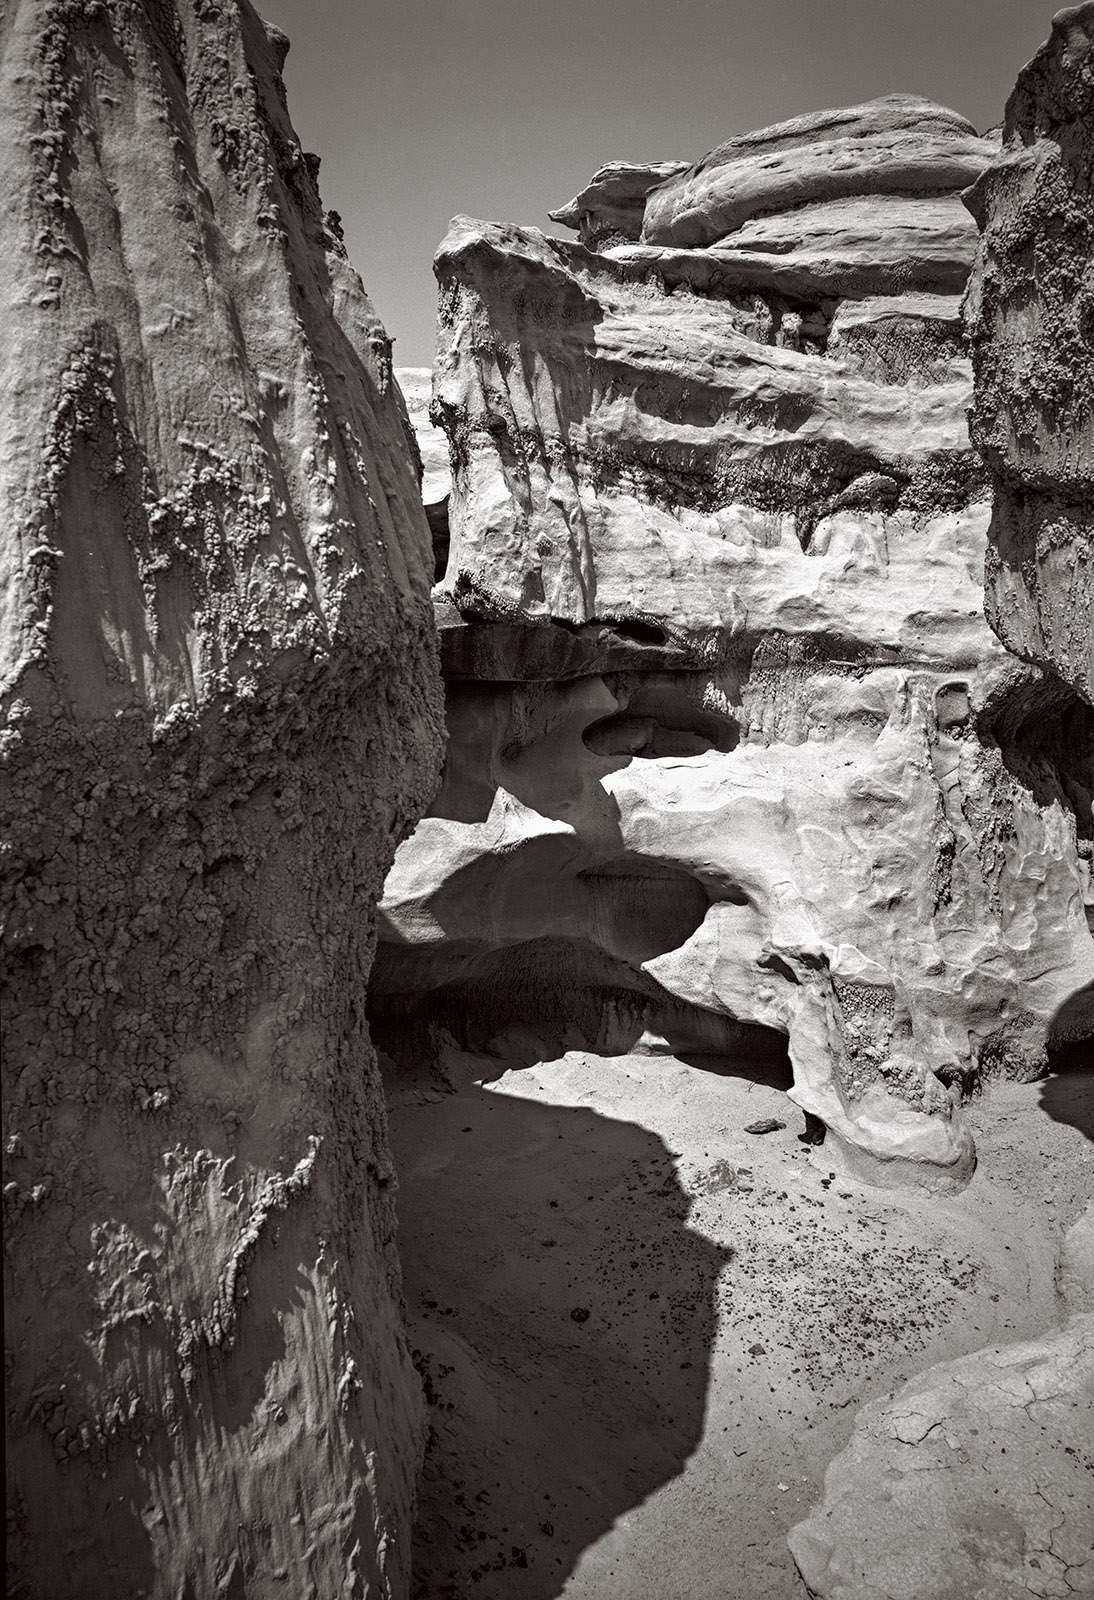
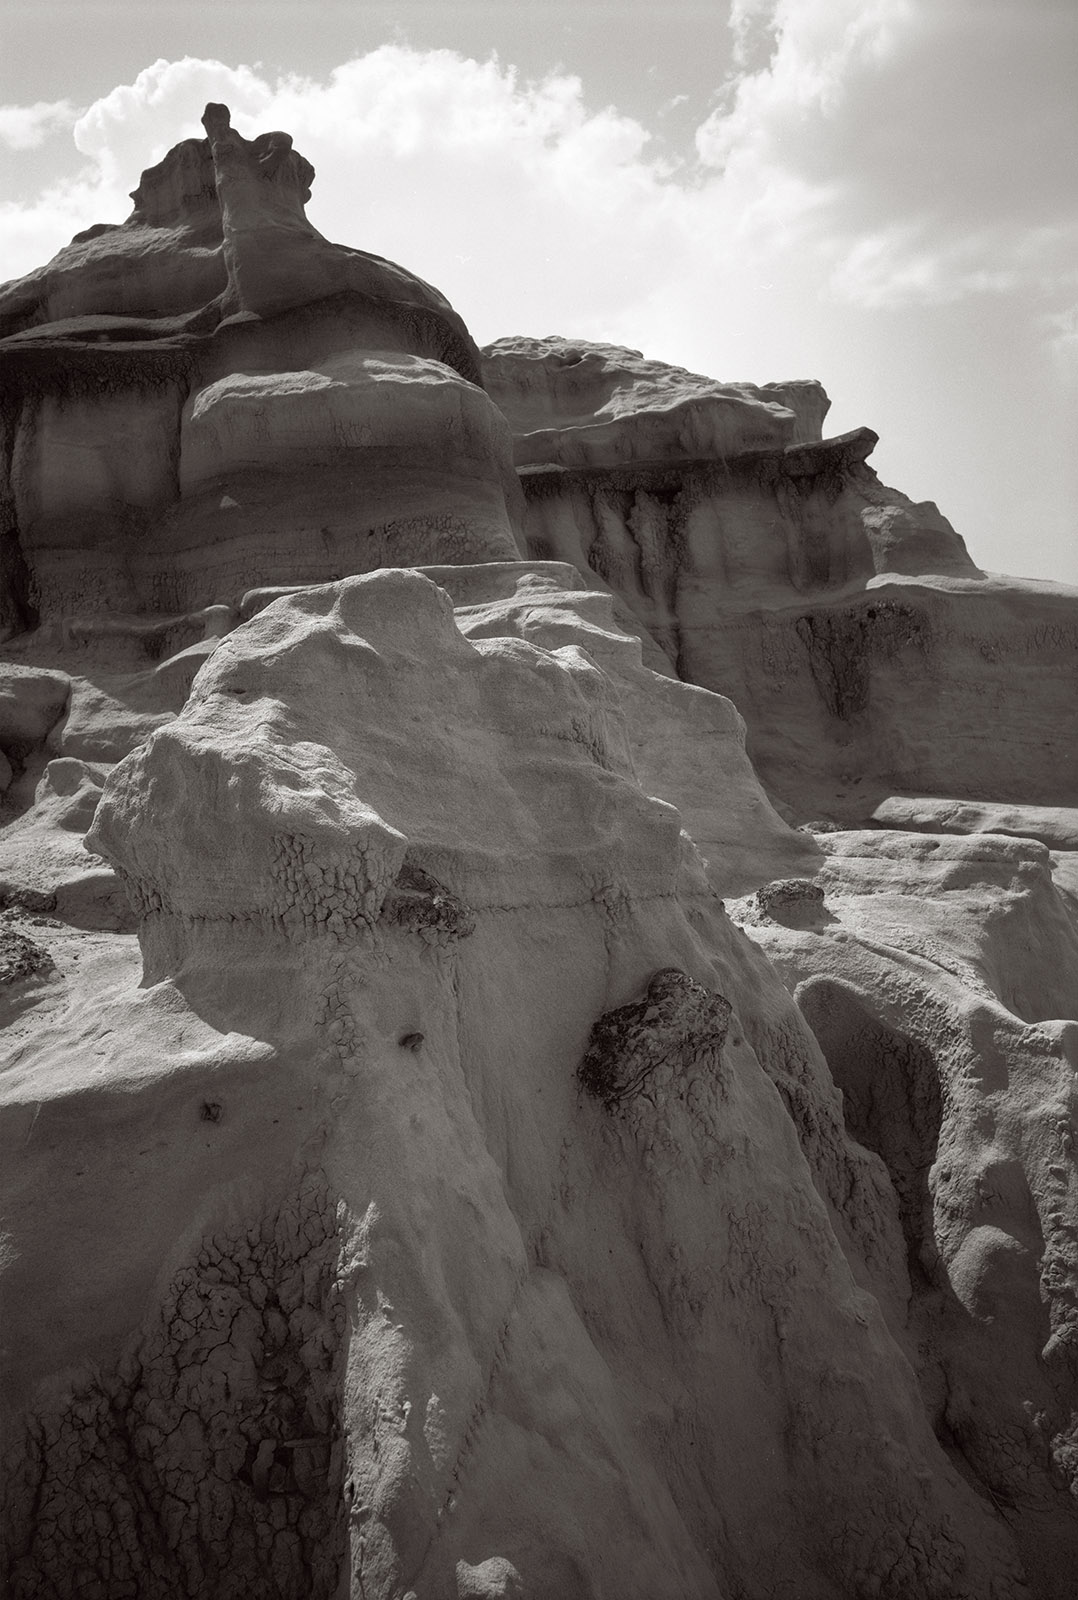
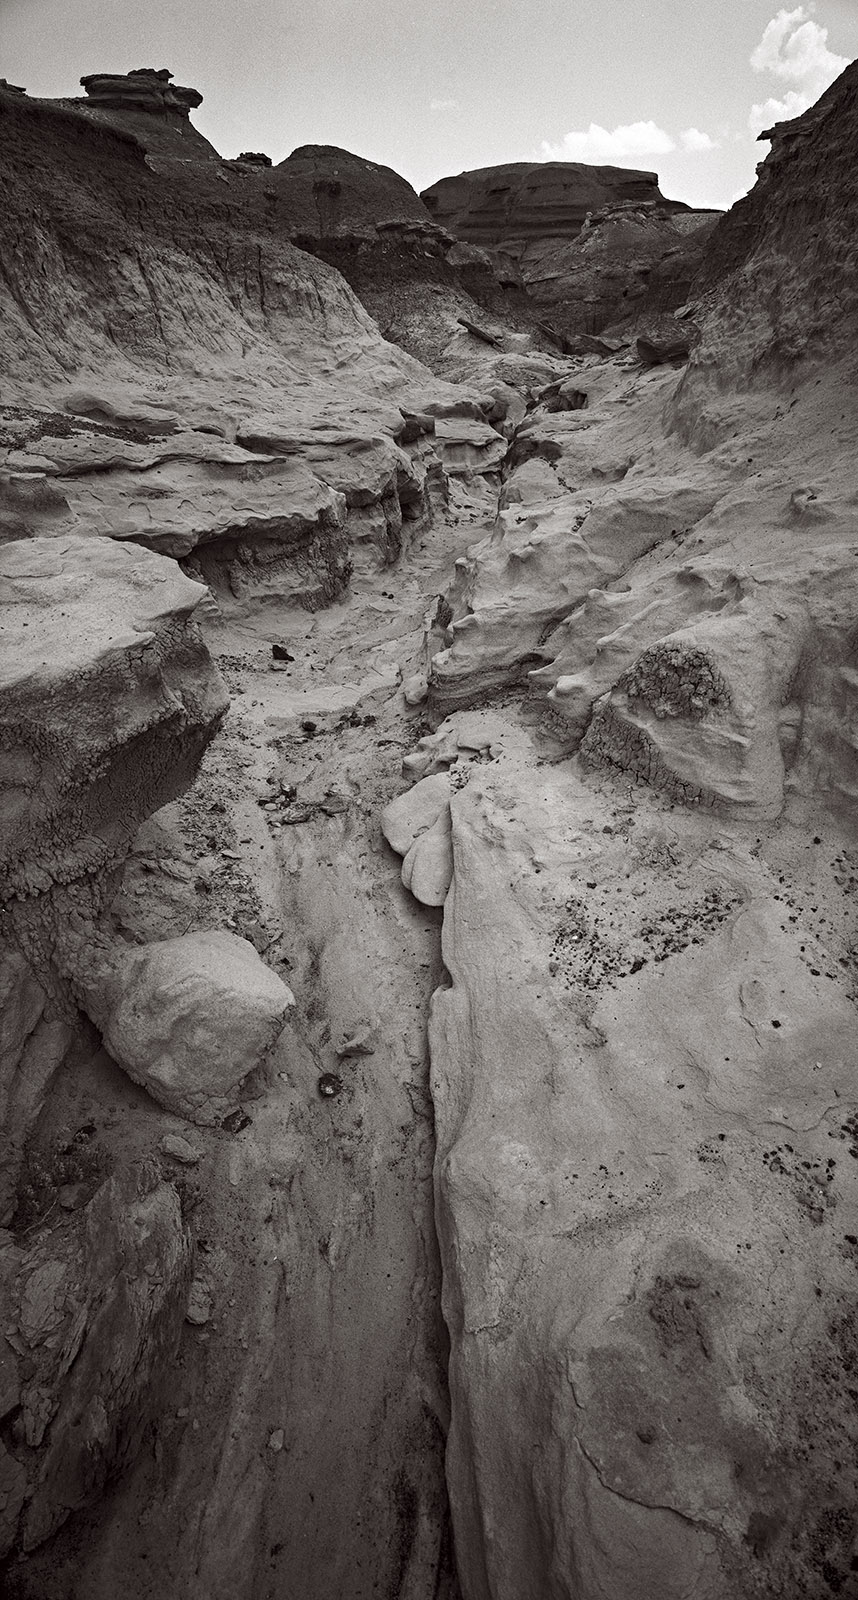
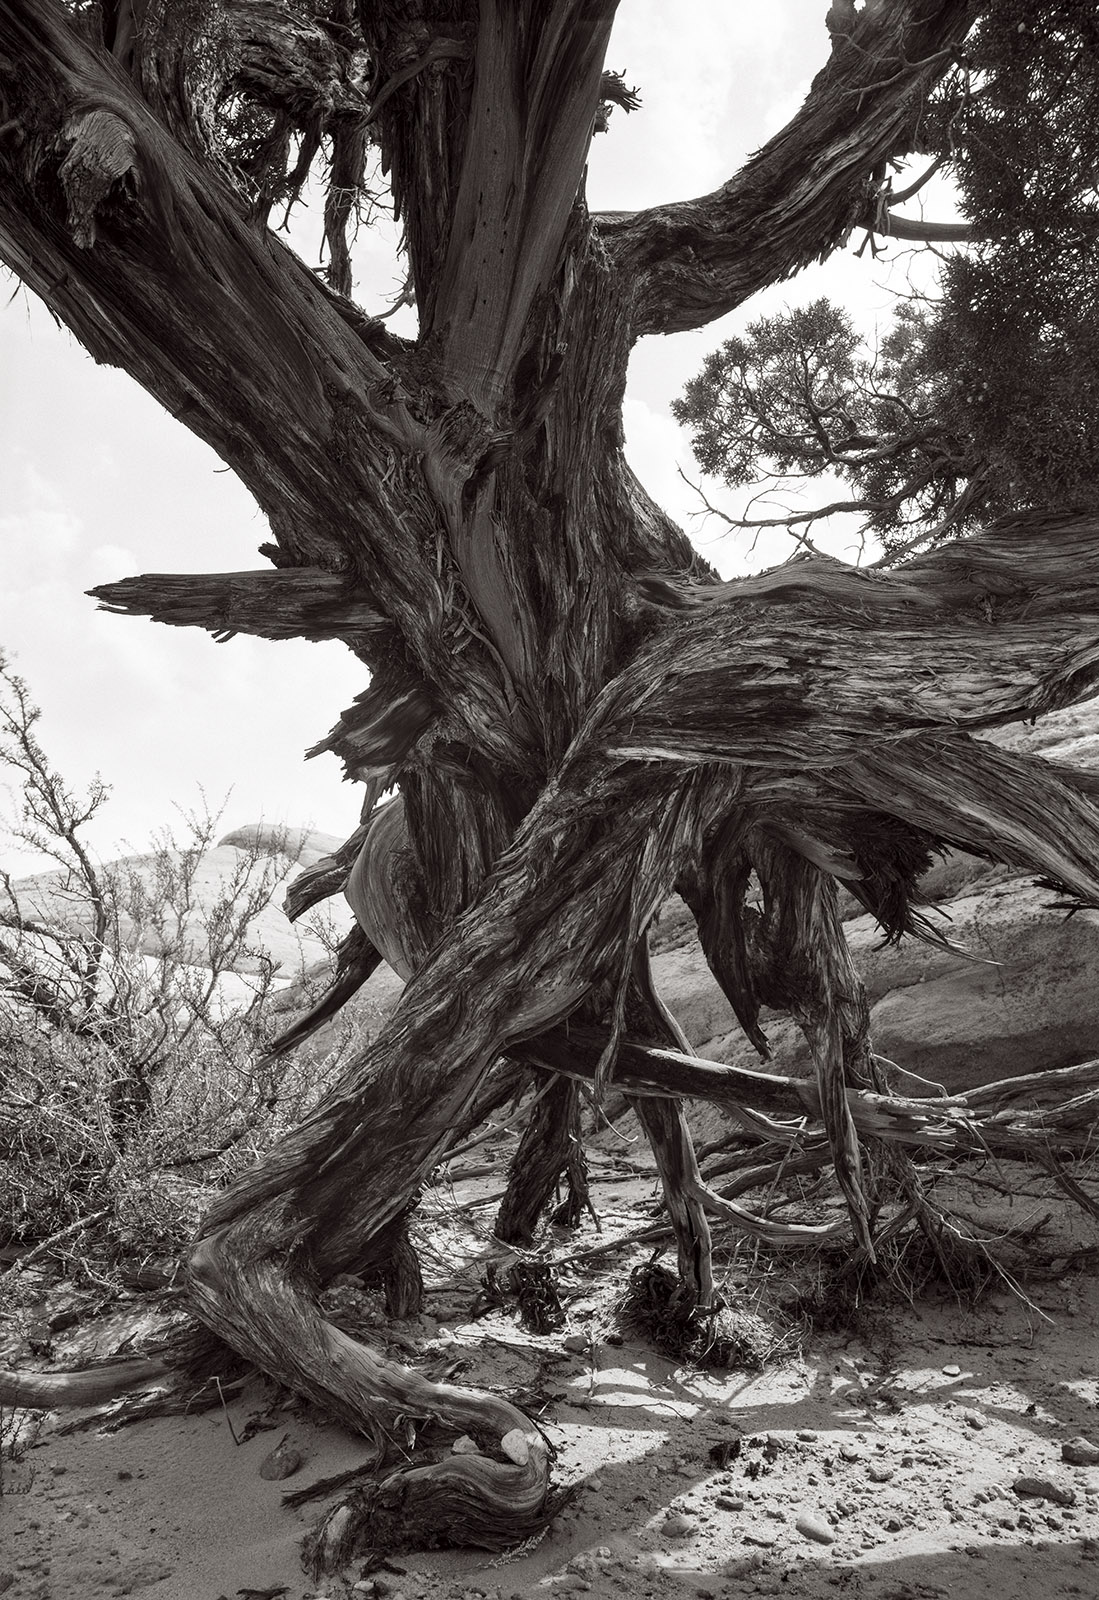
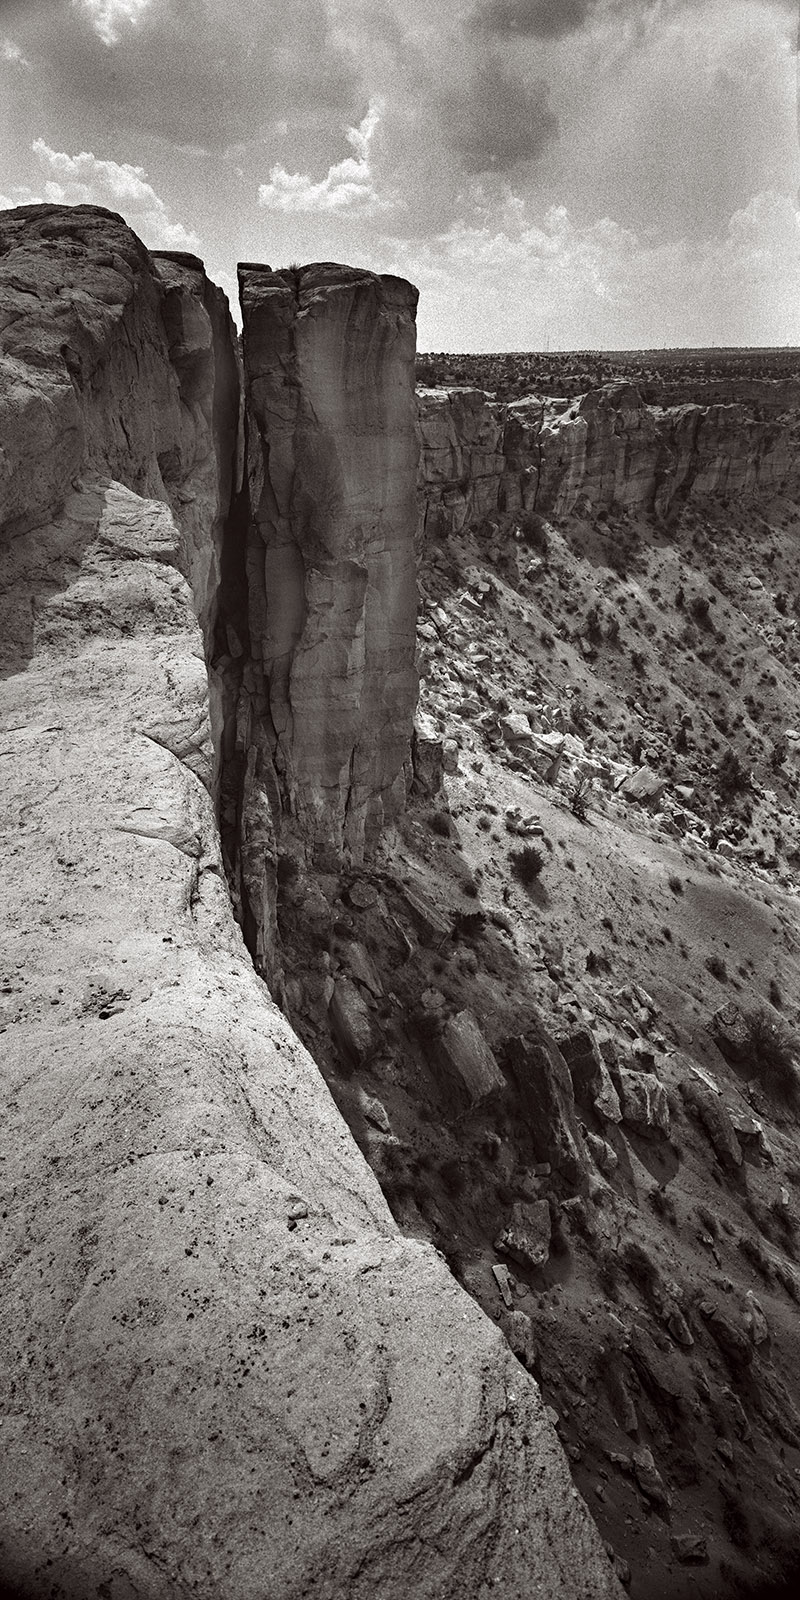
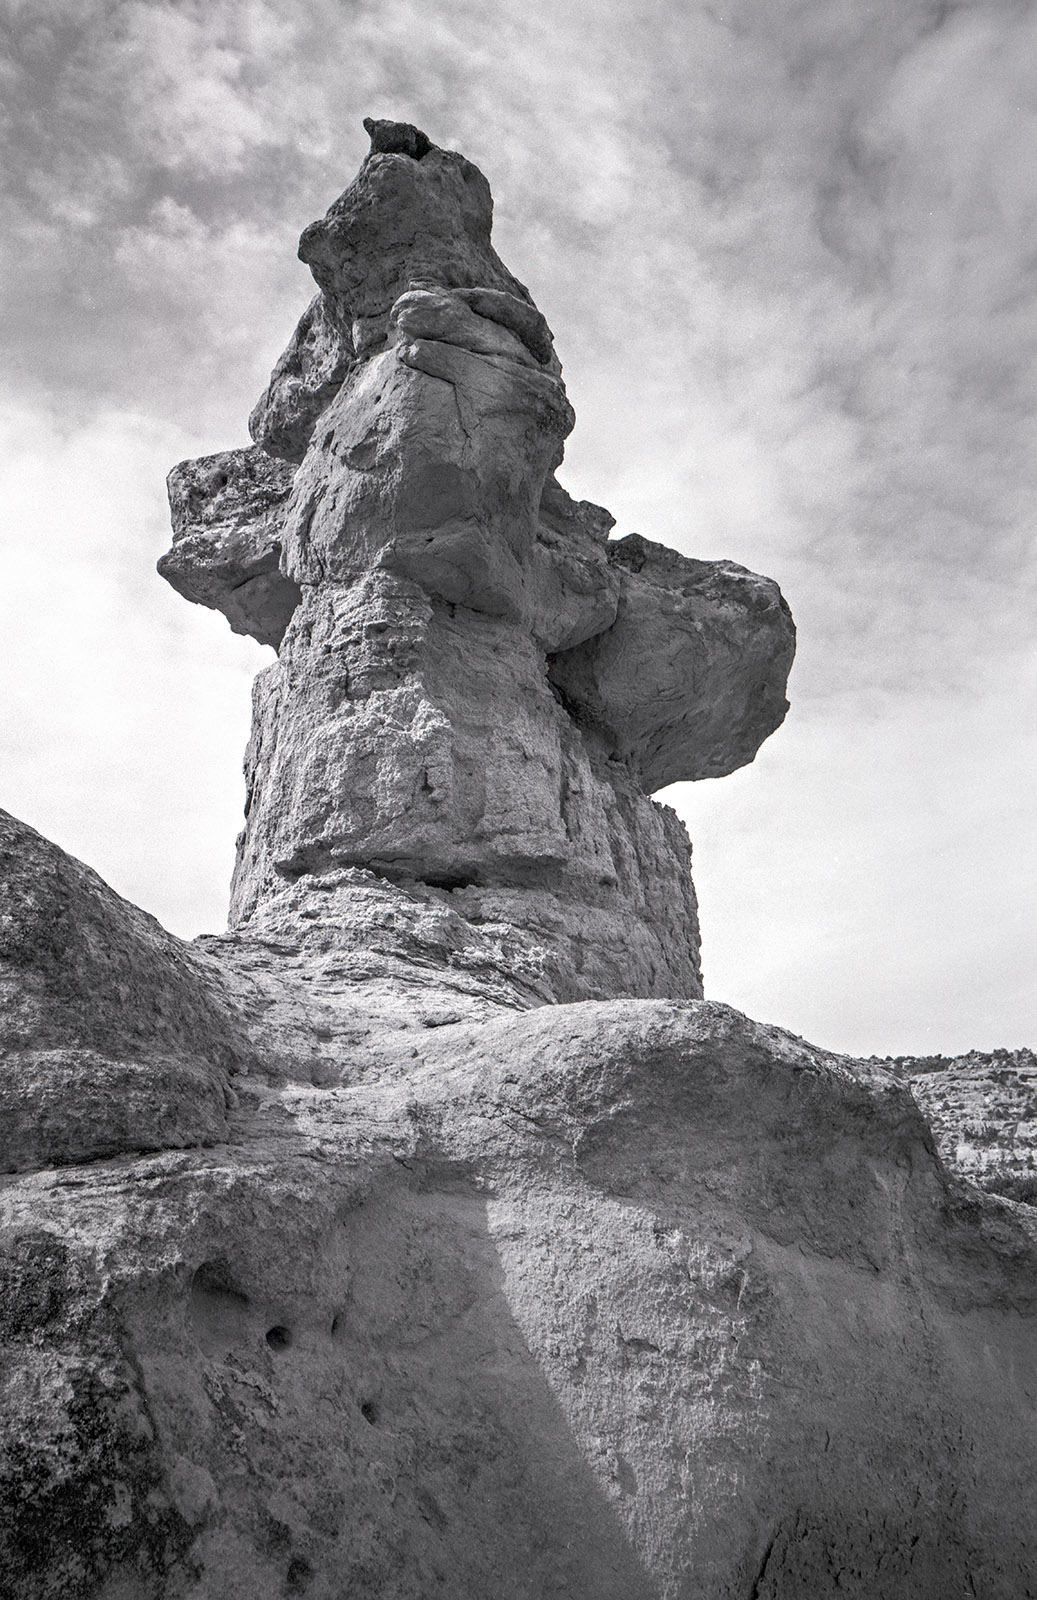
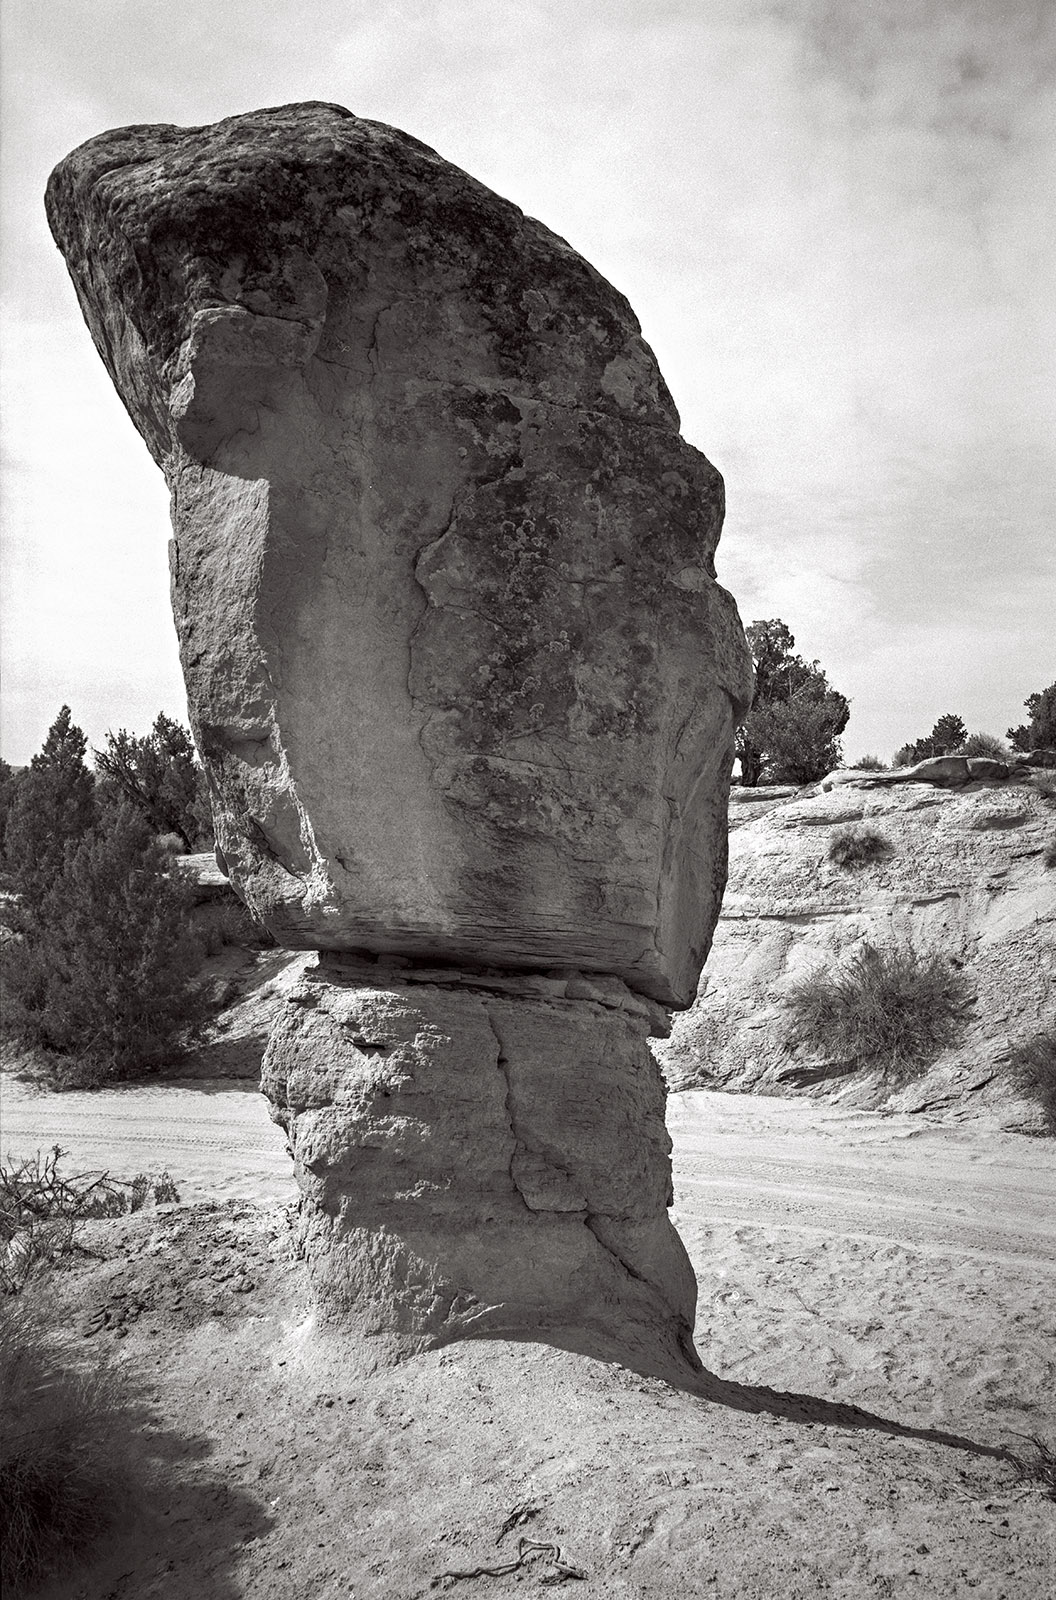
Rock
Ice and Snow
Tsankawi
Sugarite Campground
Churchs
El Morro National Monument
I did a large show when I was still in Indianapolis called Courting Chaos. The link will take you to the pages which describe the work and its evolution. These images are, well, chaotic and many of them are nudes. I hope you’ll find it interesting.
Links to my books, still available at Amazon!