Photo Notes A place to talk about making images.

August 27, 2012

Making the Camera Personal

Filed under: Indianapolis,Photographic Equipment — John Siskin @ 2:33 pm

I hope you’ll check out my books: Photographing Architecture and Understanding and Controlling Strobe Lighting. I hope you’ll get copies if you haven’t already. Of course you know that one reason for this blog is to sell the book and get you to consider one of my classes at BetterPhoto.com: An Introduction to Photographic Lighting, Portrait Lighting on Location and in the Studio, Getting Started in Commercial Photography If you’re in the Indianapolis area there are other opportunities as well. I’ll be teaching a class in commercial photography next spring at Ivy Tech.
According to the Word Press program I use to post this blog this is blog number 100! I don’t know if that proves anything other than I can write lengthy note to myself without knowing if anyone reads this thing. So if you look at this blog please send an e-mail or something.

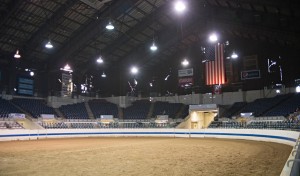
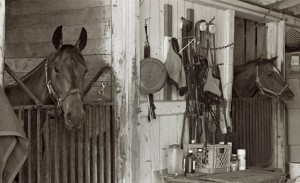
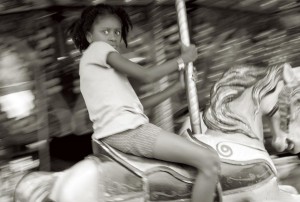
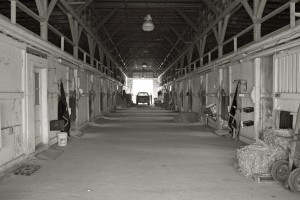
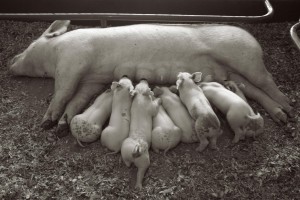
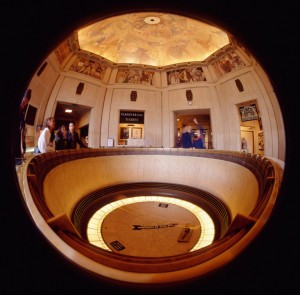
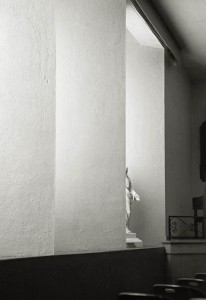
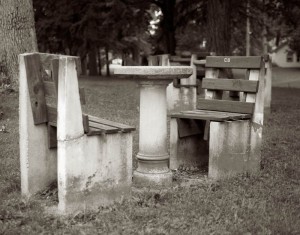
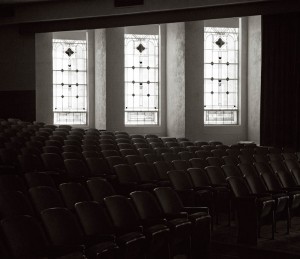
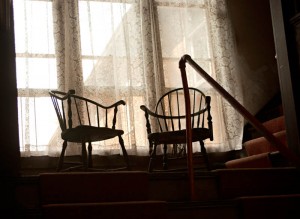
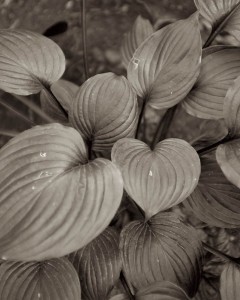
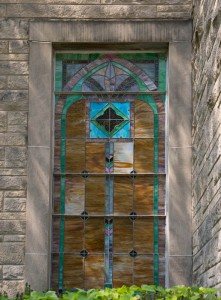
I went to Camp Chesterfield here in Indiana yesterday. The camp is a Spiritualist center that began in the nineteenth century, and an interesting place to visit. All images were made with the new Nikon D800.

I’ve been writing about my Nikon D800 for the last couple of blogs, but today I want to discuss making a camera your camera. Anytime you get a new piece of equipment you’ll need to learn about how it works, but it is also important to customize the camera to your way of working. I think most of this is quite simple: really just choosing the options you’ll use. For instance when I’m shooting for clients, I usually have the camera set to manual exposure. I evaluate the exposures using the laptop and the LCD which is why I spent time setting up Eye-Fi option I already wrote about. I also set up a couple of custom white balance settings for my strobes. These are things that make the camera work better for me. I also put a thin strap on the camera. I like straps that are about half an inch wide because, while I almost never put the camera around my neck, I do wrap the strap around my hand. When I am hand holding the camera I keep the camera in my right hand. The strap is wrapped three times around my hand, so I can let go of the camera without dropping the camera. I learned this from Nikon School in 1978 and I still like it. I can get the camera to my eye and shoot very quickly. By the way my left hand cradles the lens and braces against my body. This makes it easier to shoot hand held. When I am shooting for my self I’ll generally shoot with aperture priority, so, of course I will be able to find the M and A setting pretty quickly.
There are things I generally don’t use on any camera. My last camera had a microphone for taking notes about your pictures. I never used this on purpose, but I did turn it on by mistake a couple of times. I couldn’t tell you how to actually make it work. I don’t expect I’ll use the in camera editing features of the Nikon D800, so I may never really know how they work. It’s important to remember it’s your camera; it should work as an extension of your vision. If you need to look at the instruction book before every shot you should probably practice with the settings you use most often. If you’re shooting with a DSLR and you keep all the settings on auto all the time you’ve limited your control over the camera and your ability to express your own vision.
I think I’ve made modifications on every camera I’ve ever had. Sometimes it’s just the settings, like turning on the lines in the viewfinder. On my Speed Graphic I added extra infinity stops, added a filter to the range finder and changed the lens. For my Mamiya C330 camera I got prism finders, brackets, and built a custom Polaroid camera. I really loved the speed finder on my Nikon F, but it was really built for a Nikon F2. I think that it is important to examine all of the accessories that are available for your camera. While many of them might not help you with your shooting, they may inspire you with new ideas of how to shoot.
August 20, 2012

Low Light Shooting With the Nikon D800

Filed under: Basic Photo Technique,Indianapolis — John Siskin @ 9:10 am

I hope you’ll check out my books: Photographing Architecture and Understanding and Controlling Strobe Lighting. I hope you’ll get copies if you haven’t already. Of course you know that one reason for this blog is to sell the book and get you to consider one of my classes at BetterPhoto.com: An Introduction to Photographic Lighting, Portrait Lighting on Location and in the Studio, Getting Started in Commercial Photography If you’re in the Indianapolis area there are other opportunities as well. I’ll be giving a Photomicrography presentation on August 23 at Black Dog Books in Zionsville. Call 317.733.1747 to reserve a space. I’ll be teaching a class in commercial photography next spring at Ivy Tech.

One of the biggest changes, for me, in working with the Nikon D800 is that the camera works in low light. My previous camera couldn’t make a good file above ISO 160 (yes 160, not 1600) and had trouble with exposures longer than about 1 second. The D800 will make a very usable file at ISO 6400, which is 6 stops brighter than my other camera. It will also make a good shot at an exposure of 30 seconds.

I always tell my students to test and practice, which is exactly what I’ve done with the D800. I made a test of film speed by shooting a five-dollar bill with different ISO settings. Money has a lot of finely printed detail, so I like to use it to look at resolution and noise. My evaluation of the test was that the camera worked exceptionally well to ISO 800, and had little noise at even higher ISO settings. I also discovered that long exposures were excellent, but take the camera considerably longer to process. Please note, these are my evaluations for the way I shoot, you should make your own tests and evaluations rather than accept my results. Besides testing is good practice.

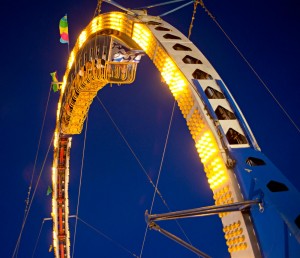
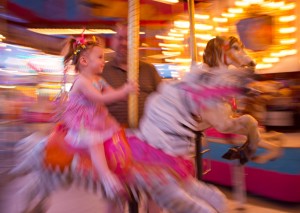
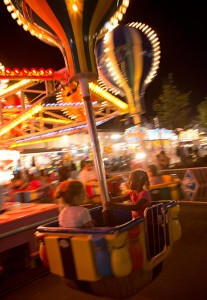
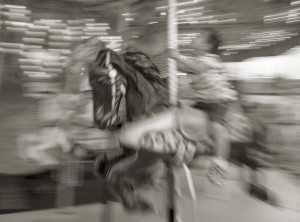
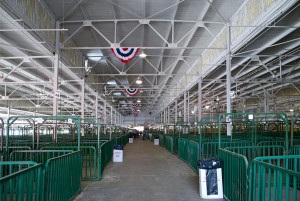
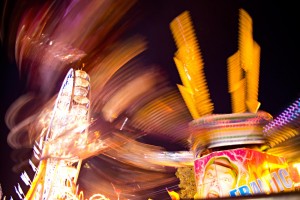
I went back to the Indiana State Fair at night for some testing and practice in low light. I really haven’t done this kind of shooting in a long time, and I had forgotten how much fun it can be. As you may have figured out all the shots in this blog entry are from the night shoot at the fair. I did all my shooting at ISO 1600. I was very interested in allowing some motion blur into my shots. I shot everything in RAW. I was generally pleased by the auto-exposure and auto-color choices the camera made, but there were exceptions. The camera occasionally wanted to make things brighter, and often a little greener, than they felt at the site. It was easy to correct this when I converted from RAW to JPG, but I wouldn’t want to do this kind of shooting without making RAW files.

I should probably do some more night shooting soon. First because it’s fun, but also because I could use a little more practice.

August 14, 2012

New Camera!

I hope you’ll check out my books: Photographing Architecture and Understanding and Controlling Strobe Lighting. I hope you’ll get copies if you haven’t already. Of course you know that one reason for this blog is to sell the book and get you to consider one of my classes at BetterPhoto.com: An Introduction to Photographic Lighting Portrait Lighting on Location and in the Studio Getting Started in Commercial Photography If you’re in the Indianapolis area there are other opportunities as well. I’ll be giving a Photomicrography presentation on August 23 at Black Dog Books in Zionsville. Call 317.733.1747 to reserve a space. I’ll be teaching a class in commercial photography next spring at Ivy Tech.

I’ve been spending time learning to work with my new camera, a Nikon D800. Since I haven’t had a new digital camera in about 8 years there are a few things to catch up on. My previous camera was a full frame camera that used Nikon lenses, so I can use the same glass, but I needed to make several up grades to work with the 36 megapixel images. I’ve had to get larger CF cards and a faster card reader, as well as a portable hard drive for location work.

One of the upgrades I am most excited about is the Eye-Fi card. This is an SD card that transfers the image files wirelessly to the computer. I have long been a proponent of setting up your lighting while looking at the image on a laptop. On my last camera the only way to do this was with a cable that ran between the camera and the computer. Most wireless systems are very expensive: Nikon makes a Wireless File Transmitter, but it costs about $740. The Eye-Fi card is about $80, but there are a lot of considerations about using it. First it is only appropriate for small to medium sized files. This would mean that I really couldn’t use it, but the D800 has two card slots, one for a CF card and another for an SD card. So you can set up the camera to put the RAW file on the CF card and put a smaller jpg file on to the Eye-Fi SD card. There are some definite challenges to setting up the network, but I got everything to work. One thing I am still trying to find is a program that will display the most recent image.

One of the keys to getting comfortable with a new camera is to play with it. I spent several days in my office playing with micro lenses (check out the earlier blog entries for info on specialized micro lenses. Look at the Micro Photography Category). I made a lot of bad images, and few that are passable. The key is that I leaned a lot about how the camera sees. I also did tests on resolution, long exposure and high ISO settings. It is important to look at the files in detail.

It is also very important to be willing to make mistakes. So I need to play with the buttons and the settings. I don’t need to memorize every function of the camera, what I need is to make choices about every function of the camera. For instance I don’t think I’ll use the photo editing functions of the camera, but I will use the custom white balance settings.

Yesterday I went to the Indiana State Fair, which was a great place to play with the camera. I made a lot of shots, which helps me to test my workflow. I got to play with long exposures, which didn’t work very well with the last camera. I also experimented with shots at high ISO. One of the biggest problems with the old camera was that the maximum usable ISO was 160. I can now shoot at ISO 6400, which is really remarkable. The shots I’m attaching are from the fair.

I have to say I am very impressed with the camera. The files are remarkably crisp and saturated. The camera is very quick, by my standards. I particularly like how quickly the camera turns on. I think the camera might be a little lighter than my last camera. Certainly the camera is a little smaller, but the LCD is a lot larger. I’ve done a few experiments with my strobe and everything works well there. I’m not done playing yet, but I am ready to use the camera on a commercial job.

July 14, 2012

I’m Showing in Indianapolis!


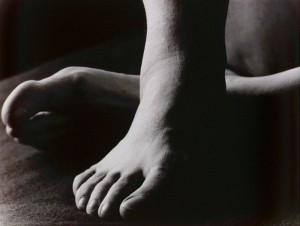
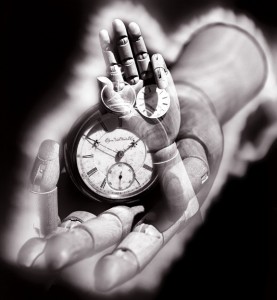
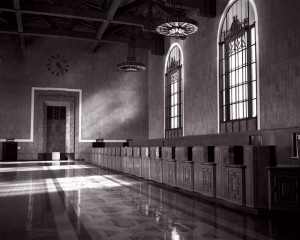
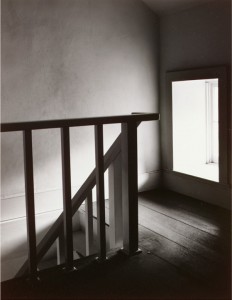
I had an opportunity to show a few images at a local coffer house, Lazy Daze, drop into my lap. If you’re in Indiana I hope you’ll check it out: the address is 10 S. Johnson Ave. Indianapolis, IN 46219.  The images on display are 16X20 inches, so these on line images aren’t really as effective, but at least you can see them. The text is the artist’s statement I included with the show. The images are on sale for $275. If you’d like to buy one I’ll get it to you for that price, plus shipping, after the show. All prints are silver gelatin, and are hand made by me.

Time and Shadow

Photography is an art form that is evolving. William Henry Fox Talbot realized that photography would become a means of communication when he created his first images back in the late 1830s. He used his camera to record household goods as buildings people and plants. When he published Pencil of Nature starting in 1844 he presented many of the ways the world would use photographs up to the present time. In the beginning photography was extraordinarily difficult to do. Exposures were long, so cameras had to be supported by a tripod. The chemical processes were almost as arcane as a witch’s brew, and sometimes more dangerous. It’s very important to remember that the photographs a person takes are always constrained by the limitations of the medium: the photographs a person could take.

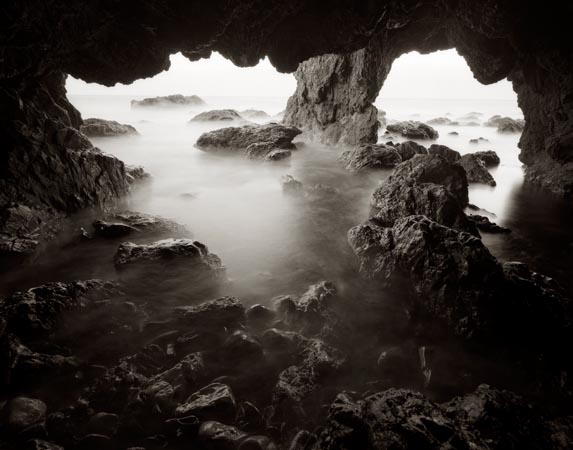
The photographs I present here are from a certain time in photography. I used large cameras at this time to increase detail and reduce grain. I made prints by hand in a darkroom. I watched each of these images develop on a white sheet of paper under a safelight. It was a good time.

One of the most significant differences between working in this fashion and working with a digital camera is that each image you captured involved certain costs of time and material, so I would choose an image much more carefully. Now I more often shoot everything and edit, which is a very effective way to work with a digital camera. One more time the change in the technology of making pictures has changed the way we take pictures.

I hope these images will share not just how I see, but also some of the magic of making an image. These images were made with 4X5 film cameras. They were printed by hand with an enlarger in a darkroom. I enjoyed this way of fixing my vision onto paper. I hope you will find some joy in these images as well.

John Siskin

I hope you’ll check out my books: Photographing Architecture and Understanding and Controlling Strobe Lighting. I hope you’ll get copies if you haven’t already. Of course you know that one reason for this blog is to sell the book and get you to consider one of my classes at BetterPhoto.com:
An Introduction to Photographic Lighting

Portrait Lighting on Location and in the Studio
Getting Started in Commercial Photography
If you’re in the Indianapolis area there are other opportunities as well. I’ll be teaching a class in commercial photography next spring at Ivy Tech.

July 9, 2012

About Perspective


I hope you’ll check out my books: Photographing Architecture and Understanding and Controlling Strobe Lighting. I hope you’ll get copies if you haven’t already. Of course you know that one reason for this blog is to sell the book and get you to consider one of my classes at BetterPhoto.com:
An Introduction to Photographic Lighting

Portrait Lighting on Location and in the Studio
Getting Started in Commercial Photography
If you’re in the Indianapolis area there are other opportunities as well. I’ll be giving a lighting presentation at the Indy MU Photo Club on July 12.  I’ll be teaching a class in commercial photography next spring at Ivy Tech.

A short lens for portraits

A longer lens for portraits

I mentioned in my entry that a photograph is a two dimensional representation of a three dimensional reality. Since it is a representation you can change the way people perceive the subject. If you step away from the subject and use a telephoto lens then the subject will appear flatter, and if you get closer and use a wide-angle lens the subject will seem exaggerated. So the photographer’s position is critical to the way the subject looks. I see too many images where the photographer got lazy and just used a zoom lens, rather than considering the way the subject will be seen. Can you see the difference in the two shots of Jennifer? One is taken with a short lens and the other with a telephoto lens. I think the shot with the telephoto lens looks better. I would normally use a long lens for a portrait. These shots are from my book Photographing Architecture.


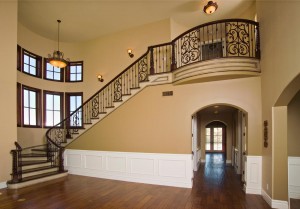
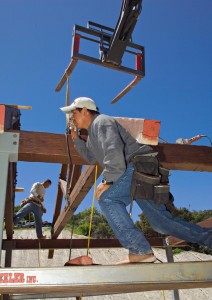
When I shoot a building my goal is to make the subject look more impressive. I start by using a wide-angle lens. I also look for a position that adds shape to the subject. One way to do this is to get close to the subject, and shoot just part of the subject. Another way to do this is to get above the subject. I did these images for a new client CRG Residential here in Indianapolis. You can see that I climbed the hill behind the building for one shot. I was also on a scissor light for a front shot. Lifts are incredibly helpful when shooting building. In this case I got stuck with one of the people from the company at the top of the lift for about twenty minutes. Photography can be so exciting

From the lift.

A straight look at the building

From behind on the hill

Close shot

Close Shot

Close shot


May 31, 2012

More Big Camera Notes

I wrote this for the person who just bought a 8X10 camera from me. I actually know a few people who are working in large format again, so I thought I would post a few notes. I’m going to be shooting people blowing hot glass tomorrow; I’m pretty excited about that. I’m including a few images I made with big cameras.

A photograph is a two dimensional illusion of a three dimensional reality. It has limitations primarily that movement of the viewer’s eye doesn’t change the scene and the amount of detail captured and displayed. The amount of detail can be changed of course, but it is not always as easy as just increasing the size of a capture. There are three primary considerations: depth of field, resolution and capture. Resolution is thought of as sharpness, but the human eye will interpret a contrasty image of lower resolution as sharper than a low contrast image with high resolution. Arthur Cox’s book Photographic Optics shows a good example of this. There are limitations to how much you can adjust sharpness in post-production, but depending on the image, you can increase contrast until there are just two tones: black and white with no intermediate grays.

Lens resolution: Lenses are optimized for different size capture. A lens optimized for a smaller capture has a greater potential resolution then a lens designed for large format work. Fixed focal length lenses have fewer air to glass surfaces, and fewer elements, and so are sharper than zoom lenses. So a 50mm lens designed for a 24mmX36mm (full frame 35mm film area) is sharper than a 150 mm lens designed to be used with 4X5 inch film. The number of air to glass surfaces is not the only indicator of sharpness, and perhaps not the best one. Many lenses with 6 elements are sharper than 4 element lenses, but a zoom with 10 elements that move in different groups is always lower in sharpness than the best fixed focal length lenses. Resolution refers to the ability to separate fine details. A lens that can delineate the details of a feather has high resolution.

Depth of field: Many people interpret this as synonymous with sharpness, but in fact that is wrong. A lens will resolve better somewhere between one and three stops from wide open, then it will at the minimum aperture. Once again resolution is the ability to separate detail. As the lens approaches minimum aperture the diaphragm begins to diffract light, which reduces resolution. So while f64 may keep a lot of stuff in focus it doesn’t produce maximum sharpness. There are computer programs that are able to take several captures and combine them to obtain maximum sharpness and extended depth of field. Also, a larger capture area requires a smaller aperture to obtain the same depth of field.  A 150mm lens on a 4X5 camera is in focus from 32 feet to infinity at f8, a 50mm lens on a 35mm camera is in focus from about 6 feet to infinity at the same aperture.

Capture resolution: This is where a large format camera can make up for it’s other challenges. Film’s actual resolution is a factor of how it is manufactured, so a bigger piece of film has more resolution than a smaller piece of film, just because there is more film. A 35mm frame is 1.5 square inches, while a 4X5 piece of film is 20 square inches, more than 13 times bigger. This relationship is different with digital, more total pixels generally means a higher resolution capture. However I have seen some information that suggests more pixels on a larger capture area can be sharper than the same number of pixels in a smaller area.

As I suggested above you can increase apparent sharpness by increasing contrast, but there are limits. Many times increased contrast just doesn’t look good.

Notes for focus and exposure with large format cameras: Many lenses need to be refocused after you stop them down to the shooting aperture. This can be difficult because the image is so dark on the ground glass. This is particularly true of wide-angle lenses. Also wide-angle lenses are much sharper if focused at the hyper focal distance when stopped down rather than infinity. This means extending the bellows just a little. Put another way: if you have a 65mm lens on a 4X5 camera and you want to focus at infinity with an aperture of f11, you can focus the lens at infinity, but the image will be sharper if you focus at 8 feet from the lens. This is the mid point for your depth of field at that aperture. Total depth of field would be 3 feet to infinity at f11.

Another problem with large format wide-angle lenses is cosign 4 failure. The focal length is approximately the distance from the diaphragm of the lens to the film, when the lens is focused at infinity. As you can figure out for yourself the distance from the diaphragm to the corner of the frame is considerably greater on a wide-angle lens. This means that the light isn’t even across the frame on a wide-angle lens. There are filters that can correct this for you, and I am sure you could also correct for it in Photoshop.

One advantage of a large format camera is that you can selectively focus. This is similar to what you can do with a Lens Baby: shift the plane of the lens so that the focus follows the image or so that focus goes against the image. With large format shooting, where depth of field can be a challenge, this feature is very important.
Thanks for paying attention the blog. I’ll be back soon. Here are the usual reminders.
Please check out my books and classes:

Understanding and Controlling Strobe Lighting: A Guide for Digital Photographers

Photographing Architecture: Lighting, Composition, Postproduction and Marketing Techniques

An Introduction to Photographic Lighting

Portrait Lighting on Location and in the Studio

Getting Started in Commercial Photography

Thanks, John


May 23, 2012

Back to the Big Camera

Filed under: Large Format Photography,Marketing — John Siskin @ 7:34 am

I’ve been giving a lot of attention to my new page at facebook: facebook.com/JohnSiskinPhotographer. I’ve added more than a dozen albums filled with images from my article and book projects. I hope you will check out some of this. In addition I have started tweeting; frankly I don’t know how I feel about this pastime yet. So, with all of this, I seem to have neglected the blog. I’m back.

I’ve tried for a while now to get back into shooting 8X10 inch film. I used to really enjoy this. It is extremely challenging, but when you do it just right the results are sublime. I’m not going to attach any images made with the 8X10 camera to this blog, because you might get the idea that a print of a large format image looks like what you see on your screen. It doesn’t, it’s much better. Film is essentially an information storage medium, as is digital. A large piece of film stores information in a more continuous way than a small negative or digital capture. In addition there is a quirkiness to the way large format lenses represent the world. Every current Nikon 50mm f1.8 lens sees in the same way. There were many different large format lenses, and even two of the same brand and design didn’t always see the same way. I mention all this because I recently acquired one of the most marvelous large format lenses ever built: a 14 inch Gold Dot Dagor, built by Kern in Switzerland for Schneider Corporation of America. The lens is the last generation of the famous Dagors, first designed in the 19th century. Let me tell you folks there is a lot of history here and a wealth of fabulous images. Anyway the lens is inspiring me to set up the equipment to develop sheet film. I’m sure I’ll be writing about this in future blog posts.

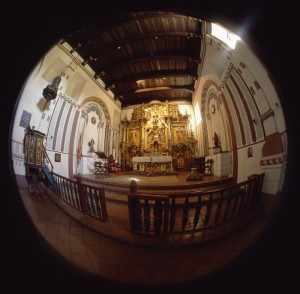
I’ve added pictures that I made with lenses I assembled. For more about this please check the article I did for view camera. These lenses inspired me to see differently.

One more thing I want to say about the difference between shooting a big camera and a digital camera. When you shoot digital you try to make a good capture and then you have almost infinite opportunity to interpret that capture in post-production. If you shoot film for a traditional print, say a silver gelatin print, you have too make decisions about the final image when you shoot. You can’t, for instance, change the color of the filter you use to make black and white image when you print the image, you can only do it when you shoot. This means you need to think more about the final image when you shoot, not just when you edit. I don’t think this is better or worse, but it is different.
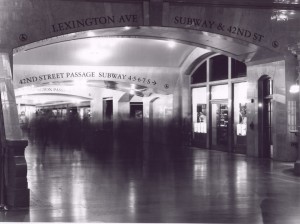
Thanks for paying attention the blog. I’ll be back soon. Here are the usual reminders.
Please check out my books and classes:

Understanding and Controlling Strobe Lighting: A Guide for Digital Photographers

Photographing Architecture: Lighting, Composition, Postproduction and Marketing Techniques

An Introduction to Photographic Lighting

Portrait Lighting on Location and in the Studio

Thanks, John

Getting Started in Commercial Photography

Thanks, John


May 3, 2012

Social Media and More

Filed under: Architectural Lighting,Marketing — John Siskin @ 2:19 pm


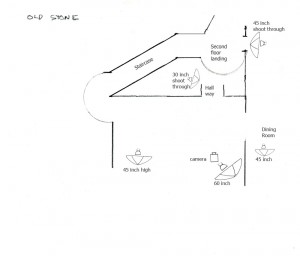
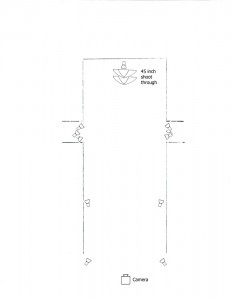
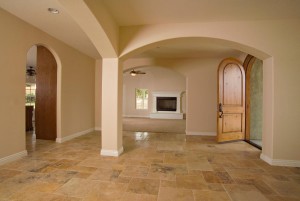
The images this week are from my book: Photographing Architecture. I hope you’ll check it out. I have included a couple of diagrams so you can see some of the details. Of course my other book: Understanding and Controlling Strobe Lighting: A Guide for Digital Photographers is still available.  I hope you’ll get a copy if you haven’t already.  Of course you know that one reason for this blog is to sell the book and get you to consider a class at BetterPhoto.com:
An Introduction to Photographic Lighting

Portrait Lighting on Location and in the Studio
Getting Started in Commercial Photography

If you’re in the Indianapolis area there are other opportunities as well. I’ll have classes and private lessons at Indy Photo Coach any day. Also I’ll be giving a lighting presentation at the Indy MU Photo Club on June 14. Finally, for now any way, I’ll be teaching a class in commercial photography next spring at Ivy Tech.

I wanted to say a few things about my current marketing projects. I written quite a few times about marketing, but I really haven’t said much about social media. There are several reasons for that, one of the best is I don’t know much about it. My assumption has been that facebook and many of the other sites are very useful for a photographer who shoots families and weddings. I thought that facebook would be of little use to me since my clients are mostly businesses. That may be true, but my business has changed somewhat since I came to Indianapolis. I am still very interested in commercial accounts, but I’m also interested in teaching and book sales. Also since many businesses do market using social media I think it’s important for me to be familiar with this sort of site. So, while I have long had a page on facebook, I now have a page for John Siskin Photographer: www.facebook.com/JohnSiskinPhotographer. It isn’t much yet, but I have high hopes. Also I have taken up tweeting. My handle is @JohnSiskin. I have a coach for social media. He wants me to post a fantastic amount of stuff. I really hope you’ll visit me at these sites: it’s not really social if you aren’t there. I really want your feedback about all these new offerings.


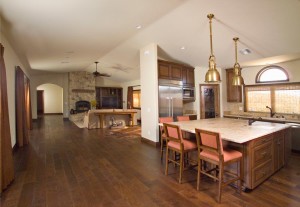
I also wanted to add a few things I said to a student about photographing kitchens. Shooting a kitchen is an assignment in my An Introduction to Photographic Lighting class. Probably the most difficult assignment. I think that people should shoot kitchens as exercise, the way musician do scales. I can’t say it often enough: photographers should practice. The images are mine, I don’t have permission to post student work.


These are good kitchen shots. I’m sure you put considerable effort into these. Kitchens are difficult for several reasons: there are a lot of reflective surfaces, there are windows and there is a wide tonal range. You’ll often see a kitchen with both white and black furnishings, as well as stainless steel and glass. Very often there is no perfect shot, just a best approximation. You have light coming from the umbrella as well as bounce light from the wall behind the umbrella, because you used a shoot through umbrella. One of the few places I use a shoot through umbrella is when shooting a bathroom. When I shoot a bath using this tool the light passes through the umbrella and bounces off the wall behind the umbrella. Since baths are so often painted white this is a good way to get a large light source into a small space.

You have mixed colors of light in both shots from the daylight sources: strobe and window light and the warm sources: the overhead light and the under cabinet lights. In a kitchen shot this isn’t a big problem, people expect a variety of light sources in a kitchen. I think you used a mono-light with the umbrella, but it’s hard to tell in the set-up shots, this would be a daylight balanced light. Often I’ll use a Rosco 1/2 CTO filter over my lights on an interior shot to make them a little warmer than daylight, but not as warm as a light bulb.

The dedicated strobe gave you some problems: the reflection in the windows and the shadows from the overhead fanlight. I think that a bounce light off the ceiling can be very effective in lighting a space, but you need to be concerned about the spread of the light. If you were shooting just a person you could crop out the ceiling, which I’ve done on some occasions. However, most of the time, I need to use a set of barn doors or a snoot over the light to control where the light is on the ceiling. These tools allow me to avoid having my bounce light spread into the shot. You have the shadow of the fan, and the light directly from the strobe, on the tops of the cabinets in one of your shots.
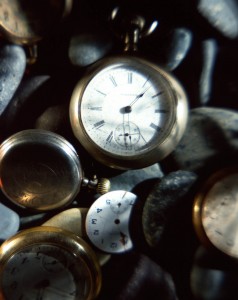
I hope you’ll check out my classes at BetterPhoto. I have been told that prices are going up this year at BetterPhoto, so you might want to sign up soon.

Thanks, John


April 22, 2012

Bubbles in the glass.

Filed under: Photographic Education,Photographic Equipment — John Siskin @ 3:31 pm


Amazon is shipping copies of my second book: Photographing Architecture. This is really exciting! Of course you can also get my first book Understanding and Controlling Strobe Lighting. You can download copies of most of my articles and some do it yourself projects. I teach three classes at BetterPhoto: Portrait Lighting on Location and in the Studio, An Introduction to Photographic Lighting and Getting Started in Commercial Photography. I hope you’ll check them out.
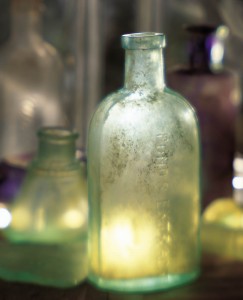
I used a double exposure to capture both a soft and sharp image with different lens settings.
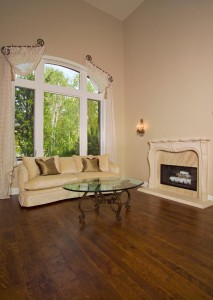
When I started doing photography bubbles in a lens was considered a good sign. They meant that the glass had been at the perfect temperature when the lens was made. There were really only two types of optical glass: crown and flint. Glass has always been critical for photography. The first lenses were very slow, which meant that exposures were many minutes long. Josef Petzval designed a much faster lens in 1840 that made portraiture possible. The first photographs were made on silver coated copper plates, for Daguerreotypes and on paper for Talbot’s photos. Soon photographs were made on glass plates, because this made it much easier to make additional copies of an image and keep good detail. The famous photographs of the Civil War were made on wet plates, which required very fast work by the photographer. The glass plate had to be coated, exposed and processed before the sensitive coating dried. Those photographers worked hard to make an image.

This image was originally made for an article in View Camera Magazine

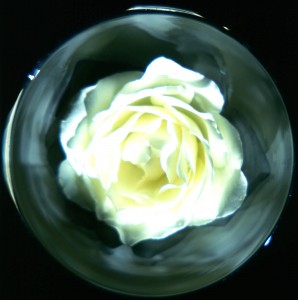
A few years ago, before Photoshop, I used to rely on the glass to make an image special. I had about twenty lenses for my view cameras that would do things like close focusing or capturing a wider angle of view. I had several soft focus lenses, including a set I assembled myself. The biggest challenge was in making an image that was both soft and sharp. This usually required lighting the image twice and making a double exposure. It was really a great feeling when everything worked. Now you can make a second layer in Photoshop and apply Gaussian Blur. Then you can do whatever blending you want between the two versions. The tools we have today allow us much more control over our images, and more options. However, there was a wonderful sense of accomplishment in making an image with special glass and light. I’ve attached images from soft focus lenses this week. The ones that used soft and sharp exposures in one image are marked.

I mounted a 180 soft Fuginon on a SLR Graflex B, quite a combination!

If you want to shoot classic lenses with a digital camera you should check out this article. It will tell you how to adapt a dSLR to a view camera.

I’m going to be judging a contest for the Indianapolis Camera Club on Tuesday. I really hope to be impressed. I expect to be putting up a schedule for classes with Indy photo Coach here and on the website soon. Of course you can sign up for one of my classes at BetterPhoto:An Introduction to Photographic Lighting

Portrait Lighting on Location and in the Studio

Getting Started in Commercial Photography
I hope you’ll check them out. I have been told that prices are going up this year at BetterPhoto, so you might want to sign up soon.

Another double exposure with both a sharp and a soft exposure.

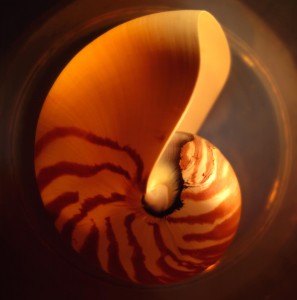
Nautilus Shell

April 15, 2012

Blog Updates

Filed under: Indianapolis,Photography Communication — John Siskin @ 9:32 am


Amazon is shipping copies of my second book: Photographing Architecture. This is really exciting! Of course you can also get my first book Understanding and Controlling Strobe Lighting. You can download copies of most of my articles and some do it yourself projects. I teach three classes at BetterPhoto: Portrait Lighting on Location and in the Studio, An Introduction to Photographic Lighting and Getting Started in Commercial Photography. I hope you’ll check them out.


This isn’t really much of a post, but more of a note about my blog. I went through all the blog entries in the last few days and added categories. I hope this will make it easier to find things, but it did confuse the chronological order of the thing. The categories are on the right side of the page, at the bottom of the lists. Please let me know if they are helpful by sending an e-mail. I had to shut down the comments, unless you register, as there was too much spam. I added a few random shots this week; I hope you like them.


A couple of other updates: first I will be teaching for Indy Photo Coach soon.  I’ll be doing business consulting with them and a seminar class to start. Probably a lighting class as well. This should be a great chance to get back to live teaching! Also I’ll be teaching at Ivy Tech next spring: a commercial class. I may have a general photo class in the fall as well. One more local note: I got a local client from the walk through I did at the home show a couple of months ago. Now I just have to do more business promotion.


Of course if you’re not in Indianapolis you can still take a class with me at BetterPhoto.com. I hope you’ll consider these:
An Introduction to Photographic Lighting

Portrait Lighting on Location and in the Studio

Getting Started in Commercial Photography
I hope you’ll check them out. I have been told that prices are going up this year at BetterPhoto, so you might want to sign up soon.

« Newer PostsOlder Posts »

Powered by WordPress