Amazon is shipping copies of my second book: Photographing Architecture. This is really exciting! Of course you can also get my first book Understanding and Controlling Strobe Lighting
. You can download copies of most of my articles and some do it yourself projects. I teach three classes at BetterPhoto: Portrait Lighting on Location and in the Studio, An Introduction to Photographic Lighting and Getting Started in Commercial Photography. I hope you’ll check them out.
When I started doing photography bubbles in a lens was considered a good sign. They meant that the glass had been at the perfect temperature when the lens was made. There were really only two types of optical glass: crown and flint. Glass has always been critical for photography. The first lenses were very slow, which meant that exposures were many minutes long. Josef Petzval designed a much faster lens in 1840 that made portraiture possible. The first photographs were made on silver coated copper plates, for Daguerreotypes and on paper for Talbot’s photos. Soon photographs were made on glass plates, because this made it much easier to make additional copies of an image and keep good detail. The famous photographs of the Civil War were made on wet plates, which required very fast work by the photographer. The glass plate had to be coated, exposed and processed before the sensitive coating dried. Those photographers worked hard to make an image.
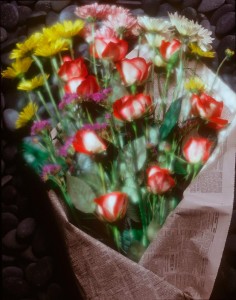
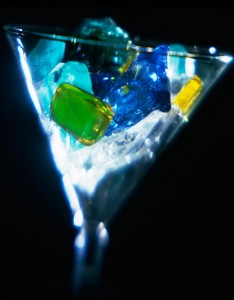
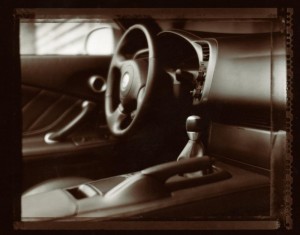
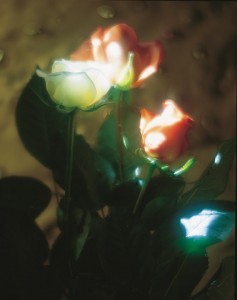
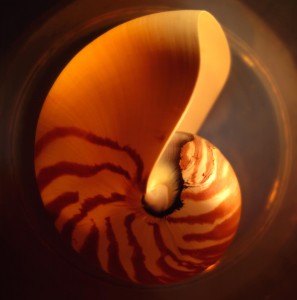
A few years ago, before Photoshop, I used to rely on the glass to make an image special. I had about twenty lenses for my view cameras that would do things like close focusing or capturing a wider angle of view. I had several soft focus lenses, including a set I assembled myself. The biggest challenge was in making an image that was both soft and sharp. This usually required lighting the image twice and making a double exposure. It was really a great feeling when everything worked. Now you can make a second layer in Photoshop and apply Gaussian Blur. Then you can do whatever blending you want between the two versions. The tools we have today allow us much more control over our images, and more options. However, there was a wonderful sense of accomplishment in making an image with special glass and light. I’ve attached images from soft focus lenses this week. The ones that used soft and sharp exposures in one image are marked.
If you want to shoot classic lenses with a digital camera you should check out this article. It will tell you how to adapt a dSLR to a view camera.
I’m going to be judging a contest for the Indianapolis Camera Club on Tuesday. I really hope to be impressed. I expect to be putting up a schedule for classes with Indy photo Coach here and on the website soon. Of course you can sign up for one of my classes at BetterPhoto:An Introduction to Photographic Lighting
Portrait Lighting on Location and in the Studio
Getting Started in Commercial Photography
I hope you’ll check them out. I have been told that prices are going up this year at BetterPhoto, so you might want to sign up soon.

