I was talking about the workshop at the Irving Theater is the last blog as well. This week I’m going to show you the steps in the shoot. This was the actual shoot for the Irving so the participants got to see the actual process rather than a staged version of the shoot. I’ve been teaching for a couple of decades and I’ve discovered that many students like to see the way shoots actually work, and the actual problem solving that goes into a shoot. This blog will help those who couldn’t attend. Of course not every moment in this kind of a production is good entertainment. Personally, I sometimes feel as though I’m making a bad landing in front of an audience. Especially if I’m shooting in a theater. I hate to start with a bad shot, but most things begin in the dark. This is the progression of shots that led to the final shot from the Irving Theater on March 4. More than twenty people were present for the experience. There is a short equipment list at the end of the blog. For more information please check out my books. The links are at the top of the page.
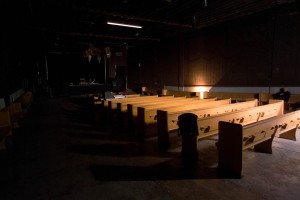
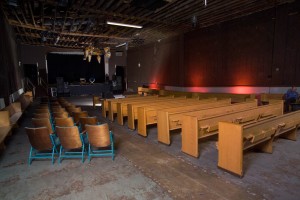
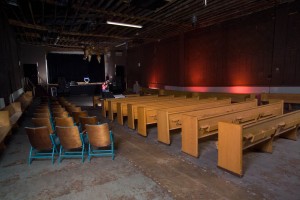
 Irving 01: Ambient light, the place is a cave with little light. Exposure: 1/90 at F8, which was the exposure for all these shots. The differences are in the light.
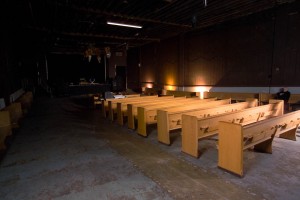
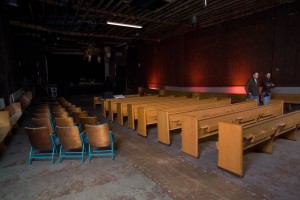
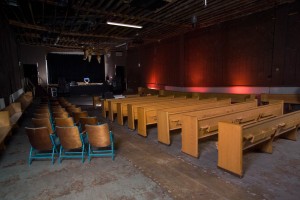
Irving 02: Two lights, a Norman LH2400 with 500 watt seconds on the right side of the frame into an Alien Bee parabolic reflector, and a Norman 200B pointed at the back wall. Both of these are tests.
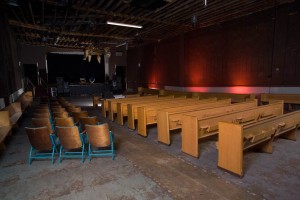
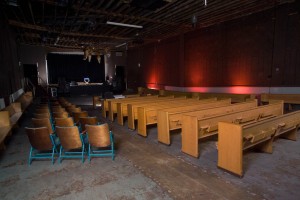
Irving 03: I added a 45 inch umbrella with a Calumet 750 watt-second Travelite near the camera. The Travelite is set to 1/2 power. I added two more Norman 200B units to the back wall with full CTO gels on each. The CTOs are filters to make the light warmer.
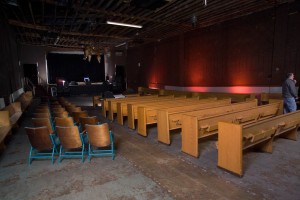
Irving 04: I put a Norman LH2400 in the front of the room, just in front of the first pew. The light has about 500 watt-seconds. I put barn doors on the light to control the spill. The spill is bad in this shot.
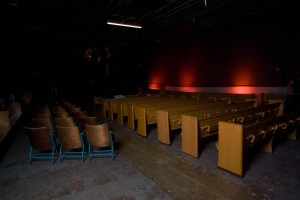
Irving 05: The Travelite and the Norman 200Bs are the only lights that fired. The CTO gels have been replaced by red gels, looks better. A shot with fewer lights makes it easier to balance the 200B units, but I didn’t plan it. I had problems with the slaves. The chairs appeared.
Irving 06: The Normans at the back and at the front fired. Better! I abandoned the Alien Bee Parabolic reflector and used a 60-inch umbrella on the Norman. This umbrella has a much larger and softer spread. I had hoped the Parabolic umbrella would give me some sort of spot on the stage, this was obviously way to optimistic.
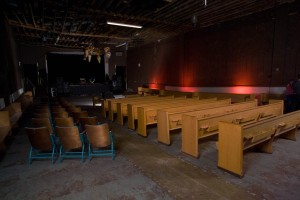
Irving 07: More power in the Travelite and the Norman LH2400 at the right of the camera. Things look better. The red lights have been slightly repositioned.
Irving 08: Another bad slave shot, the light in front didn’t fire. I had radio slaves on the 200Bs and the Travelite near the camera; the other strobes had optical slaves. Slaves can be a problem.Here’s an article about slaves.
Irving 09: I kicked up the power on the strobes. The light at the front ended up with 750 watt-seconds. It has more in this shot. The Travelite was at almost full power. The LH2400 on the right had 1200 watt-seconds. The Norman 200Bs ended up at 100 watt-seconds, which was less then they started with.
Irving 10: The LH2400 in front of the pews was reduced in power to the final 750 watt-second. Norman 200Bs were added on the stage. The one on stage left has a 30” shoot through umbrella. This didn’t work: too much light out the back, 200 watt-seconds. The one on the right had a metal 8” parabolic reflector to throw a spot on the chair, I25 watt-seconds.
Irving 11: The 30” umbrella on the stage was replaced by a shoe cover. Shoe covers are very useful. One of my assistants, Jeff or Jeff put a jacket between the speakers to help hide the light on the stage.
Irving 12: So we get the idea that slaves don’t work every time. This is particularly true with optical slaves in a room with dark walls.
Irving 13: Basically the final shot, but the fluorescent light is on. I think this is the same as #11, but without people.
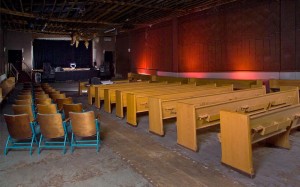
Irving 14: The final capture! The fluorescent has been turned off, so we are in the dark.
Irving 15: The shot after retouching. For more on the retouching please see my last blog entry.
Norman LH2400: these are studio strobes. Lights have to be plugged into a power pack to work. The power pack is plugged into the wall. My lights are Norman’s 900 series. I have 8 heads and three power packs, 1-2000 watt-second and 2-1250 watt-second units.
Norman 200B: These are location strobes. The have separate power packs, both AC and DC so they are very flexible. Maximum output is 200 watt-seconds. I used DC packs on the wall and AC packs on the stage. I have 7 heads and 5 packs. This is a very flexible system.
Calumet Travelite 750. A 750 watt-second mono-light. This is a self-contained unit that plugs directly into the wall.
Alien Bee 86 inch parabolic umbrella: Let them describe it. They do a better job: http://www.paulcbuff.com/plm-silver.php.
Norman 8-inch parabolic reflector. This throws a very tight spot. For a little more information on Norman’s reflectors for the 200B: http://normanlights.com/battery_reflectors.asp.
Well that’s it. Back to a plug for BetterPhoto classes. Seriously folks take a class, please.
Thanks, John
I teach three classes at BetterPhoto:
Portrait Lighting on Location and in the Studio
An Introduction to Photographic Lighting
Getting Started in Commercial Photography
I hope you’ll check them out. I have been told that prices are going up this year at BetterPhoto, so you might want to sign up soon.


