I did a workshop at the Irving Theater in Indianapolis on March 4. I offered 25 tickets and had a sell out. I shot the Irving with the participant and the owner and a couple of assistants. This was the actual shoot for the Irving so the participants got to see the actual process rather than a staged version of the shoot. I’ve been teaching for a couple of decades and I’ve discovered that many students like to see the way shoots actually work, and the actual problem solving that goes into a shoot. Of course not every moment in this kind of a production is good entertainment. Personally, I sometimes feel as though I’m making a bad landing in front of an audience. Especially if I’m shooting in a theater.
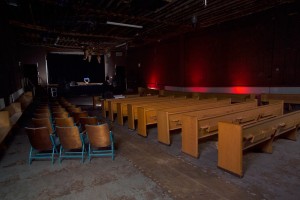
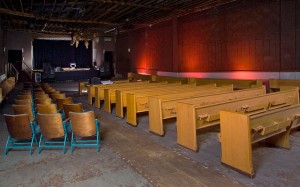
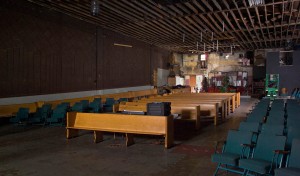
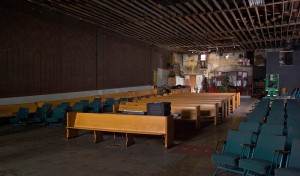
The next step in this process is to discuss post-production. What you do after the shot can be as important as what you do in front of the camera. I should point out that the images here will enlarge if you click on them. The next shots are the before and after Photoshop for the first shot:
I used eight lights to make this shot. The theater lights were turned off.
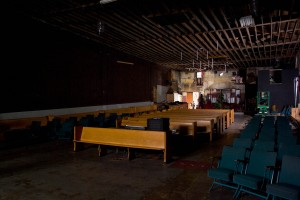
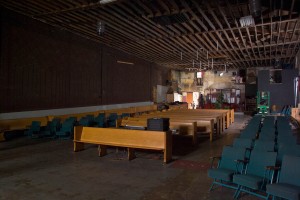
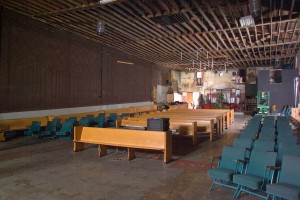
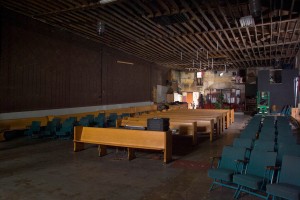
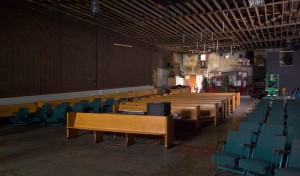
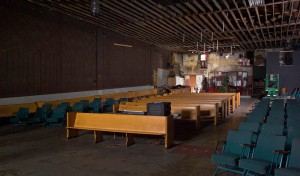
In this next shot I used only 4 lights, plus a little daylight co ming through the windows. I’m going to walk through the steps of post-production with this shot.
Version 1: The raw file is converted to jpg without adjustments. There are four lights: 2 behind the camera each at 800 watt-seconds with a 45-inch umbrella. One mono-light on the right side of the frame, which you can see. It has about 600 watt-seconds with a 45 inch umbrella. Finally a 500 watt second light hidden at the back of the shot. This had a shoe cover over the strobe.
Version 2: Raw file converted with Fill Light adjustment at 9, blacks at 1, Vibrance at 15 and Saturation at 10.
Version 3: Same as above with 1 stop higher exposure and blacks set at 0. This version might be used to create lighter areas in the finalversion. Under other circumstances I might make a dark file as well as a light file. This was the last work done with the RAW files.
Version 4: I took the dark version and put it over the light version in Layers. I used the eraser tool set at opacity 15%. This gave me a way to lighten the image selectively. I can vary the size and softness of the eraser tool for good control. This works better than dodging for me. I wanted the ceiling dark. The walls are just a little lighter and I kept the floor dark. I lightened the pews just a bit. When things looked good I flattened the file. You need to do any work in layers before you work with cropping.
Version 5: This is all the cropping. First I use lens correction because my light has slight barrel distortion. I usually have this set around 3. Then I do the cropping and change the perspective with the cropping tool. I do the cropping incrementally that works better for me than one big correction. You‘ll notice I cropped out the light on the right side of the frame.
Version 6: Next I used the burn tool. In some circumstances I would build another layer from raw (not after cropping) but the details of this shot don’t require it. I had the tool set between 8% and 20% for this and I changed the size of the tool as needed.
Version 7: I usually do unsharp mask twice, once to increase contrast in the image. This time my settings were Amount 10 and Radius 40 for that. My second sharpening was Amount 35 and Radius 2.5, this actually sharpens the image. Of course how you do this is going to depend on your camera and lens.
Version 8: This image is a little grainy, especially on the wall. I made a duplicate layer and removed the noise on that version. The settings were Strength 9, Preserve Details 10, Reduce color noise 90 and no sharpening. This is a lot, but this isn’t the layer we’ll look at. Then I used the eraser tool, as did I above, to custom blend the two versions. The eraser tool was very big, 900 pixels, so that I could fix areas of the shot.
Version 9 (Final): I’m going to look at the image at 100%. I’ll fix dust and problems in the image like the hanging fluorescent lights. This will take a while. I kept the reduced noise layer for this, so I can also spot fix noise. This is the image I’ll hand to Dale at the Irving Theater. He may want additional cropping or other changes, but I’ll do these after I consult with him.
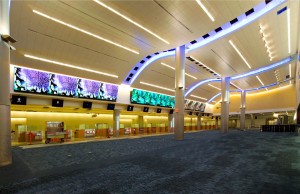
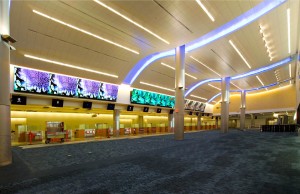
Now maybe you don’t want to do this. or perhaps there are jobs you don’t have the skills to retouch. That happens to me frequently. I use a company called Deepetch.com when I need extra help. You can see that there were a lot of ceiling tiles missing in the first version of this shot. This is from my recent airport shoot.
In Version 2 all the tiles suddenly appeared. Deepetch did the job in just a day and for an extremely reasonable price. As photographers it is our responsibility to get the job done right, but that doesn’t mean we have to do everything ourselves.
I teach three classes at BetterPhoto:
Portrait Lighting on Location and in the Studio
An Introduction to Photographic Lighting
Getting Started in Commercial Photography
I hope you’ll check them out. I have been told that prices are going up this year at BetterPhoto, so you might want to sign up soon.


