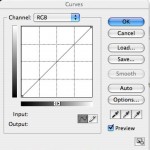
I wanted to take time out and talk a little about Photoshop this week, specifically curves. Curves is under Adjustments in the Image menu, if you don’t find yourself going there every time you’re in Photoshop. The standard curve is a line from the lower left corner to the upper right corner. This is a really powerful part of Photoshop; you can control contrast, exposure and color. You can do this with any level of detail you might wish. Some time ago I found an article at about.com that discussed solarization in the computer. When you did in a wet darkroom you re-exposed the print to light during development. The results were very interesting, but unpredictable. I have to say that unpredictability was part of the charm.
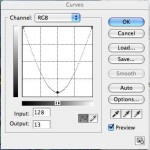
It turns out you can do something vaguely similar with curves. If you put the bottom left corner at the top left corner and bring the middle down all kinds of interesting things happen. The mid tones go toward black and the shadows and the highlights are light. With a gray scale image this can be very compelling.
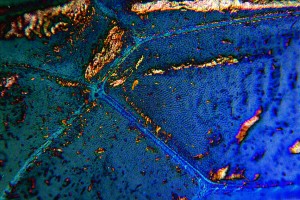
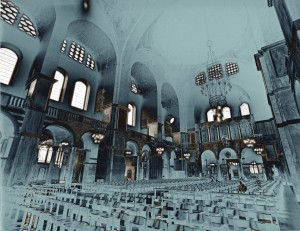
If you work with a color image or a gray scale image that you add a little color to, things get even more interesting. Here I added some red and yellow to the cathedral image. Then I used this u-shaped curve. In addition to the cathedral image I used above I’m using some of the fly wings from last week with u-curve
Please check out my classes at BetterPhoto. You can still sign up for the current session!
An Introduction to Photographic Lighting
Portrait Lighting on Location and in the Studio
Getting Started In Commercial Photography
Thanks, John Siskin


