Photo Notes A place to talk about making images.

October 24, 2010

Book to Book to Book?

Filed under: Looking at Photographs,My Books! — John Siskin @ 8:20 pm

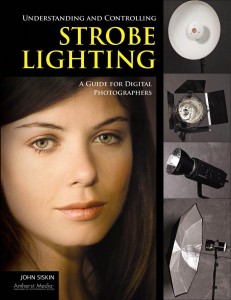
The first book, Understanding and Controlling Strobe Lighting: A Guide for Digital Photographers, is on sale now, but it may only be at Amazon. Hopefully it will be in a book store near you soon. I’ve heard good things from a few people who have already received it. It is really fabulous to look myself up at Amazon.

The second book is FINISHED!!! Lighting spaces, a photographers guide to lighting architecture, commercial and other big spaces with flash and ambient (light), the title is still kind of wordy. I think we’ll shorten it soon. I shipped the files off to the publisher Amherst. Look for this book in the fall of next year, 2011. My last two blog entries were from this book, I hope you’ll check them out.

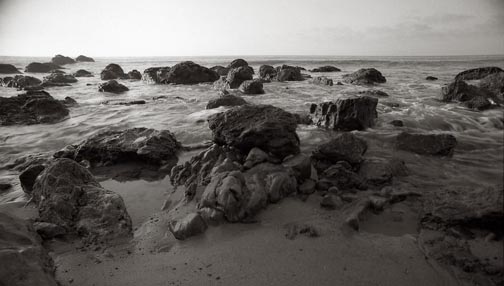
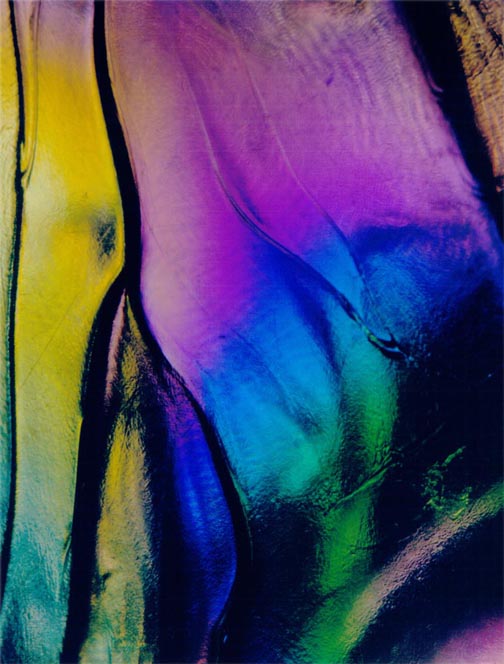
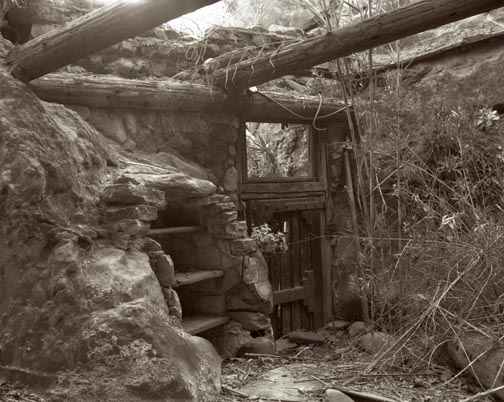
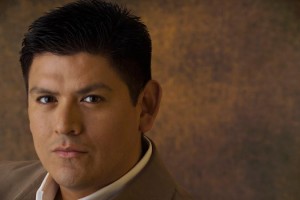
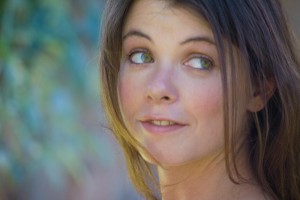
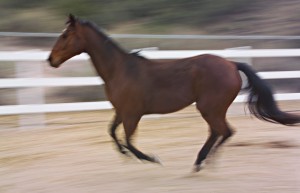
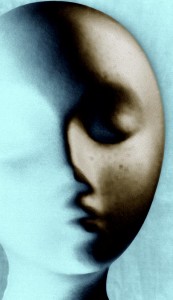
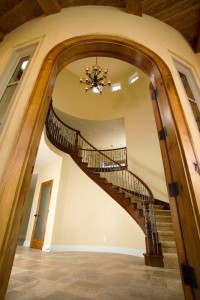
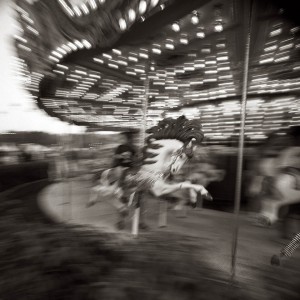
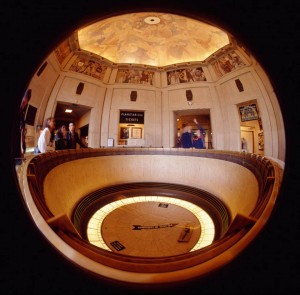
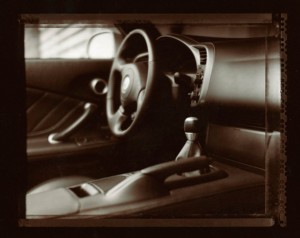
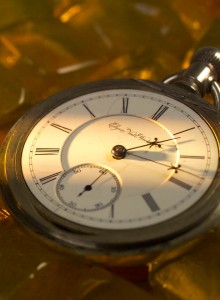
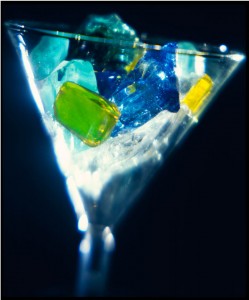
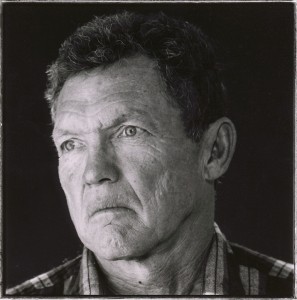
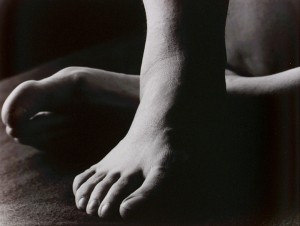
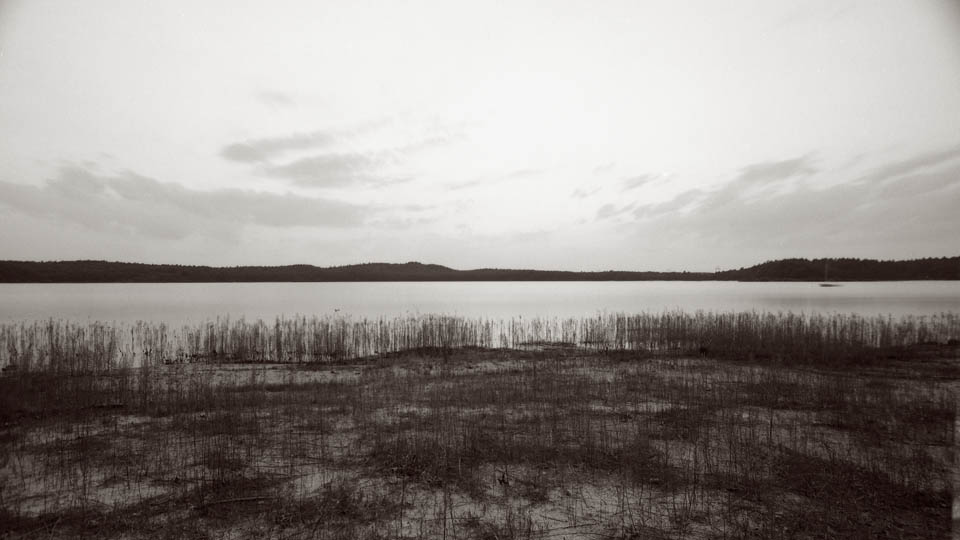
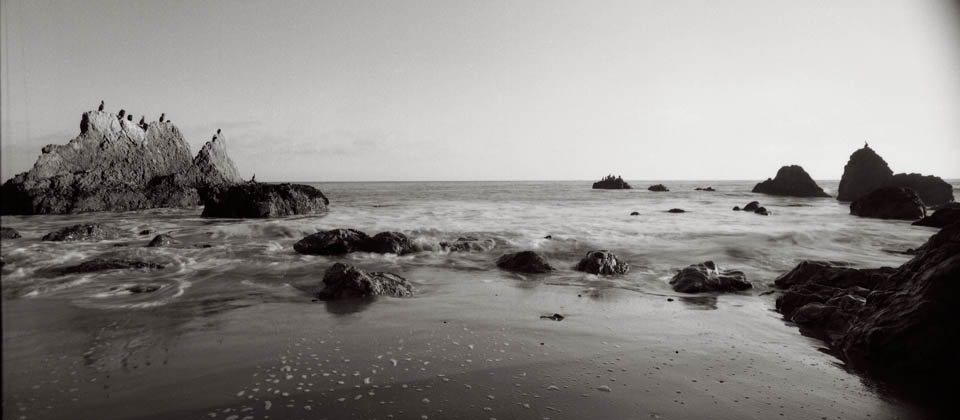
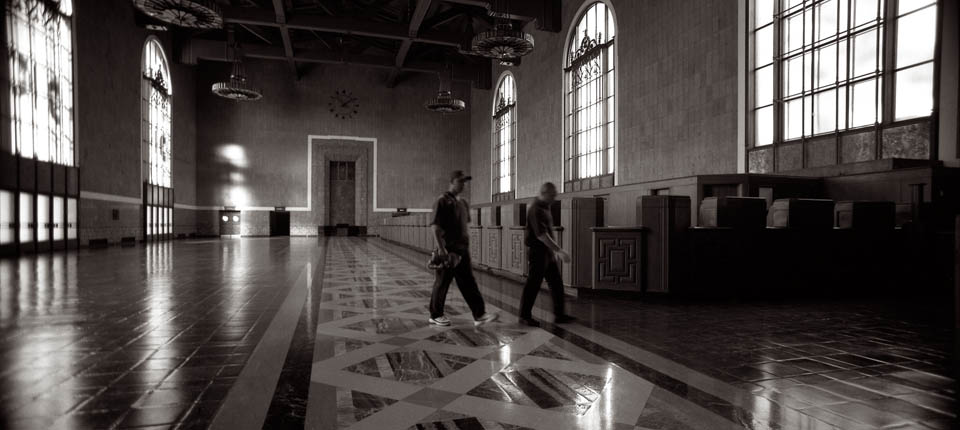
And NOW, I felt the need to share some pictures that are beautiful. Images not made for clients and not made for profit. I’ve been gathering images, while making the second book. So in a few days you’ll be able to get a book of my favorites. I’m calling it B-Four, because it is pictures of beaches, beings, beauty and buildings. There will probably be two versions of this from Blurb. I really hope you’ll consider purchasing a copy. It is nice to share some of pictures that I find compelling. I expect that the book will be ready to order in about a week. I’ve chosen the images, but I have to finish gathering files. I trust the book will be worth your attention. Here are a few images:

Beach

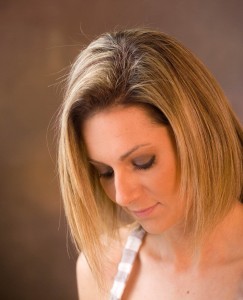
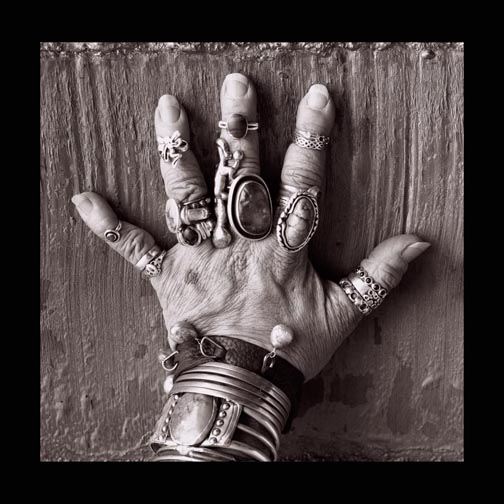
Beauty

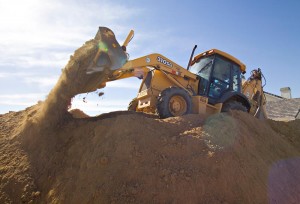
Buildings

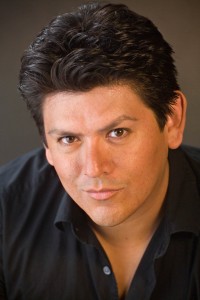
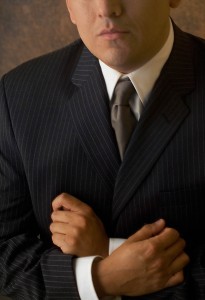
Beings

Please consider taking one of my classes, or even recommending them. I have three classes at BetterPhoto:
An Introduction to Photographic Lighting
Portrait Lighting on Location and in the Studio
Getting Started in Commercial Photography

BetterPhoto.com, The better way to learn photography

September 5, 2010

Controlling the Viewers’ Eyes

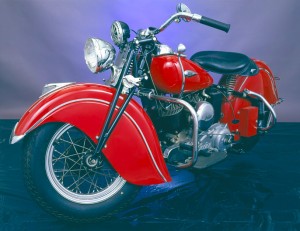
I’ve written several times about making and taking photographs. My main goal in making a photograph is to keep the viewer engaged with the photograph. If a person looks at an image and says “picture of a motorcycle” and moves on, you haven’t really got any attention. If they look at the shot, and spend time staring at the motorcycle, that’s much better.

One of the ways to keep a viewer engaged in a shot is to give them color and line and shape, but not give them a recognizable object. I enjoy making images of this sort. As you may know, from this blog and my magazine articles, I make a lot of abstract images with the microscope.  I was asked to participate in a show last week, and I will probably bring these abstract images.

There are other ways to keep the viewer engaged. One is to place the subject on the left side of the frame, since the viewer’s eye often enters the frame from the upper left it is a good idea to have the subject near that corner of the shot. The eye starts in this corner because this is how people are taught to read English, I have had students who learned to read in the opposite direction, and they seemed to frame in the opposite direction way. Still, people often shoot the subject on the right side of the frame. They scan from the left finally find something on the right and hit the shutter. People could make better pictures if they took more time to re-frame the image.

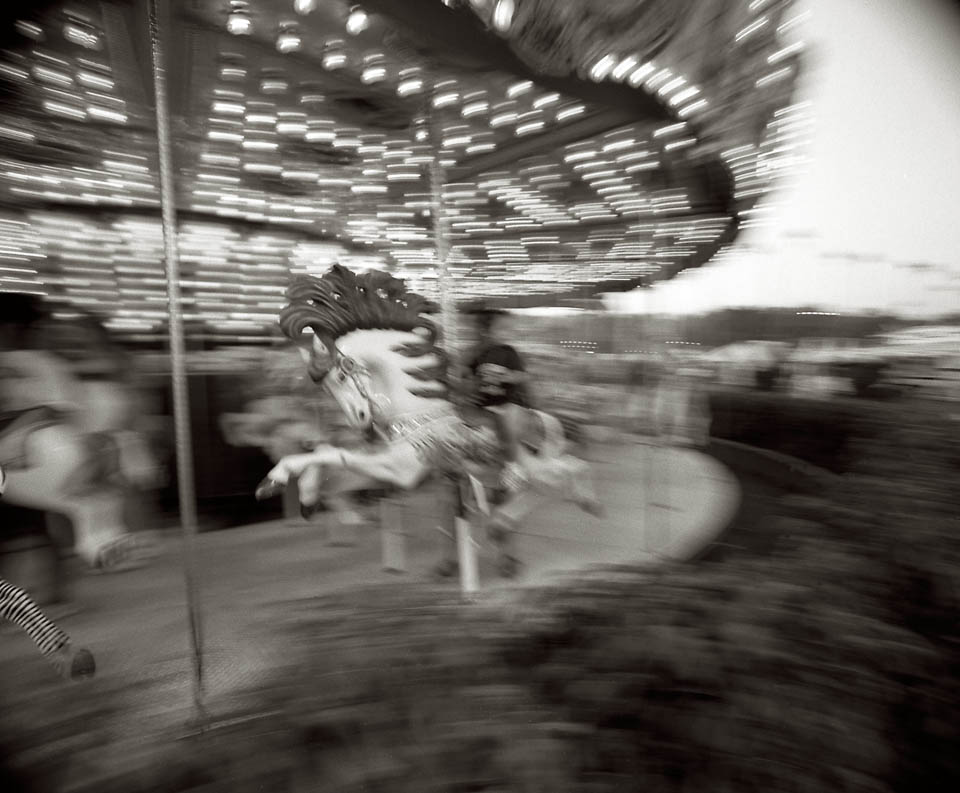
Another way to influence the viewers’ eye is the use of sharp focus and soft focus in the image. Since the eye is looking for a subject it will naturally look for the sharpest areas of the image. The eye will also look at lighter areas of the image, so you can use these ideas to make better portraits, product shots and even action shots. You can manipulate the focus in an image after you shoot it, with Photoshop or another image manipulation tool. I also like doing this in camera. I use depth of field, dragging the shutter or panning the camera to give different effects. Depth of field is the area that is in focus in front of and behind the actual point where the lens is focused. The amount of distance, that is in focus, is changed by the aperture: a smaller aperture gives more depth of field and a larger aperture gives less. So a wide aperture would allow you to use depth of field to isolate the subject of your shot. There is more information about the aperture in an earlier blog entry.

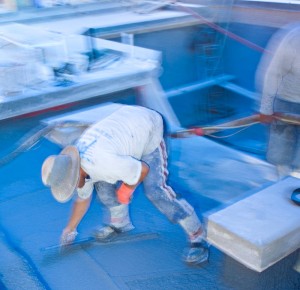
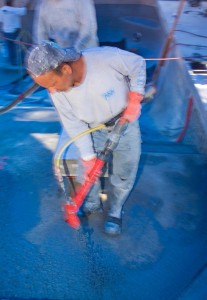
Shutter drag, or dragging the shutter, is a way to mix the instantaneous light from a strobe with a long exposure of the ambient light. This gives me a chance to mix the image from instant and continuous light. The process of dragging the shutter is less controllable than some of the effects I use so it is good to shoot a lot of frames if you do this. Basically the idea is to use a strobe, which is only on for about 1/1000th of a second, and a long exposure for the ambient light, say a 1/4 second. I have often found this technique effective for shooting people working.
You also use a long exposure for panning. The idea is to move the camera along with the subject. That way the subject is sharp but the background is blurred. As with the shutter drag this doesn’t always work, so you need to take a lot of shots. This is also easier with a range finder camera, since you can see through the viewfinder when the shutter is open.  With a dSLR the viewfinder is black when the shutter is open.

Of course there are other ways to accomplish soft and sharp focus, maybe we’ll get to some of them next week. One thing I’m doing different this week: I the links are connected to copies of the images at BetterPhoto. I really don’t know how well this will work for non-members, so if you can’t use the links please let me know.
My article on strobe power is in the current Photo Technique Magazine. I hope you’ll get a copy.
Please consider taking one of my classes, or even recommending them. I have three classes at BetterPhoto:
An Introduction to Photographic Lighting
Portrait Lighting on Location and in the Studio
Getting Started in Commercial Photography

BetterPhoto.com, The better way to learn photography

August 28, 2010

Art and Craft

Filed under: Looking at Photographs,Photographic Education,Uncategorized — John Siskin @ 5:40 pm

When I was in college I used to have arguments with my roommate about whether or not photography is an art. Neither of us were armed with the history of this argument, so no direct hits were scored. If you find this argument interesting you might want to study Alfred Stieglitz, who argued the topic with the Museum of Modern Art in New York.
Today, as I have in the past, I want to discuss the craft of photography. Craft is something you can discuss in a more objective way than art. I don’t think I would want an artist to frame my house, but I would want good craftspeople framing my house if I was building one. One of the key aspects of good craft is that it can perform to a plan; art often doesn’t do that.
One of my favorite artists is Man Ray. When I first saw reproductions of his work I thought he had great ideas and poor craft. Over the years I bought better quality books and saw original work. I realized that I had been wrong. He was a consummate craftsman. What I didn’t see at first was quality because of poor reproductions, and the experimental nature of his images. Experimentation allows an artist to walk into the unknown. Continued experimentation allows the artist to map the area. The map really allows the artist to add craft to the experiments. For instance Man Ray’s work with solarization is the best I have ever seen. There are many images that I can’t explain, because I don’t have that craft.
I teach classes at BetterPhoto.com, as many who read this blog regularly know. I am not trying to teach art. I try to teach craft, and frankly I am often frustrated. In order for a person to learn craft they must practice, build their own map. In one of my classes: An Introduction to Photographic Lighting, I tell people how to build a kind of a lighting laboratory. They can run their own experiments in this environment. I can tell when a student has really experimented and when they just did a shot. I wish that I could find a way to get more students to do more experiments; there is so much to learn. I know that many people present lighting as do this and this and you’ll get great results. I call this cookie-cutter lighting. If you are going to be good you need your own map. You need to know how to build a custom environment for each subject. This is the attitude of a good craftsperson and an artist.
The greatest advantages of digital photography are in this area of practice and mapping. A digital camera will allow you to practice for free; you couldn’t do that with film. Your results from digital are available instantly, and film wouldn’t do that either. So we should be seeing more good craftspeople ant ever before.
I wanted to add something from the book on interior photography I’m working on. I think it also has bearing on this discussion.
“When I started doing photography I thought there was a rule book. Of course I didn’t have a copy of the rules, and I didn’t know where to get a copy. Frankly I had the same idea about things other than photography. I went to school for a long time, they taught me a lot of rules, mostly about things that didn’t matter. There are supposed to be a lot of right ways to do things in photography, and there are. But they are the right way to do a particular thing for a particular reason. So in this chapter we’ll start with a picture that is taken from a wrong angle. The client is very happy with, I’m very happy with it, in fact I use it on some of my business cards.


This is a picture of the same doorway taken from a more usual angle. Both are good pictures, but one is much more dramatic.”


I teach a class in commercial photography , as well as classes in lighting and portraiture at BetterPhoto.com. I hope you will check out the classes soon. My first book: Understanding and Controlling Strobe Lighting: A Guide for Digital Photographers will be published in the fall you can pre-order it. I have a new magazine article coming out in September about strobe power. You can see it in Photo Technique Magazine.
Thanks, John

November 18, 2009

Editing

Filed under: Looking at Photographs,Photography Communication — John Siskin @ 10:27 pm
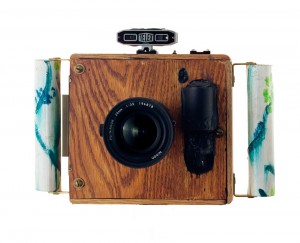
Made with my custom Super-wide camera that uses a 28mm Nikkor lens on 120 film

Made with my custom Super-wide camera that uses a 28mm Nikkor lens on 120 film

Editing photographs is not only difficult, sometimes it is heart wrenching. Often each image seems a special and unique expression of your creative vision, how can you bare to part with even one. Get over it; this feeling is personal. No one else will ever experience your photographs the way you do. You remember the day, what happened before and after, you remember the client and you remember whether you got paid. The viewer doesn’t experience any of this, and for the photograph to be effective for the viewer you have to give him/her an image they can perceive in their own terms. That is the purpose of editing. I am going to attach some photographs I made to this blog. I designed and built the cameras that made these images. Because of that intimacy no one else will ever perceive the shot in the way I do. I hope they will like it, but they will inevitably have a different feel for the image. You may think editing is time consuming, and it is, but it will make you a better photographer.

The first step in editing is shooting. You need to shoot a lot of images. The last head shot job I did was around 300 images, but on a product job I might shoot only 2 images per product. Since we are now working in digital it is important to always shoot that extra image, or extra dozen images. It is always easier to shoot more than it is to go back. Although Eisenstaedt was famous for just taking a few shots for an assignment, we will do better not to emulate him.

Made with a custom camera that uses a Speed Graphic body and a 30mm lens

Made with a custom camera that uses a Speed Graphic body and a 30mm lens

In order to edit effectively we need to be ruthless. The first step is to remove everything that is clearly a mistake. With a portrait type job this is generally pretty easy. A mistake is an image that doesn’t grab your eye. A mistake is an image that is out of focus. A mistake is an image that is not focused on the subject. A mistake is an image that is blurry. If you shoot in raw a shot doesn’t have to be perfectly exposed, but if the shot is two stops from perfect exposure the shot is a mistake. If the strobes didn’t go off it is a mistake. Get rid of all this stuff, you should have plenty more images. I understand the Photoshop CS 15 will be able to fix everything, but that hasn’t happened yet. Photoshop 16 will be able to make your entire childhood perfect. Yes there are many mistakes you could fix, but you could spend days working in Photoshop. It is better to move through the process quickly. But you might as well save these images somewhere.

Step two is to get rid of everything that makes the subject look like a doofus. So that shot where the subject is checking out your shoes? Gone. At the same time you should part with all the shot where you awkwardly cut off body parts, hands cut in half and so on. Yes a lot of these shots could be saved. If you shot enough you shouldn’t need to save them.

I used a custiomized Graphlex SLR with a 180 soft-focus lens from Fuji

I used a custiomized Graflex SLR with a 180 soft-focus lens from Fuji

This should do it for negative editing; that is removing images because of problems. With any luck you have removed any where from 20 to 50 percent of your shots. Good. The other thing you have does is to look at all of the images that are left at least twice, well you went through the images twice didn’t you? That familiarity with your images is going to help a lot in the next go round. When you look through the images this time, look for images that are particularly fine, not just acceptable. They should have something special they may need cropping or other minor work, but the quality of your vision should be apparent. Also you want to look at the images as if you didn’t shoot them, as if you were seeing them not editing them. Look for an image that really connects. Certainly you can keep images you are unsure about, but you should end up with less than 10 percent of the images you started with.

Made with a digital camera mounted on a customized 4X5 Toyo C

Made with a digital camera mounted on a customized 4X5 Toyo C

I do this in Adobe Bridge, but there are certainly other programs that would do as well or better. As I go through each step I display the images larger, so that I get a better feel for the shots. The next step is to bring the images into Adobe Raw. Raw gives me a better look at each image, and I can begin the image processing. In raw I can do batch corrections on color, contrast, saturation and so on. I can also crop my images and do a variety of individual corrections. I will do my final choices on editing in raw. An image may get left behind at this point for a variety of reasons. Sometimes it is something I could fix, but don’t want to, or perhaps two images are very similar.

Finally I will open up all of the images that made it through raw in Photoshop. While I will rarely remove an image form the group in Photoshop I will perfect the images in Photoshop. This is where I will sharpen and do other detail work. Now finally, if the client asks for just there shots (not likely on a head shot) and I don’t have any personal reasons to make a choice, I can say enie minie moe….

Made with a lens I built

Made with a lens I built

You can download a copy of my article on building cameras at this link: www.siskinphoto.com/magazine/camerabuilding.pdf

September 3, 2009

Making and Taking

Filed under: Looking at Photographs,Photography Communication — John Siskin @ 12:02 pm

Charlie C.Years ago I heard that photography is the most popular hobby in the world. I suppose that is still true. What that means is that a whole lot of people take a whole lot of pictures. The key word in the last sentence is take. Most people using cameras see something that interests them, point and shoot. The photographs made this way enable the taker to bring back memories of the moment that are vivid and meaningful. The images become a diary of the takers experience. This is an incredibly important use for photography. Still there are difficulties with these images: most importantly they are personal. They rarely communicate effectively to anyone but the shooter. So you’ve taken a photograph of your child at the beach, when you see it you remember the vivid blue of the water the hot sand and the sounds of the day. When I see it I see an overexposed mess.

What is it that makes someone a photographer, rather than a picture taker? First a photographer makes pictures

Strong side light creates a good feeling of shape

Strong side light creates a good feeling of shape

rather than takes them. One of the most important skills for making a photograph is pre-visualization. Basically the process of seeing the scene and then seeing the way the photograph should look. Then you make the photograph using the tools that will enable you to make the photograph you visualized. Ansel Adams discussed this process of pre-visualization extensively, primarily referencing tools of exposure and development. There are other important tools, some of them unavailable to Adams. The tools I use most in making a shot are lighting, exposure and position. After the shot I do more work with exposure and use filtration, contrast and saturation. The key is that I think about all these tools, and sometimes a few more, as I am making the pictures. It is also important to have the tools that enable me to make the picture I see. So I almost always have lights, often battery powered 200 watt-second strobes, more powerful than proprietary strobes. I think that lights is the most powerful tools in my kit, my control of lighting enables me to make photographs others can’t. Lights are important, not just in the studio, but at most locations also. I teach lighting because I want to enable others to make better pictures. I hope you’ll consider taking one of my classes, to learn about making pictures.

An Introduction to Photographic Lighting

Portrait Lighting on Location and in the Studio

Business to Business: Commercial Photography

Please check out the rest of my site (www.siskinphoto.com) to see more photographs I’ve made and for more information.

Thanks, John

Here the strobe opens up the face, back light would otherwise make the face dark.

Here the strobe opens up the face, back light would otherwise make the face dark.

August 13, 2009

Editing


A hand built super wide camera

A hand built super wide camera

Editing photographs is not only difficult, sometimes it is heart wrenching. Often each image seems a special and unique expression of your creative vision, how can you bare to part with even one? Get over it; this feeling is personal. No one else will ever experience your photographs the way you do. You remember the day, what happened before and after, you remember the client and you remember whether you got paid. The viewer doesn’t experience any of this, and for the photograph to be effective for the viewer you have to give him/her an image they can perceive in their own terms. That is the purpose of editing. I am going to attach a photographs I made to this blogl. I designed and built the camera that made the image. Because of that intimacy no one else will ever perceive the shot in the way I do. I hope they will like it, but they will inevitably have a different feel for the image. You may think editing is time consuming, and it is, but it will make you a better photographer.

Made wirth the Super Wide camera

Made wirth the Super Wide camera

The first step in editing is shooting. You need to shoot a lot of images. The last head shot job I did was around 300 images, on a product job I might shoot only 20 images. Since we are now working in digital it is important to always shoot that extra image, or extra dozen images. It is always easier to shoot more than it is to go back. Although Eisenstaedt was famous for just taking a few shots, we will do better not to emulate him in this.

Made with the Super Wide camera

Made with the Super Wide camera

In order to edit effectively we need to be ruthless. The first step is to remove everything that is clearly a mistake. With a portrait type job this is generally pretty easy. A mistake is an image that has no real subject. A mistake is an image that is out of focus. A mistake is an image that is not focused on the subject. A mistake cuts into important parts of the subject, like the hands. If you shoot in raw a shot doesn’t have to be perfectly exposed, but if the shot is two stops from perfect exposure the shot is a mistake. If the strobes didn’t go off it is a mistake. Get rid of all this stuff, you should have plenty more images. I understand the Photoshop CS 15 will be able to fix everything, but that hasn’t happened yet. Photoshop 16 will be able to make your entire childhood perfect. Yes there are many mistakes you could fix, but you could spend days working in Photoshop. It is better to move through the process quickly. But you might as well save these images somewhere. This is why we have terabyte hard drives.

Made with the Super Wide Camera

Made with the Super Wide Camera

Step two is to get rid of everything that makes the subject look like a doofus. So that shot where the subject is checking out your shoes? Gone. At the same time you should part with all the shot where you awkwardly cut off body parts, hands cut in half and so on. Yes a lot of these shots could be saved. If you shot enough you shouldn’t need to save them.


Made with the Super Wide Camera

Made with the Super Wide Camera

If I am giving the client a proof disc, that is a disc with all the acceptable images, I will take the images at this point and convert them to jpg with the proprietary program. The proprietary program is often simple than Adobe Raw for this kind of large batch processing.

This should do it for negative editing; that is removing images because of problems. With any luck you have removed any where from 20 to 50 percent of your shots. Good. The other thing you have done is to look at all of the images that are left at least twice; well you went through the images twice didn’t you? That familiarity with your images is going to help a lot in the next go round. When you look through the images this time, look for images that are particularly fine, not just acceptable. They should have something special they may need cropping or other minor work, but the quality of your vision should be apparent. Also you want to look at the images as if you didn’t shoot them, as if you were seeing them not editing them. Look for an image that really connects. Certainly you can keep images you are unsure about, but you should end up with less than 10 percent of the images you started the third go around with.

I do this in Adobe Bridge, but there are certainly other good programs. As I go through each step I display the images larger, so that I get a better feel for the shots. The next step is to bring the images into Adobe Raw. Raw gives me a better look at each image, and I can begin the image processing. In raw I can do batch corrections on color, contrast, saturation and so on. I can also crop my images and do a variety of individual corrections. I will do my final choices on editing in raw. An image may get left behind at this point for a variety of reasons. Sometimes it is something I could fix, but don’t want to, or perhaps two images very similar.

Finally I will open up all of the images that made it through Raw in Photoshop. While I will rarely remove an image form the group in Photoshop I will perfect the images in Photoshop. This is where I will sharpen and do other detail work. Now finally, if the client asks for just there shots (not likely on a head shot) and I don’t have any personal reasons to make a choice, I can say enie minie moe….

June 5, 2009

Seeing Photographs

Filed under: Looking at Photographs — John Siskin @ 10:42 am
They show fish here.

They show fish here.

I thought I would be writing about learning to write in photography again this week, but there is something else to talk about. I went to a show at The Annenberg Space for Photography here in Los Angeles. This is a new museum space for photography here in the center of Century City. The location and the building are wonderful. What happens inside the doors of the space is not so good.


A photograph is a way of capturing a moment, some photographs are several moments smeared together. Some moments are captured more quickly than we can see. Photographs see time differently than we do. Photographs also display time differently than other communication. They show stopped time; the same stopped time any time we choose to look at them. I have a photograph of a rainbow near my monitor; it is the same rainbow whenever I choose to look at it. In addition a good print allows me to get closer, to have a more intimate relationship with the image. This intimacy is one of the reason I still make prints in the wet darkroom, black and white prints made this way have special qualities.

Most of the display space at the Annenberg was devoted to monitors. The images were displayed as constant slide shows, with constant sound tracks. The images could have been displayed as well on the computer in my office. The viewers’ relationship with the image is defined by the timing of the video show. If I wanted to see a shot a moment longer, that couldn’t happen. As with all screens, when I got too close to the screen the image falls apart, there is a bar to this intimacy.

There were some prints. Many of the prints were placed opposite to a wall of windows, so the reflections were annoying. This Space for Photography seems more interested in displaying video than photographs.

I can remember seeing an original Edward Weston print when I was in high school. Honestly this experience changed my life. I don’t think I’ve seen anything on a screen that has had as much impact. If you haven’t seen real photographic prints, made by masters of the art, you should give yourself this experience. Just looking at images on the screen is not the same. I would also suggest that you look at high quality books, perhaps those from Adams, Weston, Sexton or Butler. You will see more than just a well designed image, you will have an invitation to a different kind of intimacy with an image.

May 9, 2009

Speaking About Photography

smart-dodie3One way to understand photography is as a way of communicating. So I could tell you about a spark plug, but if I show you the spark plug you know more. The plug could be from an engine, and then someone who knows cars could tell you the car is running rich. From just a picture of the plug. I could tell you a story with a picture, or I could give you an image that communicates like a poem. We can use photographs to communicate about facts, things actions, ideas and emotions. What a wonderful medium.

Photography is a universal language, although I can’t communicate equally well with everybody. Certainly it is at least very difficult to communicate with the visually impaired. However, since I teach on line, I have had the opportunity to work with students from Finland to Bangladesh. This experience has helped me to believe that almost everyone can read a photograph. I have even had my dog react to photographs; photographs can communicate across species. I can remember seeing a cover of National Geographic that was shot by a Gorilla.

One of the strange things about photography is how much easier it is to read than to write. Most people take pictures. These images are intensely personal, and often only communicate well to the photographer. So a picture from your vacation, or of your child, may be very evocative to you and meaningless to me. These images are really a personal diary, and like a diary, mean little to anyone else. Modern cameras are very good at creating these personal documents.

Photographers will want to do more, to make images that can communicate easily with other persons. We photographers will want to make documents that do more than just document. We will want to create those images that are more than just beautiful; we will want to tell stories, and to make poems. The key for us is to do more than take photographs; we will want to MAKE photographs

« Newer Posts

Powered by WordPress