Just a couple of details to mention, before we get to the good stuff. I’ve taken down my site at BetterPhoto: www.john-siskin.com. I think BetterPhoto and Jim Miotke are absolutely wonderful, but since I’m not teaching for them anymore I wanted to have the fine art part of my site hosted along with the rest of the site. It’s going to take a few days to complete the new pages I hope you’ll be patient. I hope you’ll check out the books, click on the cover pictures below, and don’t forget my workshop page (www.siskinphoto.com/workshop.php). I’m going to offer a lighting workshop in OCTOBER. More information soon.


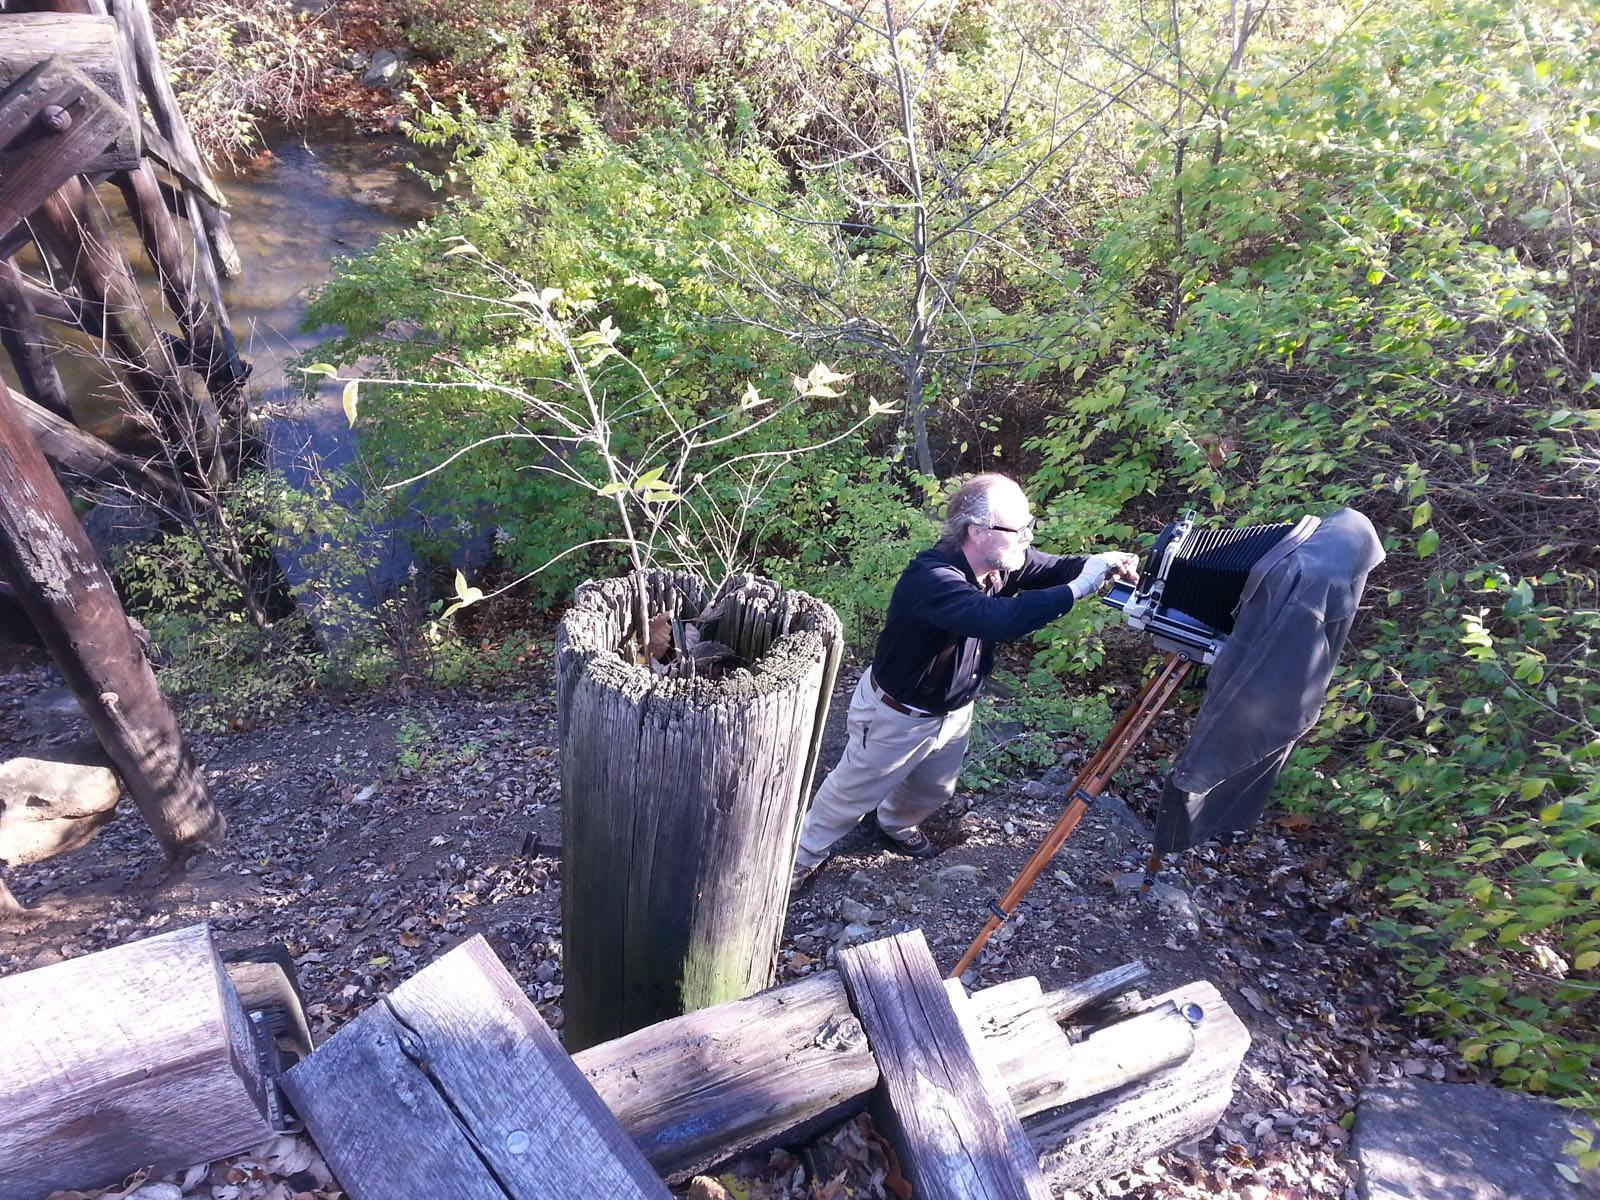
I wrote about my 11X14 film camera some time ago, and included a couple of pics of the camera. You can see that earlier post here. There is something quite magical for me about working with a very large camera. I suppose it’s not that different from people who want longer lenses to shoot surfing or birds. I should say that an image made with a large camera is different from an enlargement. In an enlargement there is another optical system, that changes the information in the image in some way and there is less information in the image. If you do an enlargement that is just eight time the size of the negative you’ll usually see grain: the shadows of the silver crystals that record the image. A print that’s made by putting the image right on the printing paper has a sense of infinite detail. I hope you’ll find a way to see an original contact print of a big negative, preferably made by a great photographer.
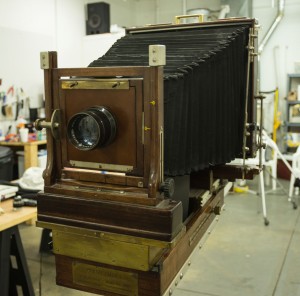
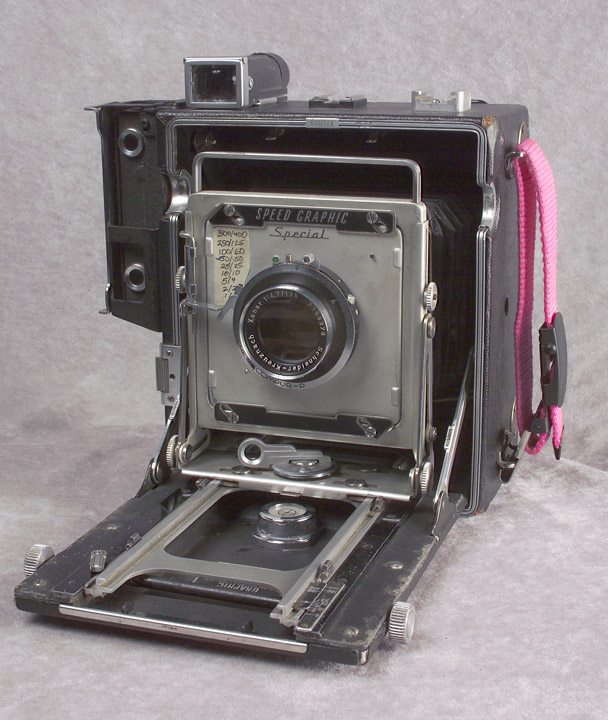
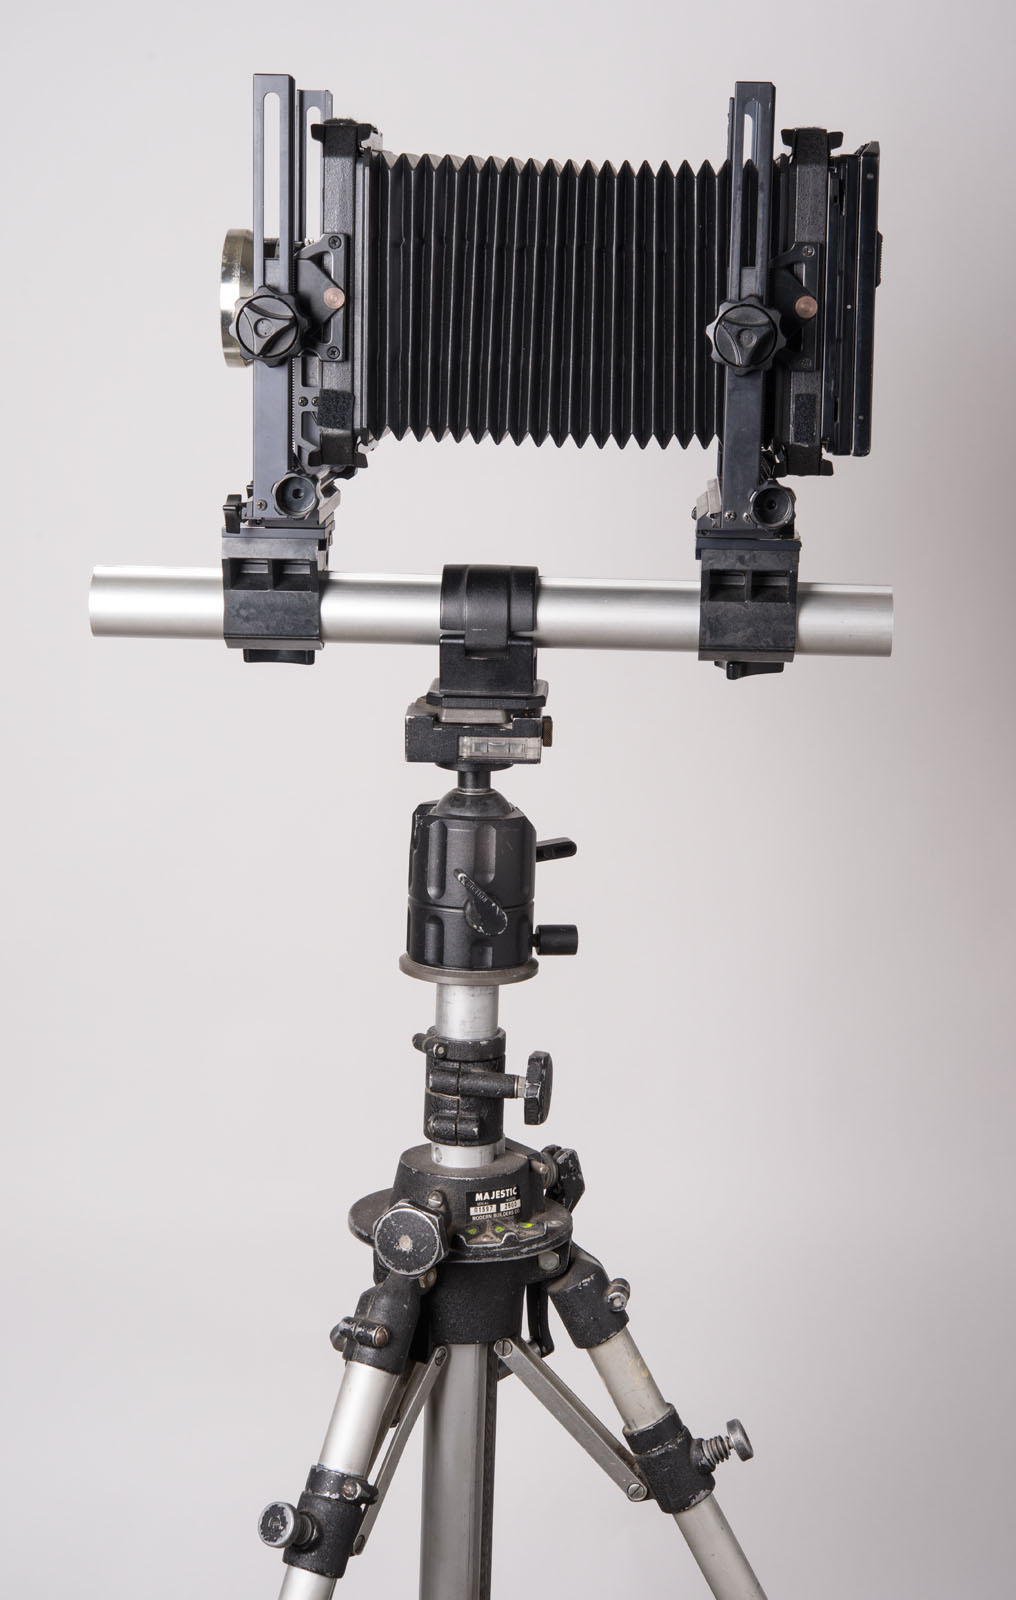
The big camera in the studio. It took 2 people to put it on the tripod.
I can do contact prints from my 8X10 camera, and it’s quite satisfying. Now that I have a darkroom I can process and print from this camera again. I can even take the camera out to shoot on locations. However, the 11X14 is a beast; and it creates challenges that are different from 8X10. It’s taken me a while, but I’ve worked out ways to work with the camera. I’m going to detail some of the things I’m doing, some of the compromises I’ve made to get successful tests.
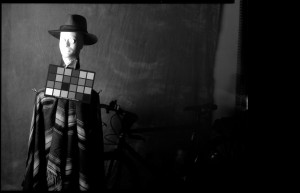
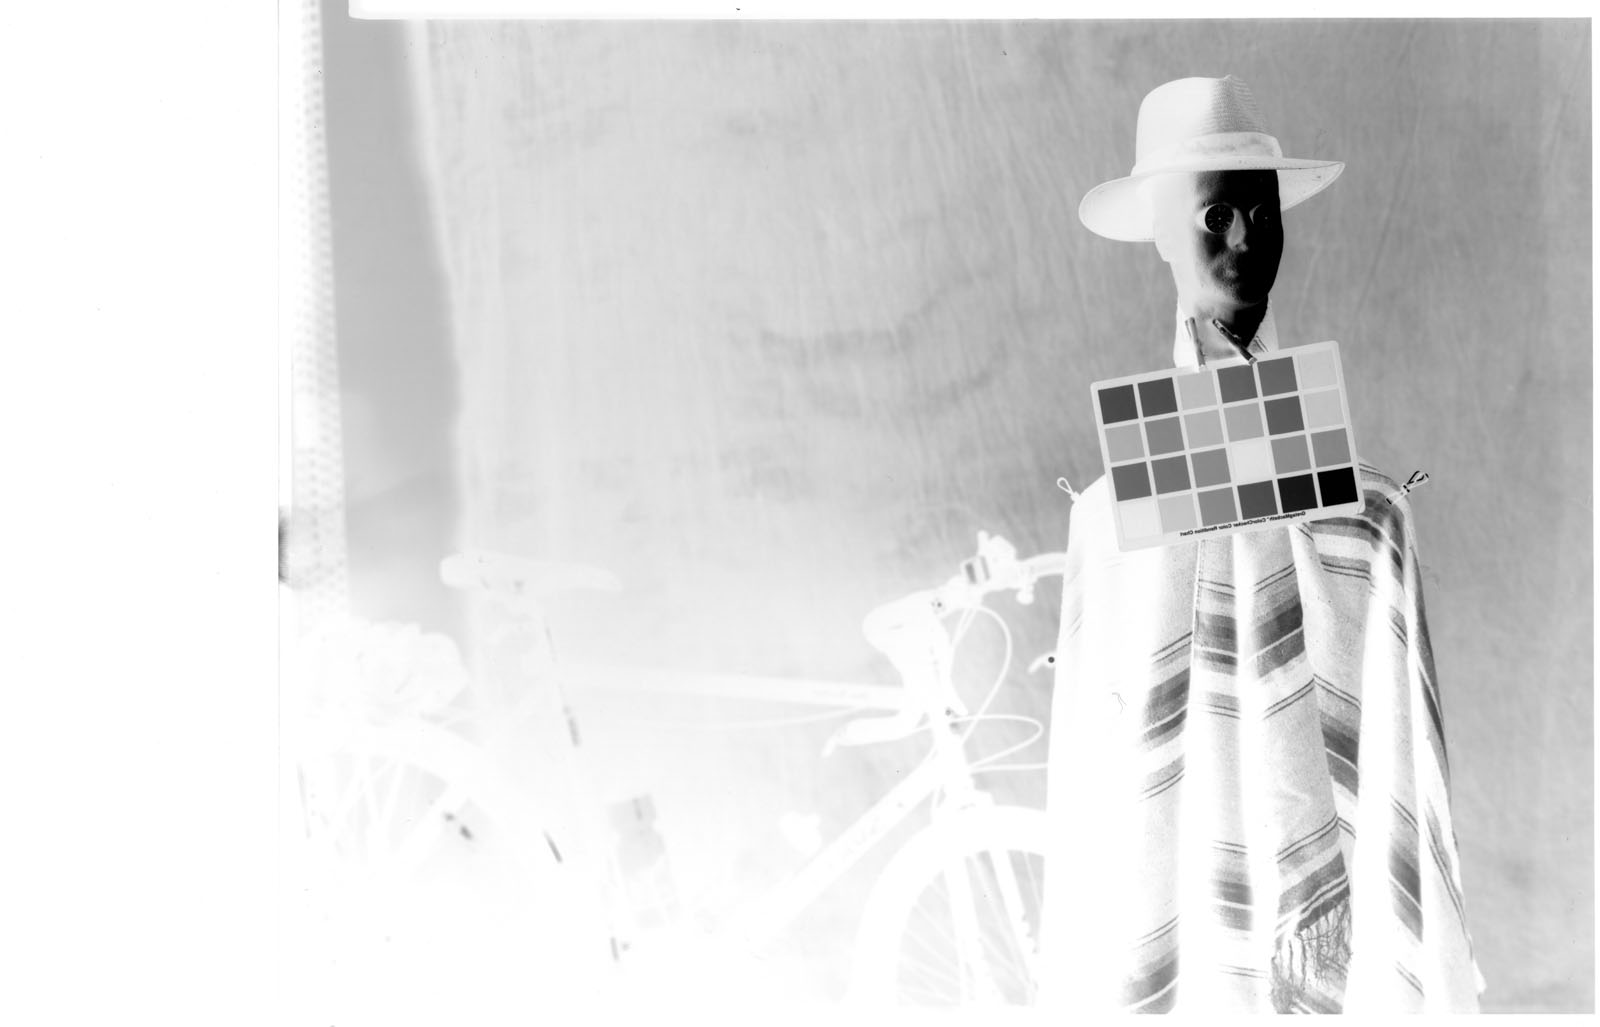
Successful test image of Wiggy, made with 11X14 camera.
The biggest problem with the 11X14 camera is film. There are still quite a few sources for 8X10 film: a search at Freestyle Photo reveals fifteen separate results for actual camera film. You can get a sheet of film for less than $3. If you’ve been shooting digital the cost of shooting large film will come as a shock. If you search for 11X14 film you find one result: Ilford HP-5. This is a good film, but at about $9 for a single sheet, and that’s one picture, it’s expensive. One of the ways photographers afford to work with large cameras is to work with films that aren’t designed for cameras. One of the most popular is litho film. This is a graphic arts film. The good news is that it’s inexpensive. There is a lot of bad news: first it’s designed to make black and white images: no gray tones at all! I did some tests with litho films and I was unhappy with the results. You can process the film to get some gray tones, but it’s a real challenge to get a complete gray scale. The second problem is that the film is quite slow, insensitive to light, the ISO speed is about 3. I swear my skin sunburns with less light than it take to expose this film. An additional problem is that the film is designed to work under darkroom safelights, so it doesn’t respond to all colors of light. This is a good news bad news sort of problem: you can process the film by safelight so you adjust the development by inspection, but many colors of light just don’t show up on the film. I used a Macbeth color checker in my test shot and there were a lot of color patches with no density. Another inexpensive film choice is x-ray film. I haven’t tested this yet, but I’ve read about the challenges it presents.
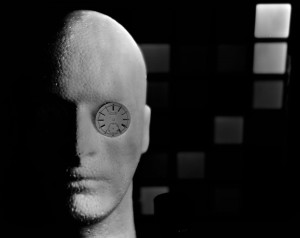
This is an image made with litho film. I used my 4X5 camera to test. Not really successful.
At some point in this process it occurred to me that I own a flat bed scanner that will scan 12X17 inch images, much large than most scanners. I also realized that I had a great deal of 11X14 Ilford Multigrade glossy resin coated paper. I decided to try loading this paper into the film holder and shooting it in camera. In the beginning of photography Fox Talbot used paper negatives, so this was not a unique inspiration. The thing was that I realized that I could use the scanner to turn the images I made in the camera, which would be negatives, into positive images. The big advantage here is that I have all the tools of digital photography to interpret my images, but I’m not going to be making contact prints. Right now this seems a good trade. If I want to I can make a digital negative with my printer and make a sort of a contact print, and I can use a digital negative to make cyanotype or Vandyke prints. Of course I can also output a digital print, so I have a lot of printing options. I suppose some would say that I might just as well capture the image with my Nikon D800, but that would take away the pleasures and challenges of the big camera.
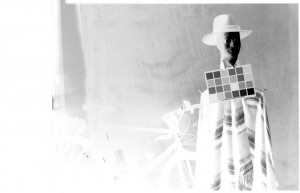
Negative image made on Ilford Multigrade paper
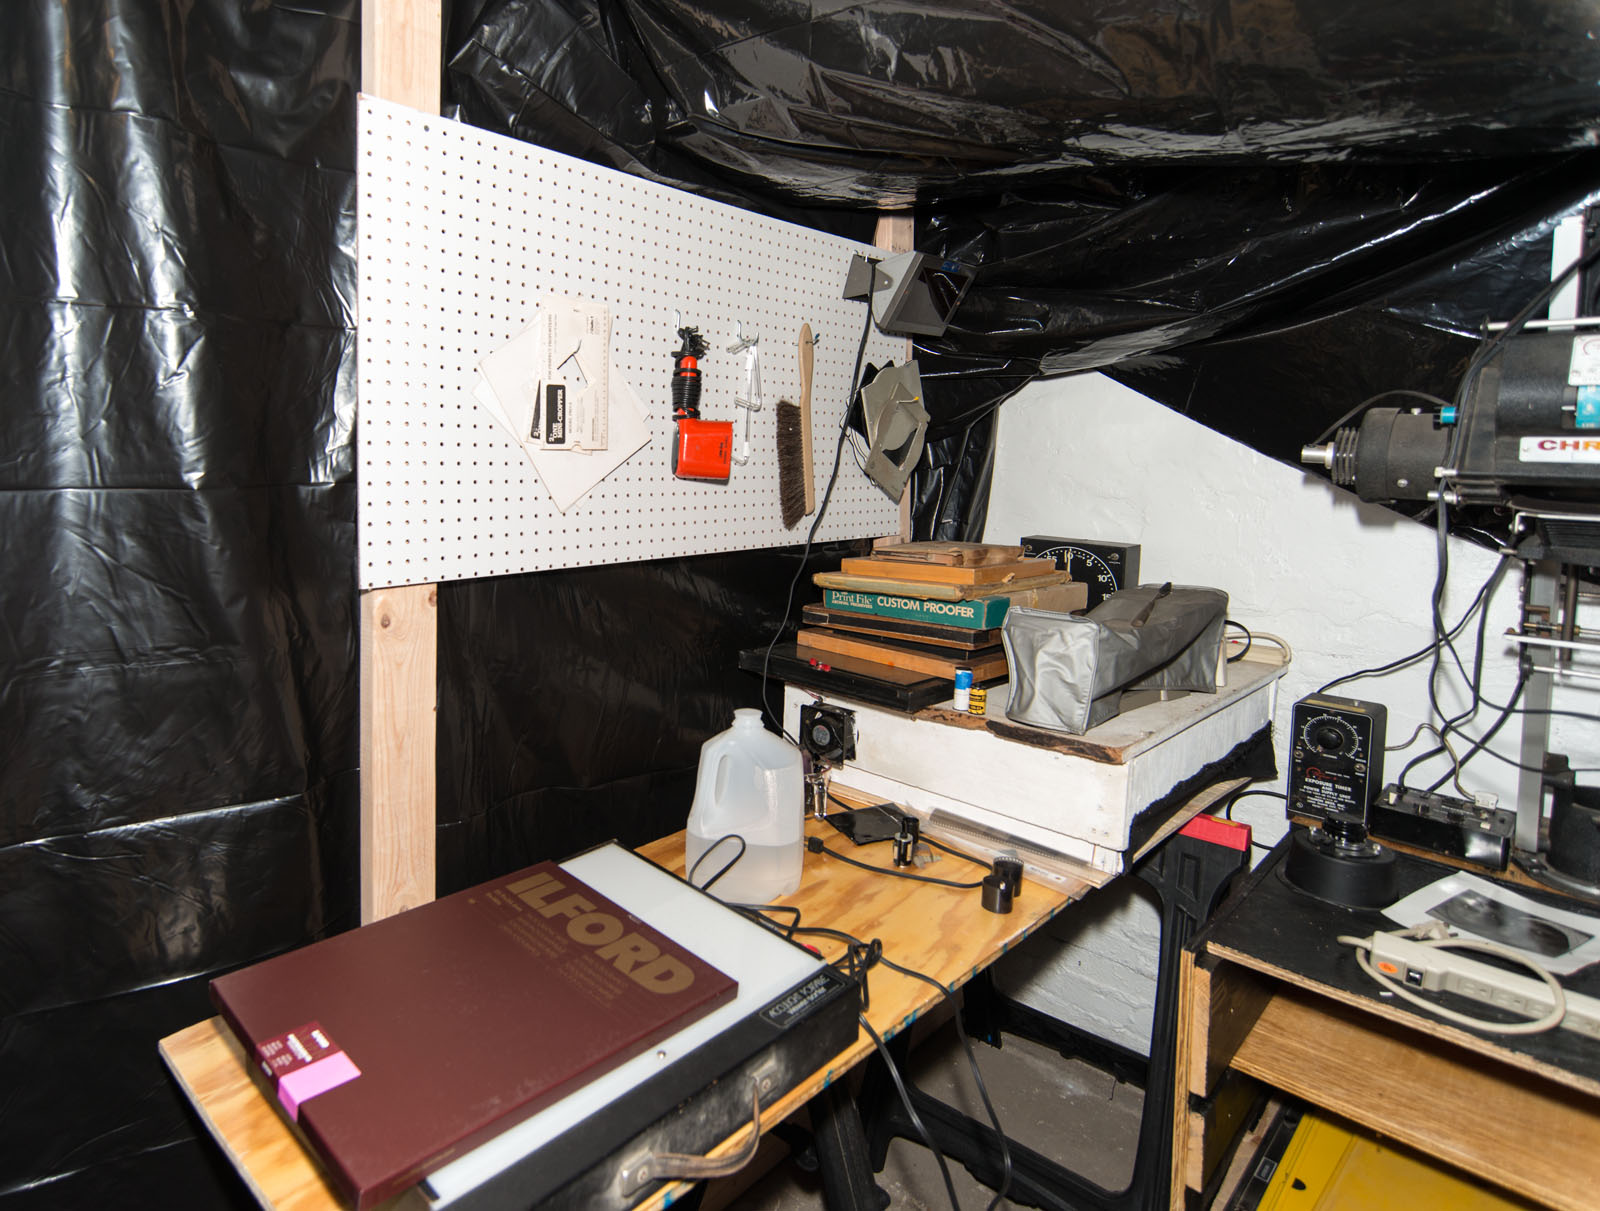
My tests revealed that the Multigrade had an ISO of about 100, which is so much nicer to work with than 3. In addition my tests revealed that Multigrade reacts to a much wider range of color than the litho film I tried. While the paper isn’t panchromatic it does react to most colors other than red. I think that’s because it’s a variable contrast paper. Of course the paper is designed to give a complete gray scale with normal processing. The Ilford paper can be processed under regular darkroom safelights, for instance the Kodak OC filters. I am lucky to have a Thomas sodium vapor safelight, which is a very bright safelight. I set it up in my studio, and it provided a good working environment for loading and processing the paper, even posing the subject. I should also mention that it is MUCH easier and quicker to process and dry this resin coated paper than to work with any film.
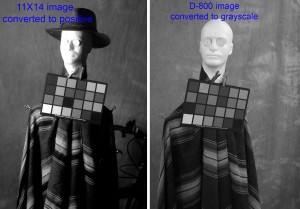
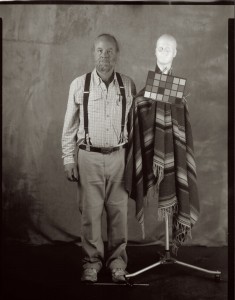
The image with the hat was made with Ilford Multigrade paper and the hatless image was made with my digital camera and converted to black and white. Note that most of the color samples show in the Multigrade image.
The paper is designed to change its contrast range depending on the color of light you use with your enlarger. There are filters for this purpose. Right now I’m working without a filter. This seems to provide a long contrast range. One advantage of scanning the negatives (ok, I know that these things are not transparent film negatives, but still they reverse black for white) is that I can control contrast in the computer. I can also flip the images left for right because, like any film image, the picture on the emulsion side of the base is reversed left for right.
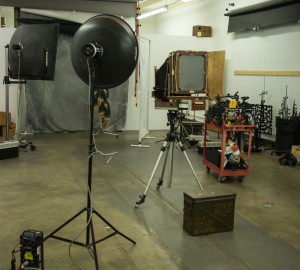
The set up in the studio, for the shot of Wiggy and myself. I used 4 power packs to make over 5500 watt-seconds of light.
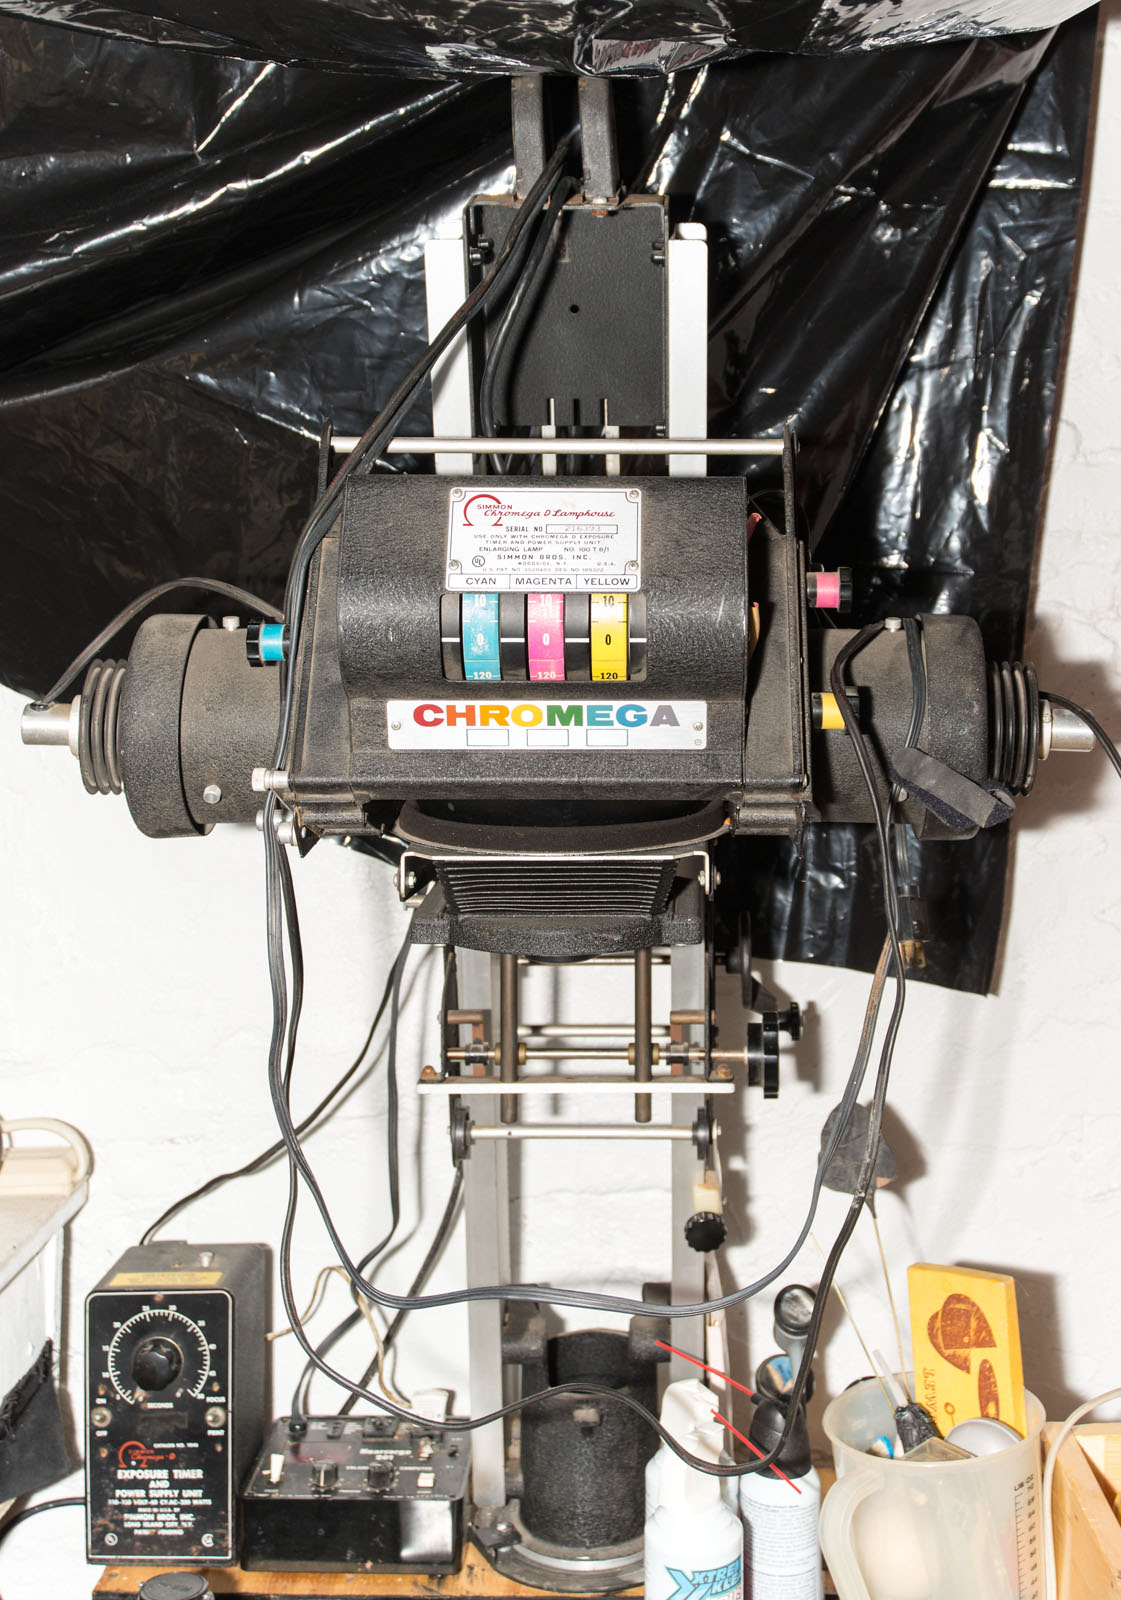
My scanner (actually it’s a very large all-in-one) is a Brother MFC-J6910DW. I did my first tests with the software that come with the scanner. This provides little control over the scan. I also have VueScan for my film scanner and, happily enough, this will also control the Brother scanner. I can scan at 2400 dpi, which would enable me to make a print that is 110 inches on the long side at 300 dpi. The resin coated paper lays flat and the glossy surface scans very well, no surface detail.
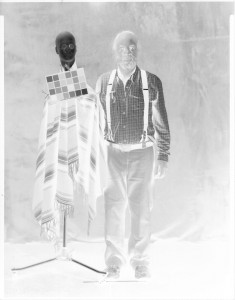
The negative of Wiggy & me. Actually it’s quite amazing to be able to make a portrait with a camera this big and strobes.
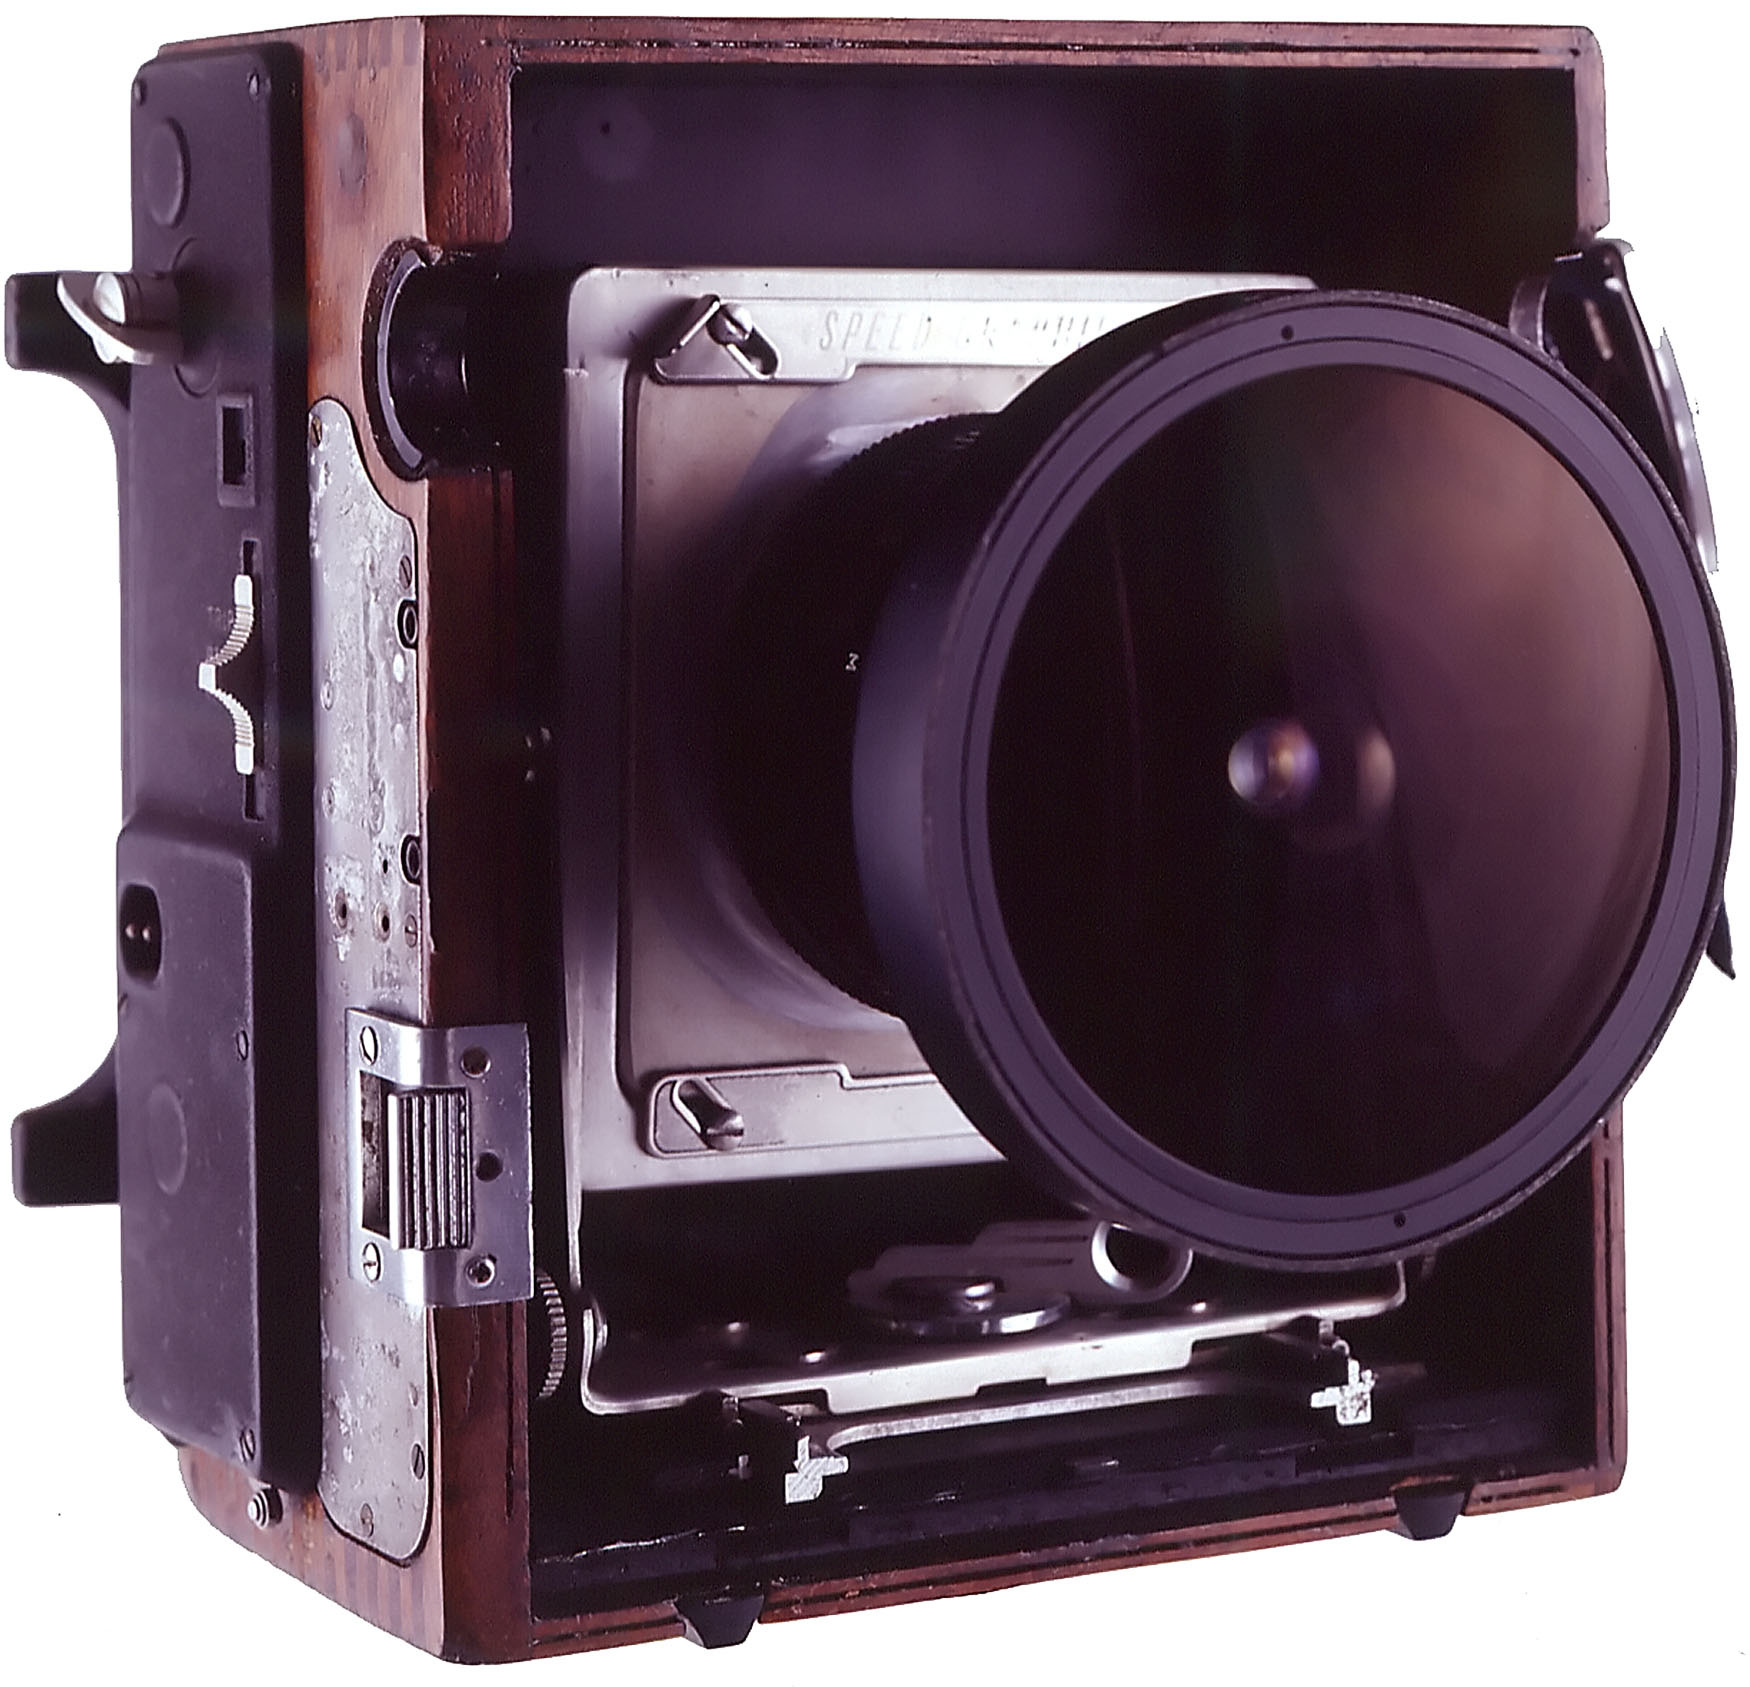
There are other details. One of my favorite areas to explore is the lenses for this large camera. The camera is too heavy and unwieldy to take out of the studio and this affects the choice of lens. The normal lens for this camera would be about 16 inches (400mm) long. It’s unlikely that I would use a wide-angle lens for a distance shot in the studio, but I would use a wide angle to shoot closer to a subject. My tests were done with a 24 inch (600mm) f11 Artar that I got for the camera. This lens is rather long for the studio. Because the distance between this lens and the back of the camera is quite long it’s a little difficult to control the camera. Since I did the tests I’ve mounted my 270mm (10 inch) G-Claron W.A. f6.3 on a lens board for the camera. I think this will be a useful lens for the camera, especially for small subjects. I’ve also ordered a board for my 14 inch Dagor. I have very high hopes for this lens. I’ll also set up my 48cm (480 mm, 19 inch) f5.5 Dogmar for this camera. I should note that I love Goerz lens design, but because the lenses were made at different times and places they are sometimes described in inches and sometimes in centimeters or millimeters, which is why I’ve used different both English and metric measures. The only one of these lenses that has a shutter is the Dagor, but that’s not a big deal. Since you can keep the safelight on in the studio you don’t have to fumble in the dark.
Right now I only have one holder and this holder only works on one side. Since I can shoot load and process immediately, under safelight, this isn’t as big a problem as it might be out of the studio. Additional 11X14 holders are amazingly expensive: used ones are usually more than $200 each! I am working on a design using framing parts to build a holder for the studio. This design wouldn’t have a dark slide, so it would only be practical in the studio. Updates on this as they become available.
As you can see I’ve done tests with Wiggy and a color checker. Wiggy’s wearing a serape in the 11X14 tests. The serape is mostly green. I also did a selfie with me and wiggy. An 11X14 selfie is a heck of a thing. If I used a selfie stick it would have to be a telephone pole. As it is, my Majestic tripod is a little overloaded by this camera.
The last test with Wiggy and me. Would you like to come in for some shots?
Now that I’ve done the tests it’s time to shoot some actual pictures. I’m going to do still life shots of course, but I’d also like to do some work with people. Since the paper has an ISO of 100 I can actually shoot portraits and figure studies. Any volunteers?
Thanks, John