I’ll start with a mention that you can find some of my courses from BetterPhoto on the workshop page of my website: www.siskinphoto.com/workshop.php. You can also arrange a One on One Workshop or sign up for the Portfolio Workshop. Check out the whole site: www.siskinphoto.com! You can get my books by clicking on the pictures below, and why not do that now?


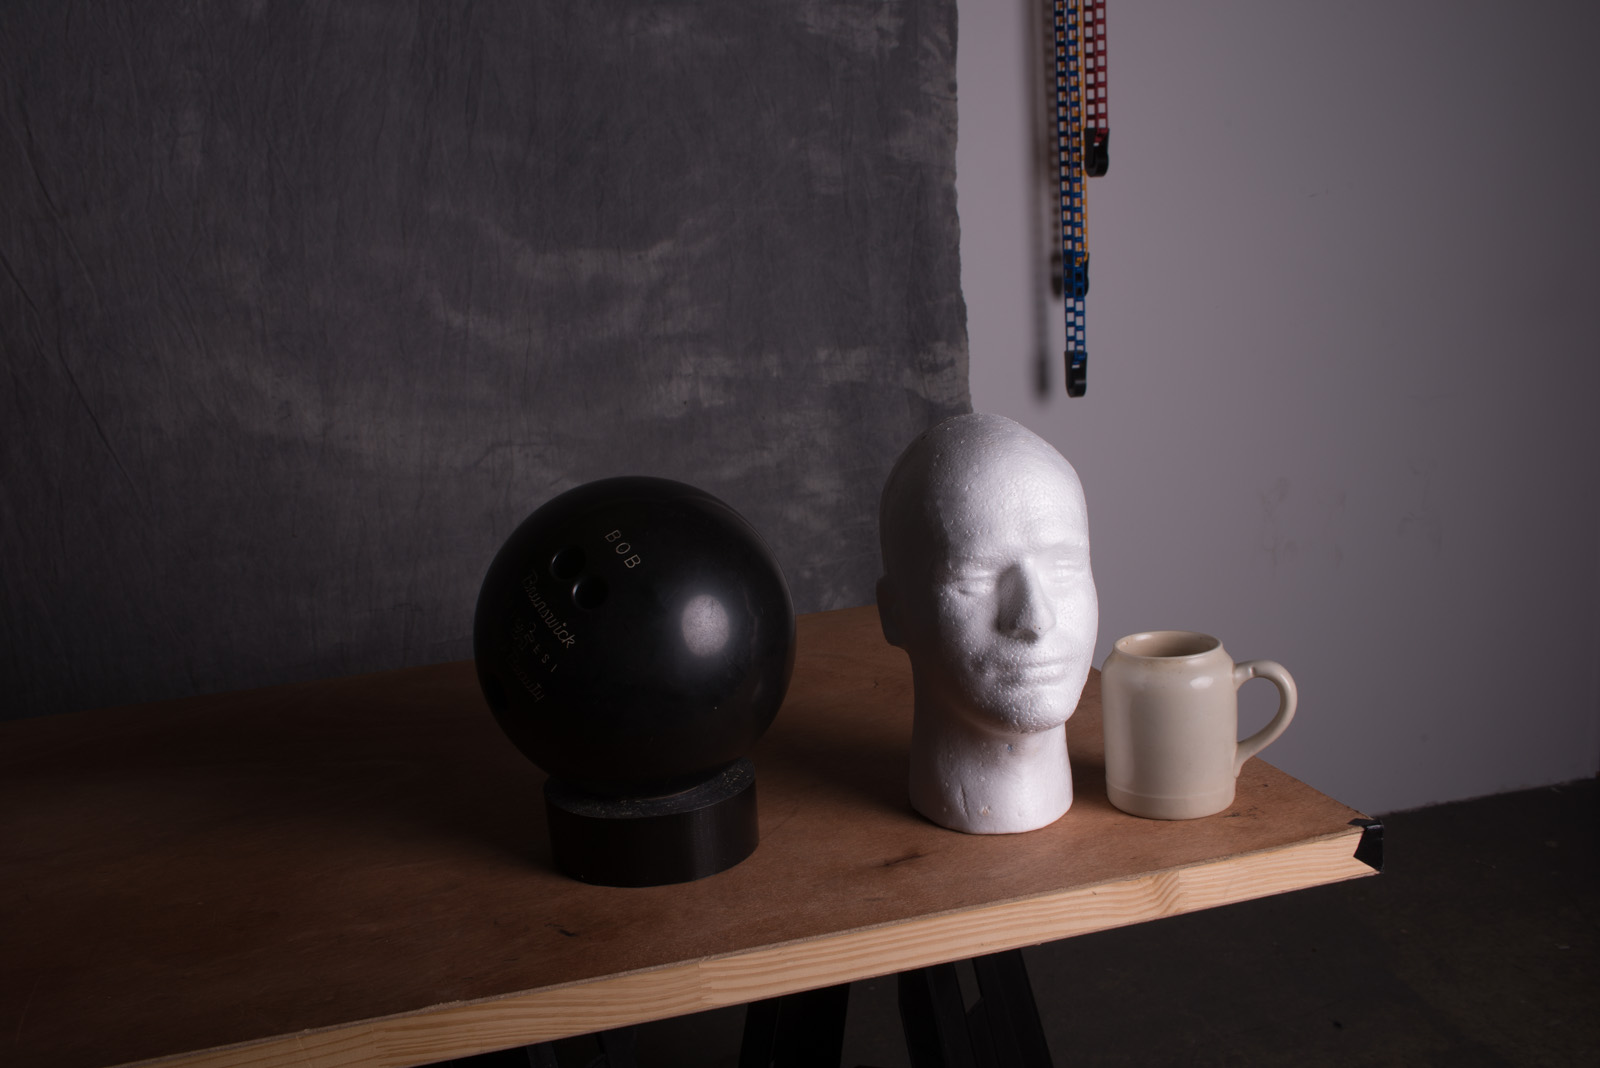
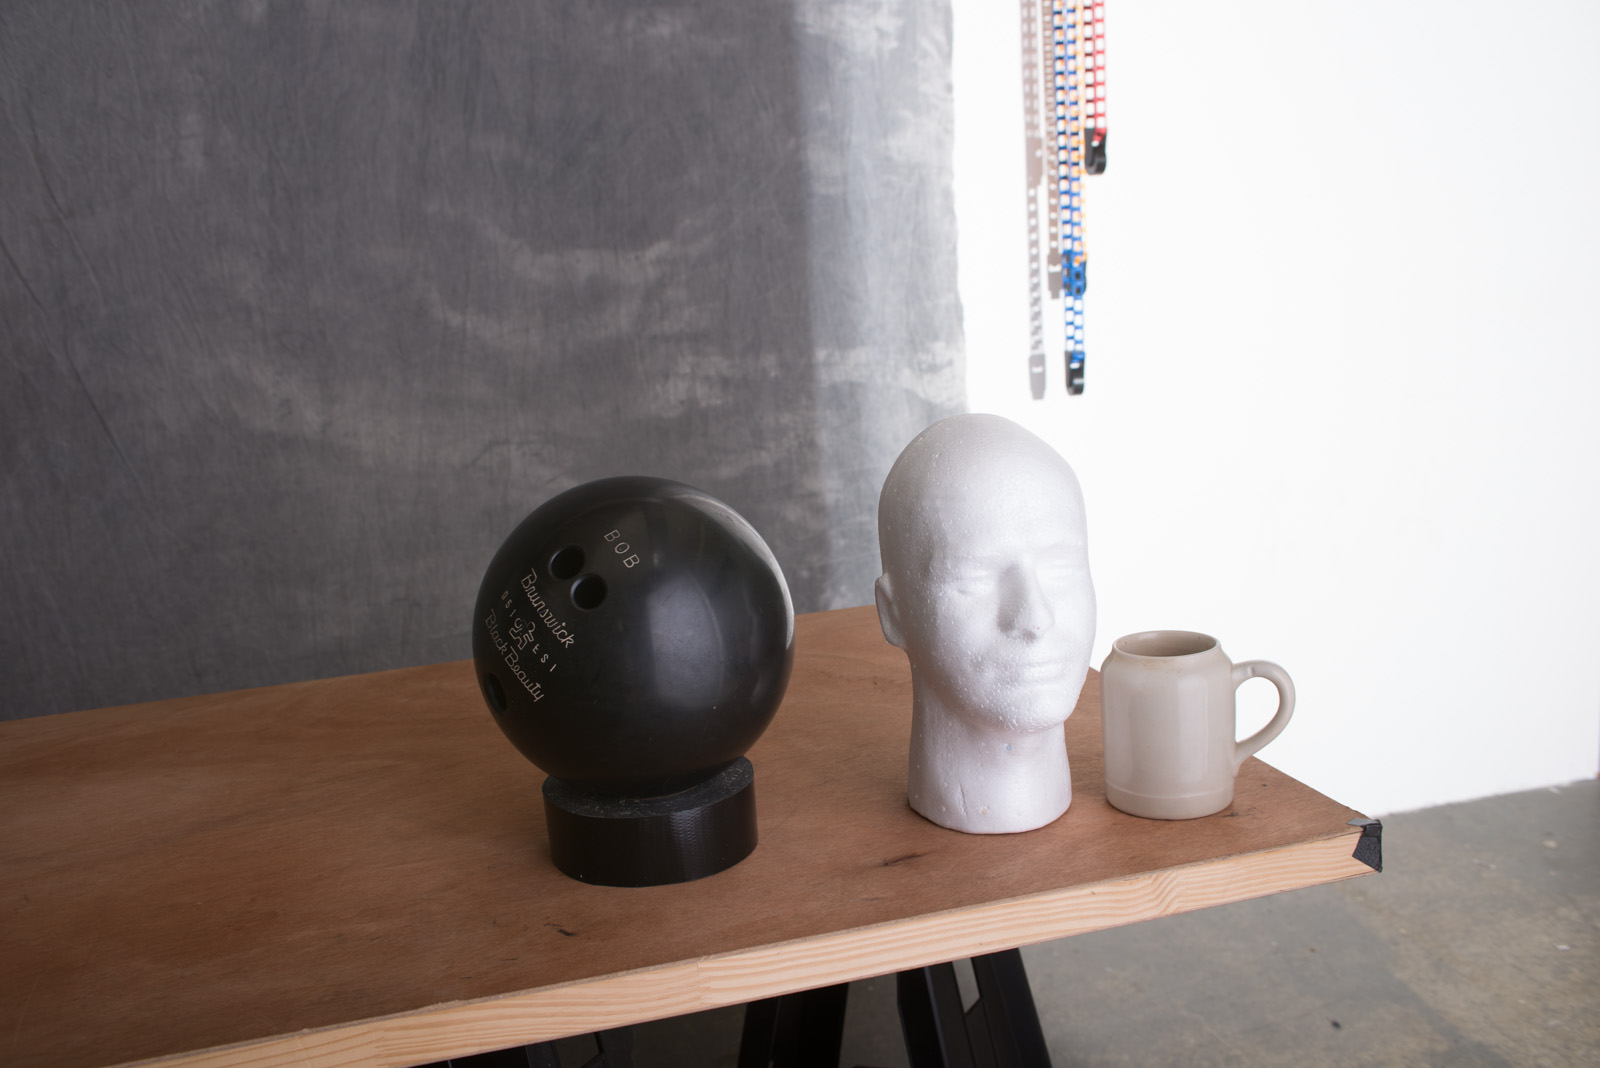
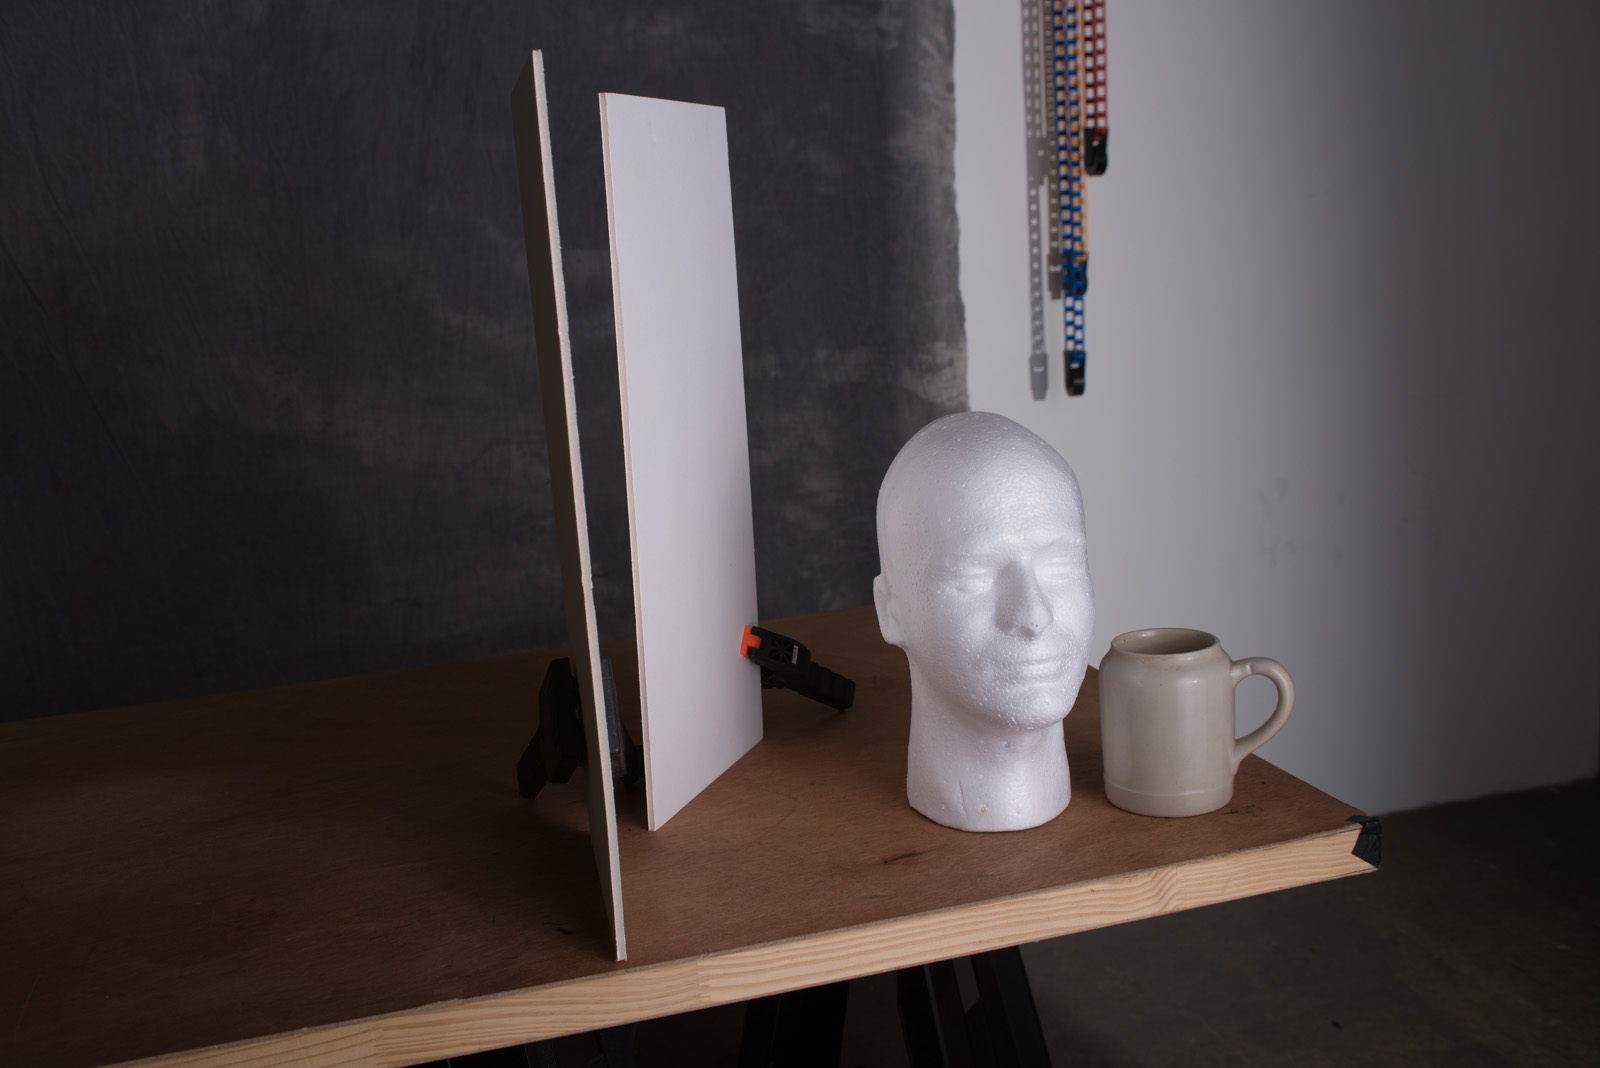
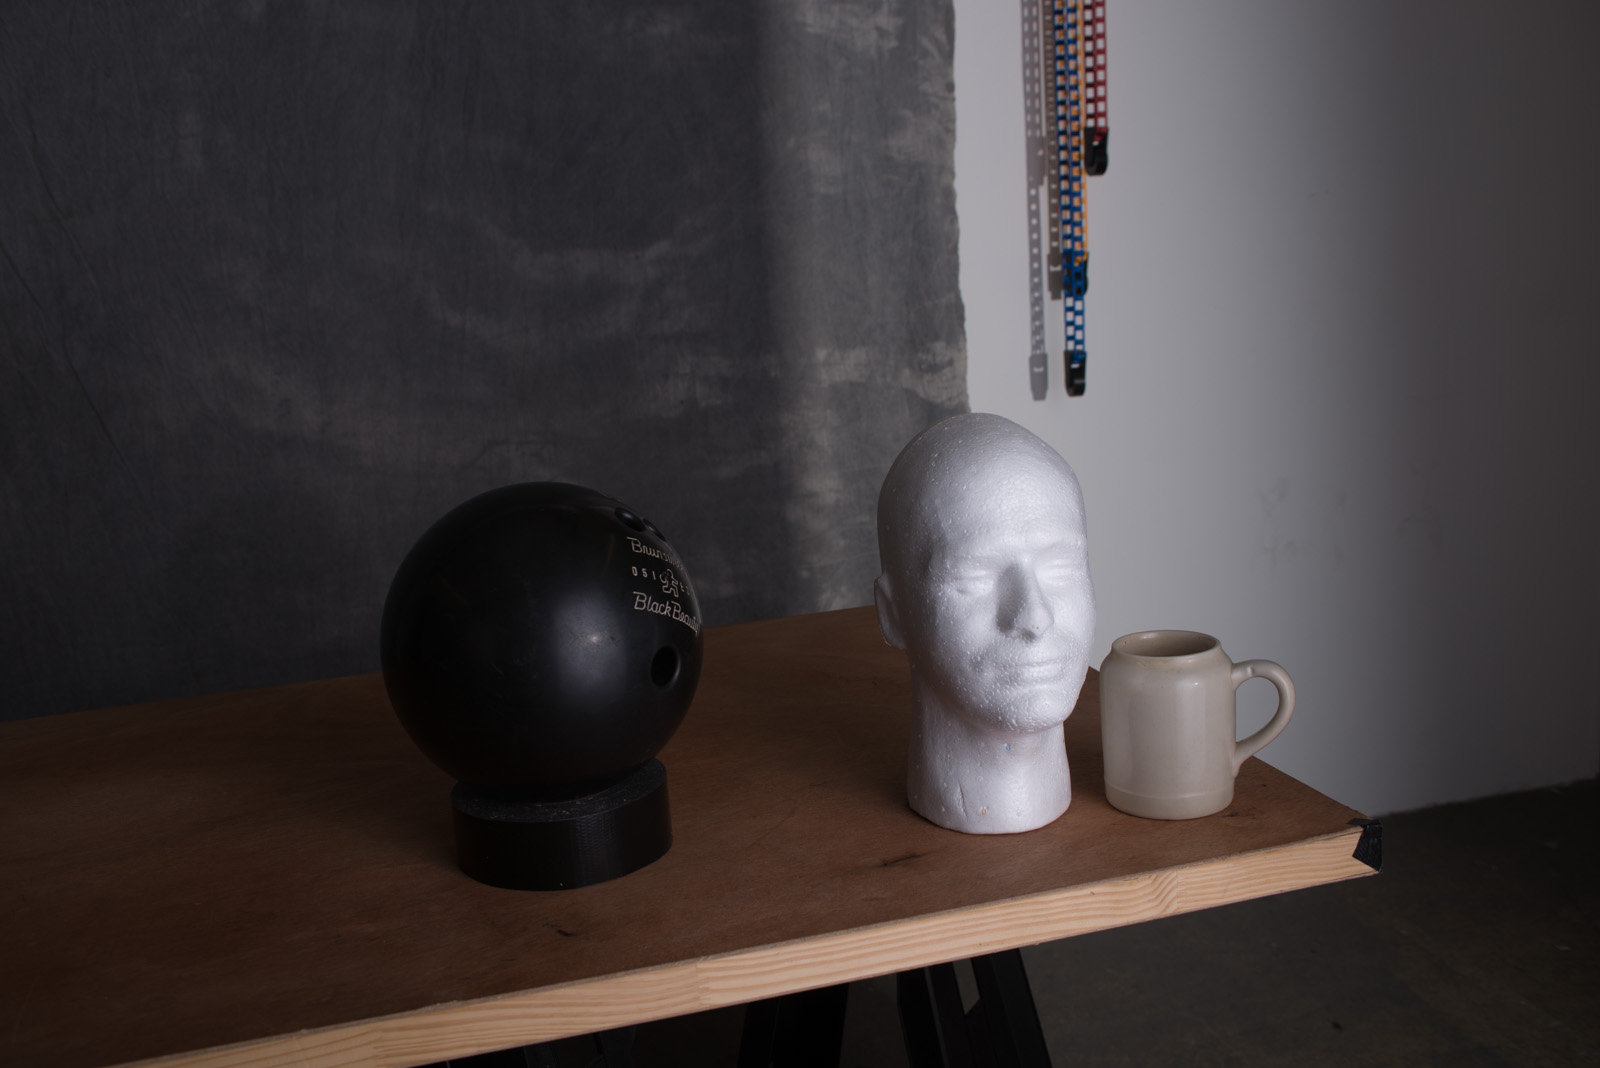
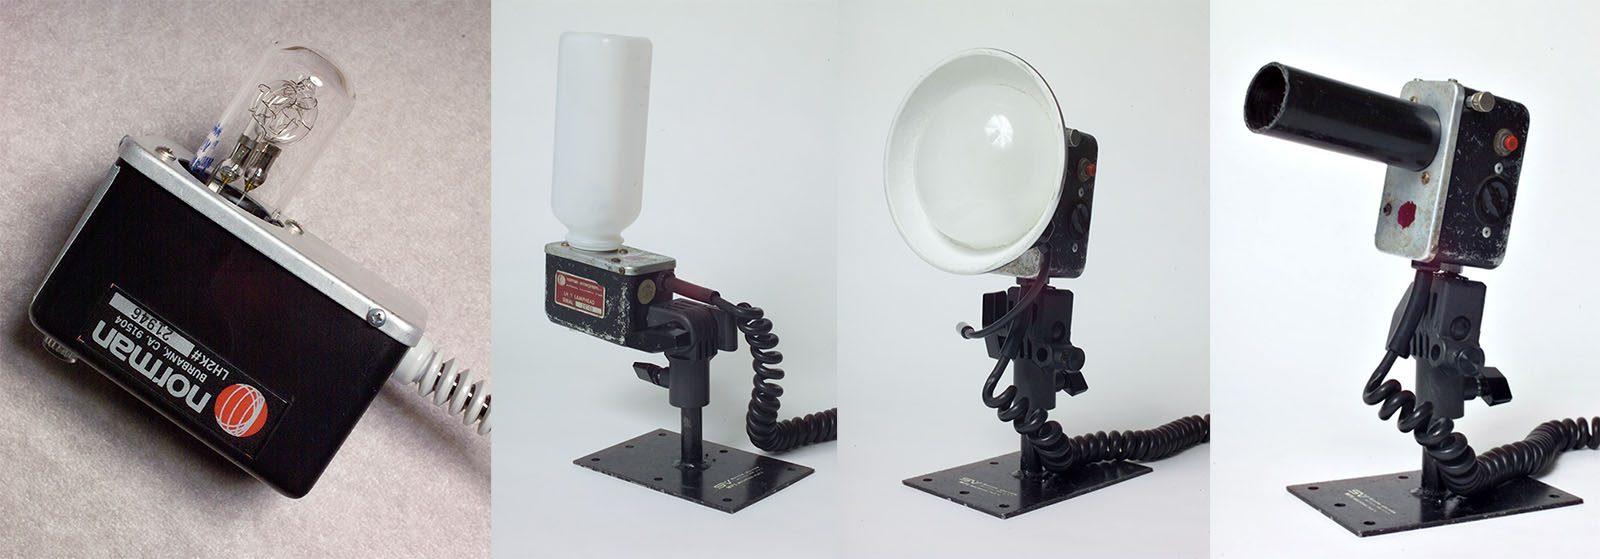
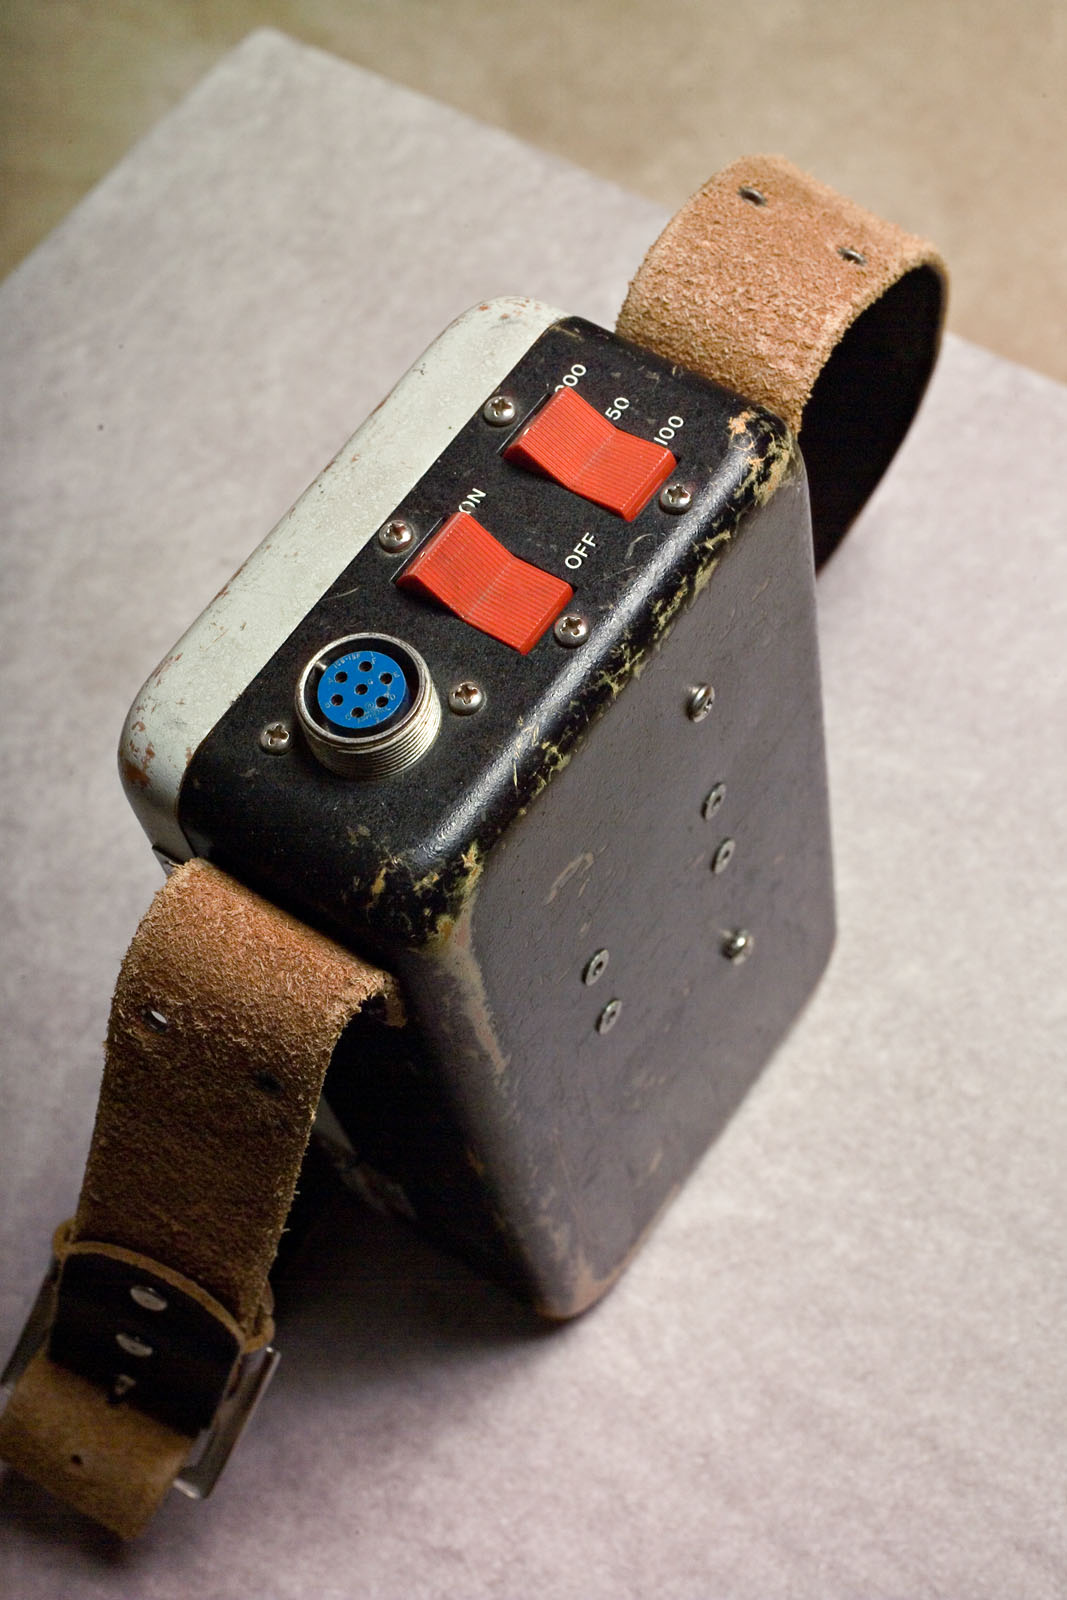
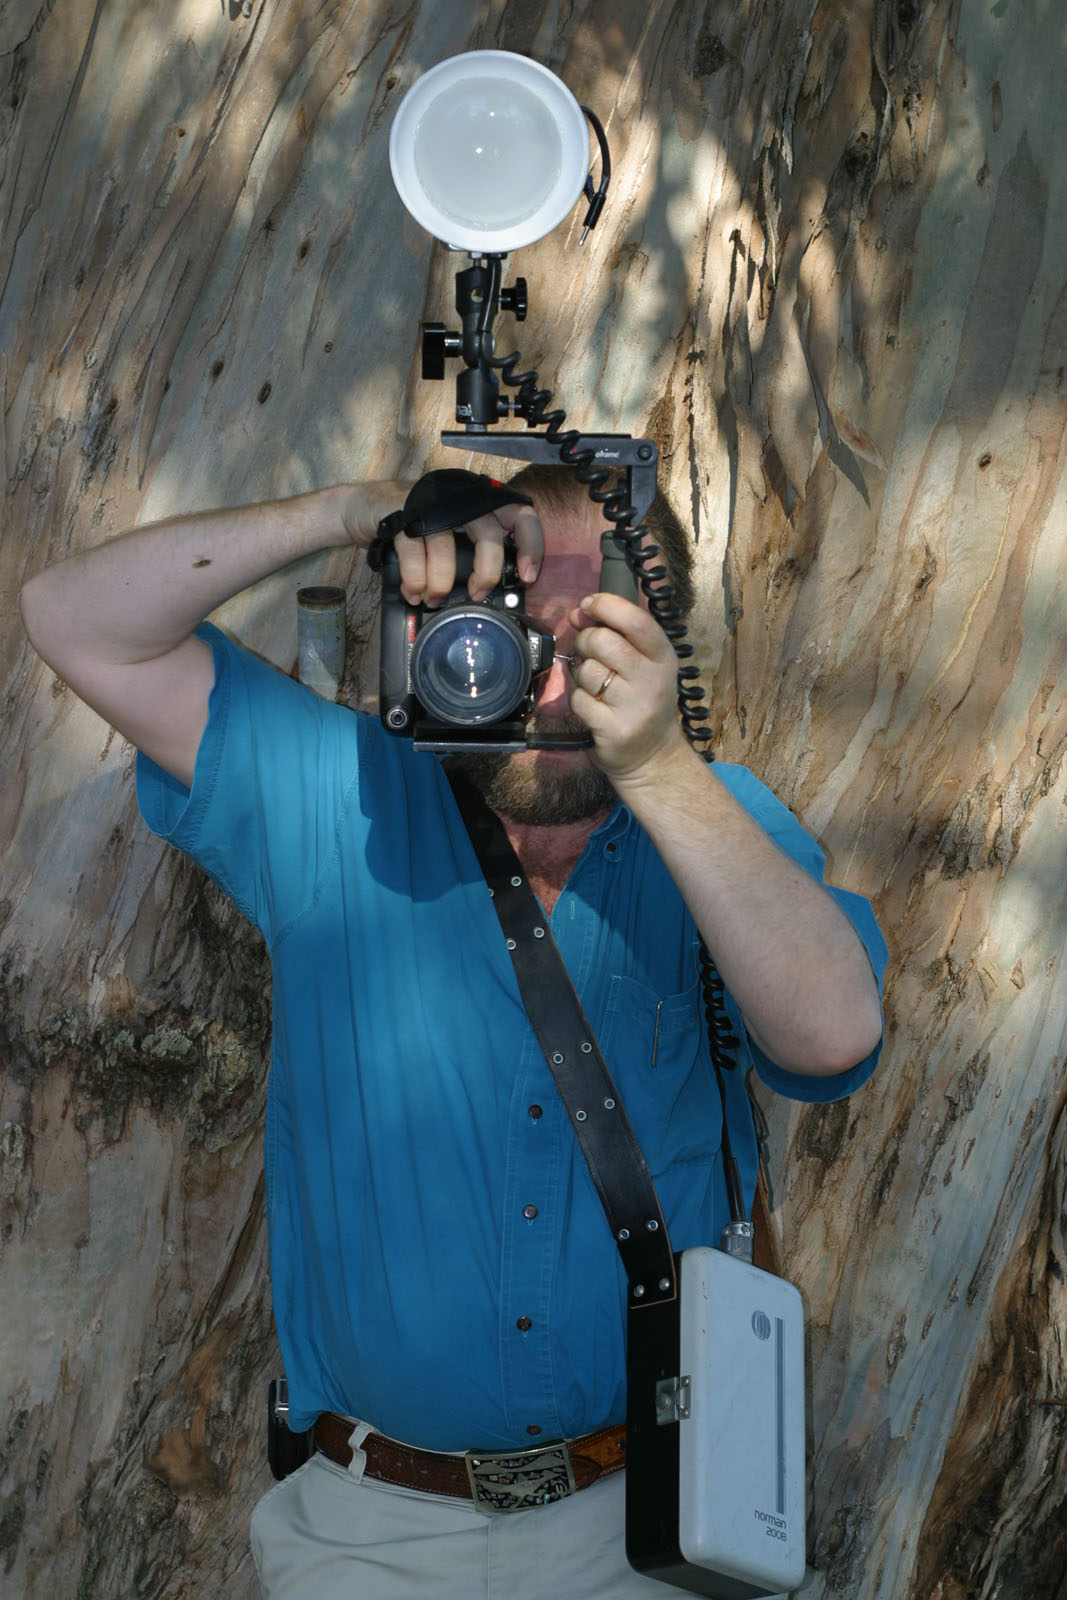
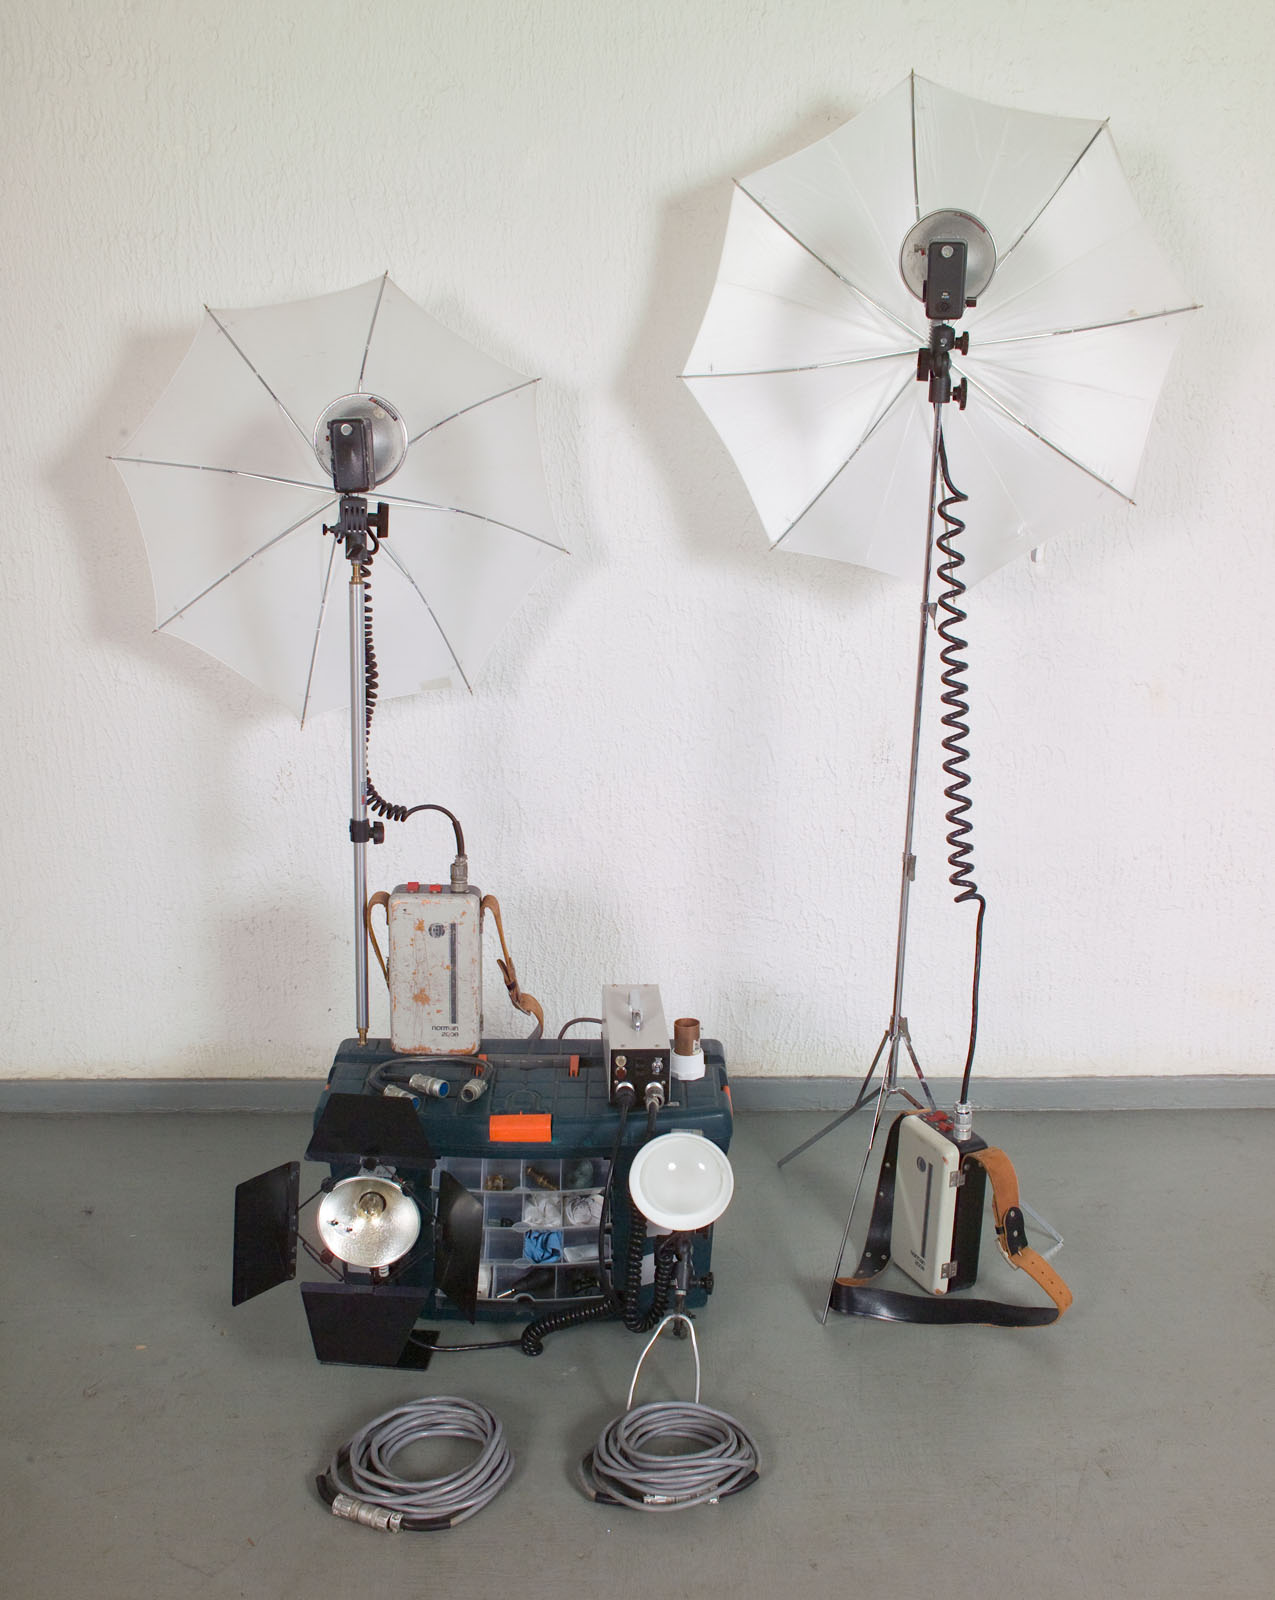
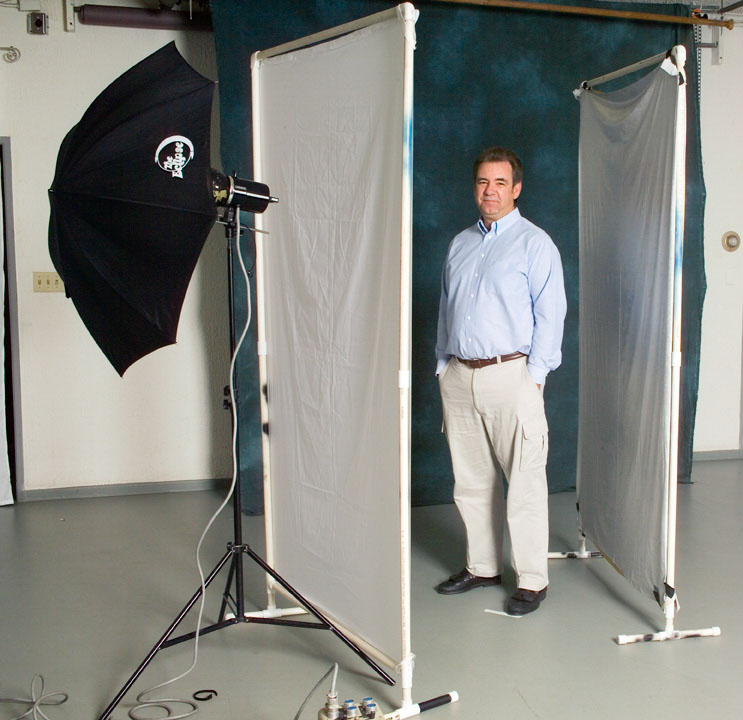
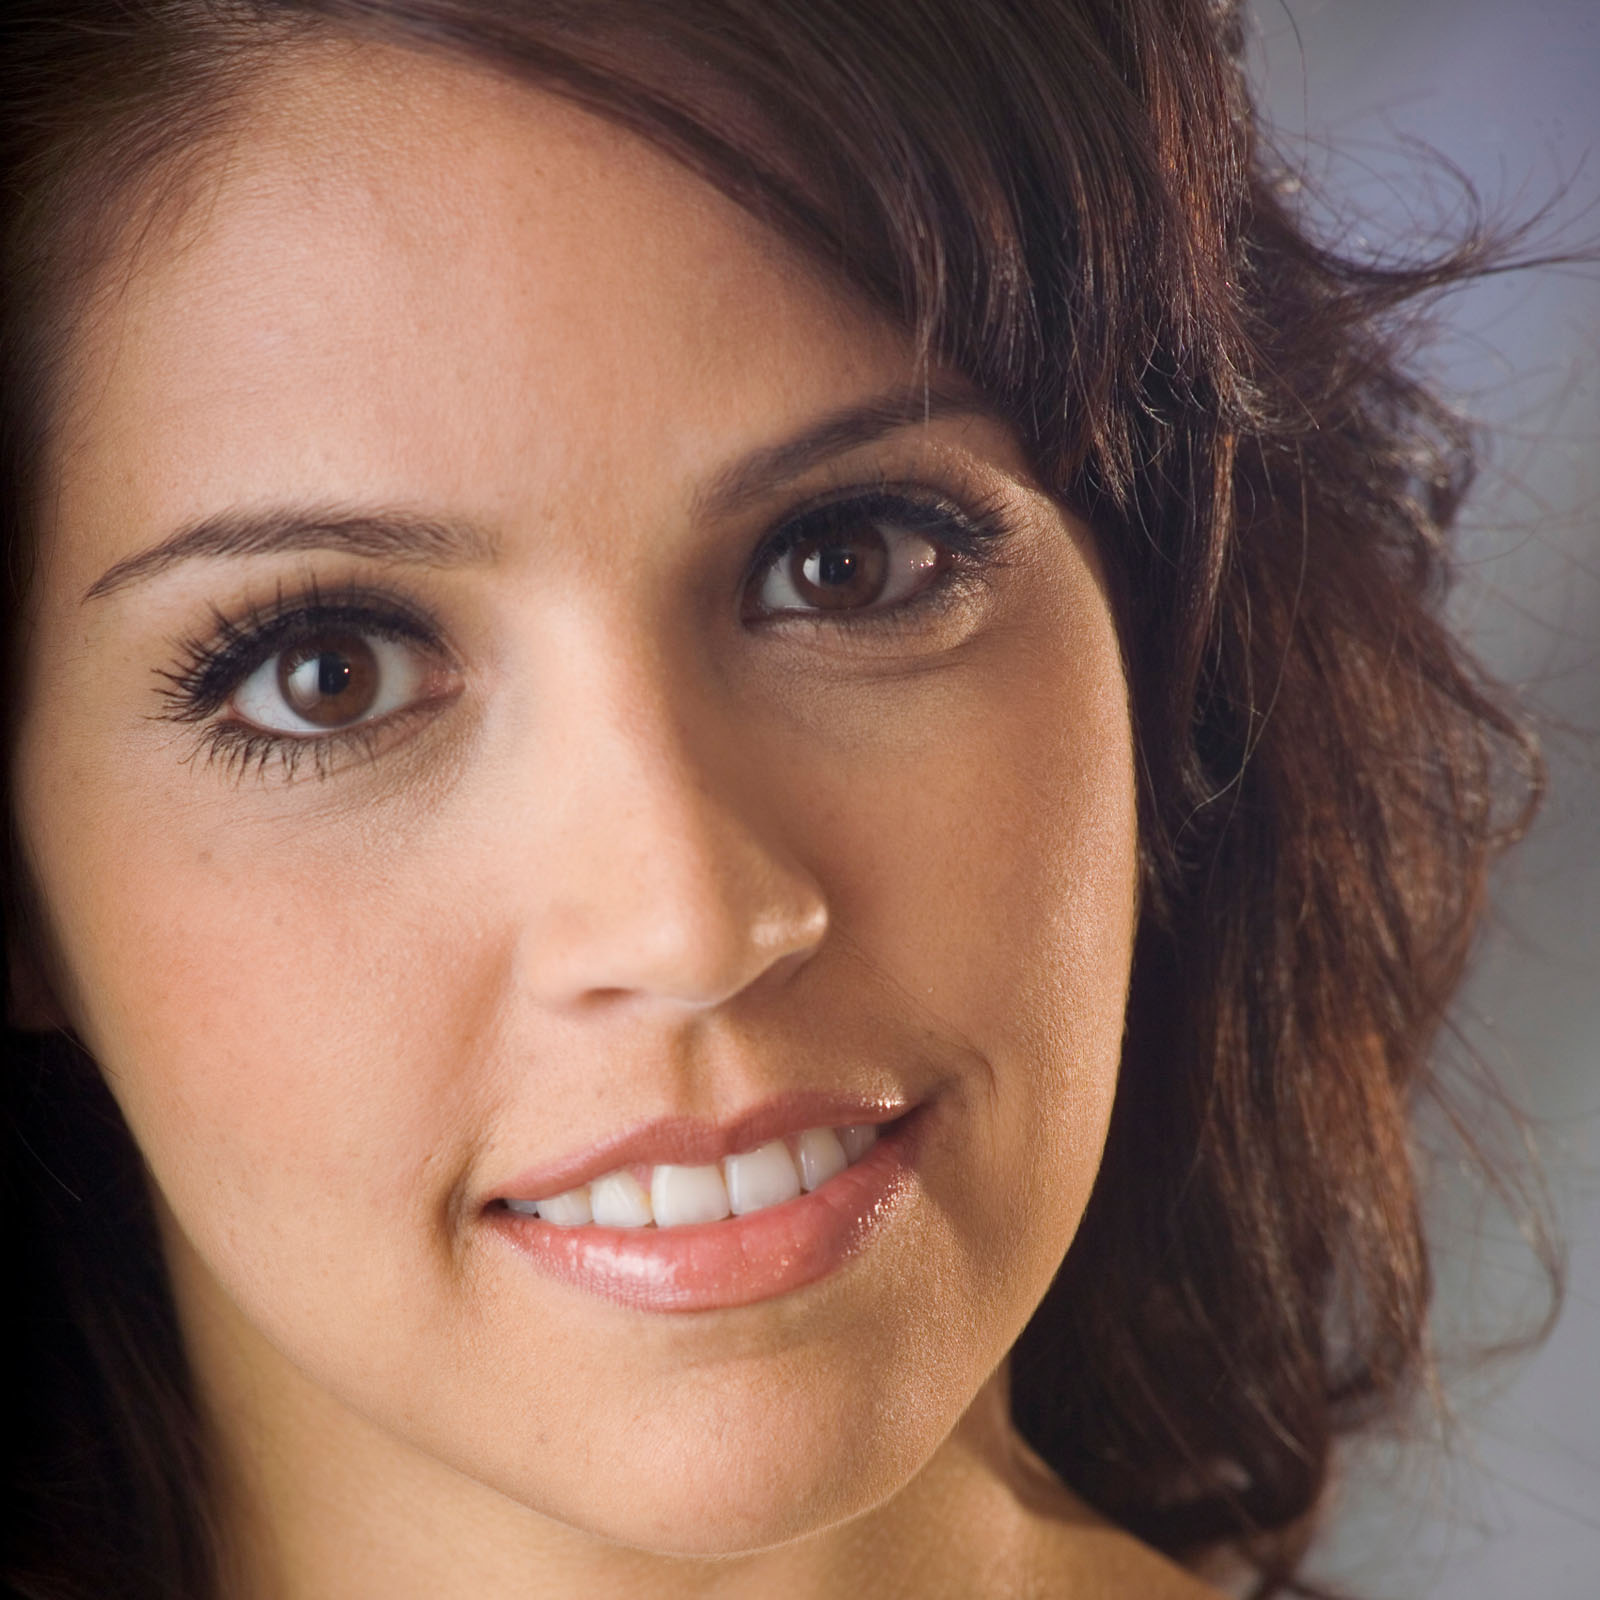
Sometimes a circumstance or a thing sets off an idea in my brain. I see something that I like and I need to make a photograph, or I get to work with someone and that brings up new ideas, or a desire to work on an old idea. For instance I just did some testing with an Indianapolis model, Khristian Hildrith, and it was a great chance to work with my Norman Tri-Lite. I’m adding one of these shots here, and I’ll probably add more later.
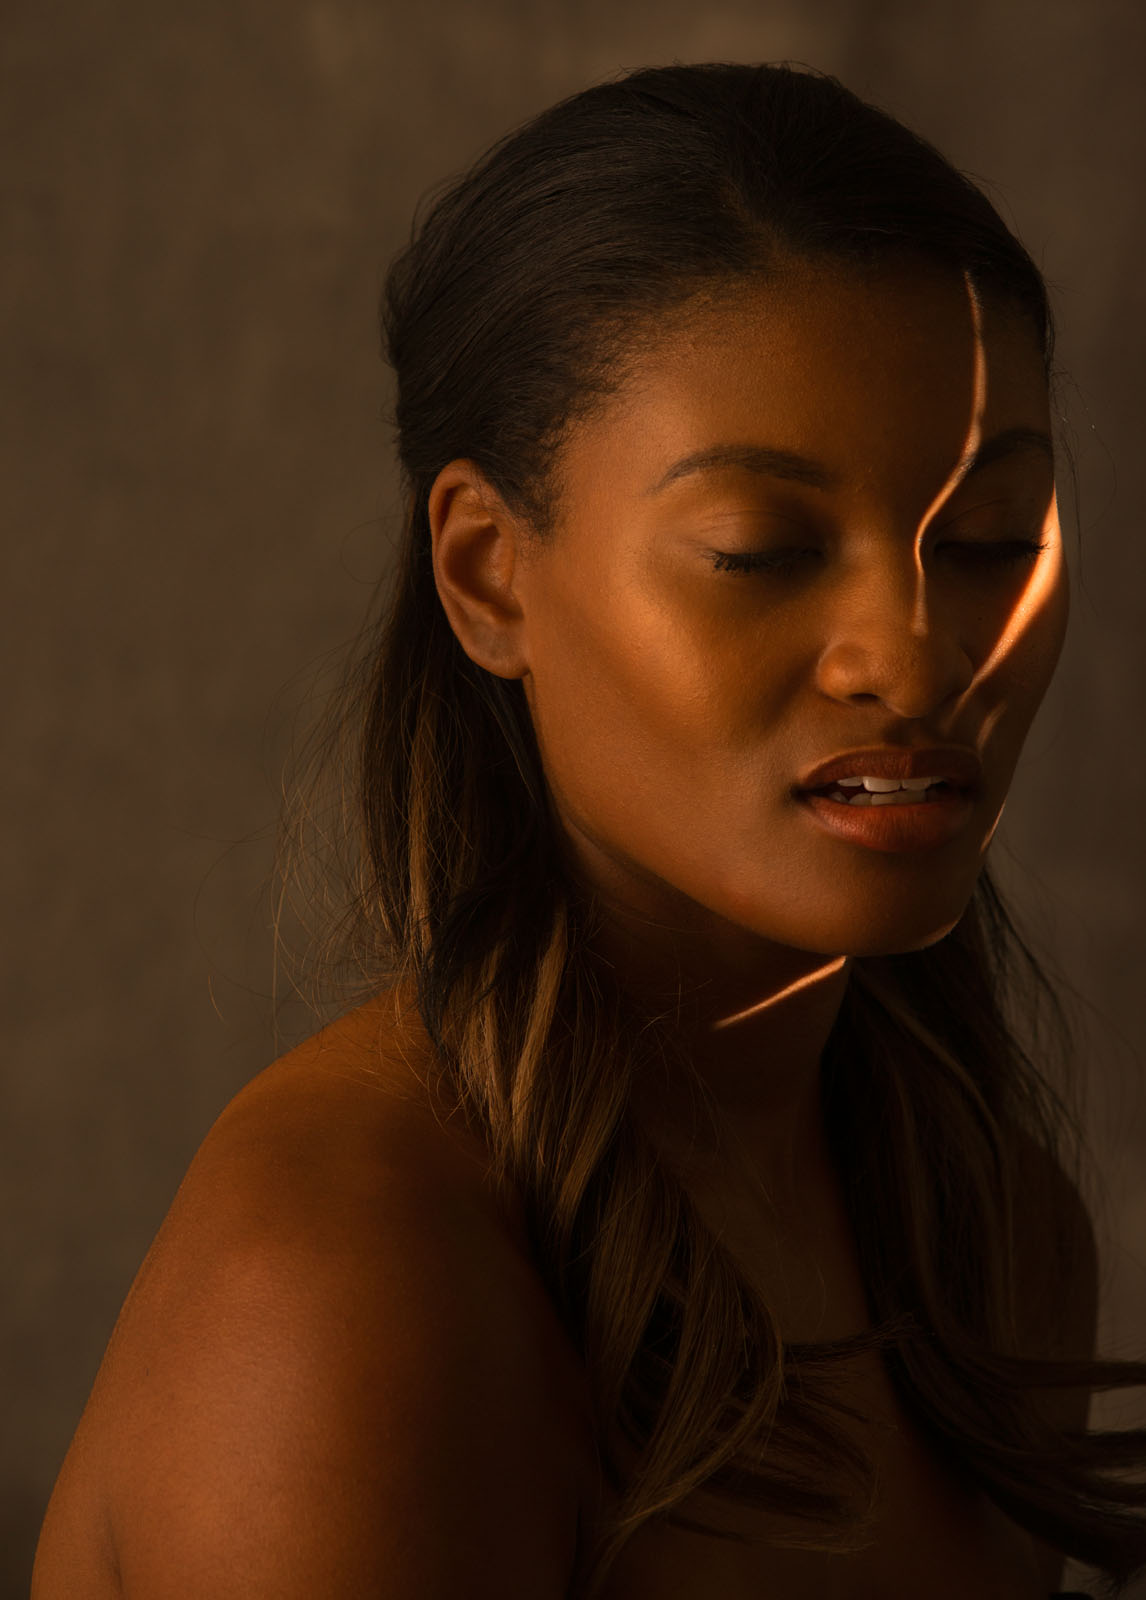
Khristian with the Norman Tri-Lite
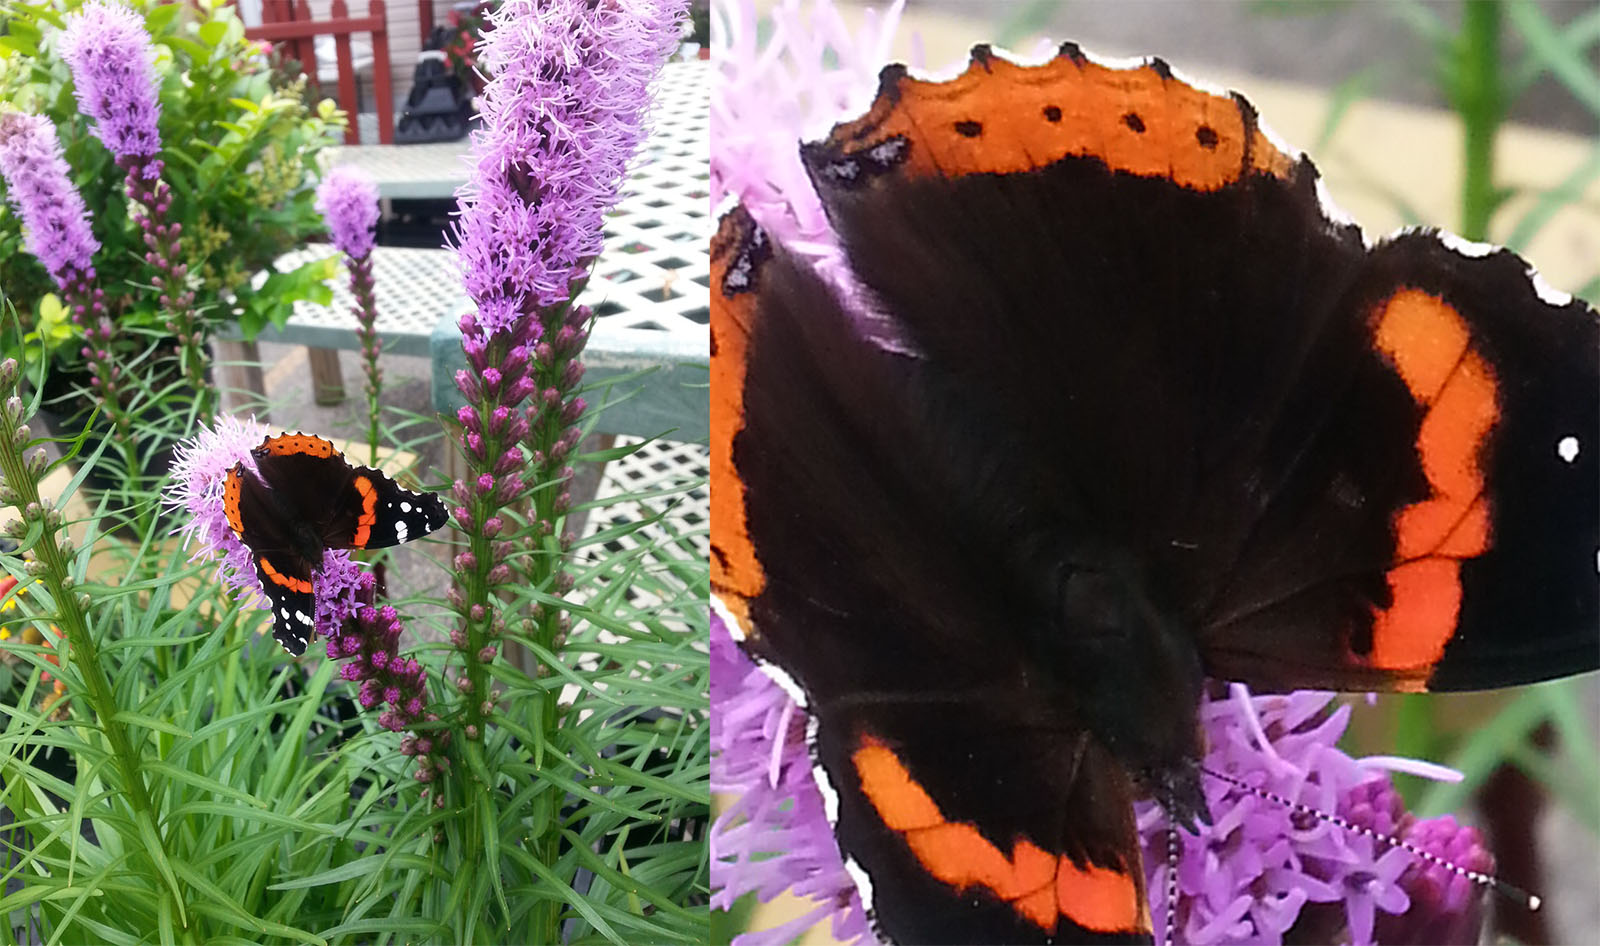
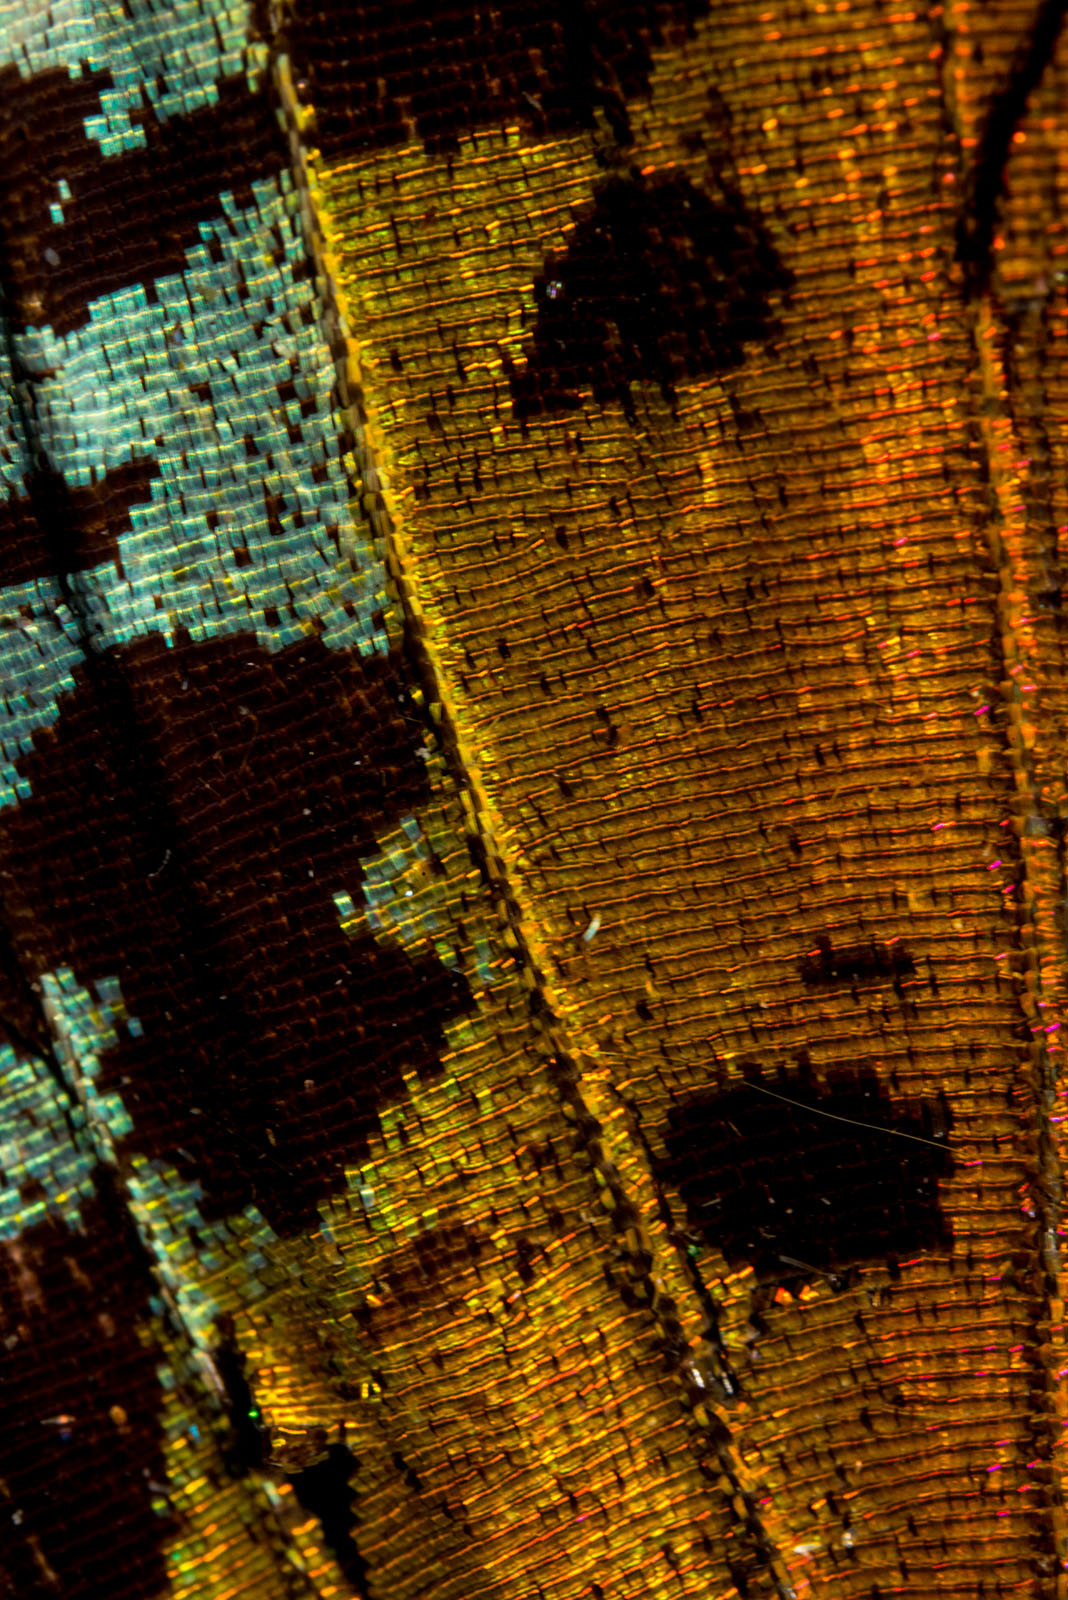
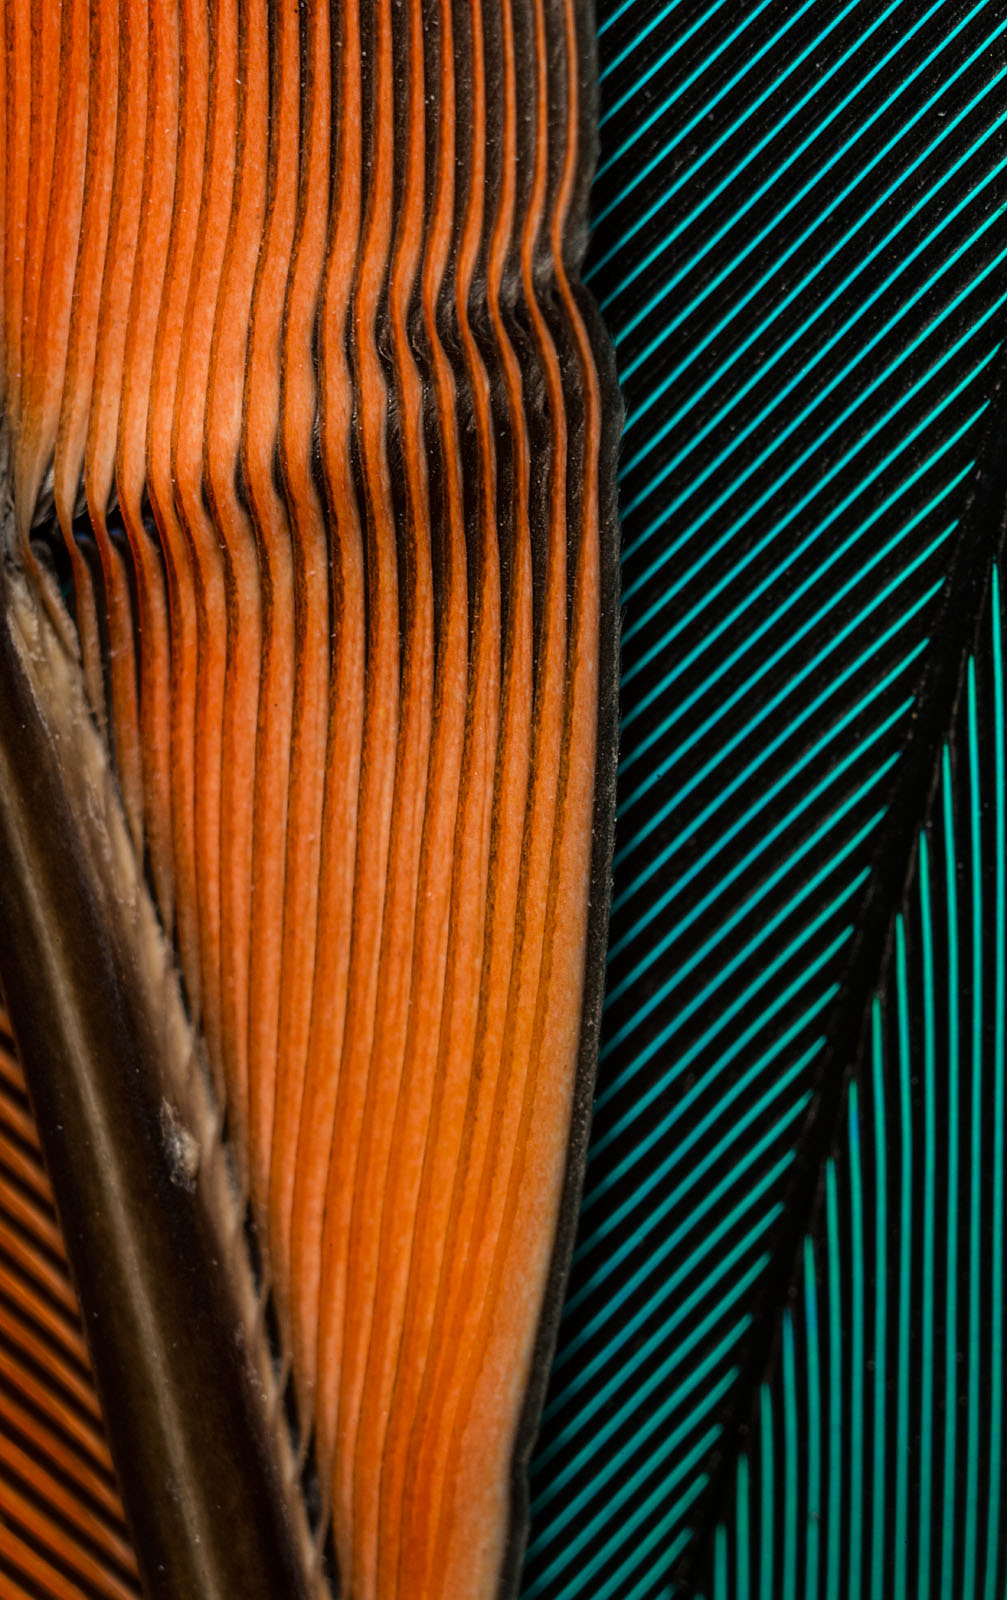
The thing about being a professional creative, and I suppose this applies to all visual artists, writers and other creatives, is that there is a responsibility to work even when you’re not inspired. Not only do you need to work, but also you need to do good work. Sometimes this means doing the craft more than working with inspiration. For instance, a client may come to me to do a product shot that doesn’t require a new vision, just a good solid interpretation of a three-dimensional object into two-dimensions. Sometimes doing the craft of photography will lead me to new ideas. Often, when I haven’t done any real shooting for a while I’ll get out the microscope equipment and search for new worlds in a plastic ice cube. Creativity is something I need to exercise.
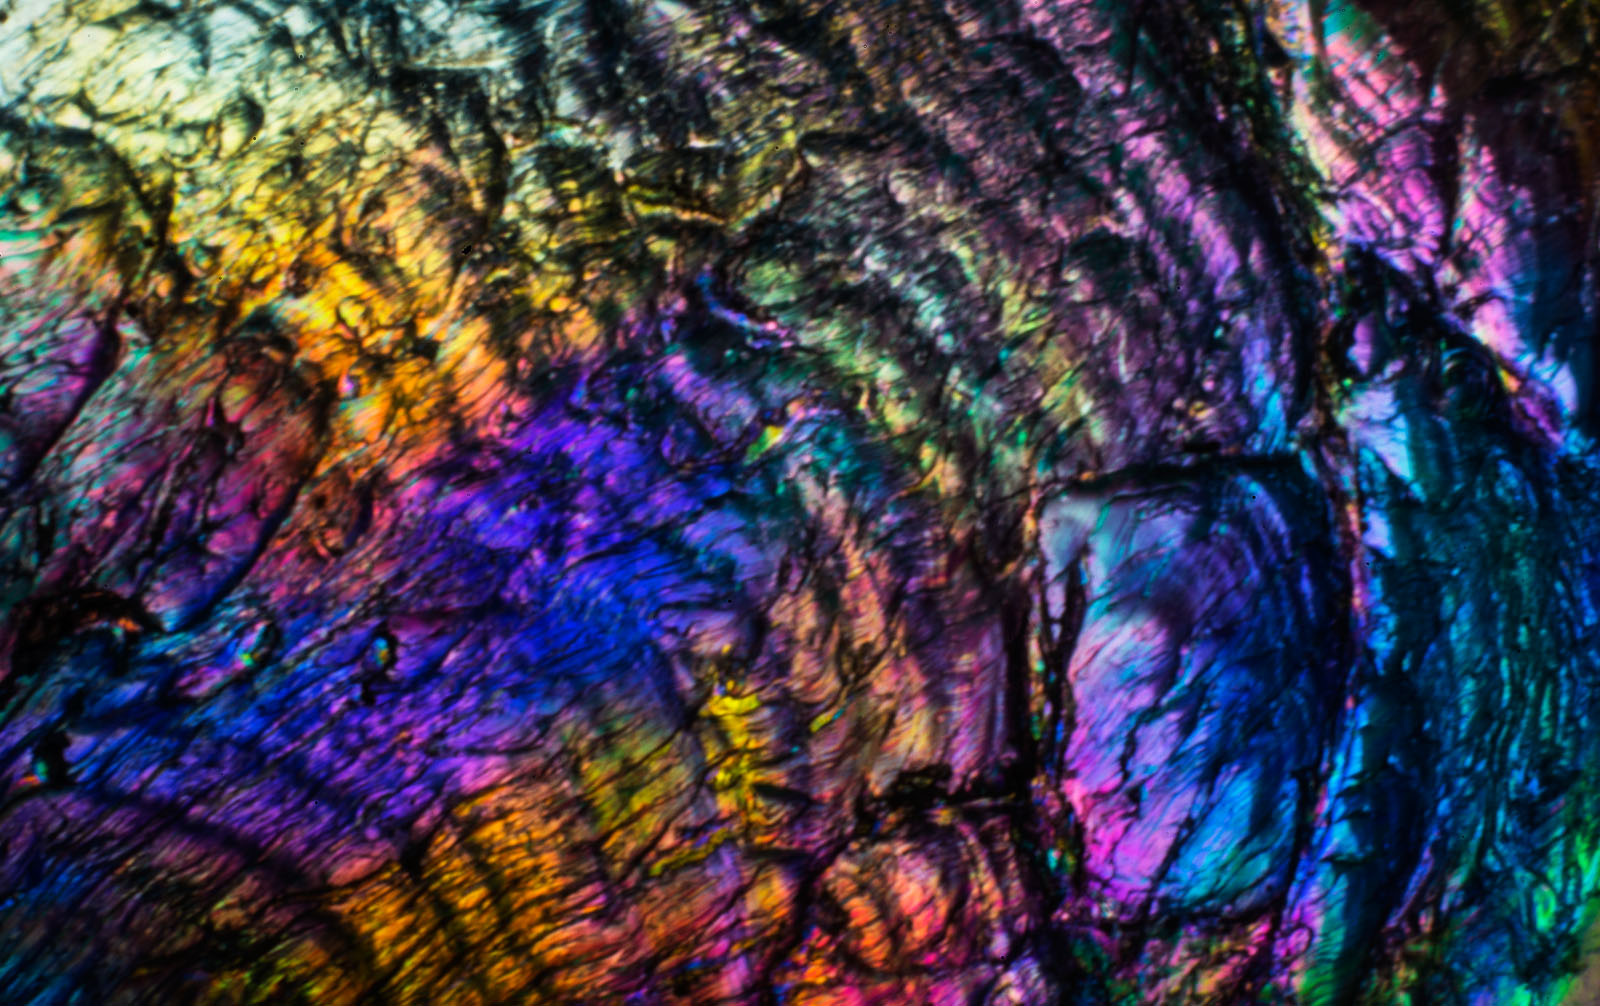
Plastic Ice Cube
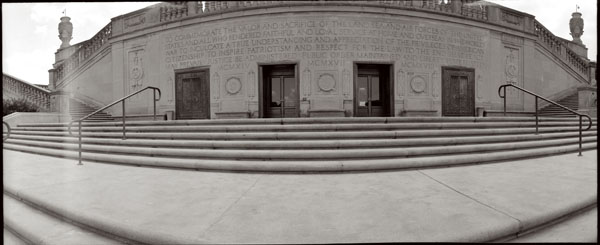
There are always stumbling blocks and obstacles to creative work. The desire to make an image doesn’t always begin with a road map to the image, or even with a visual inspiration. I’ve written about my delight with big film cameras and large format lenses in the past. Just using these things makes me feel better about photography and my way of working. A view camera slows me down; it makes me more deliberate about everything that goes on into the frame. My problem has been that, if I want to make an image with a large camera, I also need to be able to process and print it. When I did commercial or personal work ten years ago I could send the film to the lab, but now I need to do the lab work. I am so pleased to announce that I now have a darkroom!

Darkroom
This is a black and white darkroom; frankly I just can’t find any reason to do color work in a wet darkroom. For color work, digital is not only easier; it just seems better. You can see a couple of images here, but I want to tell you a little about the tool kit in the darkroom. It starts with the sink, in a chemical darkroom the sink is where stuff happens. This sink will hold three 20X24 inch trays, so I can make very large prints. It’s a wooden sink, and it’s coated with marine grade varnish. It’s a real sink, with hot and cold running water, not just a catch basin. My Jobo processor fits easily into the sink, which means I can process most any kind of black and white film or paper.

The large sink, with the Jobo Processor
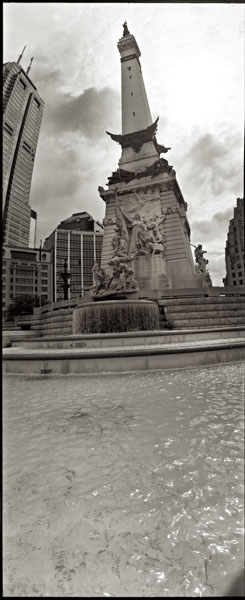
I guess that when most people think about film photography they’re remembering 35mm cameras, so they think the enlarger might be the main tool in the darkroom. While my goal is to work with larger negatives than 35mm, I still want an enlarger. Mine is an old Omega D-2 that will handle film up to 4X5 inches. The strange thing about this D-2 is the head (light source). Many years ago I converted an omega color head, and this head was old even then, to work with filters for printing black and white paper. This head used to be referred to as the Mickey Mouse head, maybe because of the shape: a black sphere with cylinders on the side, or maybe it’s just the technology. Regardless it gives even light and control over contrast. I’ve also got an ultraviolet light source for contact printing large negatives and alternative processes. The UV light source means that I can do Cyanotype and Vandyke prints maybe even platinum prints someday.
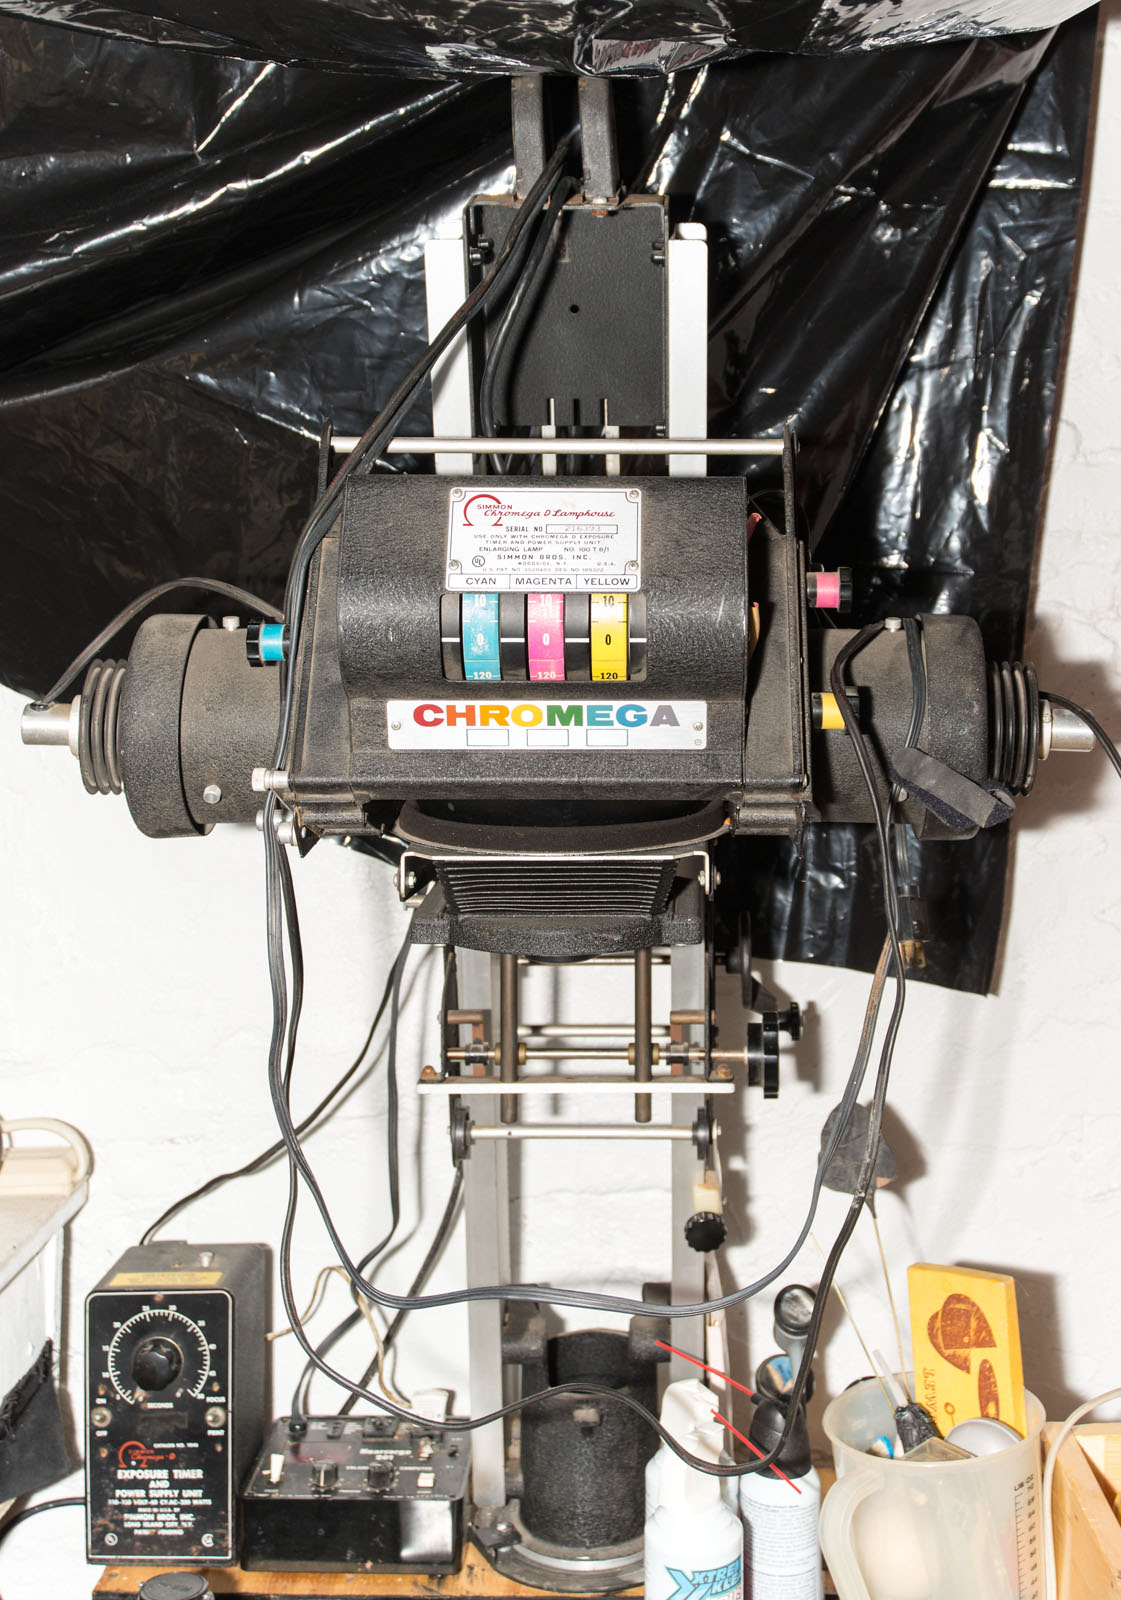
Omega D-2 Enlarger
The dry table is a little smaller than I might like, but it’s big enough to load large film holders. Of course, with all the black plastic, the darkroom has the ambiance of a homeless encampment, but it’s going to be a good place to work. The important thing is I was able to build a workspace that will enable me to unlock all of my large format photography tool kit, even the 11X14 camera!
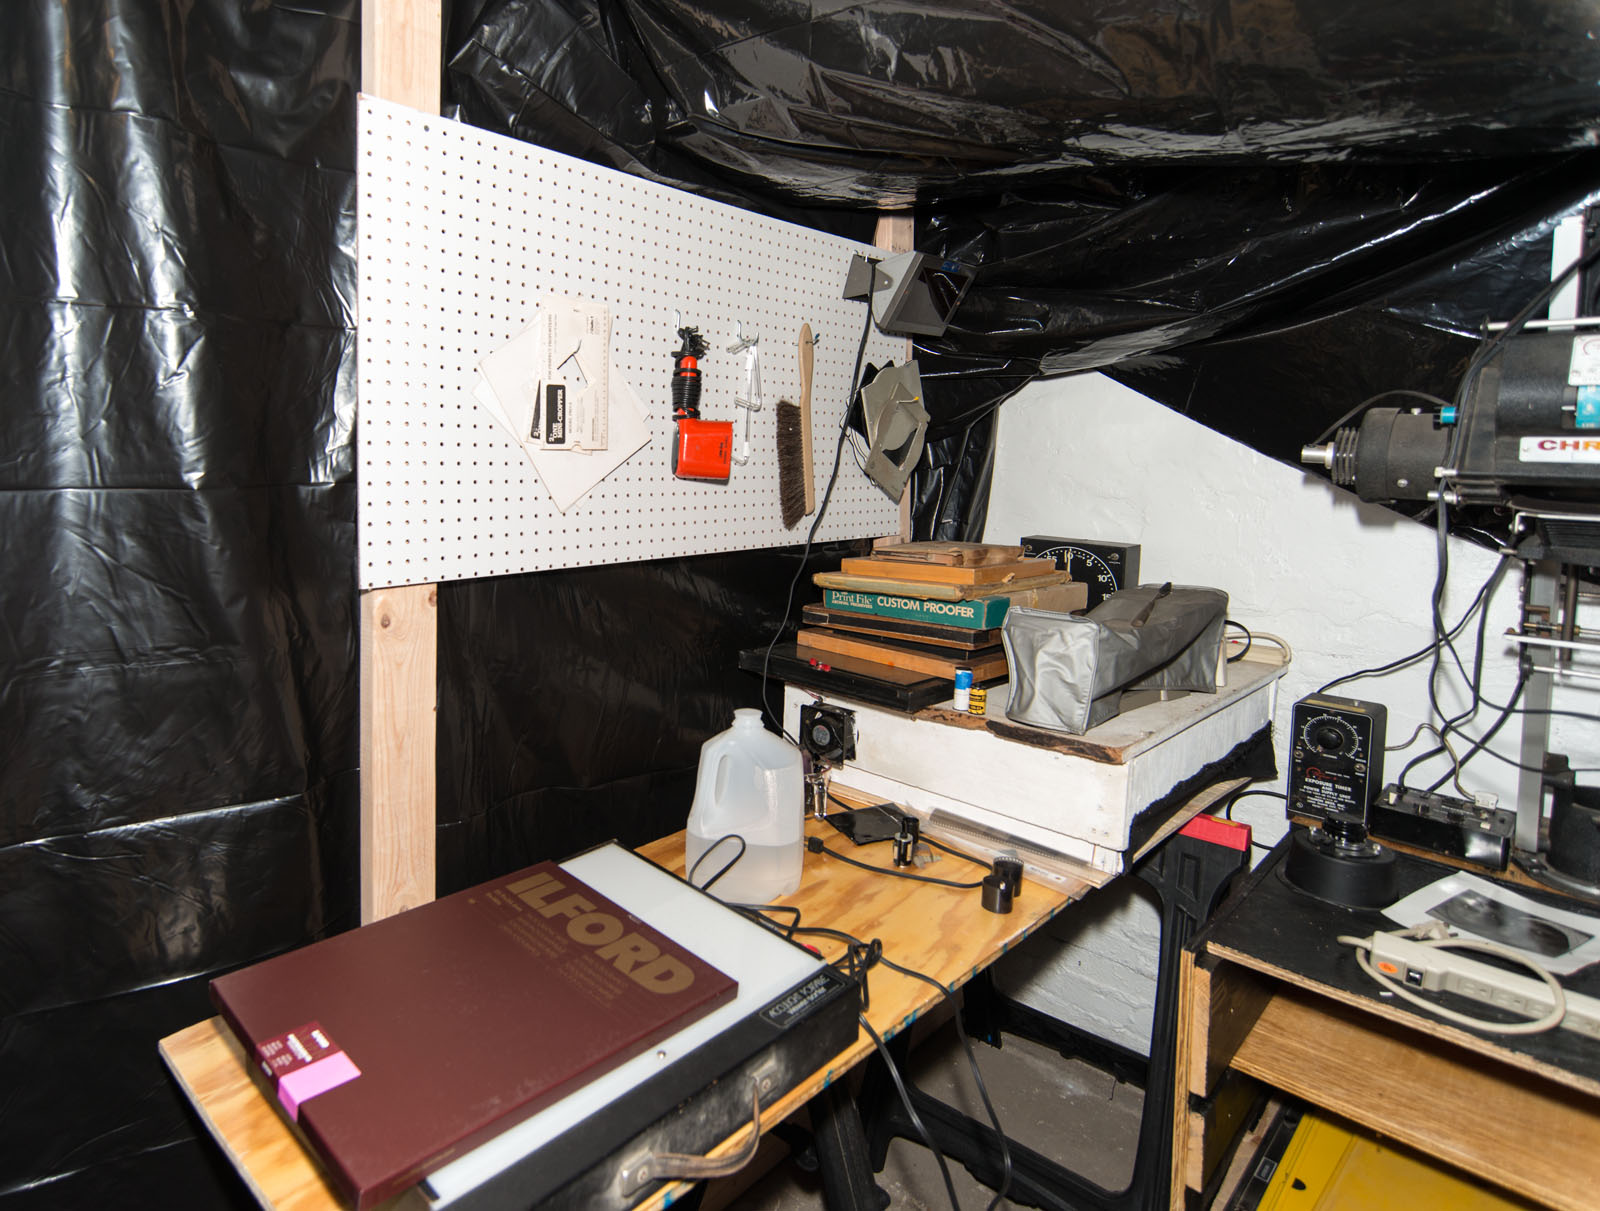
Dry Table
I hope you have inspiration and the tools you want. Thanks for your attention!