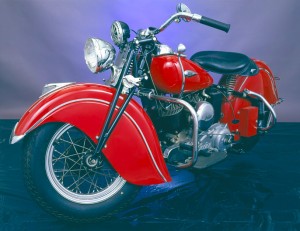
I’ve written several times about making and taking photographs. My main goal in making a photograph is to keep the viewer engaged with the photograph. If a person looks at an image and says “picture of a motorcycle” and moves on, you haven’t really got any attention. If they look at the shot, and spend time staring at the motorcycle, that’s much better.
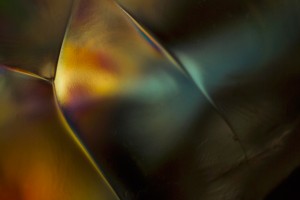
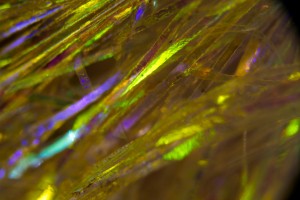
One of the ways to keep a viewer engaged in a shot is to give them color and line and shape, but not give them a recognizable object. I enjoy making images of this sort. As you may know, from this blog and my magazine articles, I make a lot of abstract images with the microscope. I was asked to participate in a show last week, and I will probably bring these abstract images.
There are other ways to keep the viewer engaged. One is to place the subject on the left side of the frame, since the viewer’s eye often enters the frame from the upper left it is a good idea to have the subject near that corner of the shot. The eye starts in this corner because this is how people are taught to read English, I have had students who learned to read in the opposite direction, and they seemed to frame in the opposite direction way. Still, people often shoot the subject on the right side of the frame. They scan from the left finally find something on the right and hit the shutter. People could make better pictures if they took more time to re-frame the image.

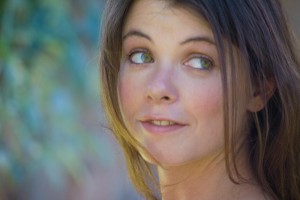
Another way to influence the viewers’ eye is the use of sharp focus and soft focus in the image. Since the eye is looking for a subject it will naturally look for the sharpest areas of the image. The eye will also look at lighter areas of the image, so you can use these ideas to make better portraits, product shots and even action shots. You can manipulate the focus in an image after you shoot it, with Photoshop or another image manipulation tool. I also like doing this in camera. I use depth of field, dragging the shutter or panning the camera to give different effects. Depth of field is the area that is in focus in front of and behind the actual point where the lens is focused. The amount of distance, that is in focus, is changed by the aperture: a smaller aperture gives more depth of field and a larger aperture gives less. So a wide aperture would allow you to use depth of field to isolate the subject of your shot. There is more information about the aperture in an earlier blog entry.
Shutter drag, or dragging the shutter, is a way to mix the instantaneous light from a strobe with a long exposure of the ambient light. This gives me a chance to mix the image from instant and continuous light. The process of dragging the shutter is less controllable than some of the effects I use so it is good to shoot a lot of frames if you do this. Basically the idea is to use a strobe, which is only on for about 1/1000th of a second, and a long exposure for the ambient light, say a 1/4 second. I have often found this technique effective for shooting people working.
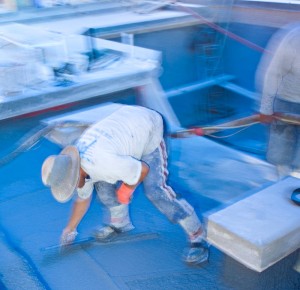
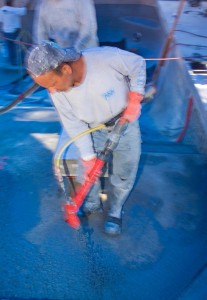
You also use a long exposure for panning. The idea is to move the camera along with the subject. That way the subject is sharp but the background is blurred. As with the shutter drag this doesn’t always work, so you need to take a lot of shots. This is also easier with a range finder camera, since you can see through the viewfinder when the shutter is open. With a dSLR the viewfinder is black when the shutter is open.
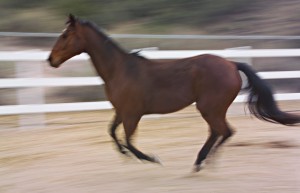
Of course there are other ways to accomplish soft and sharp focus, maybe we’ll get to some of them next week. One thing I’m doing different this week: I the links are connected to copies of the images at BetterPhoto. I really don’t know how well this will work for non-members, so if you can’t use the links please let me know.
My article on strobe power is in the current Photo Technique Magazine. I hope you’ll get a copy.
Please consider taking one of my classes, or even recommending them. I have three classes at BetterPhoto:
An Introduction to Photographic Lighting
Portrait Lighting on Location and in the Studio
Getting Started in Commercial Photography