Photo Notes A place to talk about making images.

November 17, 2010

Strobes: What Do You Need?

Filed under: Lighting Technique — John Siskin @ 3:15 pm

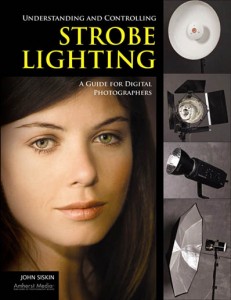
I’m going to continue puting the shameless plugs at the beginning of this blog again this week. My book Understanding and Controlling Strobe Lighting: A Guide for Digital Photographers is on Amazon.com. It got as high as number 15 in photographic lighting books! And there was much rejoicing! But is is dropping now, so you need to buy a couple of copies for holiday presents. Here is a sample chapter. Of course I still hope that you will consider purchasing my fine art book B Four: pictures of beach, beauty, beings and buildings. Frankly purchases of this book mean a lot to me, and it is also a fine gift for the holidays.  I really hope that people will consider this work. And you know that I teach for BetterPhoto.com. I’ll leave those links to the end of the blog.
I think I must have had my first strobe back in high school. I had a couple of cameras that used flash bulbs before that, but I never had any bulbs. I can’t remember what it was. I got my first good strobe when I was in university, a Sunpak 411. I still have it. It is a terrific strobe. It works automatically at 4 f-tops, but it also had manual control. Full power down to 1/32 power and you could move the flash tube to face left and right and up and down. I also still have a Sunpak 611 that I use pretty frequently. The thing that I want to point out about these strobes is that there best features are not the automatic features, but the manual features. Most of the time, when I use any lights, especially strobes, I need to use manual control. This is because I am adding light to a shot. I am making an image that is different from the image I see. So I need to preview that shot and I need to control to have control over the light in the shot. When you use a strobe automatically you are asking the strobe to change the image, rather than record the image. Auto control of strobe works well with flash fill and sometimes for events, but it is not the best way to make other kinds of shots.

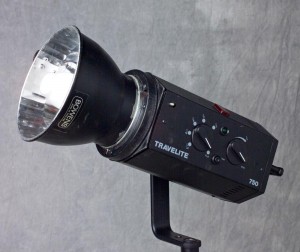
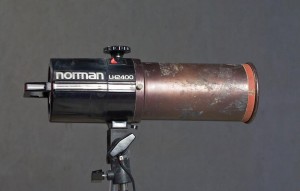
A 750 watt-second mono light.

I suppose the question I get most often in my lighting classes is what lights should I buy. The answer varies depending on the kind of work that someone wants to do, but there are some things I recommend a lot. If you’re going to shoot portraits or people in general or product or architecture you can probably do anything you want to with mono lights.These are strobes, generally with a significant amount of power, that use regular AC power. This makes them easy to use on location or in the studio. You can control the amount of light from these without significantly changing the color. You don’t have this kind of control with any continuous light source. A good mono light is bright enough to make daylight into a secondary light source, that is a considerable amount of power.

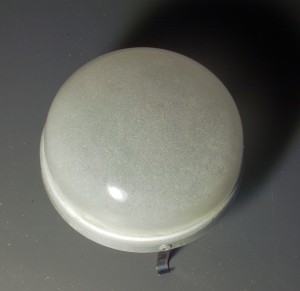
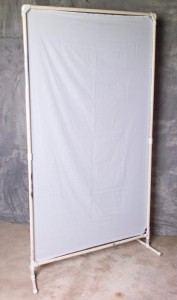
Light Panel with white cotton cover.

Here is a one light kit that I have often suggested. I would suggest that you start with one light. You will understand lights better if you do that. As soon as you add a second light you more that double the potential problems.
Alien Bee B1600
A 50º or 60º reflector. This is the standard reflector, often 6 to 8 inches. Usually a manufacturer has one or two metal bowl shaped reflector that control the spread of light to cover what a normal lens might capture.
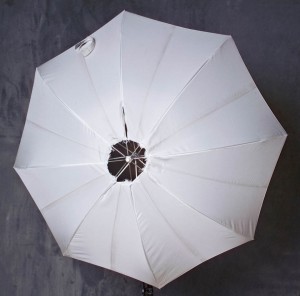
A 45 inch white satin umbrella with a removable black back. An umbrella with covered ribs would be better.
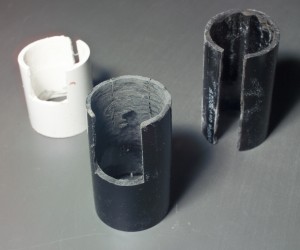
2- light panels with 2-white cotton or nylon covers and a black cover and a sliver cover.
Light stand. At least 8 feet tall, 10 is better
Perhaps a background stand and a neutral or mottled gray muslin background. If you’re shooting product a couple of

rolls of seamless paper would be better.
Chinese Radio Slave.

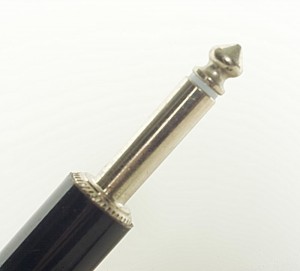
Sync Connector, this connector is used on a lot of strobes, but not all.

You can get these from eBay, search digital radio slave. Look for one that has a plug like OLD headphones, .25 X 1.5 inch. For more on sync connections check out this article.
With a second light, which might be lower in power based on your work. So if you were shooting portraits you could probably get a second light that had lower power, but if you were shooting architecture you would want a light that had as much power as your first light. I would also get:
50º or 60º reflector
Barn doors and/or snoot
Light stand, similar to what you got with the first light.
2- umbrellas, one matching the one you got with the first light and the other a 60 inch umbrella.
Very short light stand, this can be used for a background or hidden in a shot.

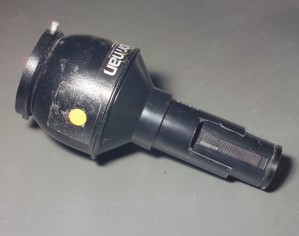
A Snoot, this tool allows you to put light into a small area of a shot.

If you add a third light, and this would depend on what you needed to light, I would get
60º reflector
1 more light panel with a gold cover, if you are shooting portraits. Just a white cover if you are shooting product. You probably don’t use the light panels very often if you shoot architecture.
Light stand
Barn doors or snoot whichever one you don’t have.
45 inch umbrella.
I hope this helps.
Please consider taking one of my classes, or even recommending them. I have three classes at BetterPhoto:
An Introduction to Photographic Lighting
Portrait Lighting on Location and in the Studio
Getting Started in Commercial Photography

BetterPhoto.com, The better way to learn photography

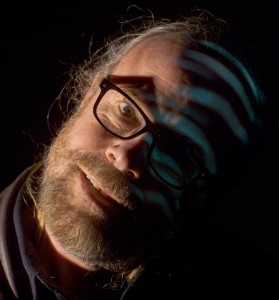
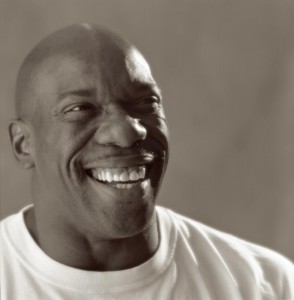
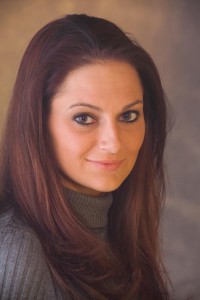
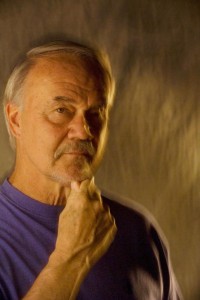
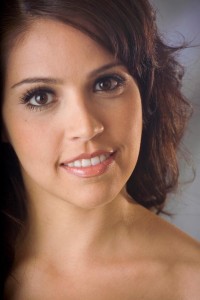
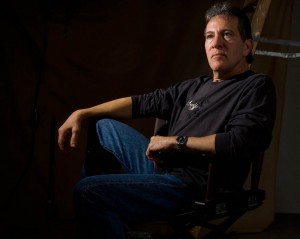
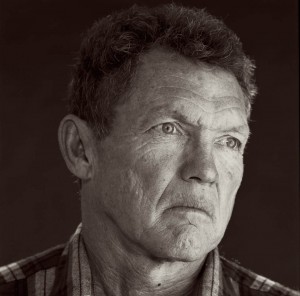
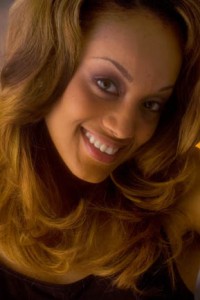
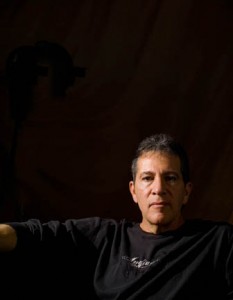
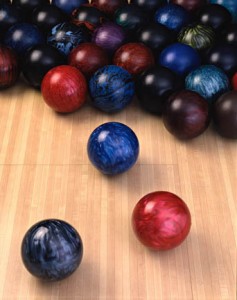
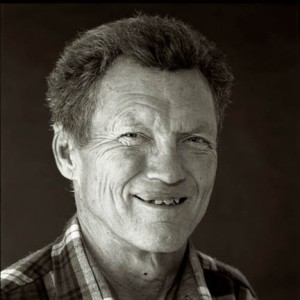
A few portraits made with strobe:

There is more information about this image in my book!

I used both hard and soft light on this subject.

July 22, 2010

Balancing Light

Filed under: Architectural Lighting,Lighting Technique — John Siskin @ 2:40 pm

This just came up for discussion in my Commercial Photography Class. I think this is a basic concept, but I’ve been lighting things for a few decades now, so my point of view isn’t average. When you light a subject each light source should bring the right amount of illumination to the party, too much or too little and the shot doesn’t look right. In addition the color of the light source must be right, for the circumstances, or the shot won’t look good. Of course you can do some of this in Photoshop, and I do, but I think that I get a more natural feel when the light is actually in the shot.
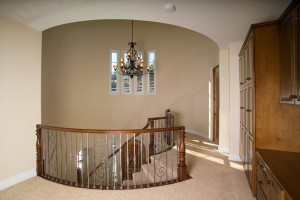
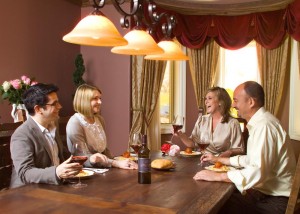
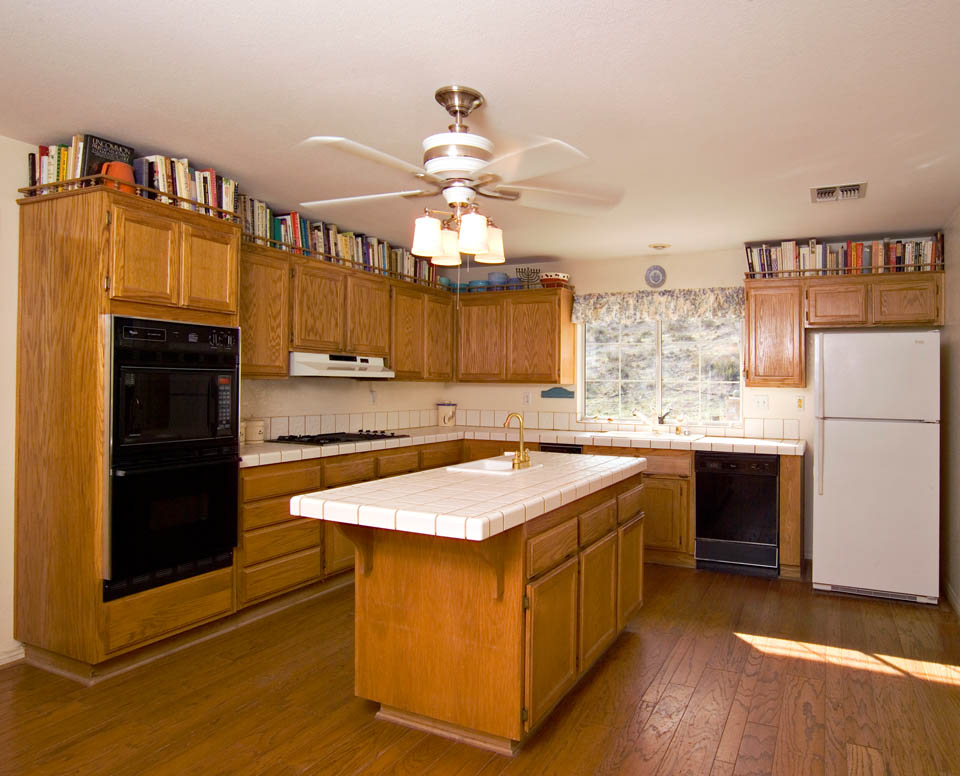
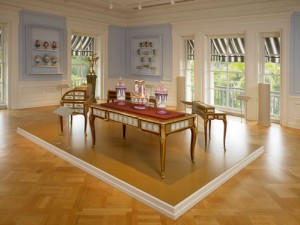
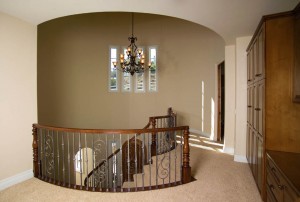
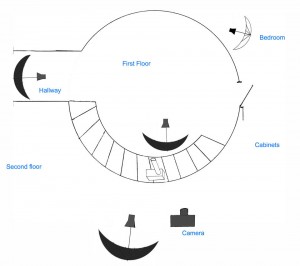
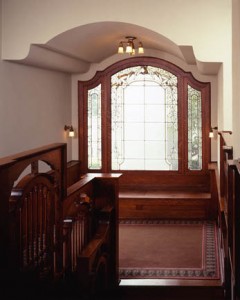
In this shot I used five lights. The idea is to keep the light the room even and to make the light from the widows feel like a natural part of the shot. Of course the actual available light in the room didn’t match the window light, so I had to bring in all those strobes. You can see an article that discusses the lighting here, as well as an alternative version with HDR. In order to make the lighting work in this shot I had the camera tethered to a laptop. I can not stress enough that you just won’t be able to do really creative controlled lighting without feedback. While the camera back is good a larger device, like a laptop is MUCH better. I set up my lights for a portrait with the camera connected to the computer. When the set up is done. I disconnect and shoot the portraits. For architectural shot and for product shots I keep the camera tethered. Before digital, I used a lot of Polaroid material, usually in the same camera that I was shooting, to make sure the light was right. I need positive visual feed back even when I shoot with continuous light, just have to see how the camera sees.
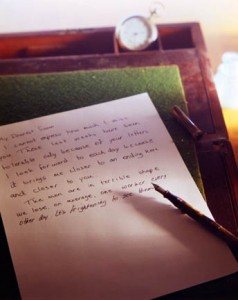
In this shot there is only one strobe, but as before it has to be balanced with the light from outside. Strobes make that easier than it would be with a continuous light source. You can change your shutter speed and change the amount of light from all the continuous sources in a shot, but the shutter won’t affect the amount of light from the strobe. The strobe only stays on for 1/1000th of a second, so the shutter doesn’t affect it. If you’d like more information about this check this article. One more thing to mention about this shot, the color of the interior and exterior light in the shot are a good match. Strobes match to daylight, but you can filter them to match other sources. The soft quality of the light also fits in well with the shot, if I’d used harder light the shot wouldn’t have worked as well.
So to balance light you have to be aware of all the qualities of light: quantity, color and how hard the light is. Each light in a shot should be fit to the others, including any ambient light.
I hope you’ll consider taking one of my classes:
An Introduction to Photographic Lighting
Portrait Lighting on Location and in the Studio
Getting Started In Commercial Photography
Or buy my book: Understanding and Controlling Strobe Lighting: A Guide for Digital Photographers(ok it won’t be out until November, but you can order it now).
Thanks John
Branded 2 468x60

July 12, 2010

Filtering Lights

Filed under: Lighting Technique — John Siskin @ 6:24 pm

Branded 2 468x60
So many people seem to think that filters are something in Photoshop, rather than something we use on a light or in front of a lens. Certainly Photoshop gives us many creative tools that offer wonderful ways to manipulate an image, but there are many reasons to use filters when you take a picture. The first one is that you preserve the idea you had for an image. If you think when you make a shot that it would be great if the left side was blue and the top of the frame was darker you will be disappointed when you see the image as a raw file. You may think, now why did I take that shot? Another consideration: if you are shooting a hundred shots of a model in the studio do you want to have to change the color of the background in every shot? Filters give you a way to control the light in a shot as you make the shot.

The background color is added with a filter

Used a warm filter to color the background

Mel, the background was lit with a warm light

Used a warm light to create the background color

Here are a few ways I use filters: I like to filter the light on a background. I can add any color to a background with gels. I use a mottled gray background most of the time, but I can change the color all over the spectrum. When you do this try to reduce the amount of light from your subject that falls on the background. The less white light you have the more saturated your color will be.

Used a blue filter over the lights to warm up the background

You can also change the color of your lights then remove the color in Photoshop. Why would you want to? Well this allows you to change the color of the continuous lights in the shot. So add a 1/2 CTB to your strobes then filter the blue out in Photoshop. All the ambient light will be much warmer, really a simple way to filter ambient light.
Polarizers allow you to control reflections, especially with daylight. This is much easier than using the cloning tool to fix a shot.
I like to use warm filters over some of my strobes when I shoot a portrait. This give the hard light a feeling of being sunlight.

I used warm filters on several of the lights to give a sunlight feel to the shot

The kit I use for my lights includes several warm filters, and a couple cool filters. I also have color filters that I mostly use for backgrounds. I generally get filters from Rosco: they have a tremendous selection and their filters don’t burn. Filters are a great inexpensive way to bring more control to your images.

For more thoughts about photography please take one of my classes:
An Introduction to Photographic Lighting
Portrait Lighting on Location and in the Studio
Getting Started In Commercial Photography

Or buy my book: Understanding and Controlling Strobe Lighting: A Guide for Digital Photographers(ok it won’t be out until November, but you can order it now).
Thanks John

March 14, 2010

Large Light Sources

Filed under: Lighting Technique — John Siskin @ 11:23 am


Branded 2 468x60

This image was made with a snoot, so the light source is very small.

People are often confused by the difference between what happens when you use a diffuser and when you use a device to make a light source larger. The language of lighting doesn’t make a good separation between these ways of modifying light. A regular reflector on a strobe or even a clamp light acts to keep light in one direction. Various reflectors modify the spread of the light, so they are known by the degrees they cover: a 30º reflector throws a tighter beam than a 60º reflector. A diffuser takes the light from a reflector, or from the built in reflector in a strobe light like an SB900, and spreads it to cover a larger area, generally everything in front of the light, say 180º. This is what the booty light does. A large light source does do this, but it does something else that is more important. Whatever light source you use, each point on the light source, whether it is 12 inches across or 12 feet across, lights each and every point on the subject, unless that point is shadowed by something between the light and the subject. So if you have a face the nose will throw a shadow with a small light source since the nose will block all of the light coming from the small light source. If you have a large light source the nose will block some of the light source, but not all of it, because there will be part of the larger light source that isn’t blocked by the nose.  So

Made with a translucent cloth over a light pane to give the light a hard/soft quality

you get softer gradation, because only some of the light is blocked by anything between the subject and the light, and you have reduced, or no, shadowing. How soft the light is depends on the size of the light source. Other factors include the distance from the subject to the light source and how translucent the fabric in the large light source is. A very translucent fabric creates both a hard and softened effect, because you can see the effect of the small light source in the larger light source. In the same way a silver fabric doesn’t spread light in an umbrella as much as a white satin fabric. The basic tools to make large light sources are umbrellas, soft boxes and light panels. The key is the size of the source more than the shape. So a 60-inch umbrella and a 4X5 foot soft box will make very similar light, and a 1X1.5-foot soft box will give a very different quality of light. In my classes I stress using large light sources, because of the quality of light they create. For more information you might want to check out this article.

I have a new article on Architectural Lighting coming out in the May/June issue of Photo Technique Magazine . I hope you’ll check it out. I also hope you’ll check out my classes at BetterPhoto.
An Introduction to Photographic Lighting

This image was made with both hard and soft light sources.

Portrait Lighting on Location and in the Studio
Business to Business: Commercial Photography

Thanks, John Siskin

Branded 2 468x60

February 1, 2010

A New Tool For Lighting Space

Filed under: Architectural Lighting,Lighting Technique — John Siskin @ 8:25 pm
Modified Umbrella

Modified Umbrella

If your goal is to light a human face you are talking about controlling light on about one square foot of surface area, if you are lighting head to toe, or even a small group, you are not talking about that much area. When you are trying to light a room you may be talking about thousands of cubic feet of space. The problems are not unrelated, but the solutions are going to be very different.

One of the most important tools in lighting people or product is the large light source. If you have a light source that is very large, and close to the subject, you can create soft shadowless light. The light seems to come from many directions, like the light on an overcast day. Of course this is because the light does come from every point on the surface of the light source, whether the light source is an umbrella, soft box or light panel. So lighting with a large light source can be relatively simple, since the position of the light is not as critical as with a small light source. As the subject gets bigger you need an increasingly large light source to accomplish the same thing. If you light a motorcycle (http://www.youtube.com/watch?v=pqEfShhW5pA) a large light source might be about 20X9 feet. But if you are lighting a room a large light source would need to be approximately as big as the room.

Since I haven’t seen a lot of soft boxes you could live in, or an umbrella that could keep the entire Mormon Tabernacle Choir dry in a rainstorm, I think that the only way to achieve a large light source in an architectural setting is to bounce the light off a wall or ceiling. This will work quite well if the surface you bounce off is white or close to white. The other concern, with the ceiling, is to keep light off, or nearly off, any part of the ceiling that is in your shot. I suppose you could bounce light off a large piece of seamless paper if your walls or ceilings weren’t white, but that sounds like it might be difficult to set-up. You could also repaint the room, but I don’t think that this solution is very practical. A bounce light will also cause reflections, but reflections from large light sources are not as bright as those from small light sources.

Recently I saw the way one of my students used an umbrella on a room shot. She pointed a shoot through umbrella at the ceiling. There was light all over the room and the ceiling from just one light. Of course there was not as much light as one would like bouncing off the ceiling, because the light had to go through the umbrella. I wondered what it would look like if you could bounce light off the ceiling and get light from the side of an umbrella. So I modified a white umbrella, by putting a hole in the center. I had to sew around the edges of the hole. The hard light went through the center of the umbrella and the umbrella diffused the light on all sides. This is a 360º light, so you get bounce fill from all over the room. The light worked wonderfully well. I have attached a before and after photo.

Without the new light

Without the new light

With the modified umbrella!

With the modified umbrella!

Of course I had to see what would happen with a portrait. The results on this test were less wonderful. The light needs to be place precisely, because it works as a hard light. In addition, since there is more hard light than soft light, the result is not really flattering to all subjects. Still the catch lights looked very fine.

Catchlights from the modified umbrella

Catchlights from the modified umbrella

I have a picture on page 58 of the New Yorker this week, I hope you’ll check it out. I also hope you will also check out my classes at BetterPhoto.com:

An Introduction to Photographic Lighting

Portrait Lighting on Location and in the Studio

Business to Business: Commercial Photography

January 22, 2010

The New Book & The Next Book

Filed under: Lighting Technique,My Books! — John Siskin @ 6:15 pm

coverI want to just include an update of my publishing projects. My first book, now titled Understanding and Controlling Strobe Lighting, A Guide for Digital Photographers is due out in the fall. I’ve attached a copy of the cover. Of course I’ll post ordering information as soon as it is available. My publisher Amherst Media has accepted the outline for my second book. This is tentatively titled: Lighting spaces, a photographers guide to lighting architecture, commercial and other big spaces with flash and ambient (light)

As I begin work on this book I have realized that this will provide some wonderful opportunities for teaching. If you are interested in learning architectural lighting please send me an e-mail at john@siskinphoto.com. There will be very few spaces for each location, so give me some idea of your interests. I will include a teaching session with each shoot, so you should have a complete experience.

I will also have an article about architectural photography in Photo Technique Magazine in the May/June issue. I am very excited to be included in the updated version of Photo Techniques Magazine. You can see a couple of my previous articles about architectural lighting at these links www.siskinphoto.com/magazine/zpdf/LocationLighting.pdf and www.siskinphoto.com/magazine/zpdf/Arch_HDR&Strobe.pdf You may have to right click and choose save page as to download these articles. To see more of my articles visit: www.siskinphoto.com/magazinearticles.php

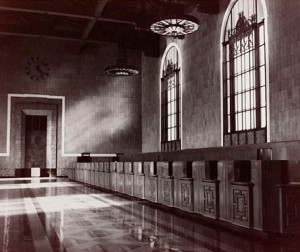
I’ll finish up this week with a few of my favorite architectural photos. All of these images are linked to larger versions on my site. Thanks, for your attention! John Siskin
Union Station #1

Union Station #1

A room at the Huntington Library

A room at the Huntington Library

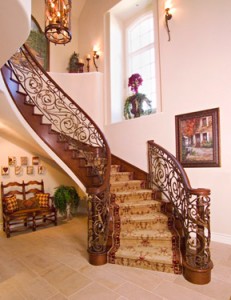
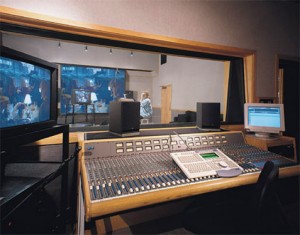
stair2 soundstudiobigcopy

January 8, 2010

The Right Exposure or the Right Light?

Filed under: Basic Photo Technique,Lighting Technique — John Siskin @ 10:33 pm

Getting a good exposure is important, but getting the right light is MUCH more important. Digital cameras make this much

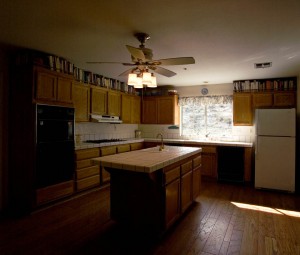
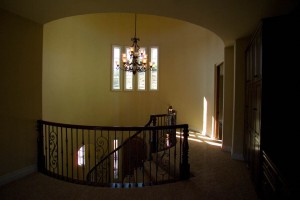
This is what the shot looked like without strobes. It is the right exposure, but the wrong light.

This is what the shot looked like without strobes. It is the right exposure, but the wrong light.

easier than ever before! People often rely on a meter when they should look at what they are doing. But even when I shot film for a living I didn’t rely on the meter, I relied on the Polaroid instant images I made with the camera. I suspect part of the difficulty is that it is frightening to turn the meter off and rely on your eye and proof image and histogram, but now that we have these tools we should not be so afraid to turn off the meter.
In teaching classes I keep trying to find ways to say that you have to move into the land BEYOND metering. When you use a strobe meter you get a response that tells you how to make a middle density, but the meter doesn’t tell you how to make it look right. There is no automatic way to make it look right, only the application of brains can do that. When I make a shot with strobes and a digital camera, the first thing I do is to put the camera on manual. The camera meter can’t read strobes, except for the proprietary strobe. So the camera meter is useless. I do not use a hand held strobe meter, as it doesn’t give me useful information. The only things I pay attention to are the histogram and the proof image on the camera back, or, even better, an image on a computer tethered to the camera. More than metering these two tools tell you about your image.

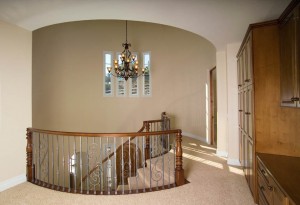
In this version I've put in a couple of lights and things look better. I know what to do becaues I am examining what I've done step by step.

In this version I've put in a couple of lights and things look better. I know what to do becaues I am examining what I've done step by step.

Let me suggest a plan for seeking the right exposure:

1)   Set the shutter speed to the sync speed.
2)   Set the aperture to your middle aperture, whatever that is on the lens you are using
3)   Take a picture, it will probably be wrong.
4)   Move the aperture dial to let in more or less light based on test exposure 1, you can look at the histogram to help determine how much to change the aperture, but the proof image should tell you if you need to change the exposure a lot or a little. If you are using more than one light consider the balance of the lights. Remember the aperture affects the strobes, the shutter speed doesn’t.
5)   More test exposures and changes of light placement and light power until the strobes are right.
6)   If you need to use ambient light increase the shutter speed until the balance looks right. This same technique will work if you are mixing strobes and daylight. This was why the Polaroid bill was so high with film cameras, but with digital these test exposures are free, so we should not be afraid to make them. If you practice this you will actually end up being able to find the right exposure quite quickly.

In this version I added a couple more lights to open up the far wall with more light. No meter could have done this. I need to look at what I'm doing.

In this version I added a couple more lights to open up the far wall with more light. No meter could have done this. I need to look at what I'm doing.

This is the essential trick with strobes, to evaluate and change our images in search of the right levels for our lights and our exposures. With the histogram and the proof image on camera or in the computer we have better tools for creating the right exposure than any meter could give us, but it does take repeated testing. If you use a hand-held meter you will get an answer, but very often it will be profoundly wrong.

This shows the final placement of the lights.

This shows the final placement of the lights.

December 30, 2009

I Finished the Book!

Filed under: Lighting Technique,My Books!,Photography Communication — John Siskin @ 4:05 pm

So I wanted to check on with this blog, just in case anyone is paying any attention. I got a book deal on Dec. 10, and the publisher, Amherst Media, wanted a completed manuscript by Dec.31. I finished on Dec. 28, So you may be able to guess what I have been doing for the last couple of weeks. What I’m going to do this week is attach a bunch of images from the book. They are connected to larger versions at my site, and these images also have the captions from the book. Frankly, it’s going to take a couple of days to get backup to normal speed. Please consider my classes, the links are just below. I hope you’ll take one! The book will be published in the fall. There isn’t a title yet, but there are 31,000 words and a couple of hundred photographs!

Thanks!
John Siskin

My Classes
An Introduction to Photographic Lighting

Portrait Lighting on Location and in the Studio

Business to Business: Commercial Photography

image 9.3

image 2.16image 9.5image 4.19image 2.3image 10.12image 11.27image 9.14

December 4, 2009

Projector Blues

Filed under: Film Technique,Lighting Technique — John Siskin @ 10:38 pm

Blue LightYears ago I went to a lecture about lighting, I think it was put on by Kodak. The photographer had these awesome little lights, hot lights, with built in baffles that allowed his to precisely control where the light went. Similar to working with barn doors, but with a harder edge, and more control. The lights had lenses so your edges could be harder or softer. I thought these lights had to be the best thing ever for tabletop work. The only problem was that I didn’t own them.
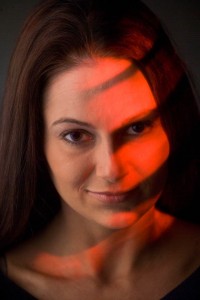
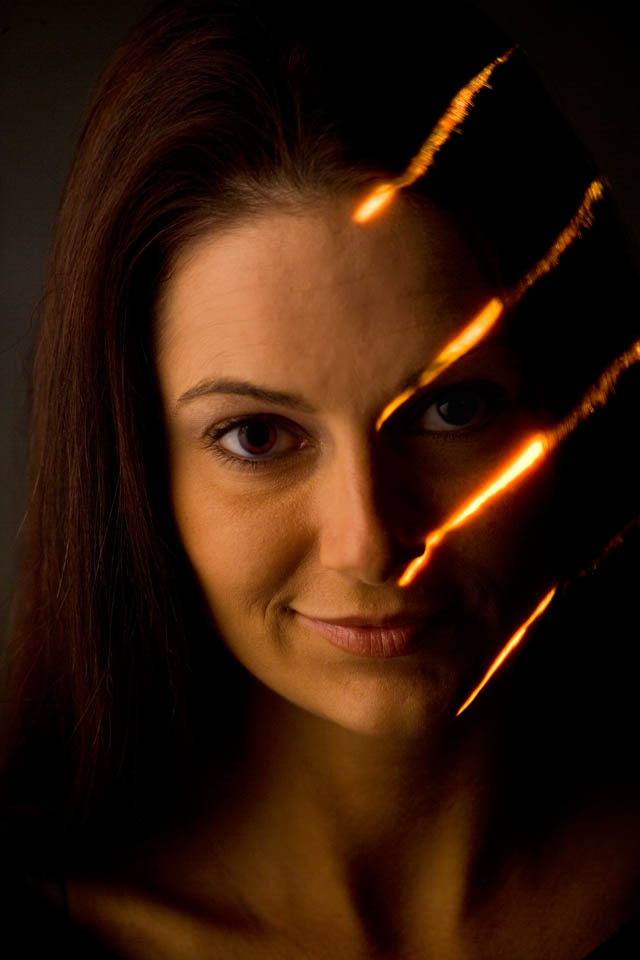
I had already seen work by Moses Sparks that used a slide projector to project images on top of the human body. You’ll understand that this was in the dark ages before Photoshop. So it suddenly occurred to me that I could get the precise lighting that I wanted with the slide projector. You can see an article about doing this kind of work, with film, at this link.

When I first started working with digital cameras one of the hardest things to give up was the creativity the slide projectors gave me. Because I could control the placement of the light, project color and images, and control the brightness of the light, the projectors were awesome tools. Digital cameras, the several I have owned anyway, can’t keep the shutter open for ten minutes, while you turn on and off timers.Red Light

Recently, I got an upgrade firmware package for my camera that improved the way it works with long exposures. While it is not a ten-minute exposure I can now do a shot at one second, before I had noise problems with anything longer than 1/20th of a second. So I can now use the projector to add special lighting effects to portraits and other shots. Really a great thing!White Light

Please check out my classes

An Introduction to Photographic Lighting

Portrait Lighting on Location and in the Studio

Business to Business: Commercial Photography

Thanks, John

November 8, 2009

Fluorescent Lights?

Filed under: Basic Photo Technique,Lighting Technique — John Siskin @ 5:16 pm

I have written elsewhere about fluorescent lights for photography. I didn’t say anything complimentary there, and I don’t intend to say much that is nice in this blog. So if you really love the new compact fluorescent lights as studio lights, it might be best to stop now. Still, the results of my tests were somewhat less dire that I had anticipated.

I was finally able to borrow one of these lights (a Top Lighting PB-85 120v 85 watt) so that I could run tests. I certainly didn’t want to buy one. I did several tests: first I used my spectrometer to look at the color distribution of the light, that is look at the light spread into a rainbow. My spectrometer is made from cardboard, a couple of razor blades and a small piece of diffraction grating. It is not a tremendously accurate device. It was not designed to be used with a camera. Still I am including pictures of daylight and of the fluorescent tube. You can see that daylight is continuous, smooth. The fluorescent has big bright lines and big dark lines, so no continuous spectrum. So the nature of this light is very, very different from daylight.

Fluorescent Spectrum, notice how the spectrum is banded rather than continuous

Fluorescent Spectrum, notice how the spectrum is banded rather than continuous

Sunlight Spectrum

Sunligth Spectrum, it is smoother in the spectrometer.

<p><P>

In my second test I made a picture of a Macbeth Color Chart with strobe light and the fluorescent light. The color of the two shots was very different, so I would not want to use the fluorescent light with my strobe. However when both shots were white balanced, in the computer, the shots were very similar. Really the fluorescent tube was a closer match than I would have expected, after the white balance. Please keep in mind that white balance will not enable to correct a shot for two different light sources.

Fluorescent version of the Color Checker, white balanced.

Fluorescent version of the Color Checker, white balanced.

Strobe version of the Color Checker, white balanced.

Strobe version of the Color Checker, white balanced.

<p>

In the third test I made 10 shots at a shutter speed of 1/180 to see if the light would be consistent on all the shots. I did not expect this to go well. Fluorescent tubes are supposed to vary with the cycling of alternating current electricity. In this country the power cycles 60 times a second. So 1/180 should be only part of a cycle. In this shot the color did not vary by as much as 1%, really quite impressive. Since the shots all looked the same, I am not including them.

Finally I compared the overall quantity of light to a 600 watt Smith Victor quartz light. The quartz light was 8 times more powerful than the fluorescent  light. Although I could use an array of these lights to increase power, I could not get the power and hard light effect that I can get from quartz lights.

On the whole the light performed better with color than I had anticipated. However the unusual spectrum leaves me suspicious that there will be problems in the real world, especially with fabrics. Certainly the low power disappoints me, but if your camera performs well at high ISO levels, this may be less of a problem for you.

Thanks, John

Please check out my classes

An Introduction to Photographic Lighting

Portrait Lighting on Location and in the Studio

Business to Business: Commercial Photography

« Newer PostsOlder Posts »

Powered by WordPress