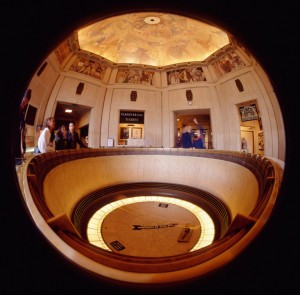
 I wrote this for the person who just bought a 8X10 camera from me. I actually know a few people who are working in large format again, so I thought I would post a few notes. I’m going to be shooting people blowing hot glass tomorrow; I’m pretty excited about that. I’m including a few images I made with big cameras.
A photograph is a two dimensional illusion of a three dimensional reality. It has limitations primarily that movement of the viewer’s eye doesn’t change the scene and the amount of detail captured and displayed. The amount of  detail can be changed of course, but it is not always as easy as just increasing the size of a capture. There are three primary considerations: depth of field, resolution and capture. Resolution is thought of as sharpness, but the human eye will interpret a contrasty image of lower resolution as sharper than a low contrast image with high resolution. Arthur Cox’s book Photographic Optics shows a good example of this. There are limitations to how much you can
  adjust sharpness in post-production, but depending on the image, you can increase contrast until there are just two tones: black and white with no intermediate grays.
Lens resolution: Lenses are optimized for different size capture. A lens optimized for a smaller capture has a greater potential resolution then a lens designed for large format work. Fixed focal length lenses have fewer air to glass  surfaces, and fewer elements, and so are sharper than zoom lenses. So a 50mm lens designed for a 24mmX36mm (full frame 35mm film area) is sharper than a 150 mm lens designed to be used with 4X5 inch film. The number of air to glass surfaces is not the only indicator of sharpness, and perhaps not the best one. Many lenses with 6 elements are sharper than 4 element lenses, but a zoom with 10 elements that move in different groups is always lower in sharpness than the best fixed focal length lenses. Resolution refers to the ability to separate fine details. A lens that can delineate the details of a feather has high resolution.
 Depth of field: Many people interpret this as synonymous with sharpness, but in fact that is wrong. A lens will resolve better somewhere between one and three stops from wide open, then it will at the minimum aperture. Once again resolution is the ability to separate detail. As the lens approaches minimum aperture the diaphragm begins to diffract light, which reduces resolution. So while f64 may keep a lot of stuff in focus it doesn’t produce maximum sharpness. There are computer programs that are able to take several captures and combine them to obtain maximum sharpness and extended depth of field. Also, a larger capture area requires a smaller aperture to obtain the same depth of field. A 150mm lens on a 4X5 camera
  is in focus from 32 feet to infinity at f8, a 50mm lens on a 35mm camera is in focus from about 6 feet to infinity at the same aperture.
Capture resolution: This is where a large format camera can make up for it’s other challenges. Film’s actual resolution is a factor of how it is manufactured, so a bigger piece of film has more resolution than a smaller piece of film, just because there is more film. A 35mm frame is 1.5 square inches, while a 4X5 piece of film is 20 square inches, more than 13 times bigger. This relationship is different with digital, more total pixels generally means a higher resolution capture. However I have seen some  information that suggests more pixels on a larger capture area can be sharper than the same number of pixels in a smaller area.
As I suggested above you can increase apparent sharpness by increasing contrast, but there are limits. Many times increased contrast just doesn’t look good.
Notes for focus and exposure with large format cameras: Many lenses need to be refocused after you stop them down to the shooting aperture. This can be difficult because the image is so dark on the ground glass. This is  particularly true of wide-angle lenses. Also wide-angle lenses are much sharper if focused at the hyper focal distance when stopped down rather than infinity. This means extending the bellows just a little. Put another way: if you have a 65mm lens on a 4X5 camera and you want to focus at infinity with an aperture of f11, you can focus the lens at infinity, but the image will be sharper if you focus at 8 feet from the lens. This is the mid point for your depth of field at that aperture. Total depth of field would be 3 feet to infinity at f11.
Another problem with large format wide-angle lenses is cosign 4 failure. The focal length is approximately the distance from the diaphragm of the lens to the film, when the lens is focused at infinity. As you can figure out for yourself the distance from the diaphragm to the corner of the frame is considerably greater on a wide-angle lens. This means that the light isn’t even across the frame on a wide-angle lens. There are filters that can correct this for you, and I am sure you could also correct for it in Photoshop.
One advantage of a large format camera is that you can selectively focus. This is similar to what you can do with a Lens Baby: shift the plane of the lens so that the focus follows the image or so that focus goes against the image. With large format shooting, where depth of field can be a challenge, this feature is very important.
Thanks for paying attention the blog. I’ll be back soon. Here are the usual reminders.
Please check out my books and classes:
Understanding and Controlling Strobe Lighting: A Guide for Digital Photographers
Photographing Architecture: Lighting, Composition, Postproduction and Marketing Techniques
An Introduction to Photographic Lighting
Portrait Lighting on Location and in the Studio
Getting Started in Commercial Photography
Thanks, John







 Years ago I went to a lecture about lighting, I think it was put on by Kodak. The photographer had these awesome little lights, hot lights, with built in baffles that allowed his to precisely control where the light went. Similar to working with barn doors, but with a harder edge, and more control. The lights had lenses so your edges could be harder or softer. I thought these lights had to be the best thing ever for tabletop work. The only problem was that I didn’t own them.

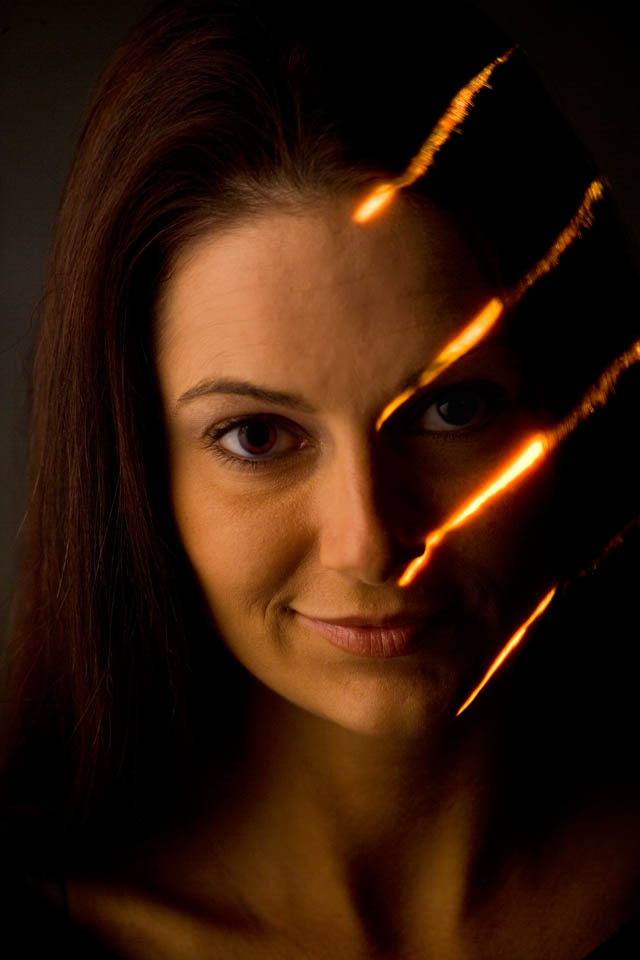

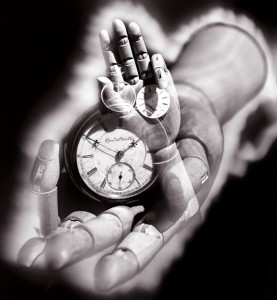 This week I want to talk about making pictures and taking pictures. An incredibly large percentage of the population will take pictures in the next year. They will point the camera at something and press the button. People do this because we have a real need to capture the stuff of memory and keep it with us. This is a very personal communication, from me to me. Like a personal time capsule. If I were to take out my memory photos and show them to you, they wouldn’t mean as much to you. We all take these pictures, written in the language of our own experience.