Over the years I’ve written and taught many times about lighting gear. I believe that any photographer who is wholly dependent on finding good light, rather than being able to make and modify light, when making a picture is limited in ability. While I recognize that there are many photographic artists who work in this manner, it is just not acceptable for a commercial photographer to be limited in this way. I should point out that you still purchase my book on this strobe lighting, just click on the link below.
The tools of light are evolving, as are all the tools of photography. When I first started making pictures on camera electronic flash was pretty new. It was also not very good. Now there are many fine lighting tools that work with digital cameras. Of course this doesn’t solve the biggest problem of portable flash units: you can’t see the light you’re actually photographing. An on camera flash makes light at your camera, so, if you’re not careful, you’ll get the dear in the headlights effect and red eyes. Any lighting unit is only as good as the visualization or lighting control of the photographer. Automation doesn’t make good pictures, just properly exposed pictures. It takes a photographer to make good pictures.

Since I started teaching at the Art Institute of Indianapolis I’ve had to discuss lighting tools almost constantly. The tools I’ve used for decades aren’t practical or available for the students. It seems ridiculous to suggest that twenty something students buy strobes older than they are. So I’ve been evaluating many of the current products. I have just a couple of important parameters for evaluating a flash: light and price.

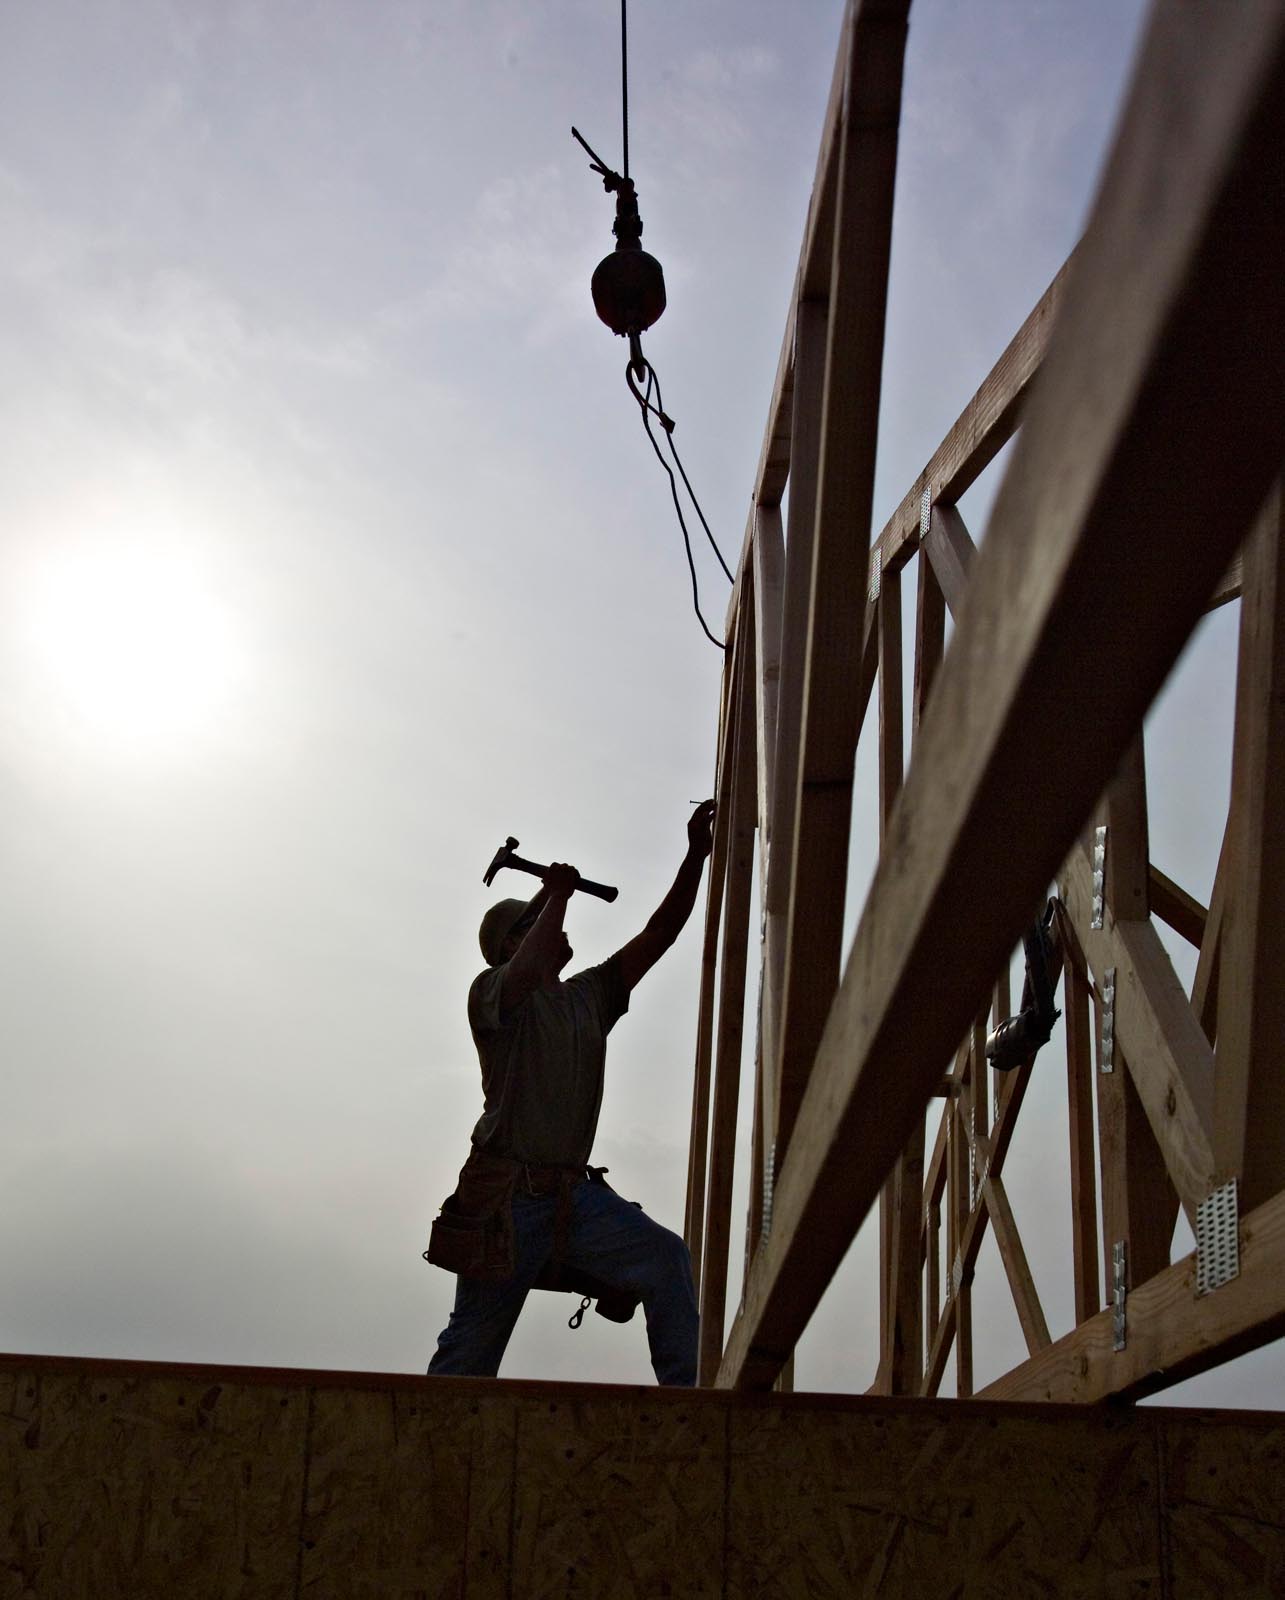
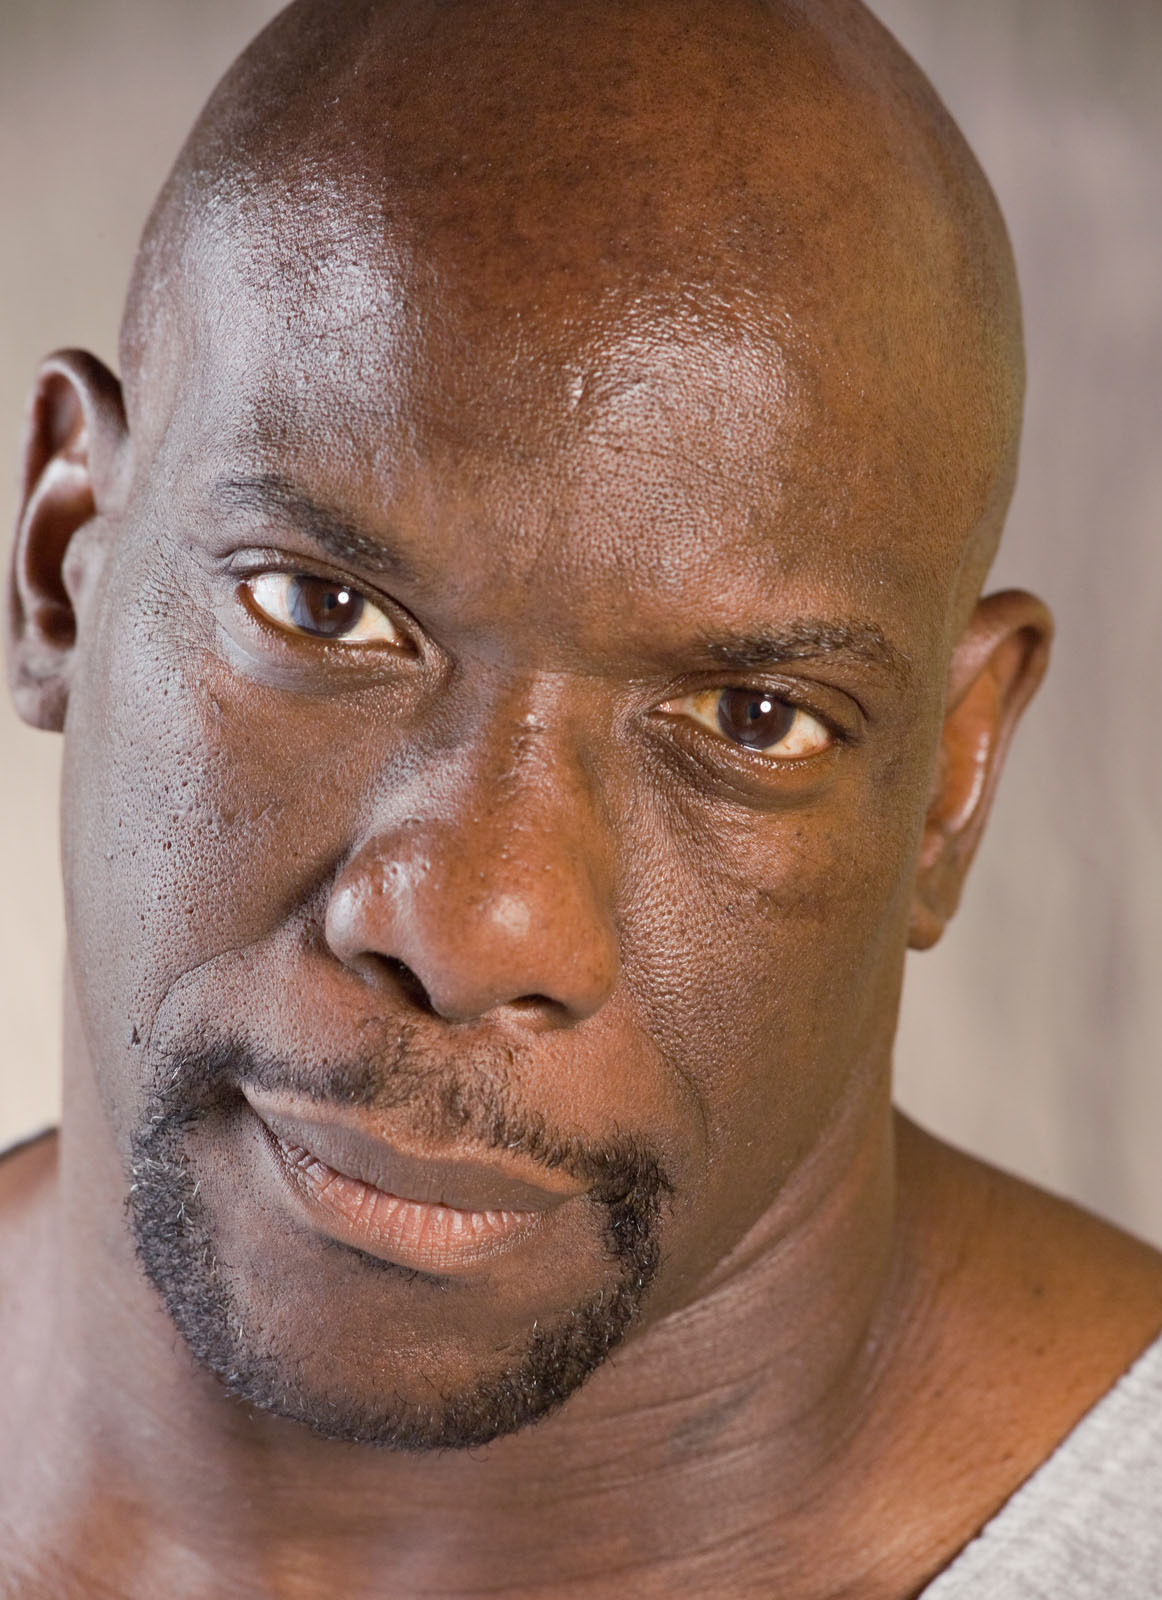
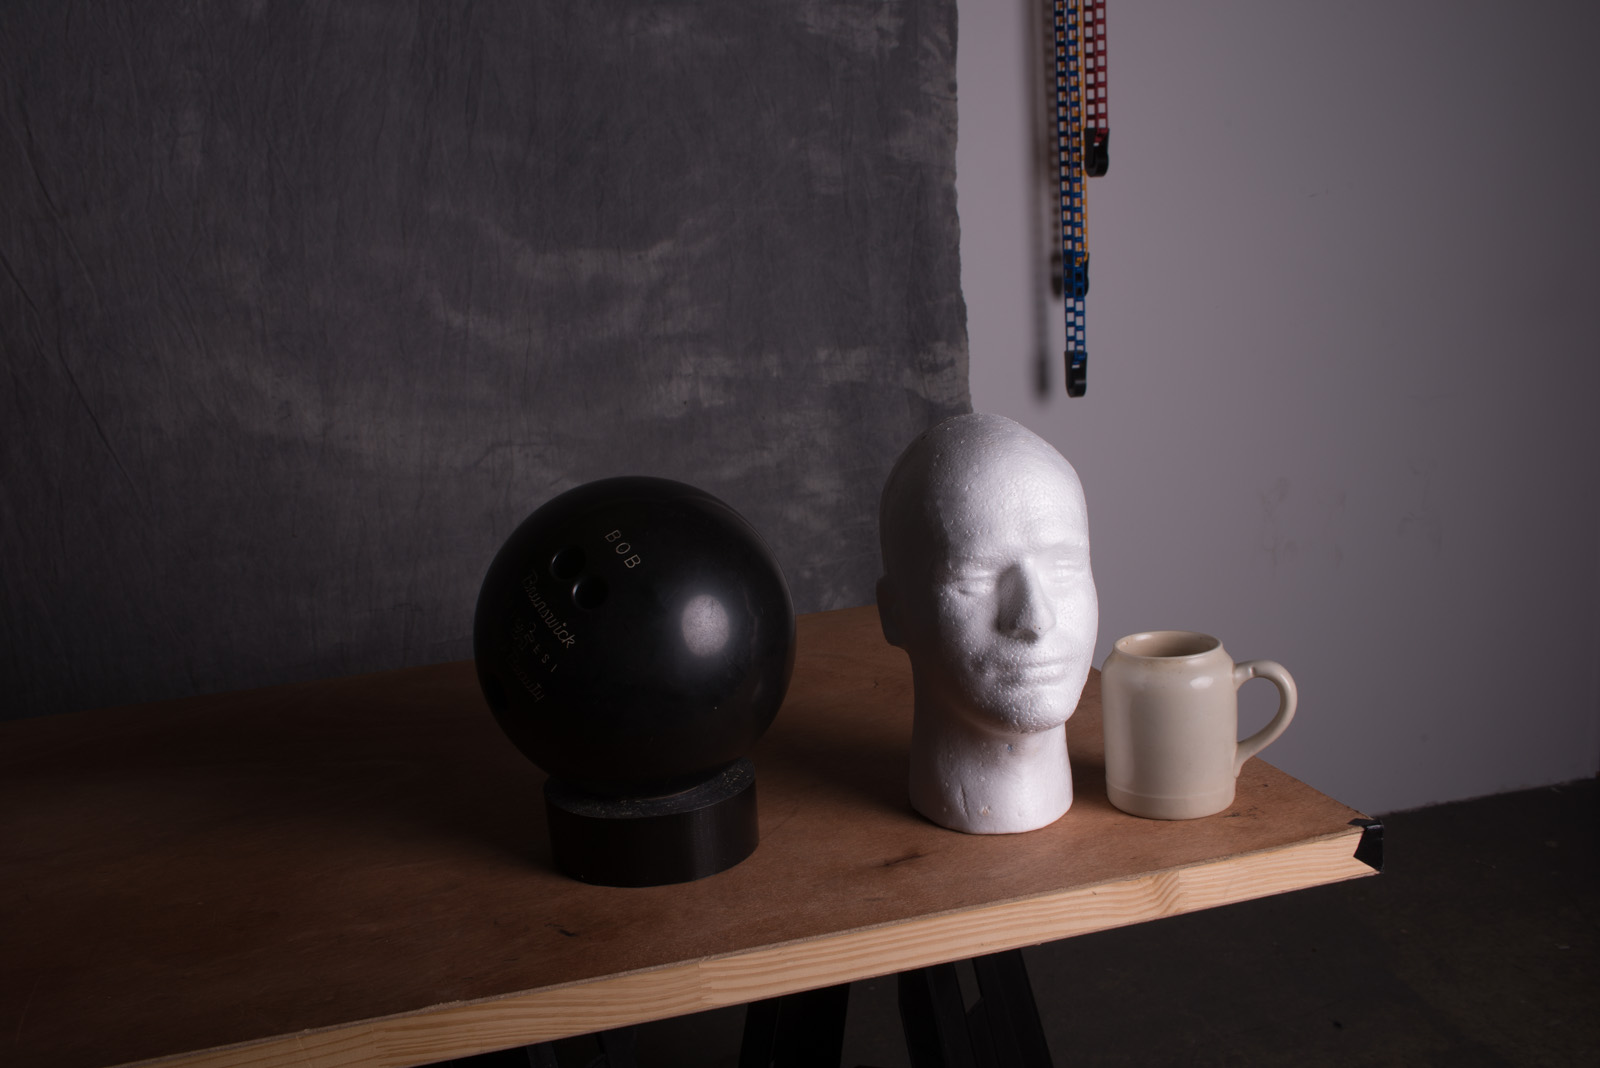
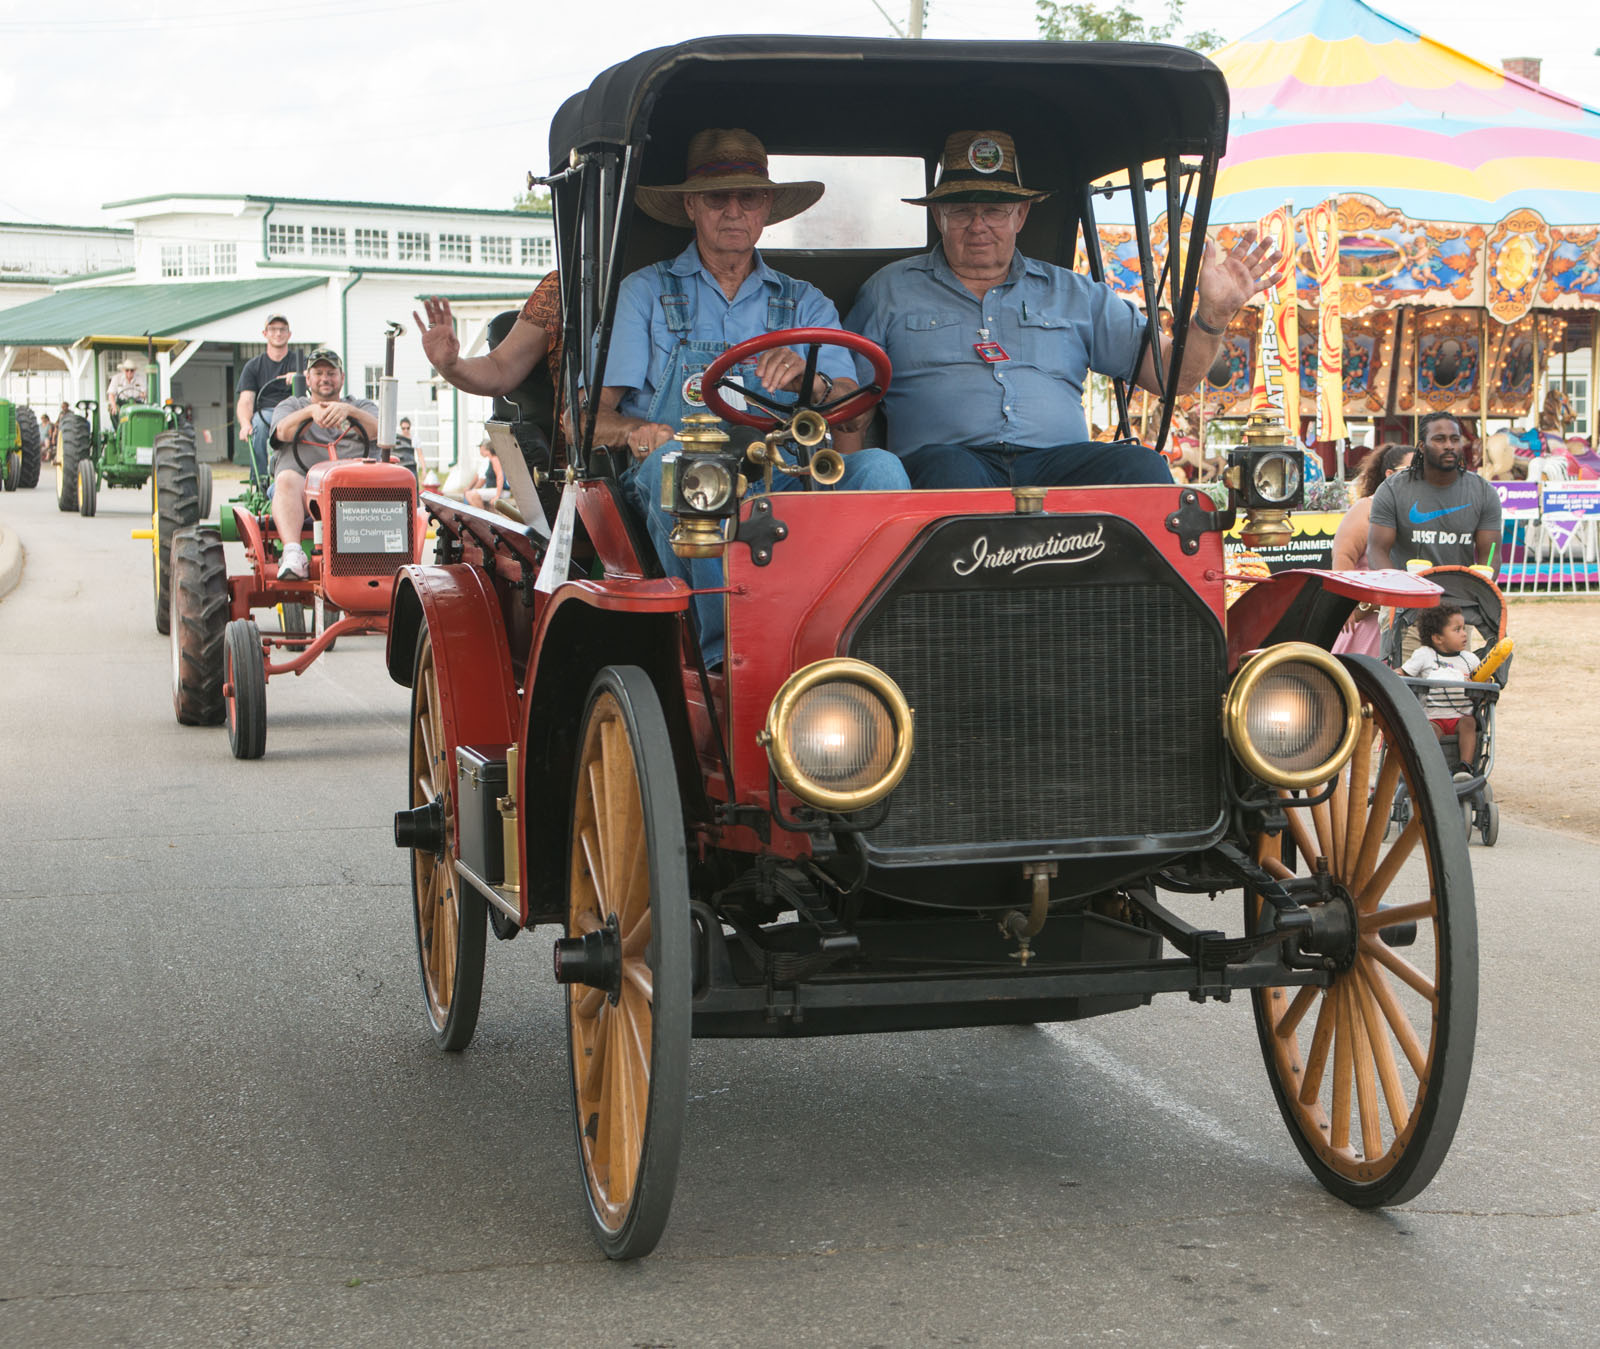
Flash Fill using the Godox TT685
It may seem obvious that I would evaluate a flash based on actual light output, but I’ve had a couple of conversations lately that make me think it’s not obvious.
Photographers have told me that, since their cameras make very fine images at very high ISO setting, they don’t need a lot of strobe power. I’ll admit that a high ISO is a wonderful thing and that it does change they way you can use lighting tools in many situations but it can’t solve every problem. And that is the issue: not light quantity but light problems. A little bit of light can improve the images you take at an event even if you’re shooting at ISO 1600, but that’s not the only problem you’d like to solve with a camera amounted flash. The biggest problem for a dedicated flash is flash fill in sunlight. I refer to this as the ribbon-cutting problem. Your job requires you to shoot a group of people outdoors in the middle of the day, say an opening of a new store. There is a group of people standing around. You can’t change the light on the group or change the angle, simply because they have to be shot in front of building, and right now. The folks look a little like raccoons because of the shadows created by their brows, chins and so on. There isn’t any way to solve this problem with a reflector, unless the reflector is the size of a truck. You can solve this problem with a flash. The technique is called flash fill. The idea is to use a strobe that will fill in your shadows. You need ¼ to ½ the amount of light from your strobe that you get from daylight to make the ribbon-cutting shot work. In other situations you may use much less or, perhaps, even more fill flash. The Daylight 16 Rule states that you set your shutter speed to match your ISO and shoot at f16 for a full daylight shot: ISO 100, 1/100 and f16. Since this is a group you’ll be about 10 feet from all of them. In order to make this work you’ll need an exposure f11 from your strobe, or if you can shoot at 1/200 then f8. This would put your flash power at ½ the daylight exposure, or 1 stop less than daylight. This level of light will do a good job of filling your shadows.
You may be thinking, but the new strobes allow me to sync at higher speeds, so I’ll just raise the sync speed and then I can use less strobe. Doesn’t work. As you use higher sync speed the strobe has to fire more times so you get less total light in the shot. The power drops off very fast, so the fastest speed you can use for the ribbon cutting shot is they original sync speed of your camera, probably around 1/200 for a modern digital camera. Raising the ISO just raises the shutter speed, so that doesn’t work either.
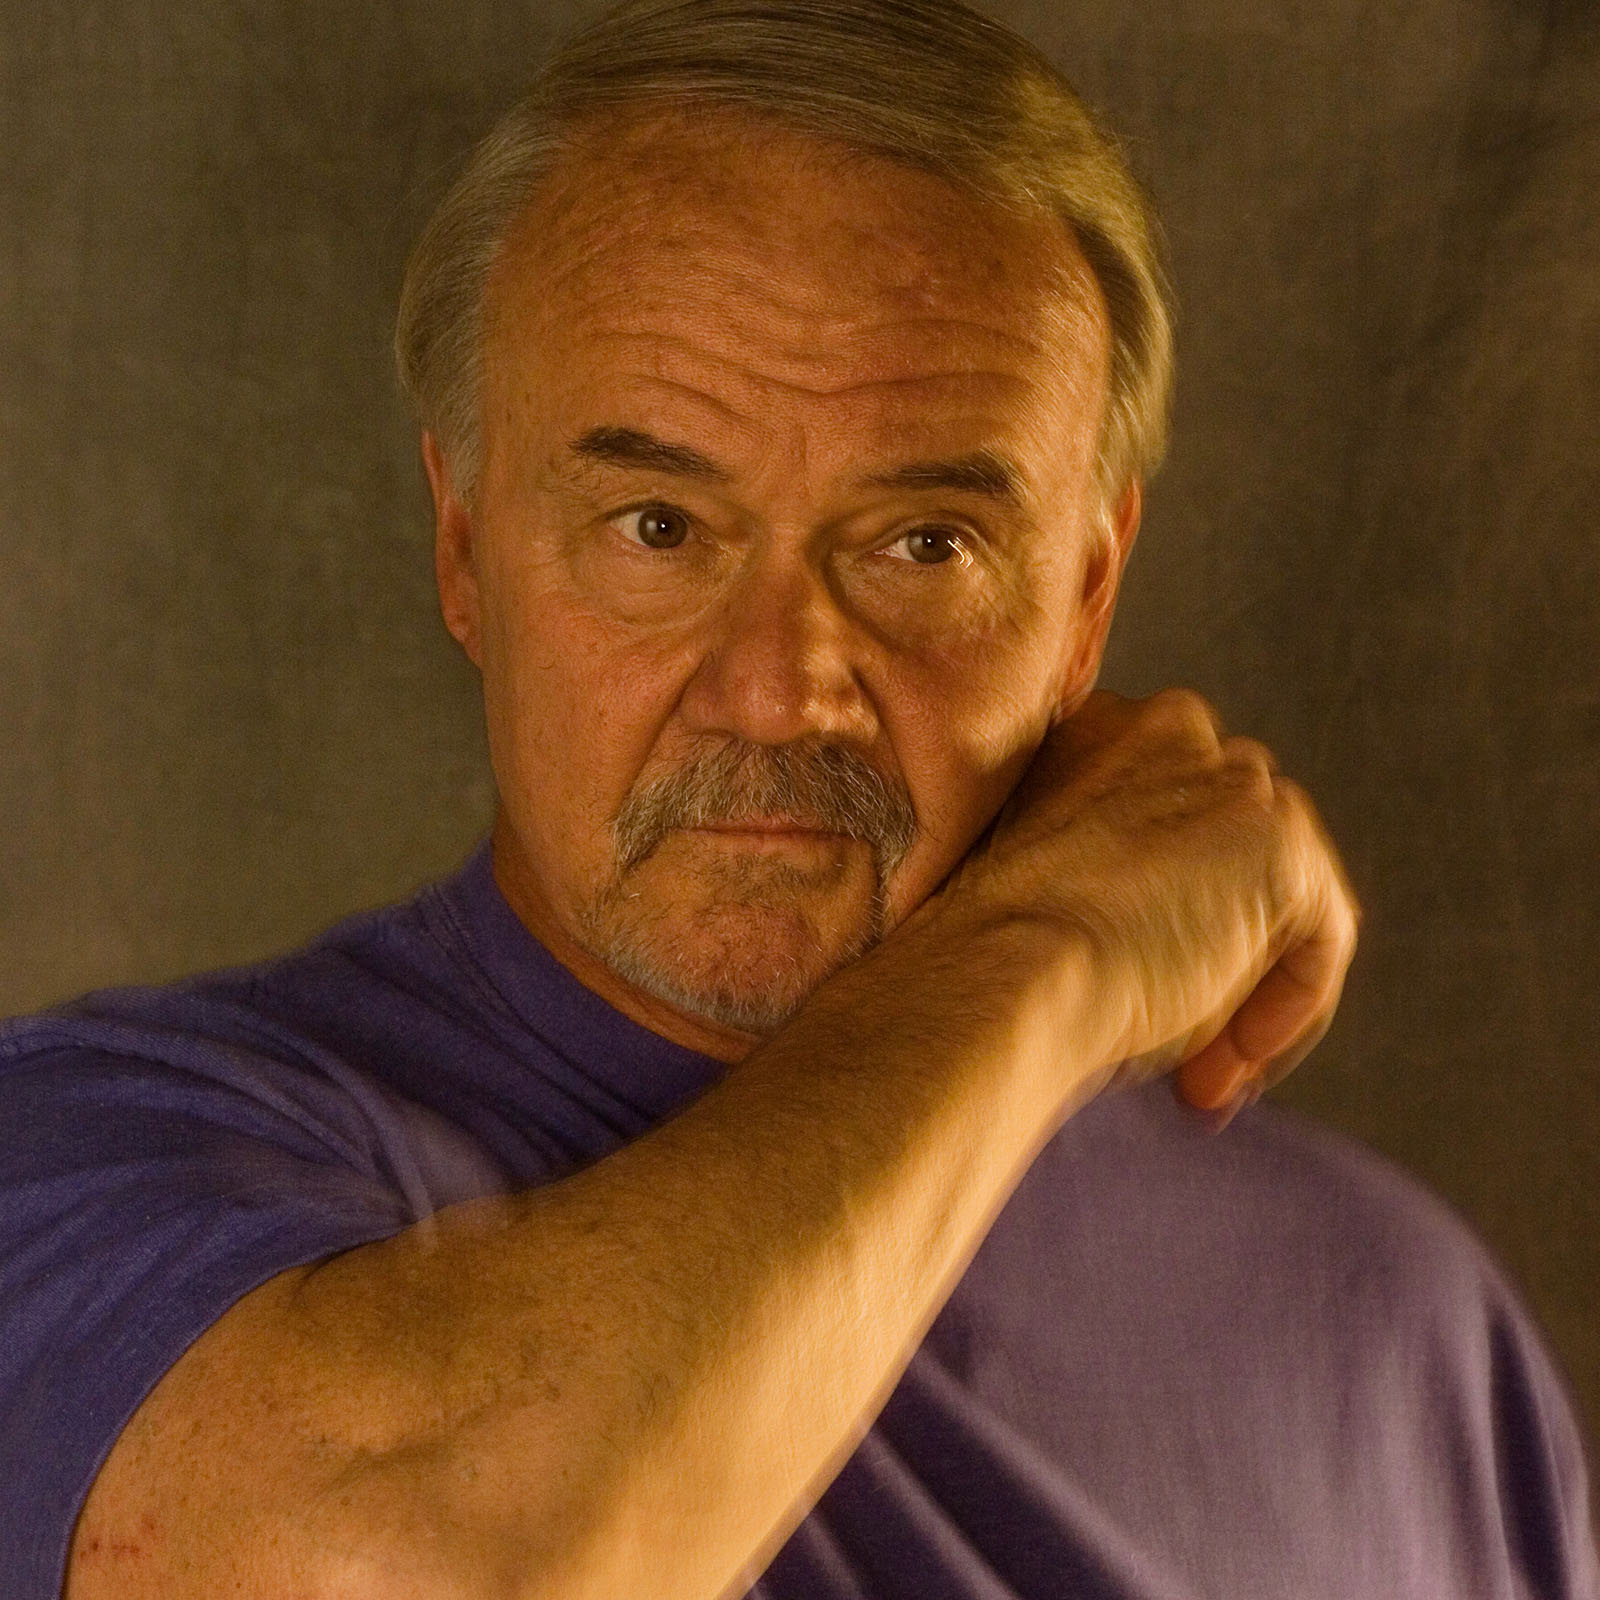
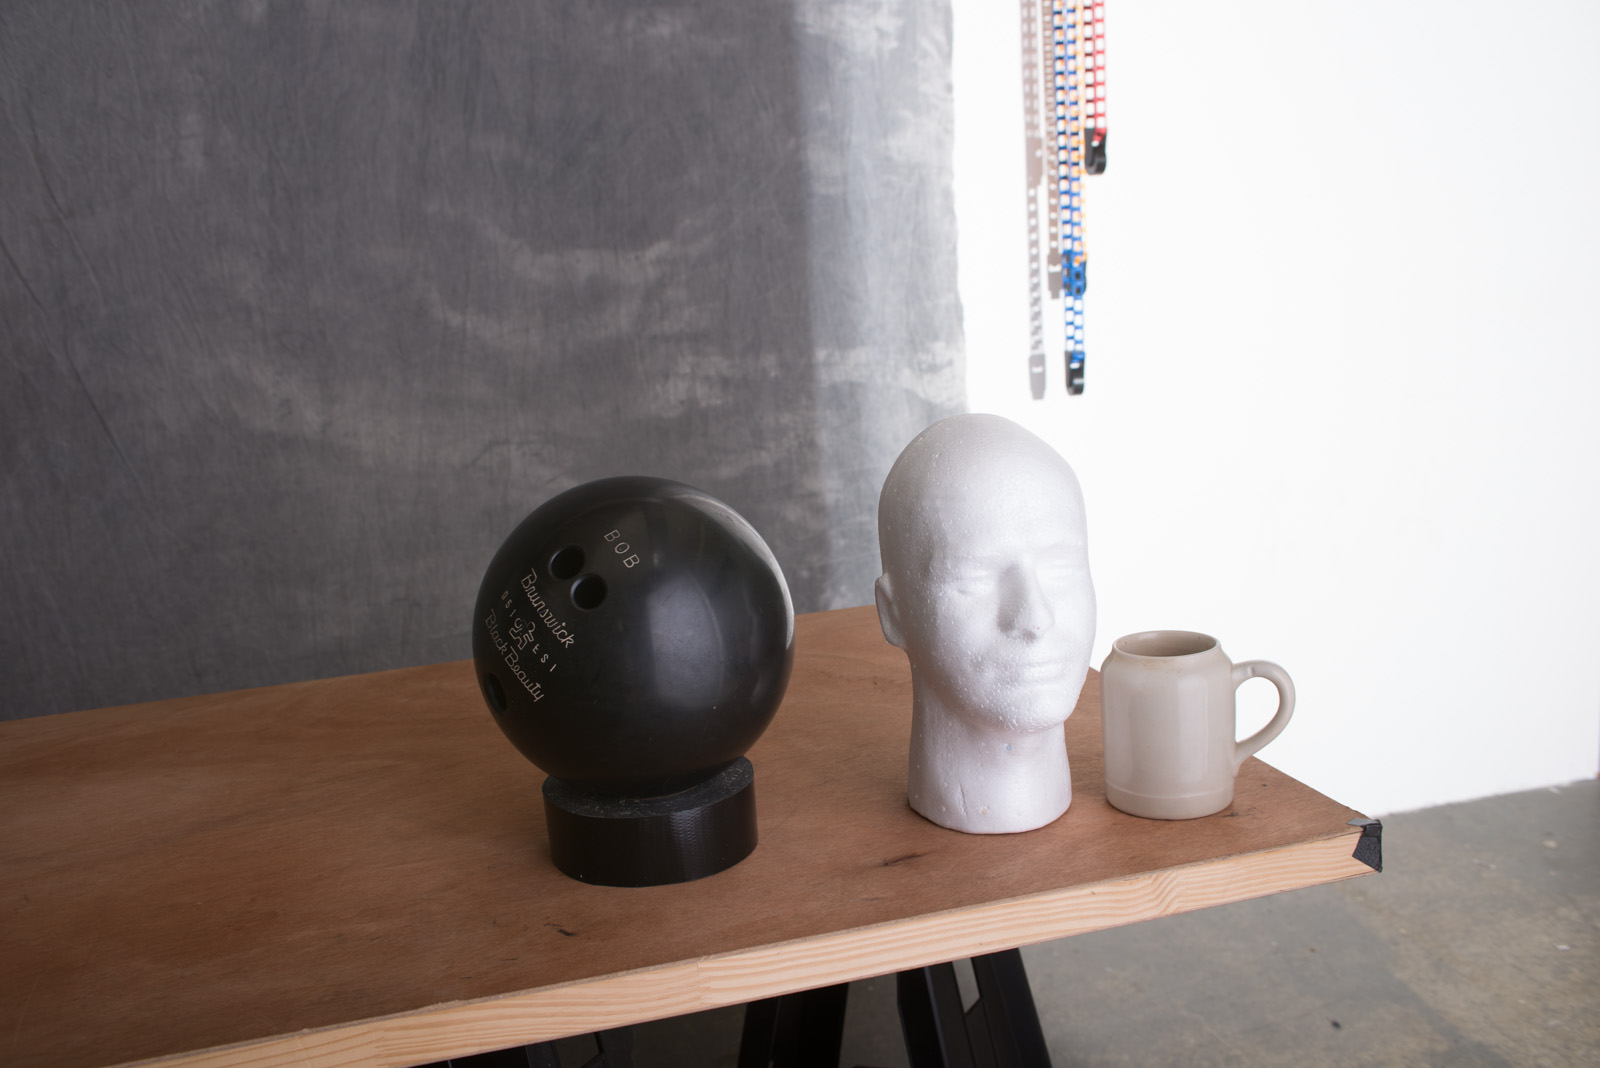
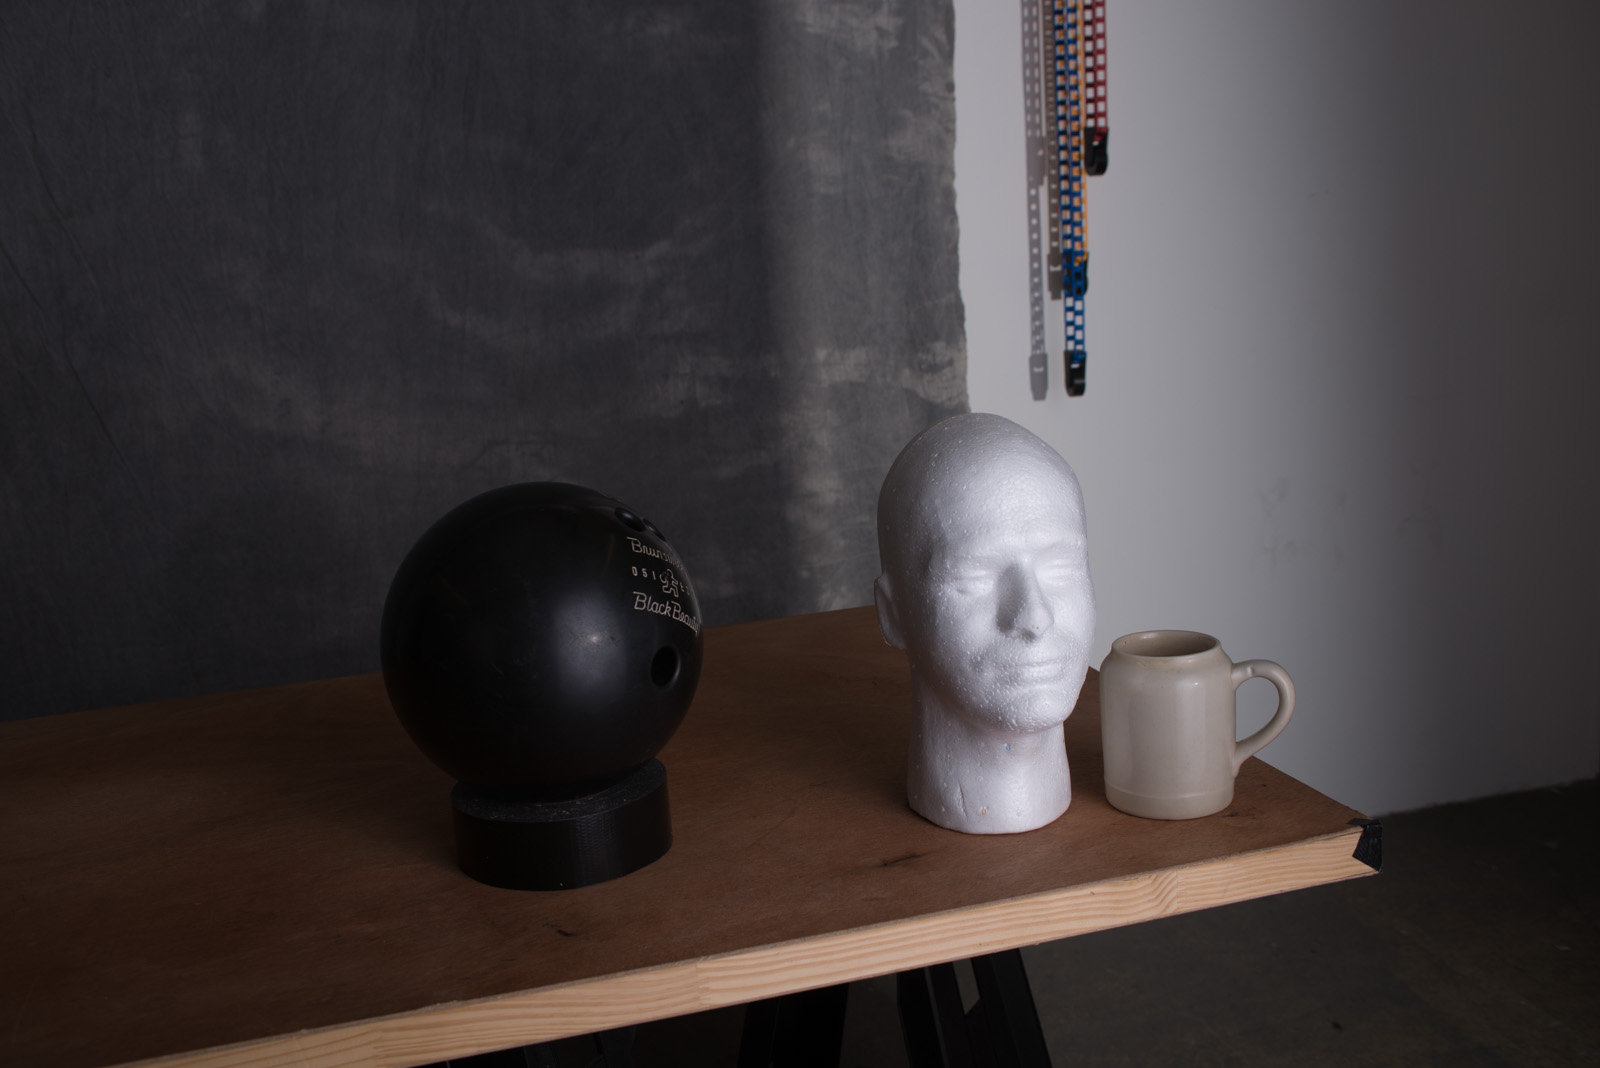
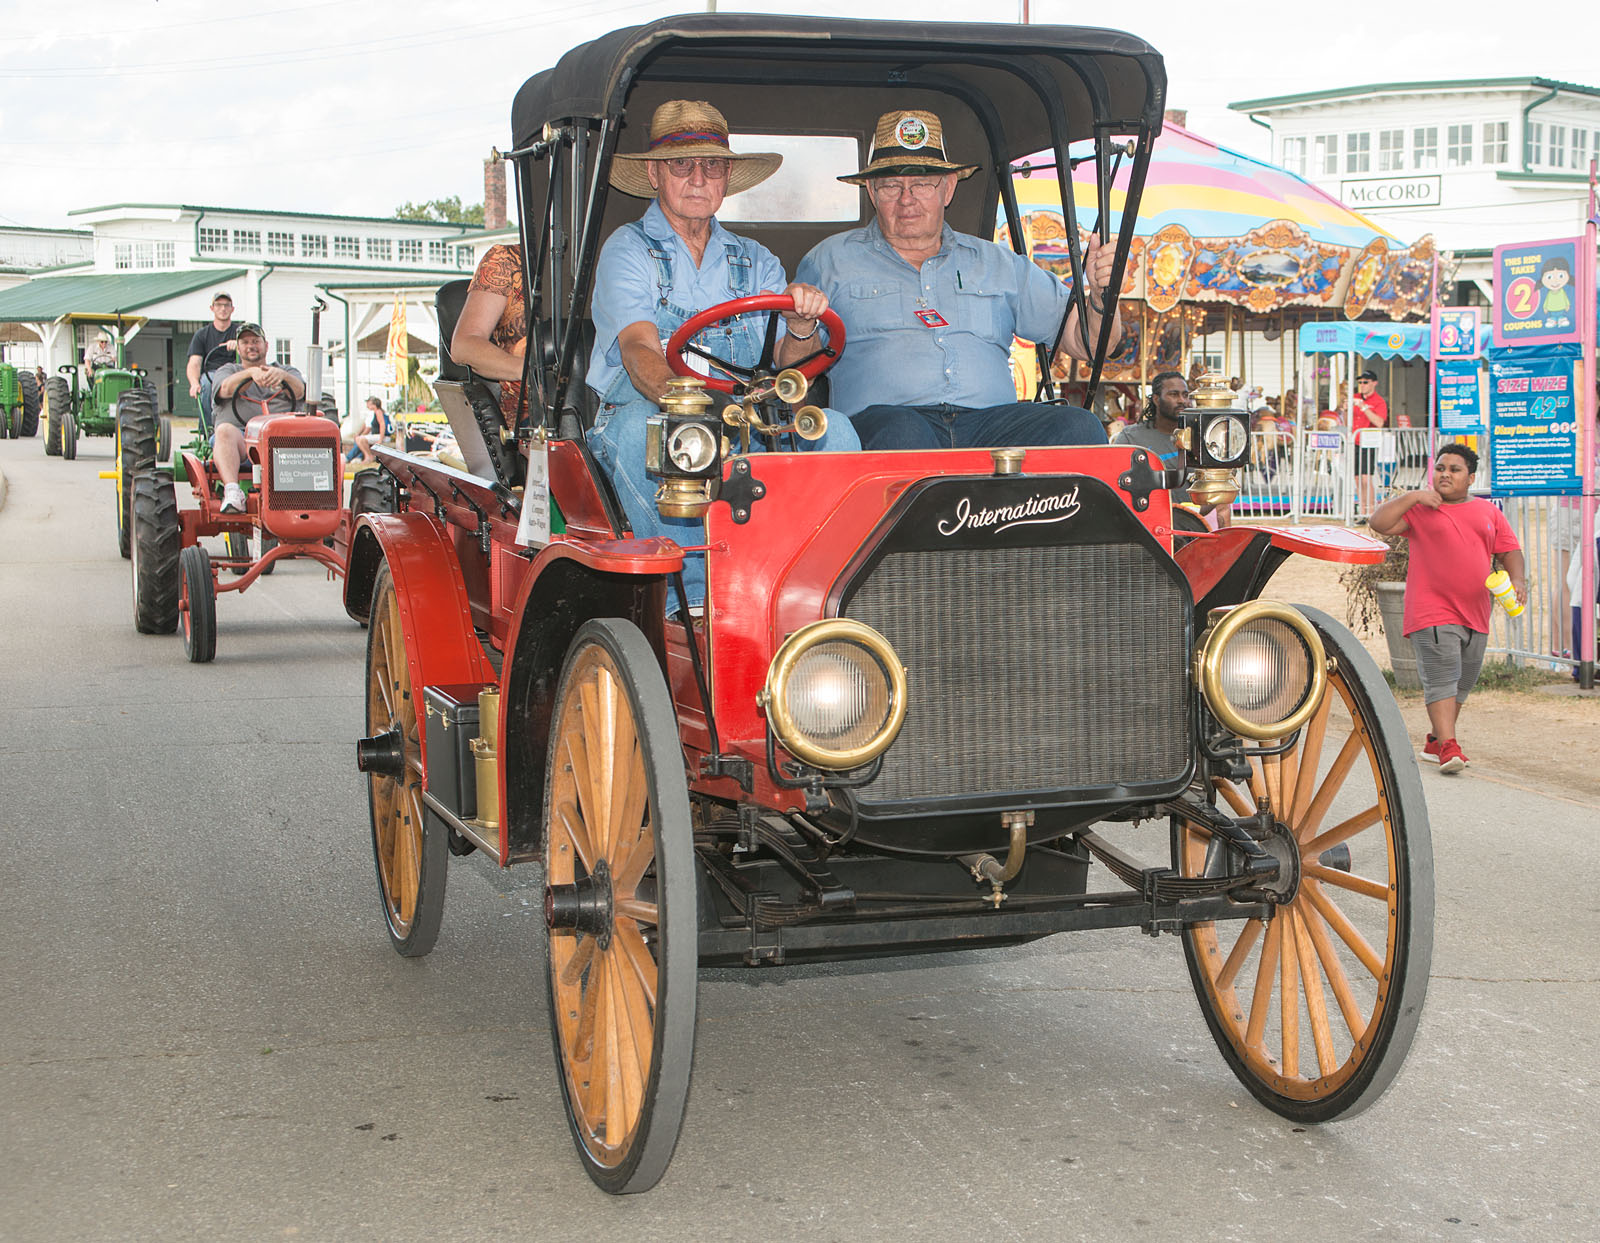
No Flash
Flash Fill using the Godox TT685
So it would be very useful if we knew what aperture we could use with a flash at 10 feet from the subject with ISO 100. Good news and bad news on this subject. The good news is that most dedicated flash units are evaluated using a metric called guide numbers. Guide numbers are often done in feet and in meters, for our purpose the guide number measured in feet is the most useful. The guide number in feet is the aperture the strobe would give you at 10 feet from the subject at multiplied by 10. So if your flash is 10 feet from the subject, and the exposure is f5.6, your guide number is 56. Of course this is measured without any other light source. If the f-stop at 10 feet is f8-1/3 then the guide number would be 90. This isn’t rocket science, and using this information we can see that we’d need at least a guide number of 80 and we’d like to have 110. Now the bad news: while the manufactures usually list guide numbers for flash units they lie about the numbers.
I don’t mean they lie just a little, they lie A LOT! I tested the Sunpak 120J II. The manufacturer’s listed guide number is 177. The actual guide number is 50. The difference is about 4 stops. That means the unit has about 1/8th the power that Sunpak says it does. If I took the unit to the ribbon cutting I would fail. While Sunpak lies a lot, most of the manufacturers are lying by 2 or more stops. One notable exception here, the NIKON SB910 has a guide number of 111 according to Nikon and my test says that’s true. I also tested the Youngnuo YN685, which had a real guide number of 70; the Bolt VS570, which had guide number of 90, and the Polaroid PL190, which had a guide number of 60. I also tested a couple of classic strobes, Norman 200B, guide number of 120: the original Quantum Turbo, guide number 90, and some other things.
The second consideration I mentioned above is price. There are quite a number of dedicated flash units priced between $100 and $200. I like this price point for a couple of reasons: first it’s doable for my students at the Art Institute. Second it allows you to buy several units for what one Nikon unit would cost: $597.00. While a little extra power is good, several units will allow more creative lighting and offer back up when something breaks.
So what did I find out? The best unit for price and power is the Godox TT685. It has a guide number of about 90. It costs $119 at B&H or Amazon.
I would like t than B&H. I’ve ordered half a dozen different flash units, tested them and returned them. They are just great about returns. I couldn’t have afforded to test so many units without the returns department at B&H. Thanks folks!

Using the Godox TT685
No Flash
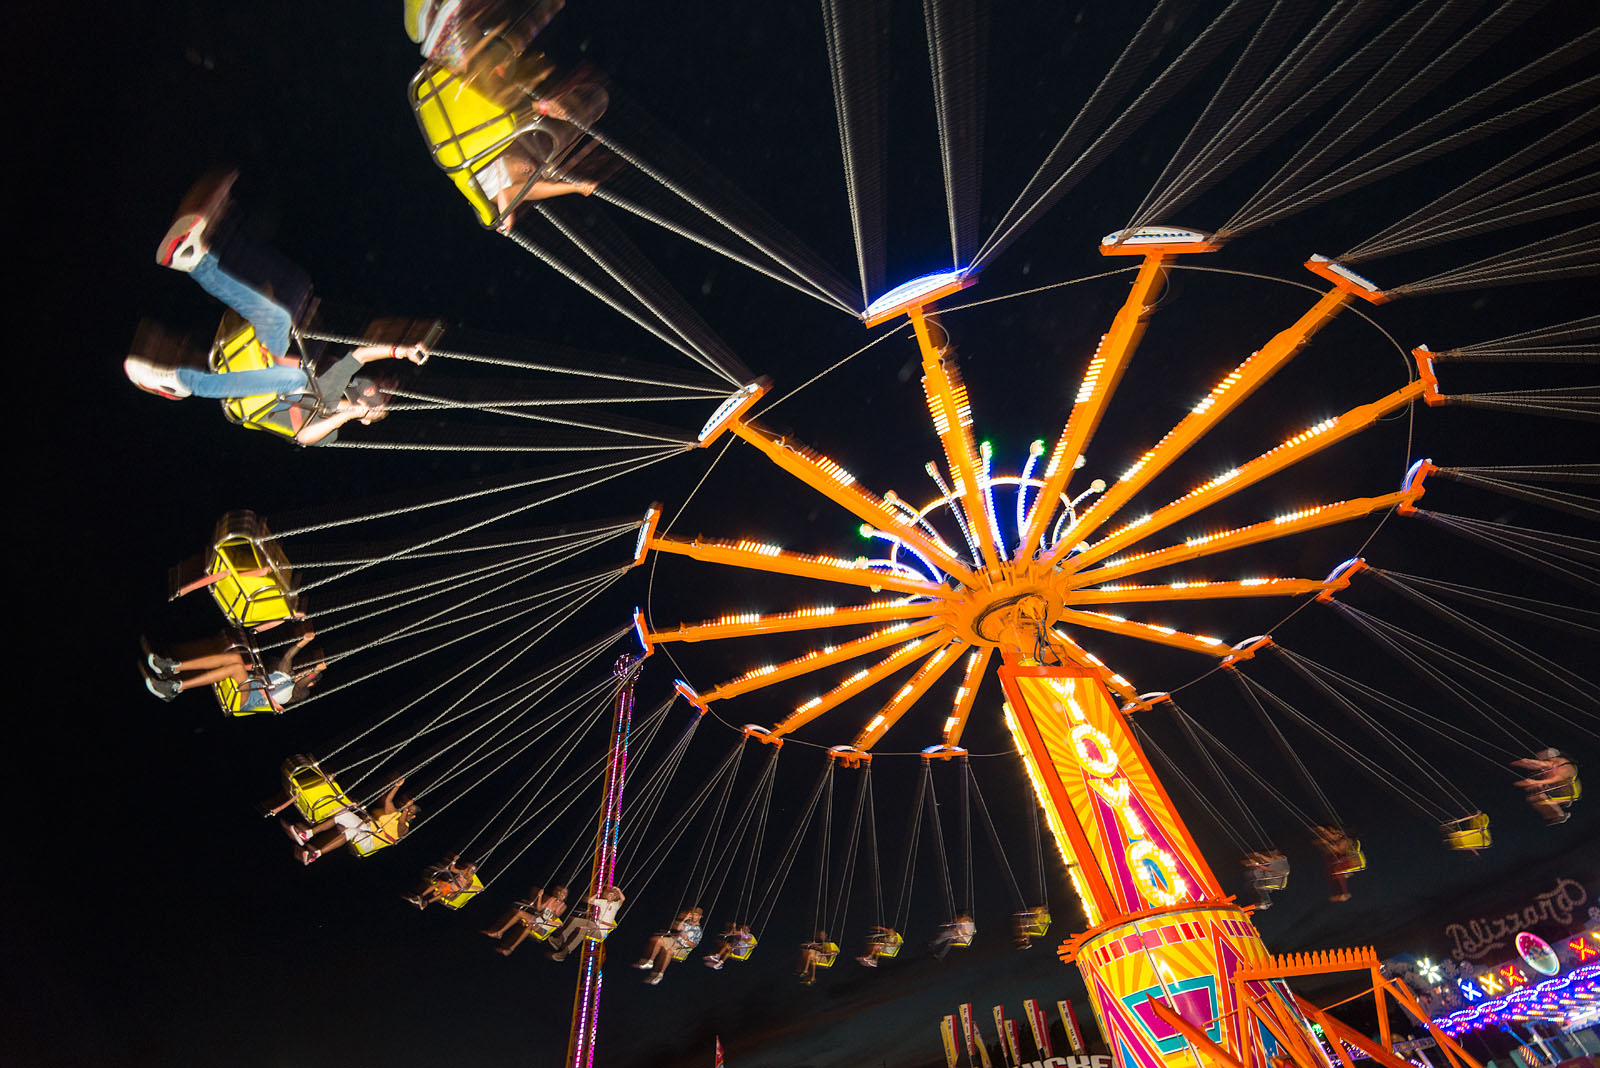
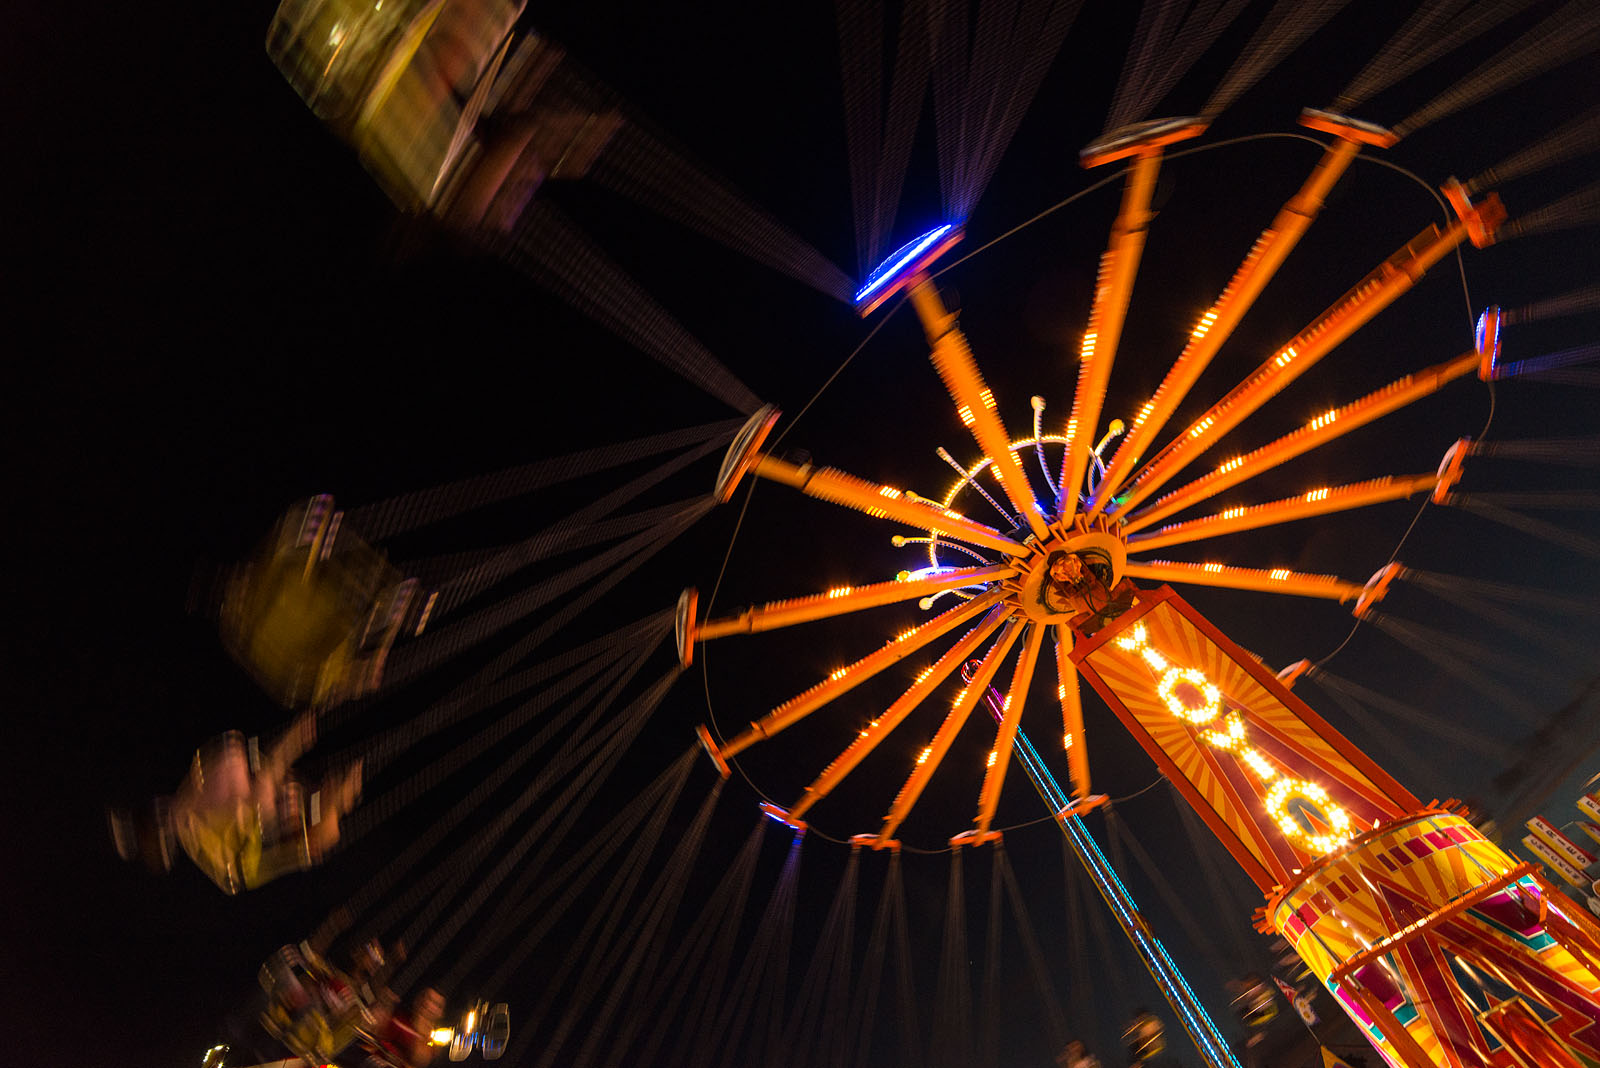
I’ll be writing more about working with the Godox soon! By the way the shots are from the Indiana State Fair.
Oh, and one more thing, you can get my book on Photographing architecture at this link: